How to Install WordPress® With OpenPanel
WordPress® is a powerful, web-based content management system (CMS) that makes it easy to build websites and blogs. This guide walks you through two methods for installing WordPress on your OpenPanel account: automatic installation via WP Manager and manual installation.
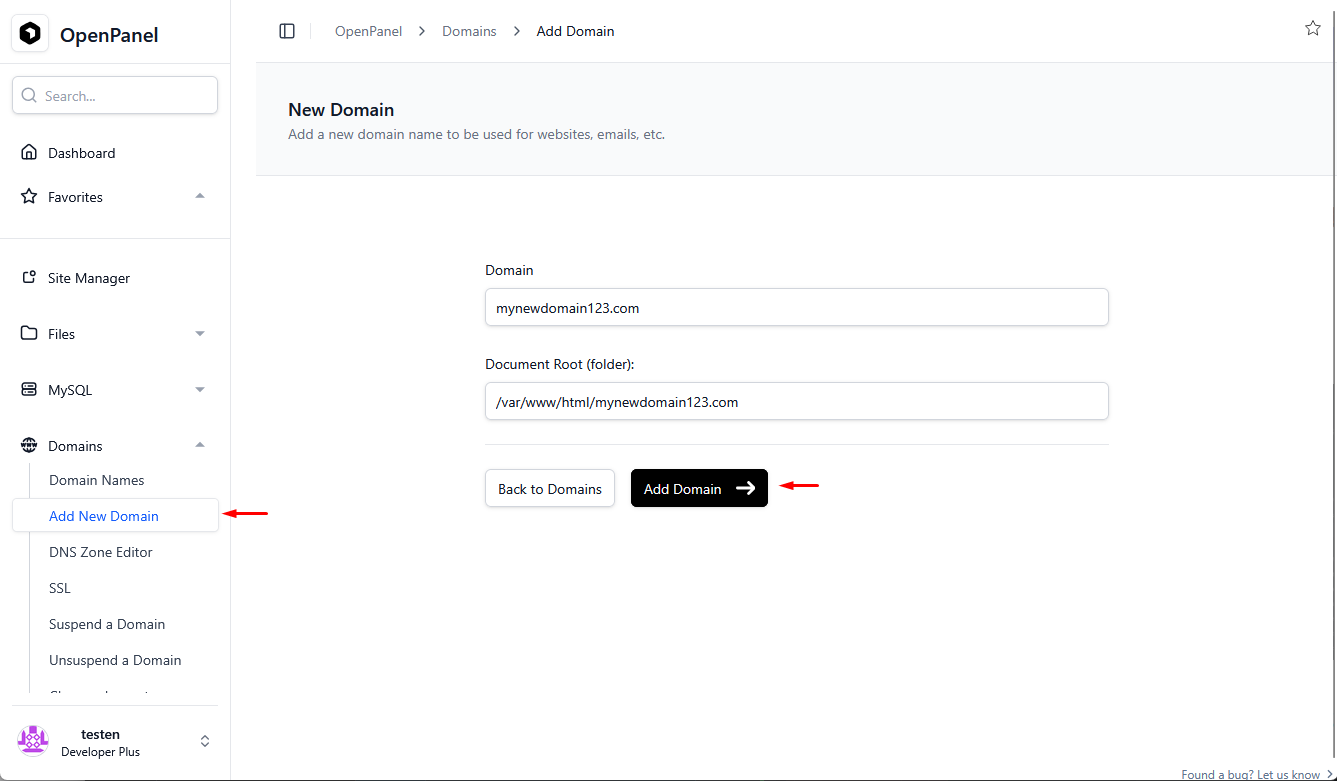
Before installing WordPress, make sure you've added a domain where the WordPress site will be hosted.
To add a domain: OpenPanel > Domains > Add New Domain
Install WordPress via WP Manager
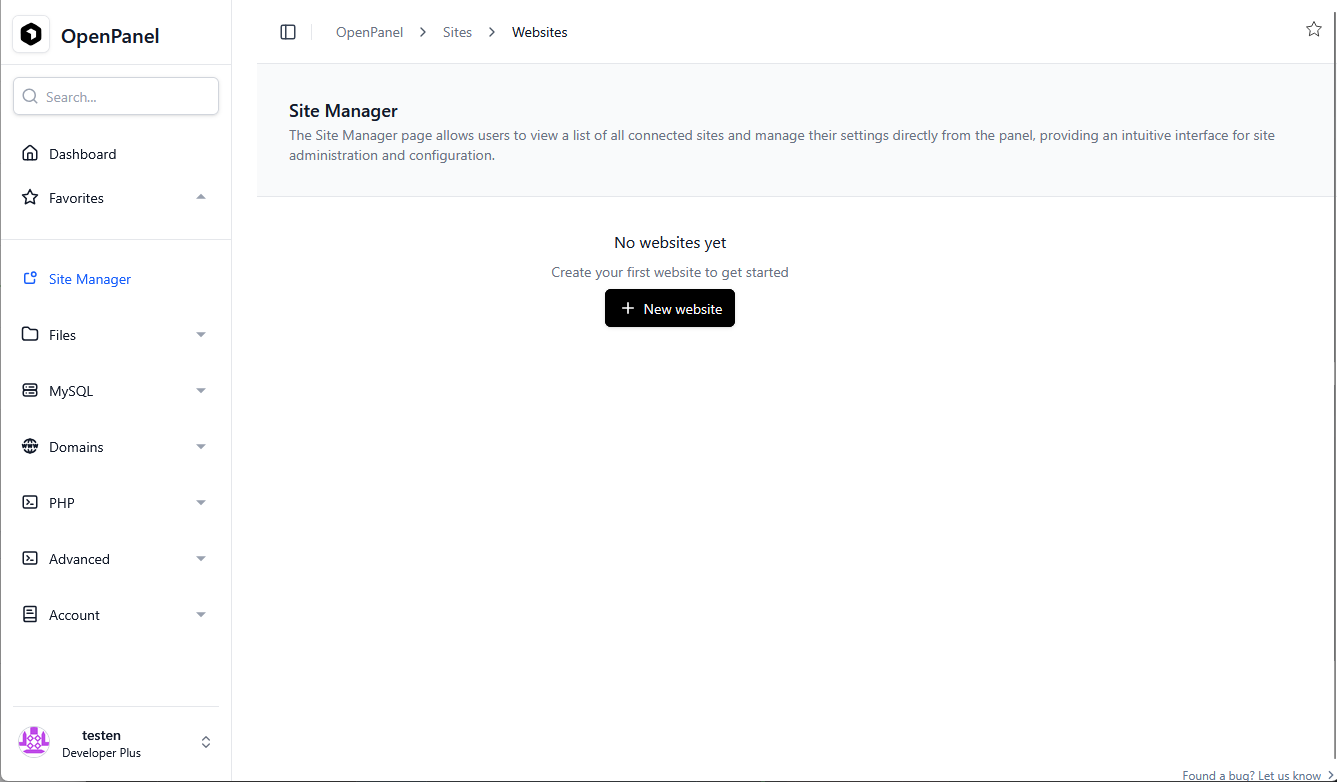
OpenPanel's Site Manager lets you install WordPress in just a few clicks.
- Open Site Manager and press the +New Website" button.
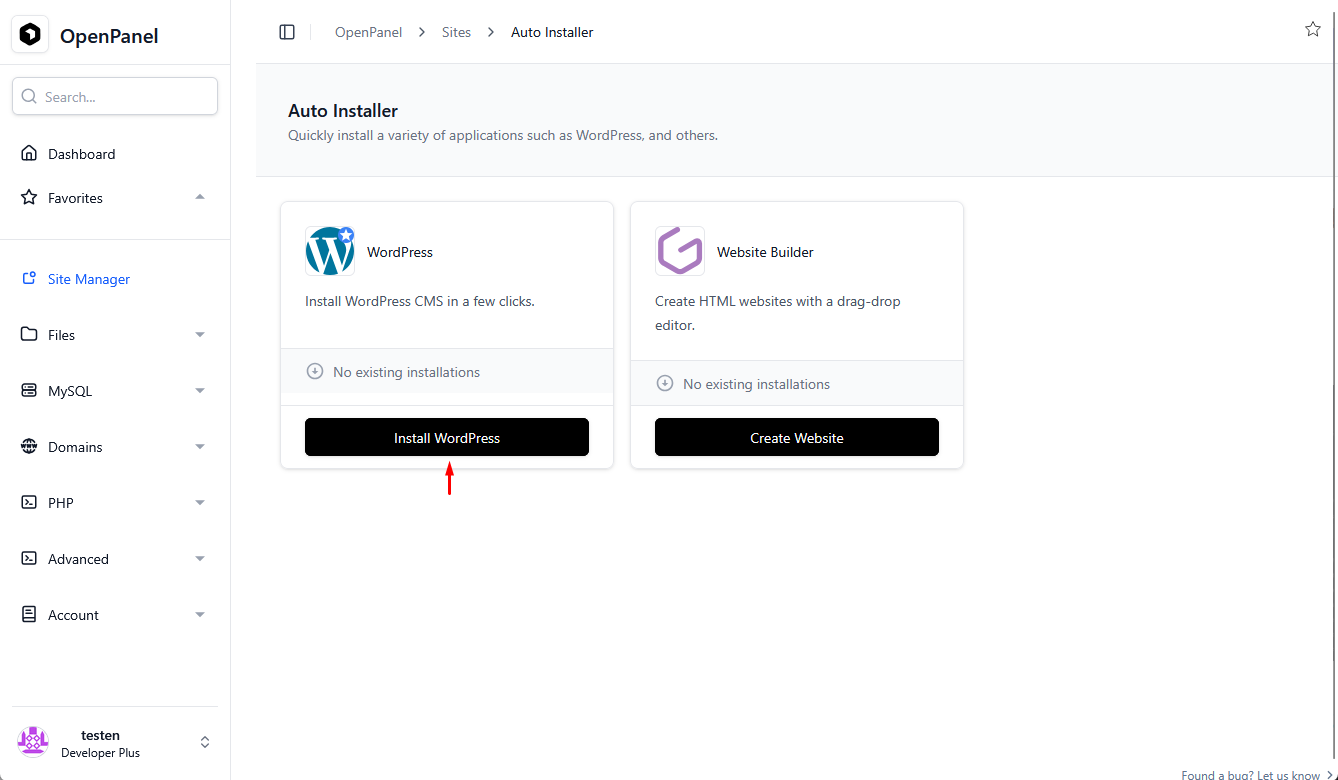
- Click Install WordPress.
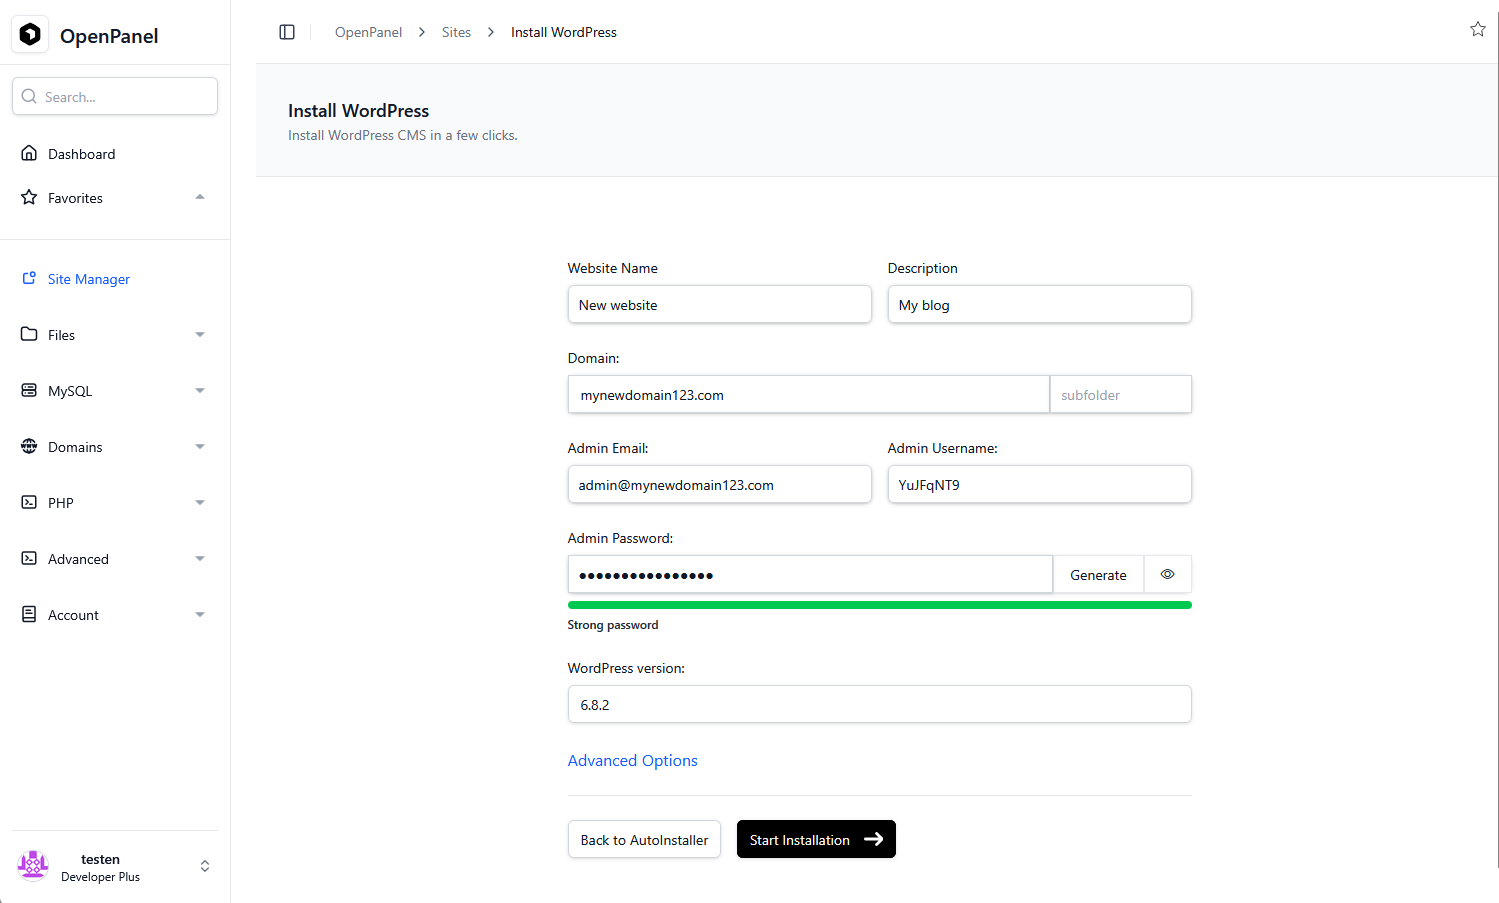
- Fill in the Website Name, optionally add a Site Description, and choose your domain.
Click Start Installation to begin.
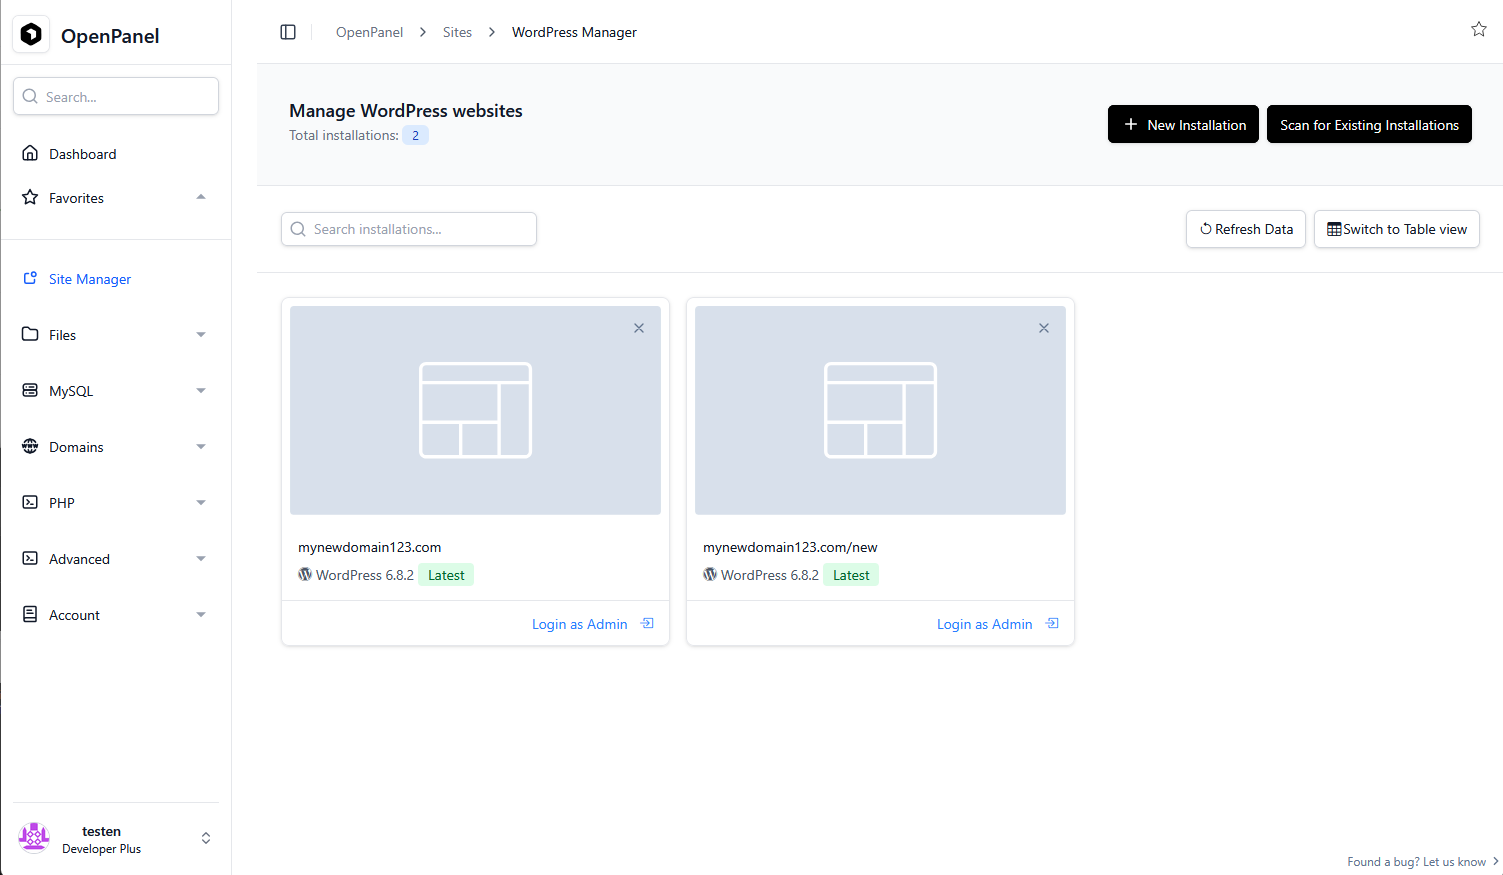
- Once the installation is complete, you'll be redirected to the WP Manager, where you can manage all of your installed WordPress sites.
Install WordPress manually
The easiest way to download the official WordPress installation archive is through OpenPanel's File Manager tool.
First access the folder of your domain where you'll install a new WordPress instance.
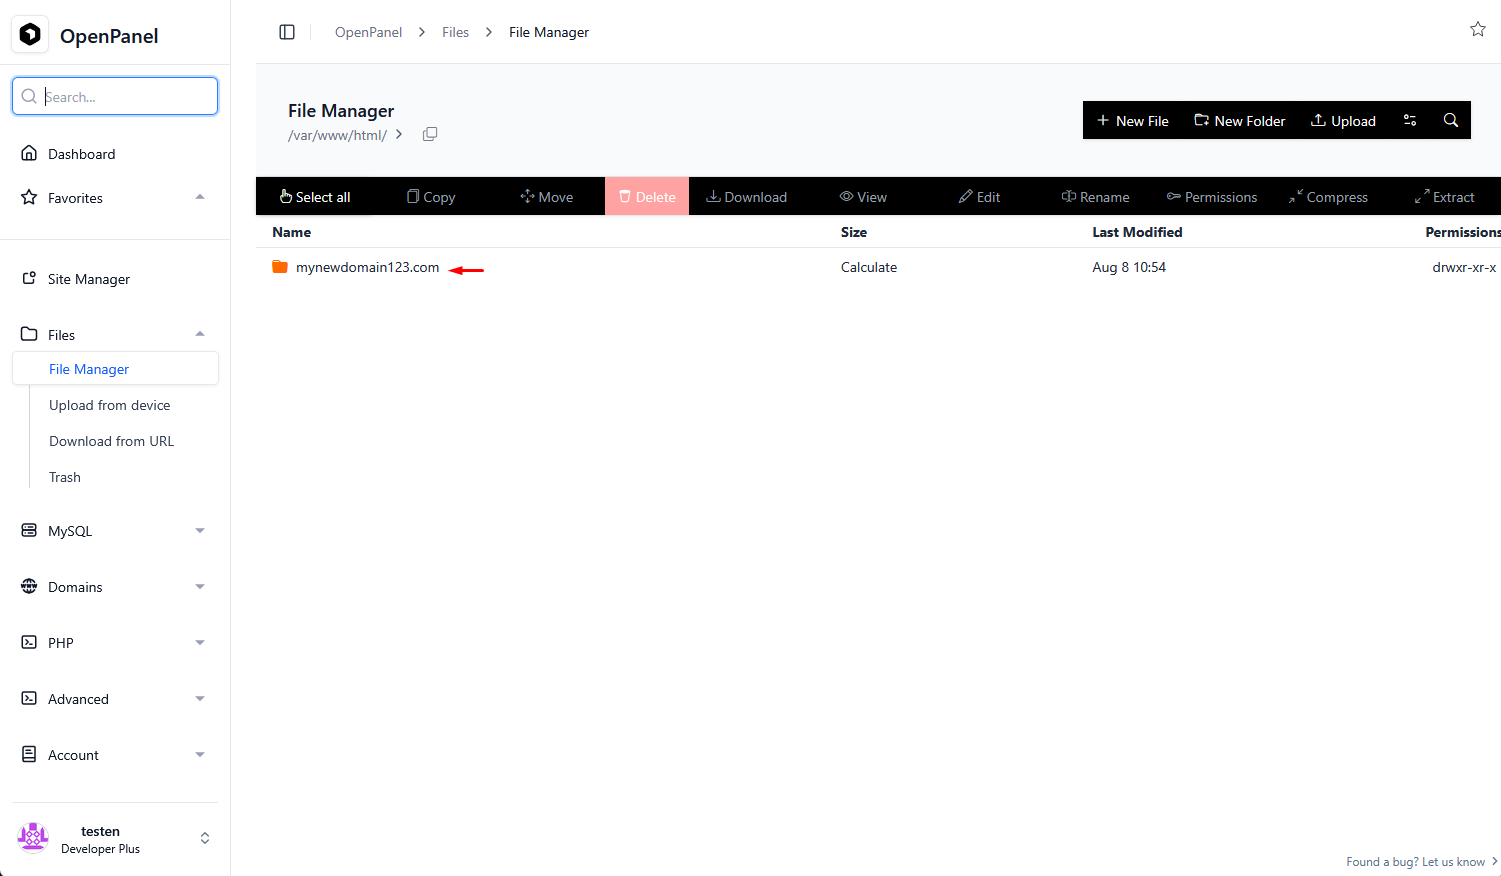
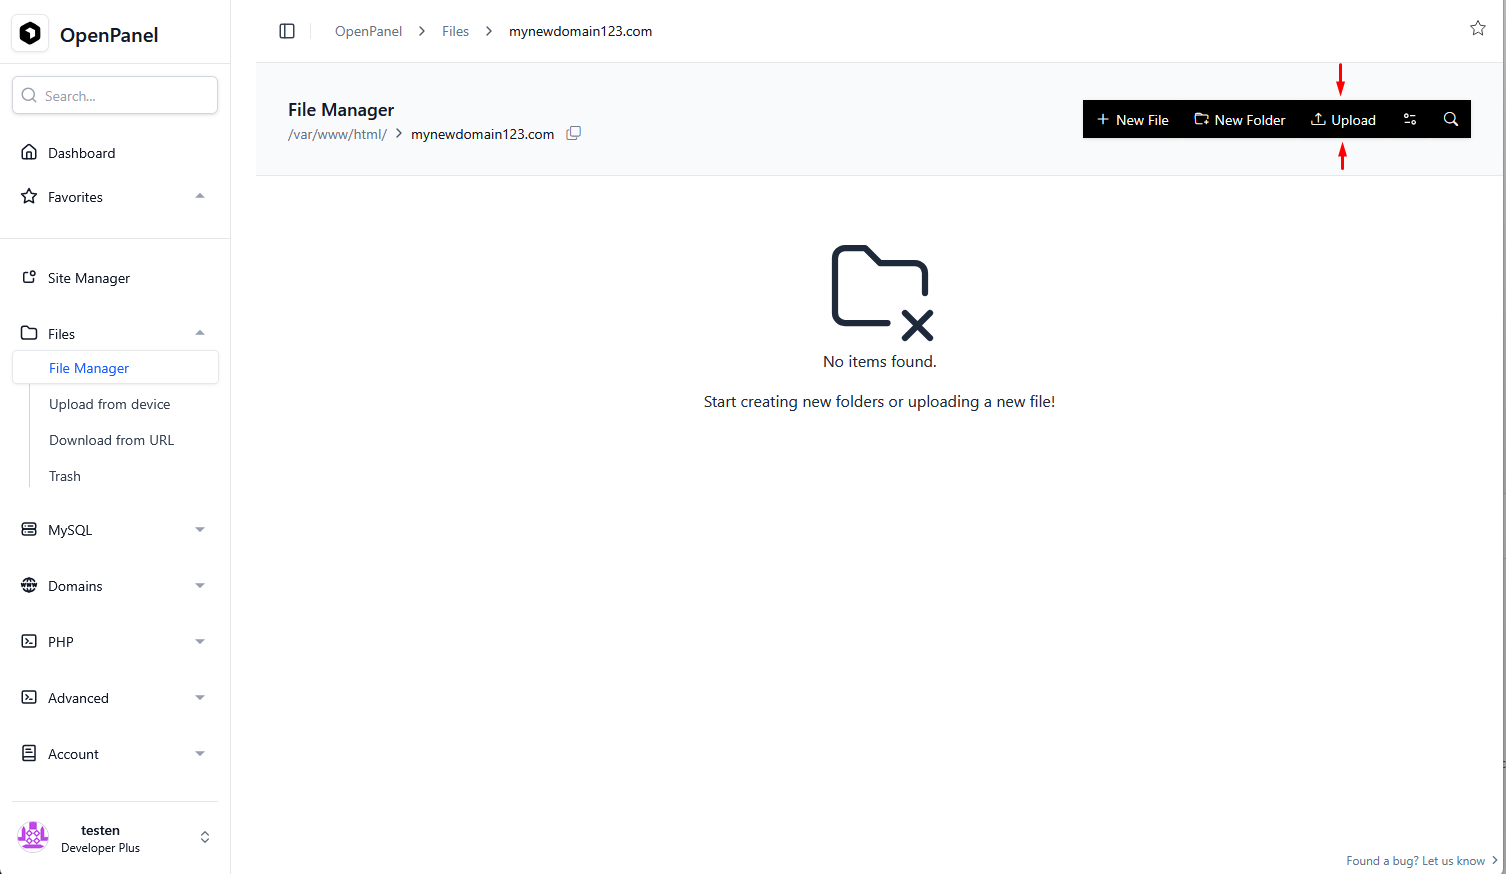
When you're inside the domains directory press the Upload button on the top right.
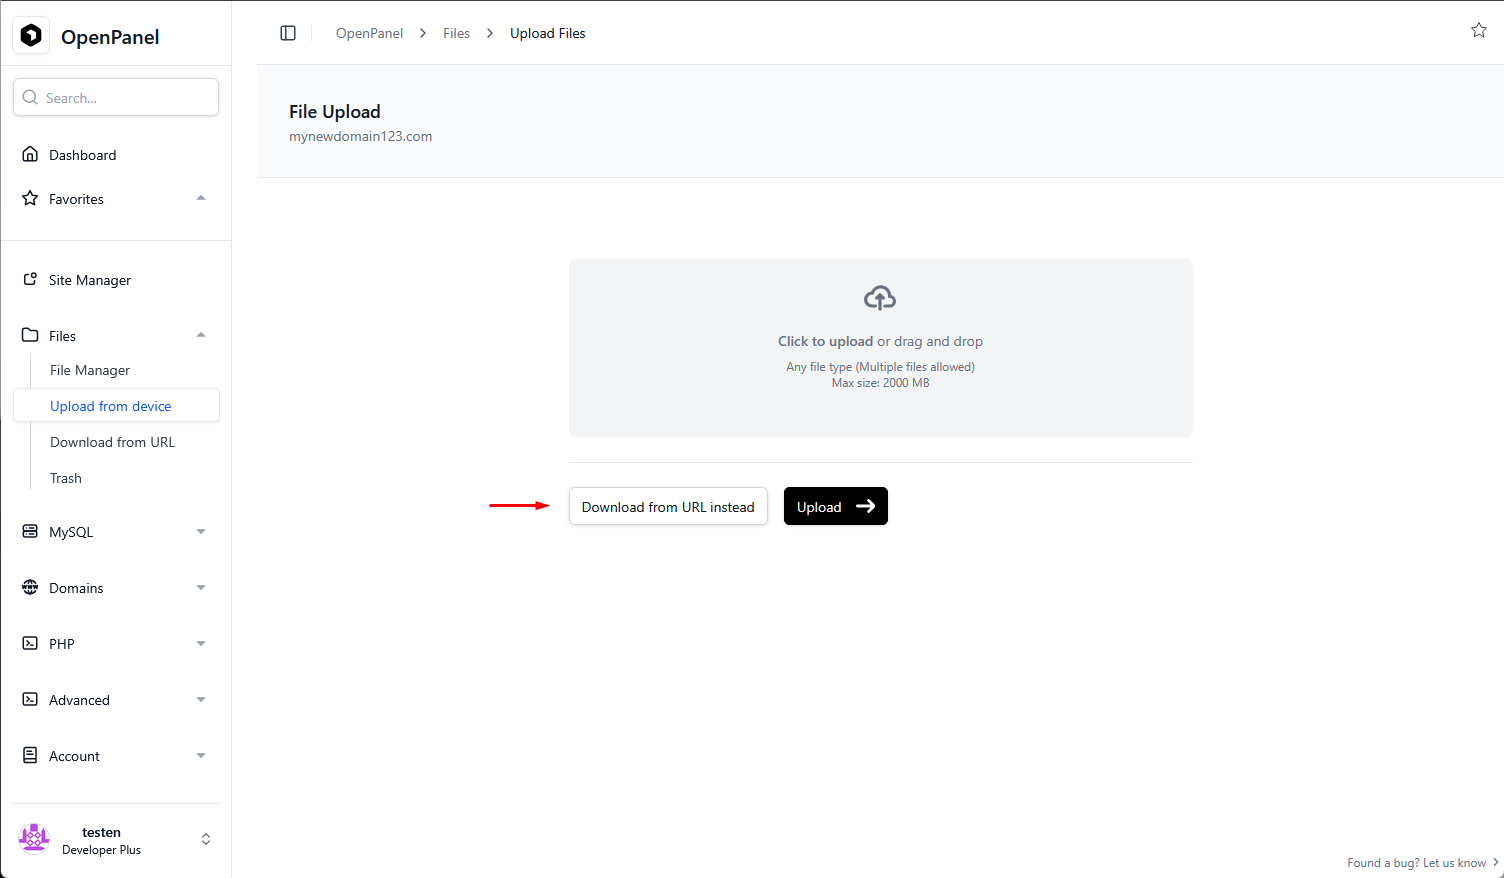
On the Upload page press the "Download from URL Instead" button.
Paste the link https://wordpress.org/latest.zip to the URL field and press the "Download" button.
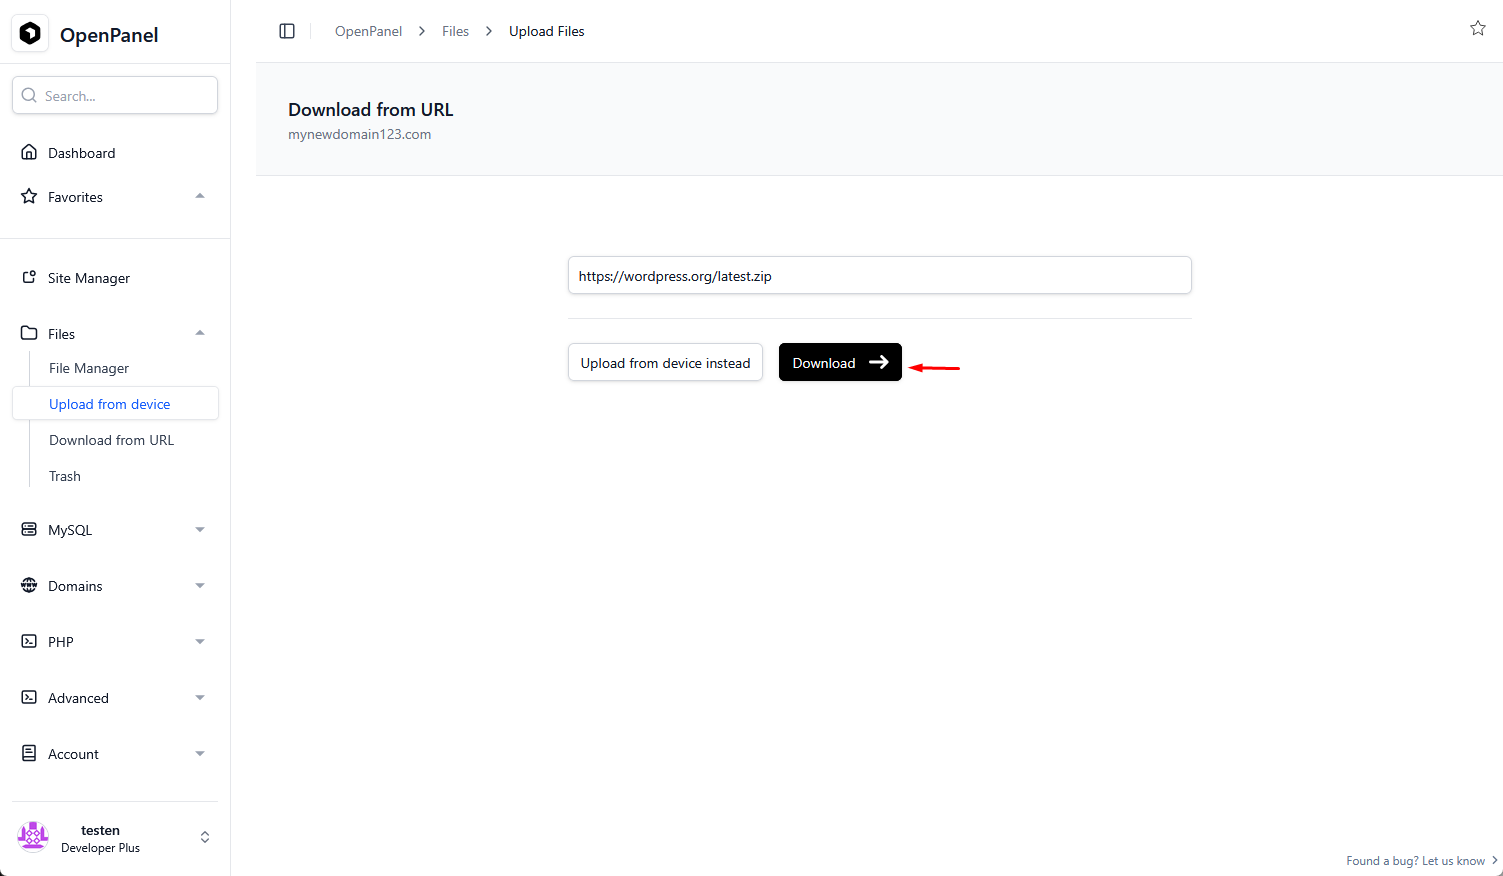
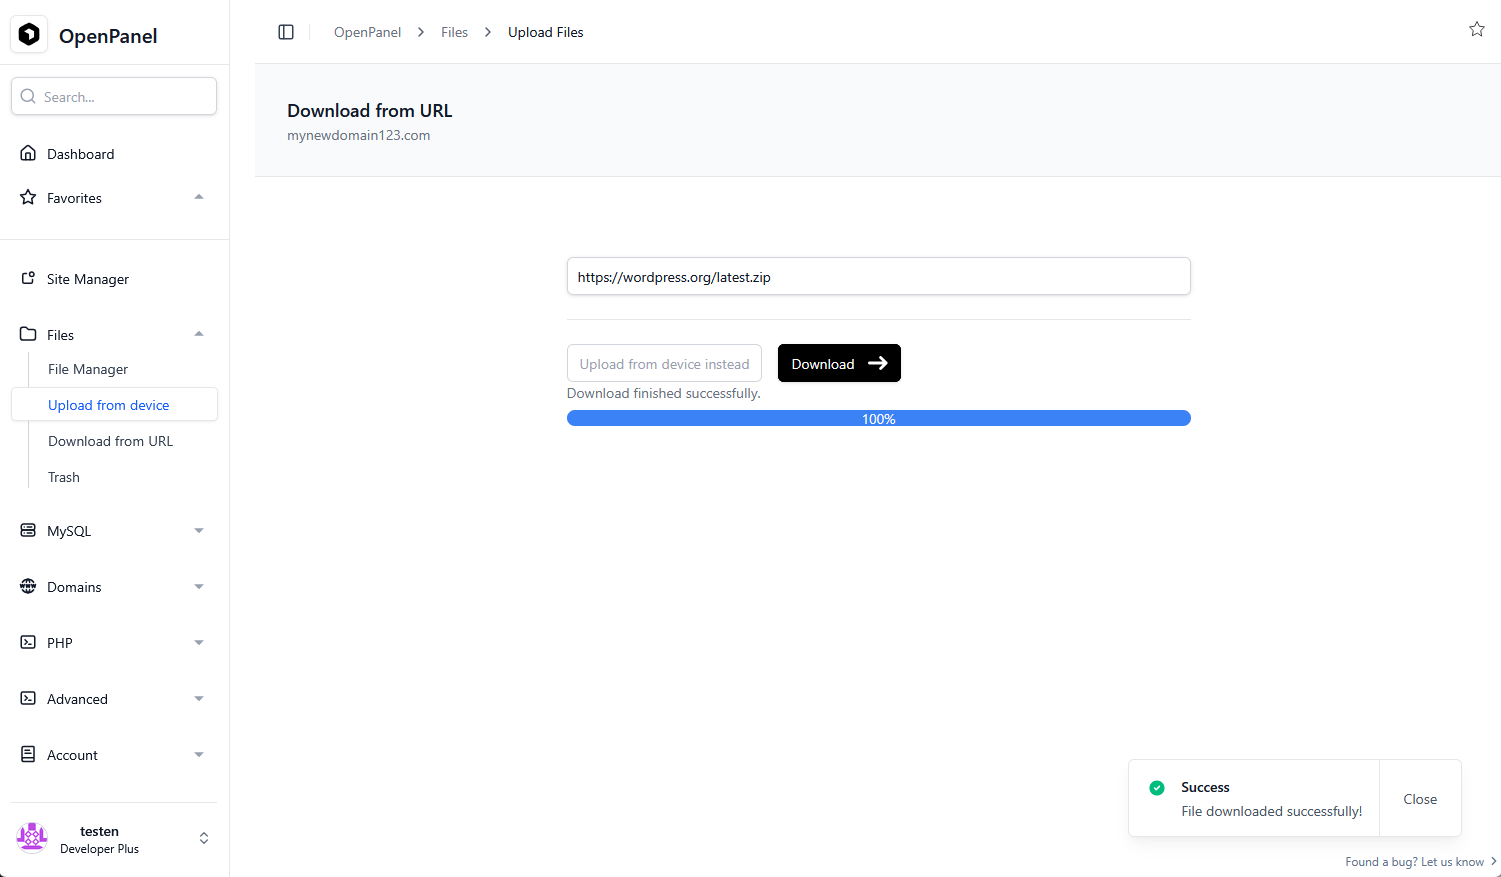
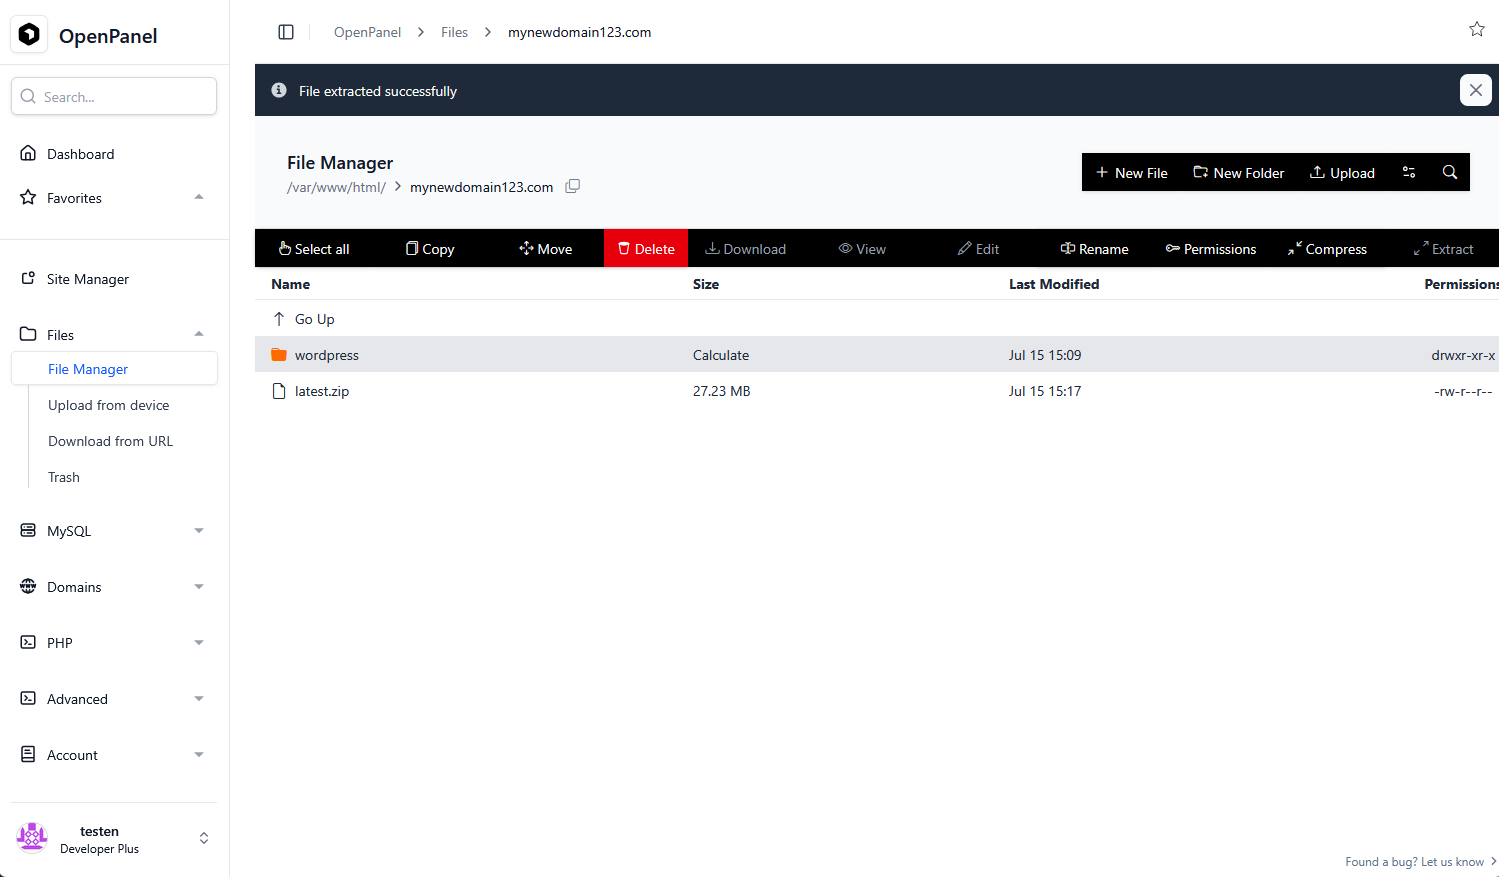
When the download finishes return to File Manager and extract the archive.
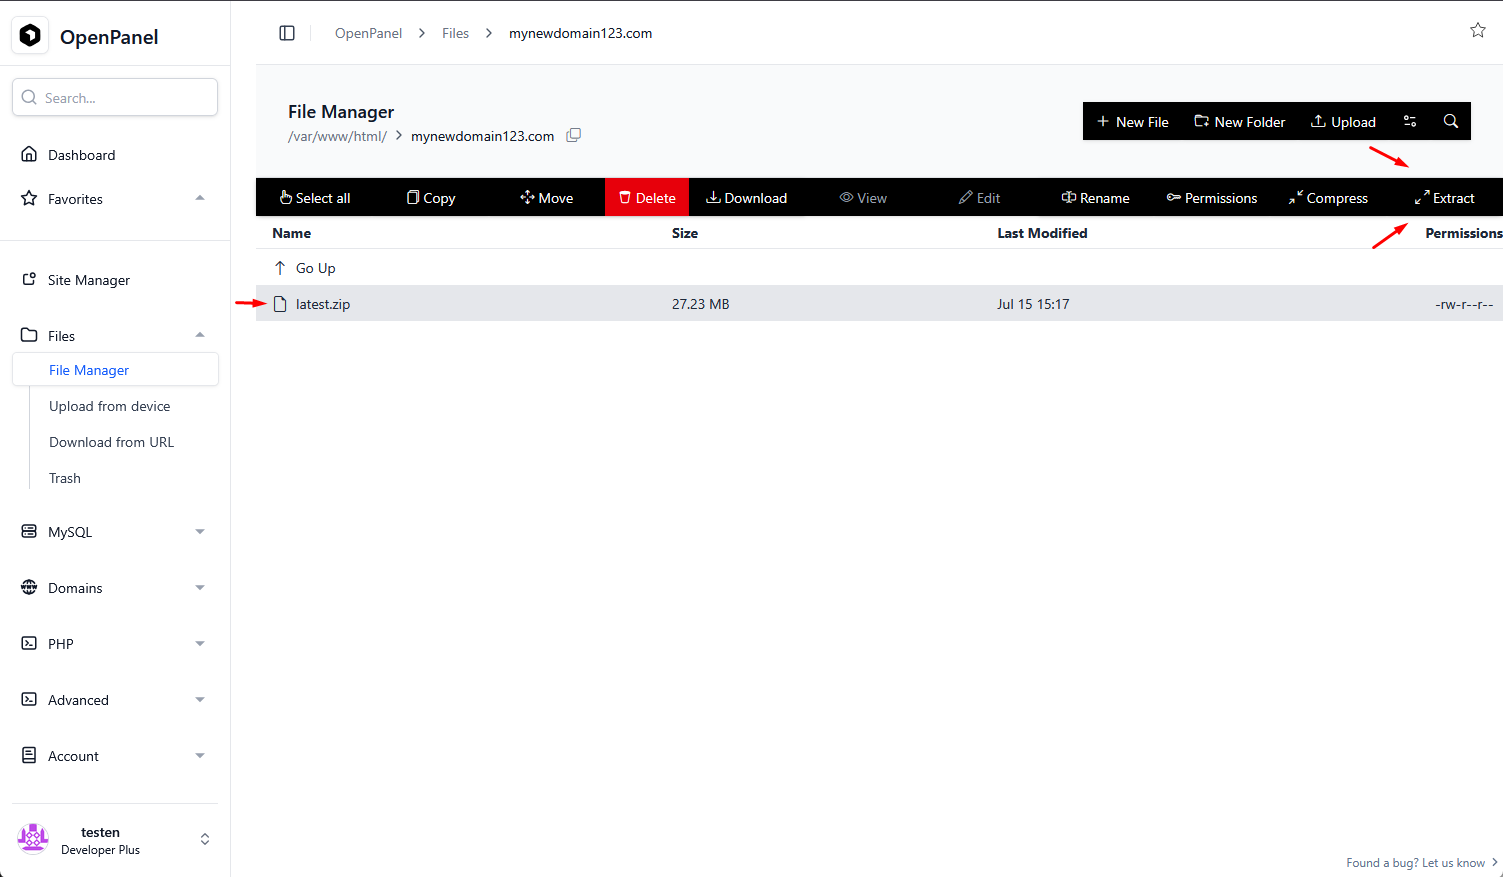
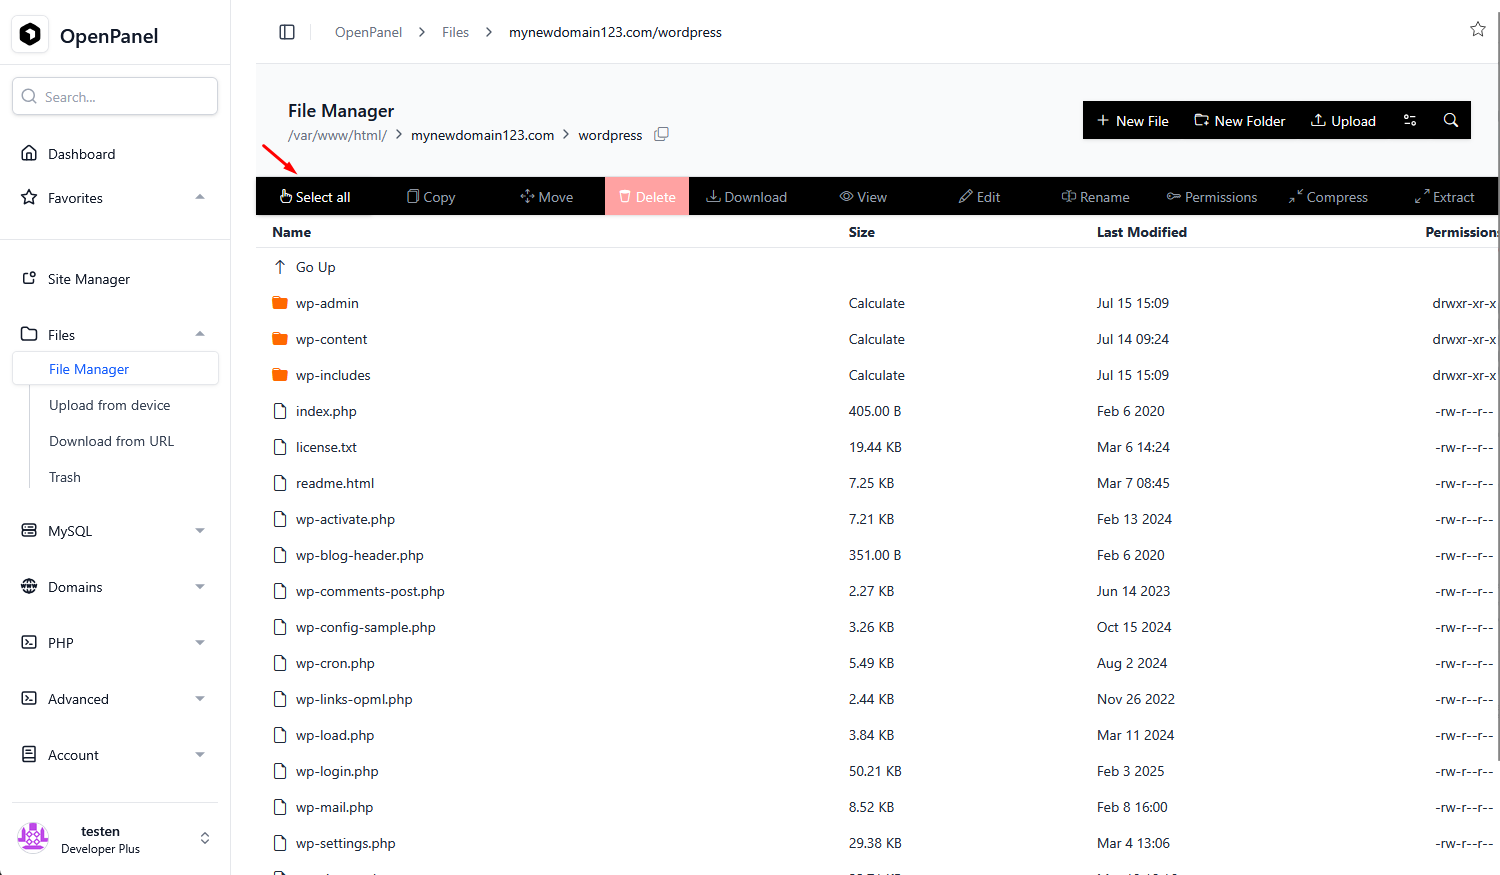
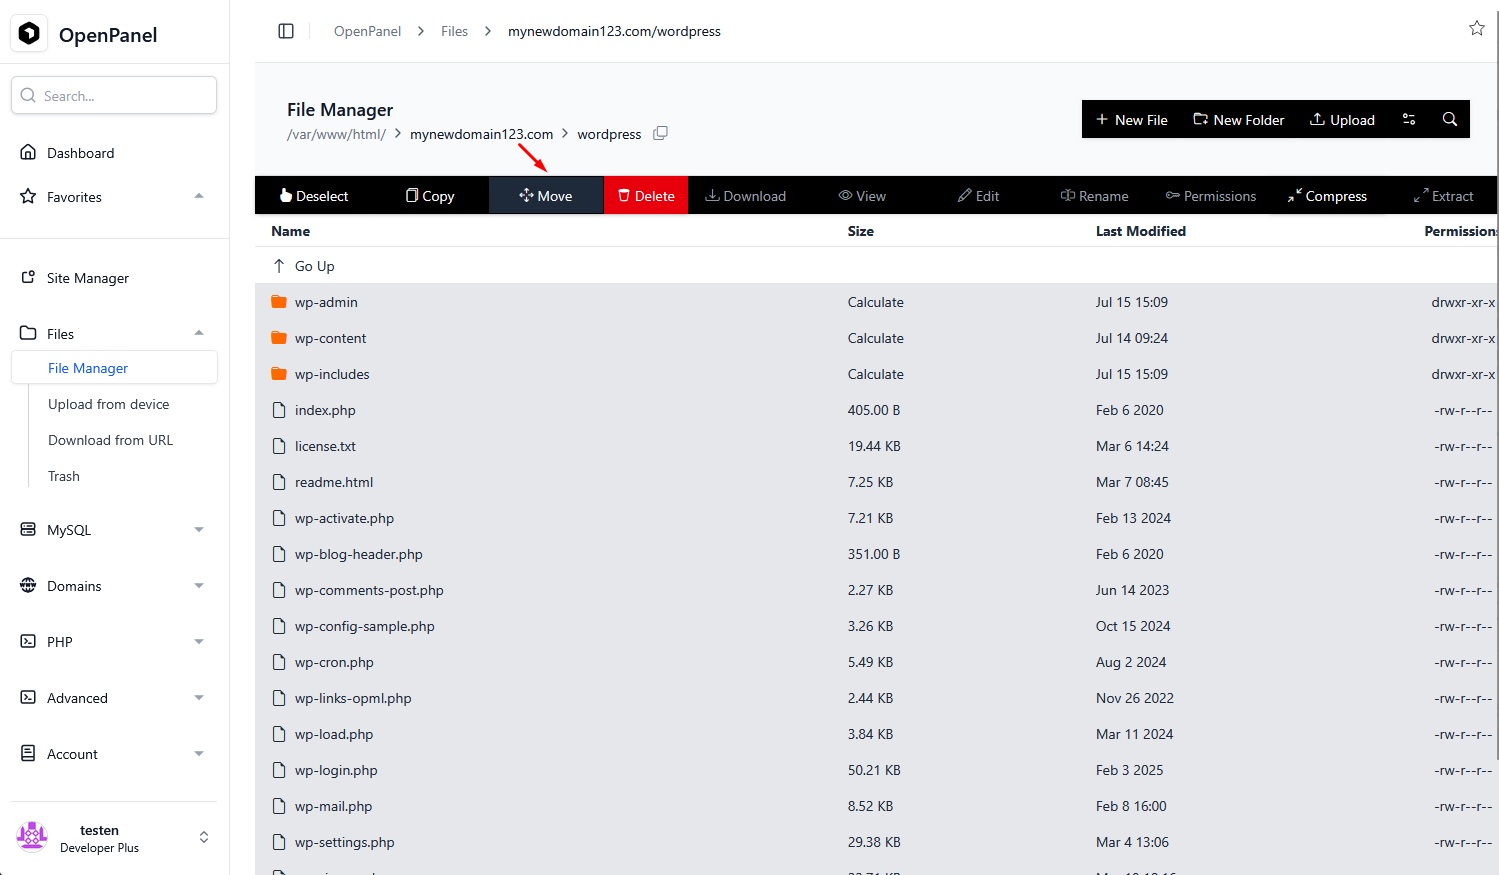
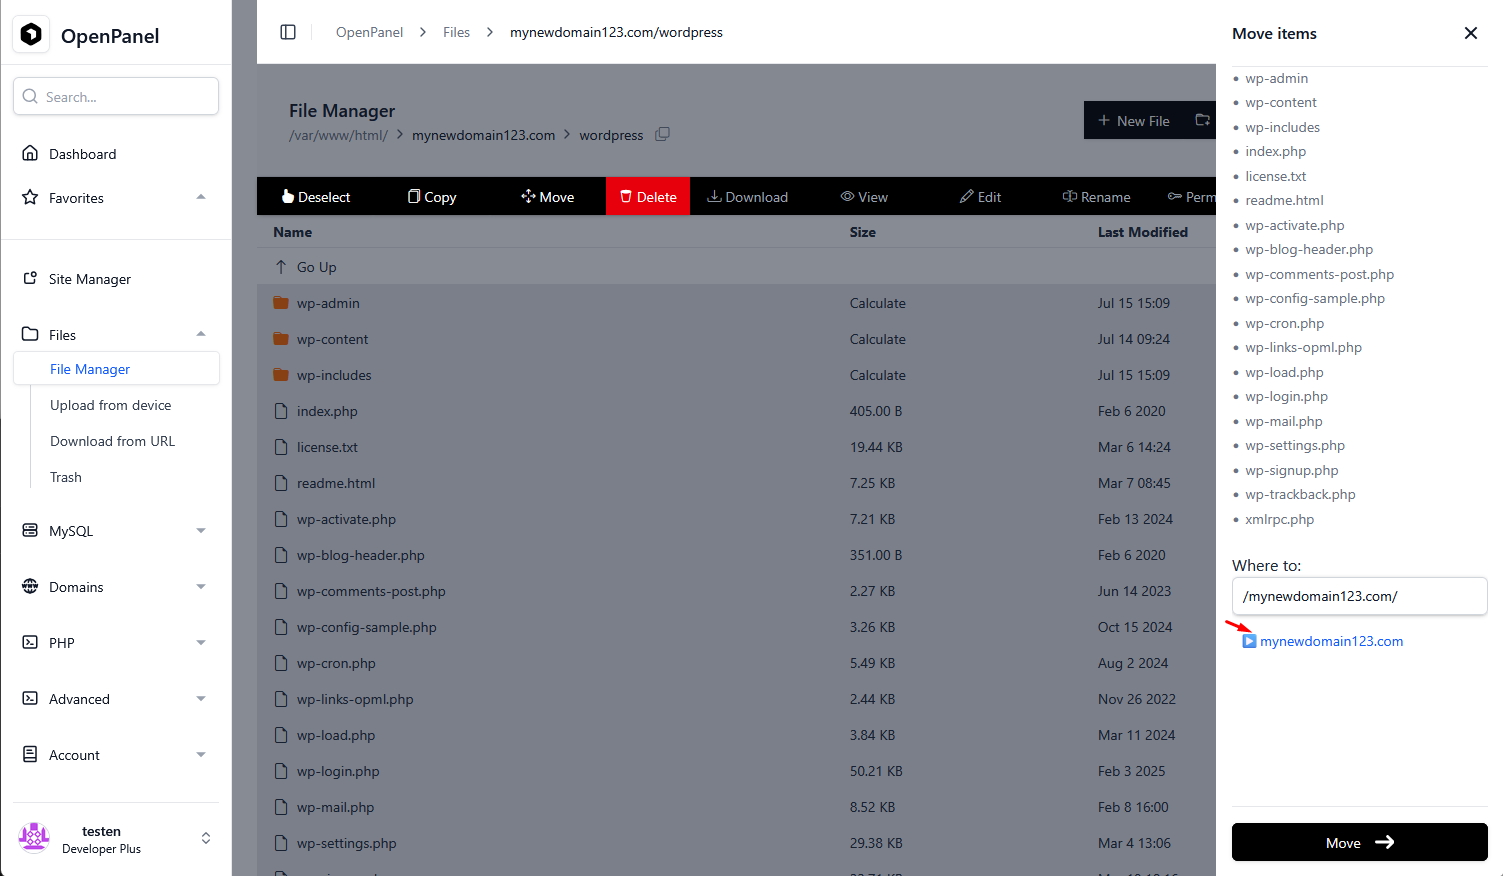
Access the "wordpress" folder, select All files using the "Select All" button and move them into your new domain's directory using the "Move" button.
Create a new database and database user with the Database Wizard tool, more info in our Database Wizard guide -> https://openpanel.com/docs/panel/mysql/wizard/ .
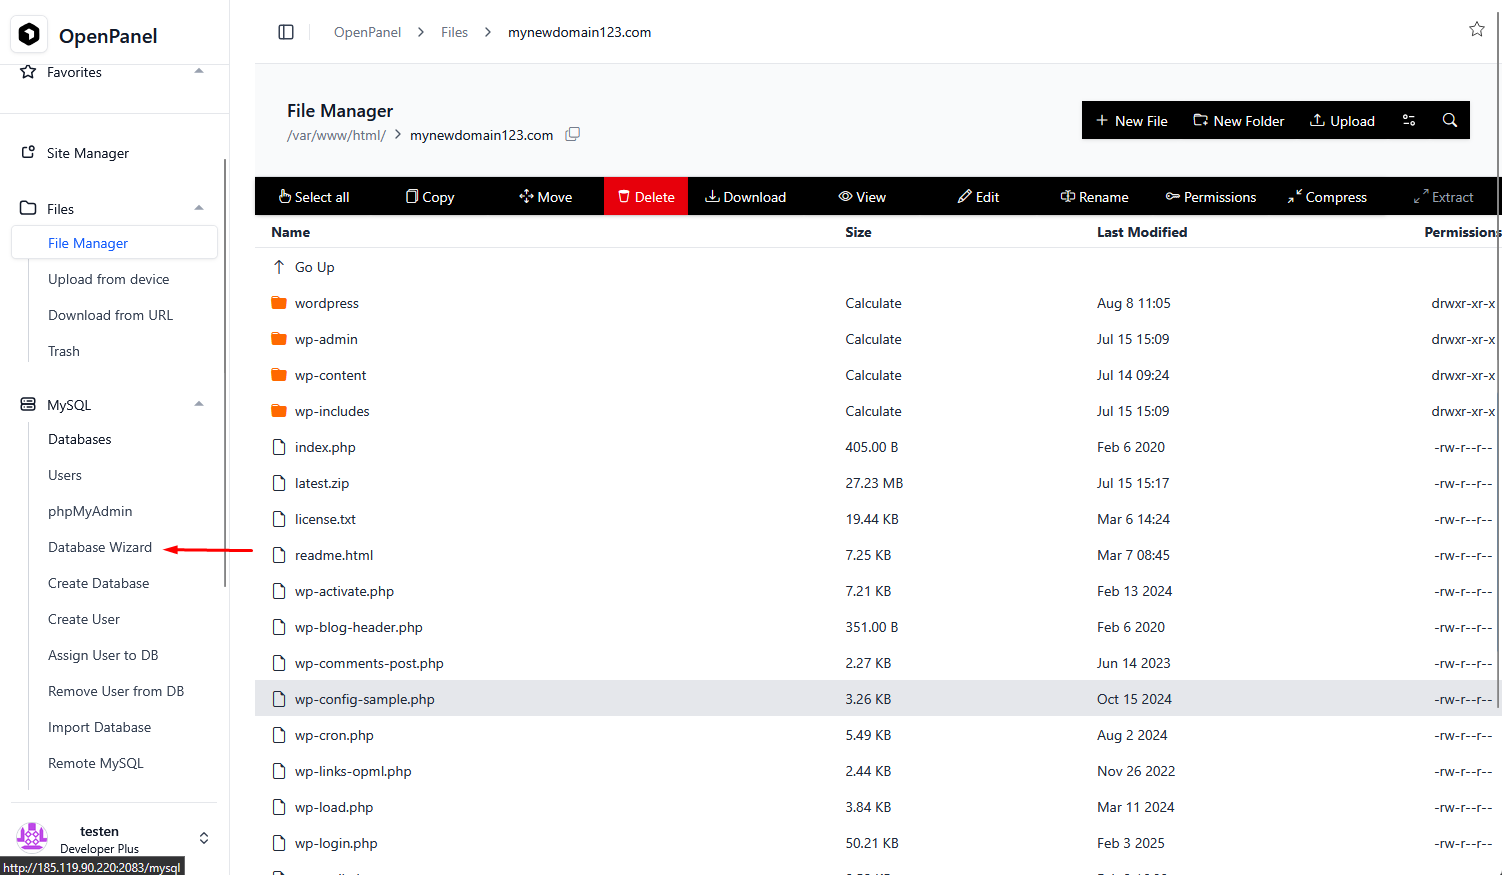
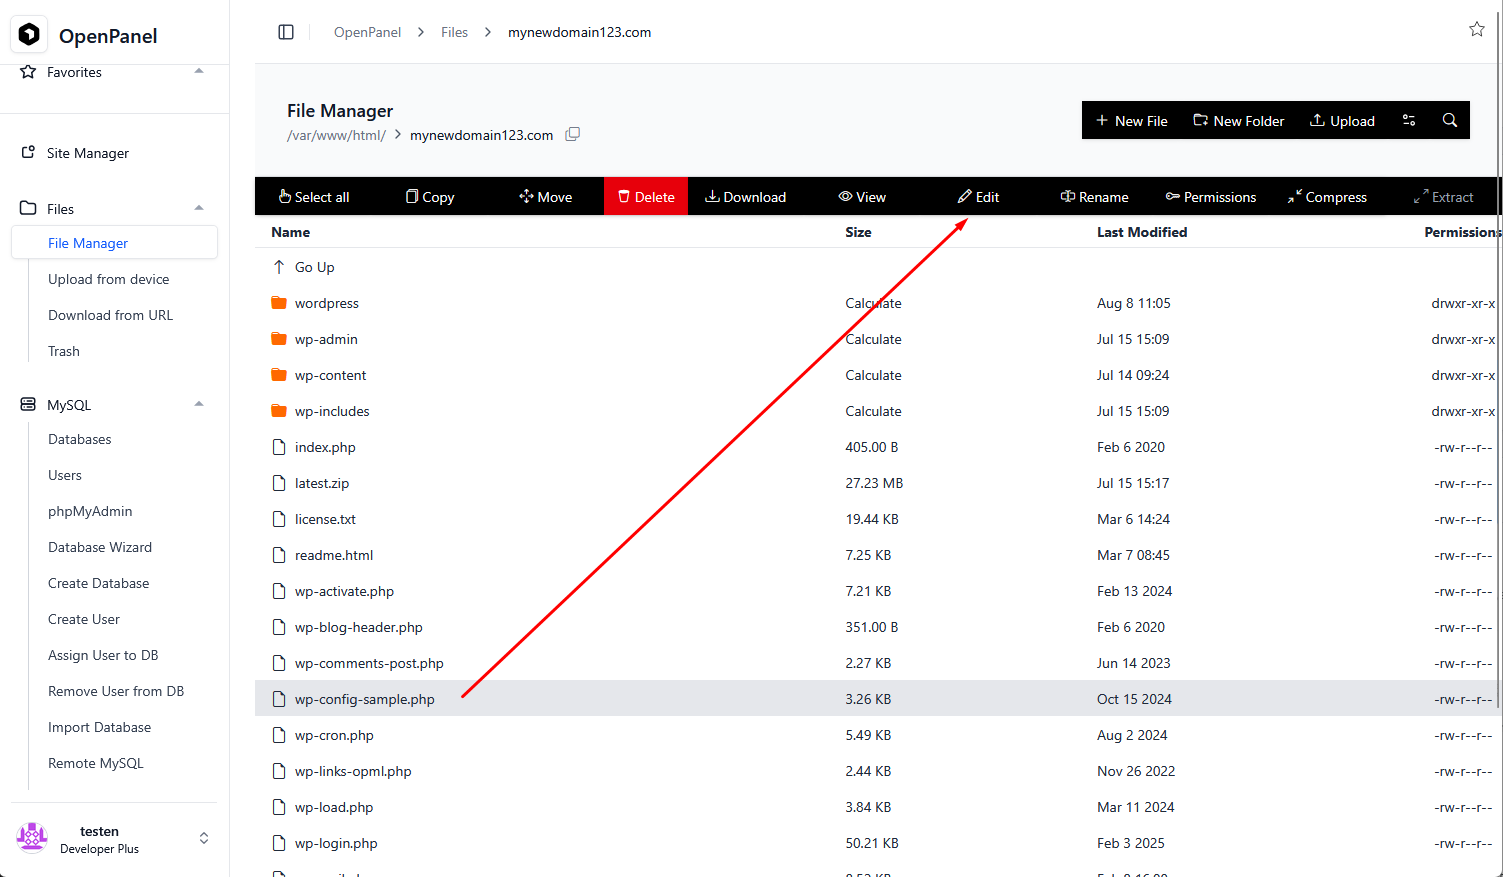
Start editing the wp-config-sample.php file by selecting it and pressing the "Edit" button.
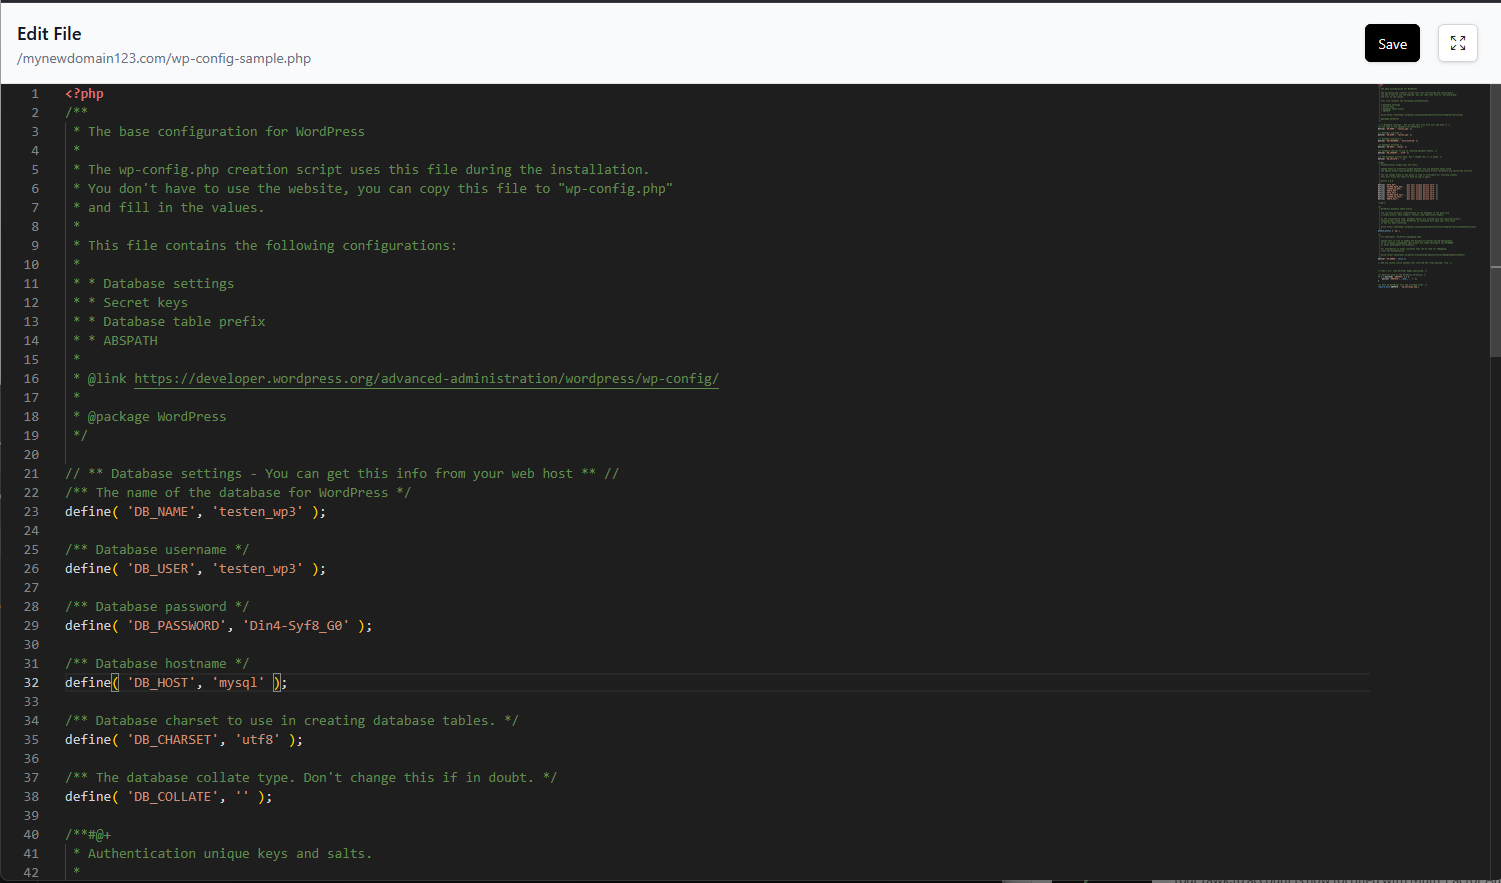
Swap the values of DB_NAME, DB_USER and DB_PASSWORD with values you've set inside the Database Wizard, set the value of DB_HOST to 'mysql' and save the changes on the top right.
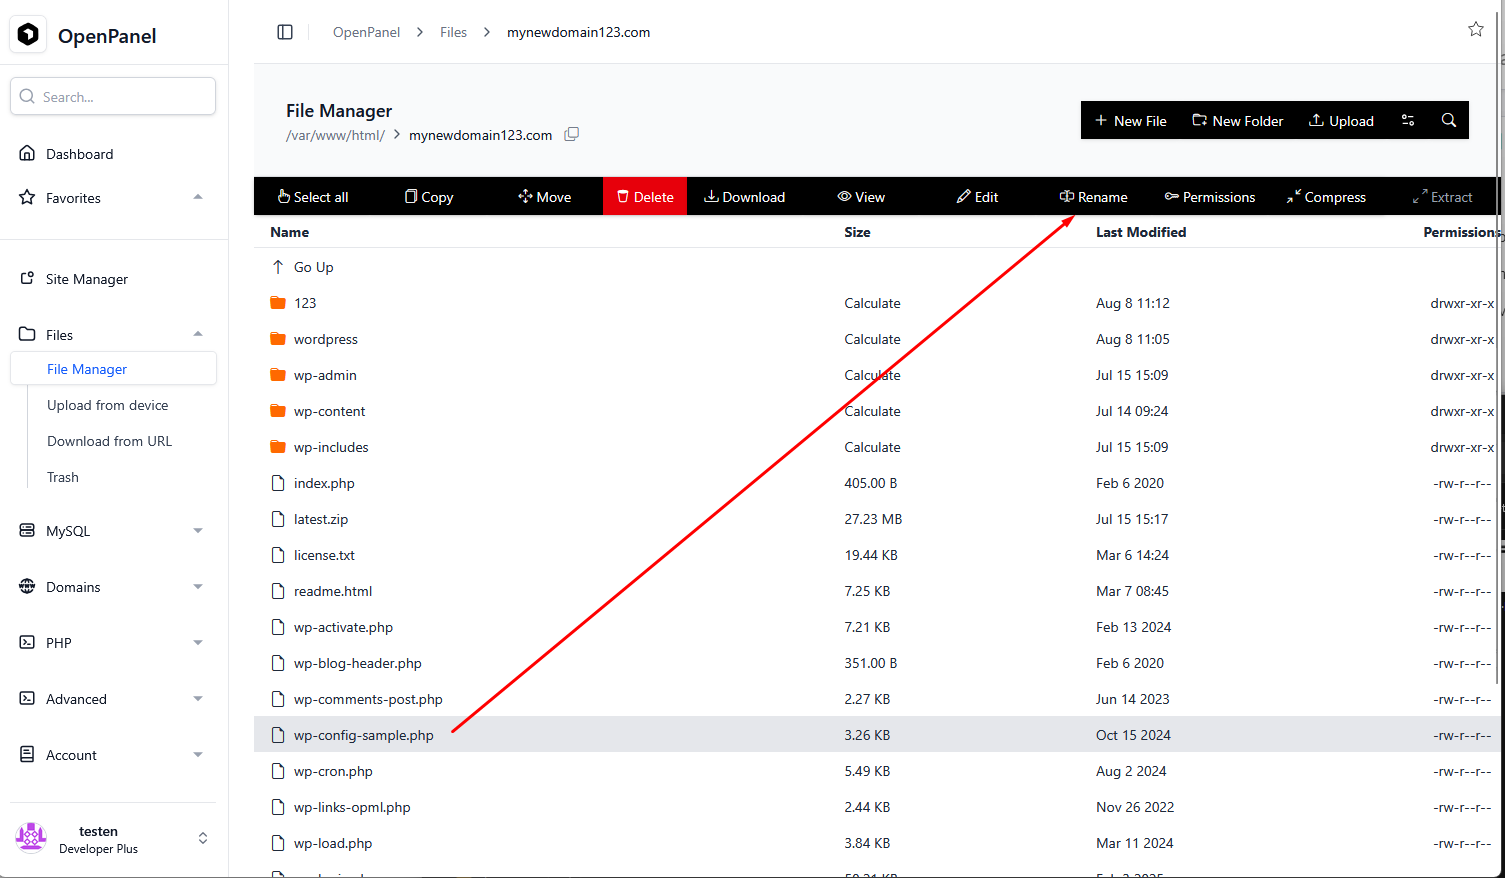
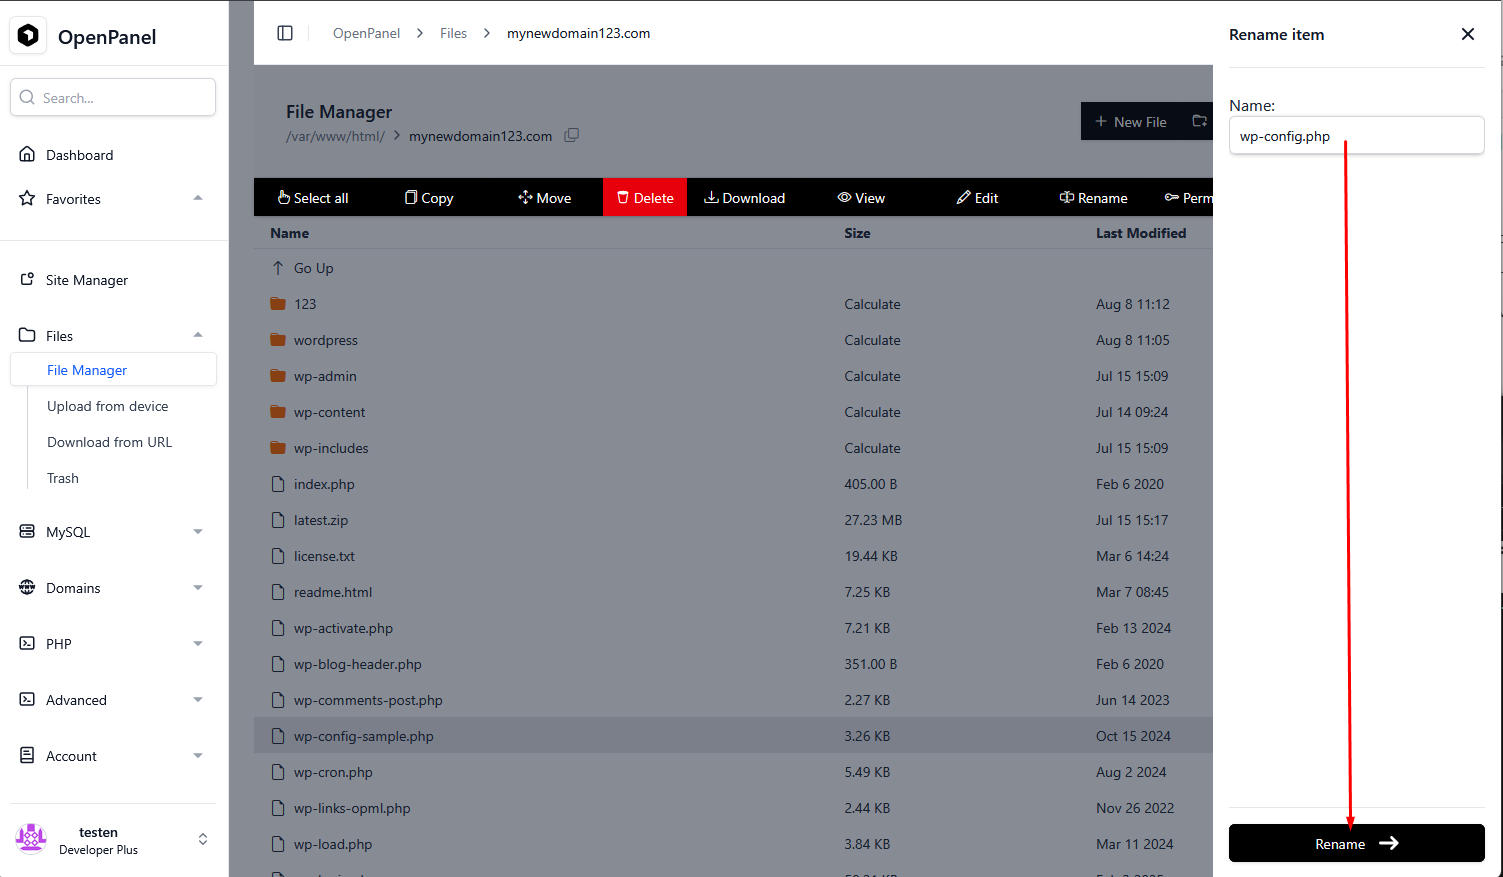
Finally, rename the wp-config-sample.php file to wp-config.php using the Rename button within the File Manager.
Your new WordPress instance is now created!
Finish the installation by accessing your domain via browser and completing the WordPress web installation wizard.