Version: 2.0.14
How to Install a Hosting Control Panel on DigitalOcean
This guide will walk you through deploying OpenPanel on a DigitalOcean Droplet with Ubuntu.
Prerequisites
- An active DigitalOcean account.
- Basic familiarity with SSH and terminal commands.
Step 1: Create a Droplet
- Log in to your DigitalOcean account.
- Click Create → Droplet.
- Choose an operating system:
- Ubuntu 24.04
- Select a Droplet size:
- Recommended: 1 CPU, 2 GB RAM (Premium AMD with NVMe SSD suggested for performance)
- Choose authentication:
- SSH key (recommended) or password authentication
- Assign a Reserved IP for a static IP address.
- Complete creation and note your Droplet’s IP address.
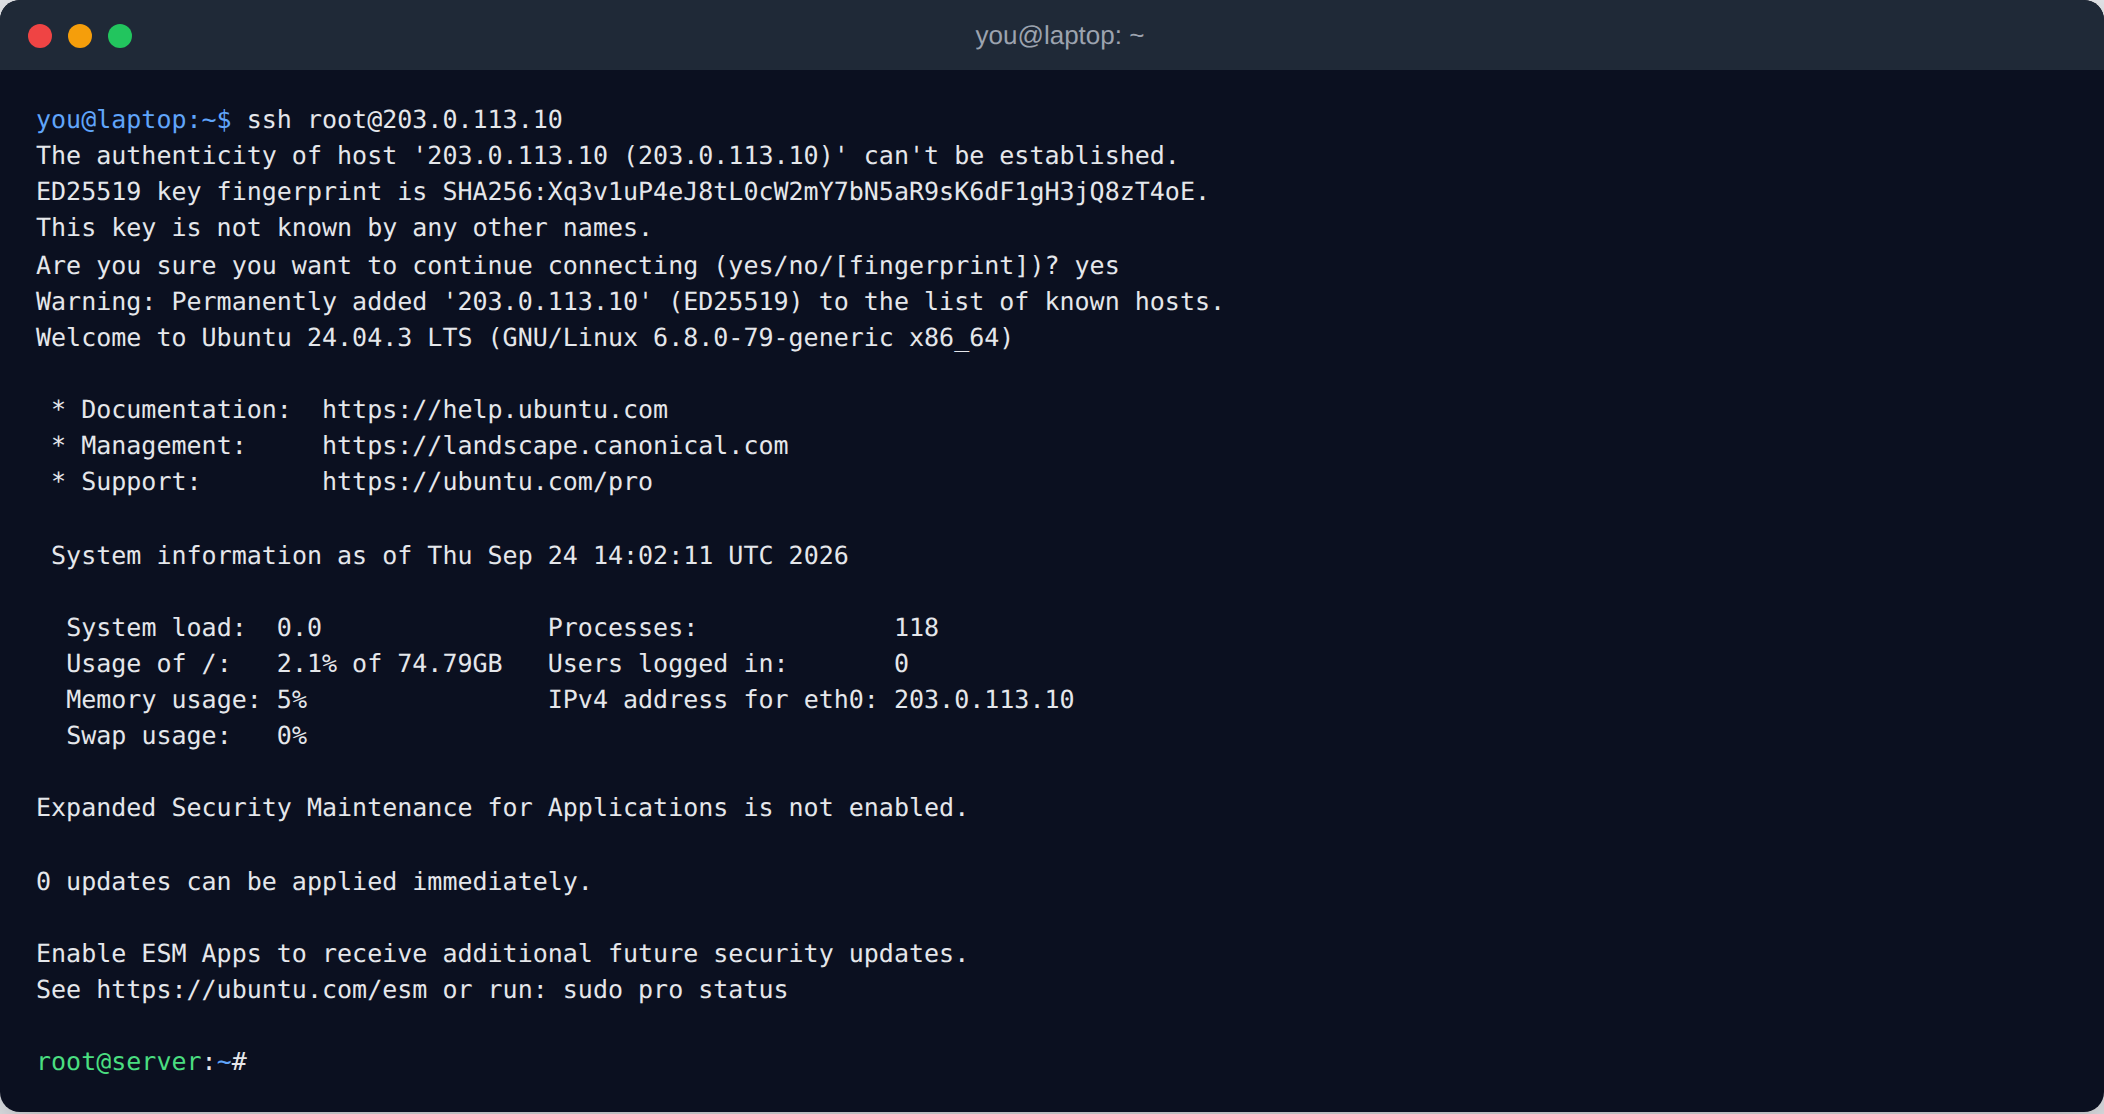
Step 2: Connect to Your Droplet
Use SSH to connect:
ssh root@yourDropletIpAddress
Replace
yourDropletIpAddresswith the static IP you assigned to your Droplet.
Step 3: Run the OpenPanel Installer
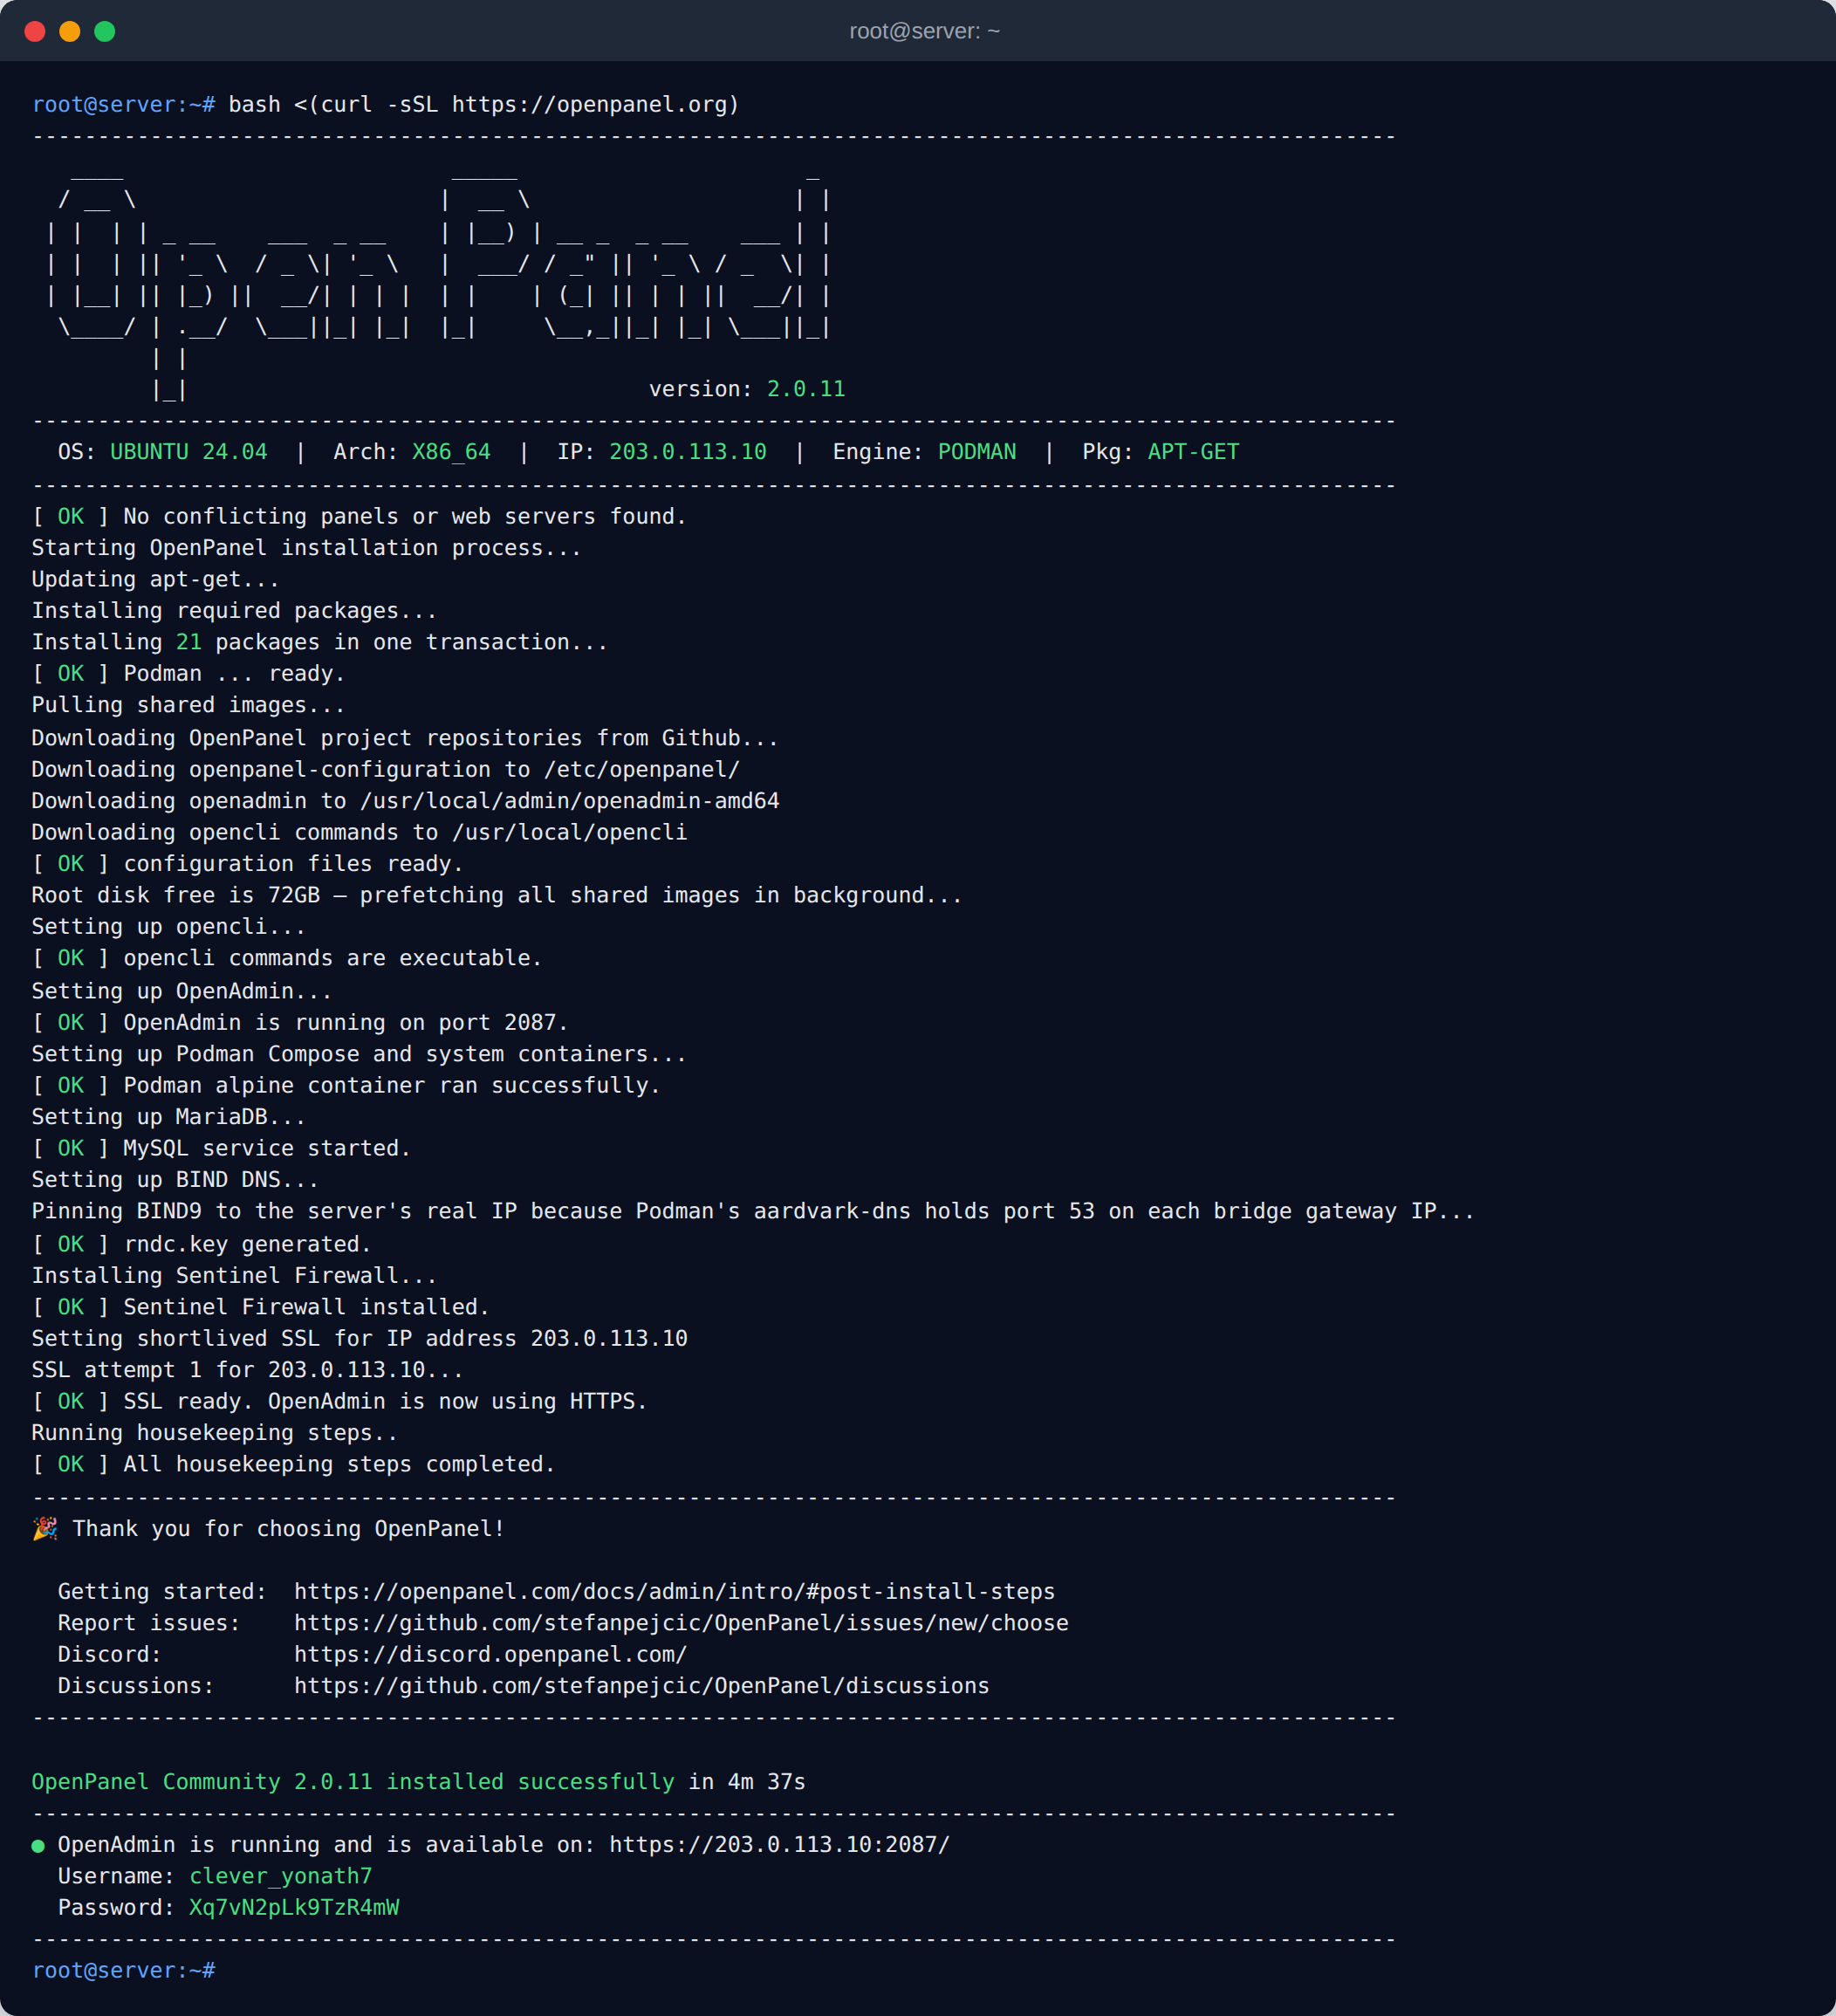
Once logged in, run the installer script:
bash <(curl -sSL https://openpanel.org)
Step 4: Access OpenPanel
- Open your browser and navigate to:
https://yourDropletIpAddress:2087
- Log in using the credentials created during installation.
Notes
- Ensure your Droplet meets OpenPanel minimum requirements.
- For production, restrict firewall access to limit exposure after installation.
- Use the OpenPanel Install Command Generator for advanced configuration options.
Congratulations! You have successfully installed OpenPanel on DigitalOcean.