File Manager
The File Manager interface allows you to manage files for all your domains located inside the /var/www/html/ directory.
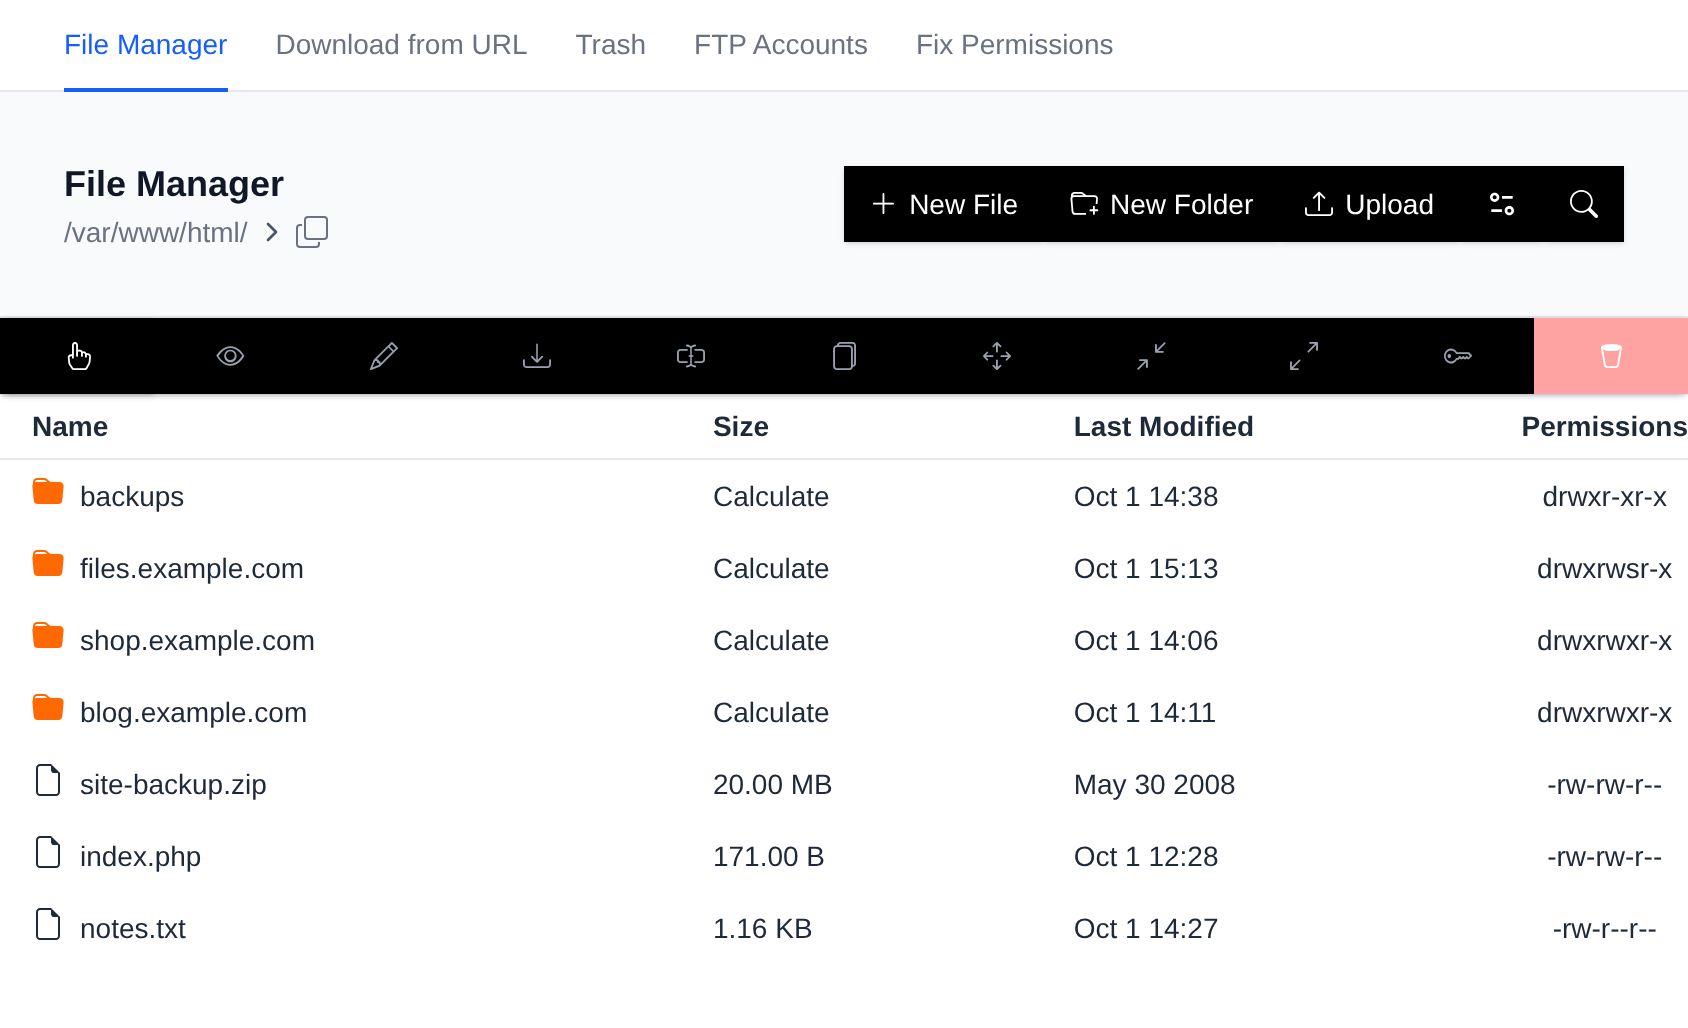
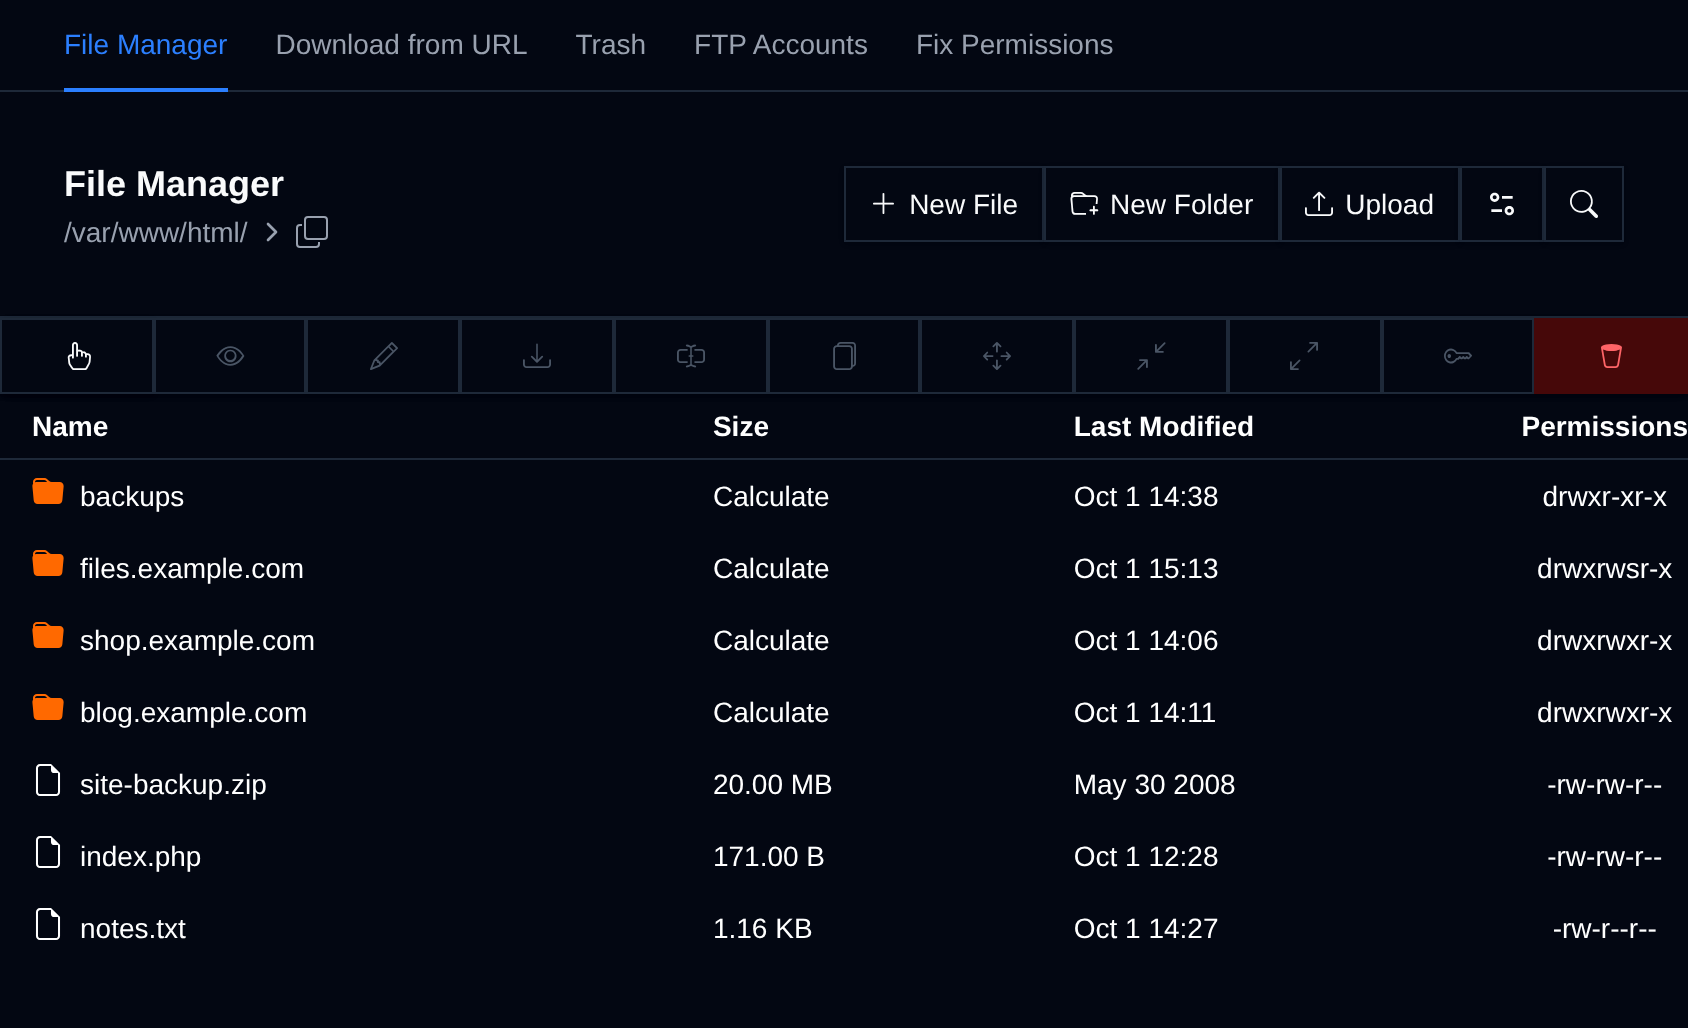
In the table, you can see the following information:
- Name
- Size – Displays the size for files. For folders, click Calculate to fetch their size.
- Last Modified – Shows the timestamp of the last modification.
- Permissions – Displays symbolic file permissions (e.g.,
drwxr-xr-x). Hover over them to view the octal (numeric) equivalent (e.g.,0755).
Clicking the Toggle icon reveals additional details:
- Owner – The UID of the file or folder owner.
- Group – The GID of the group that owns the file or folder.
- Links – The number of hard links to the file or directory.
- Link Target – If it’s a symlink, this shows the target it points to.
- Type – Indicates whether it's a directory, file, or symbolic link.
Create File
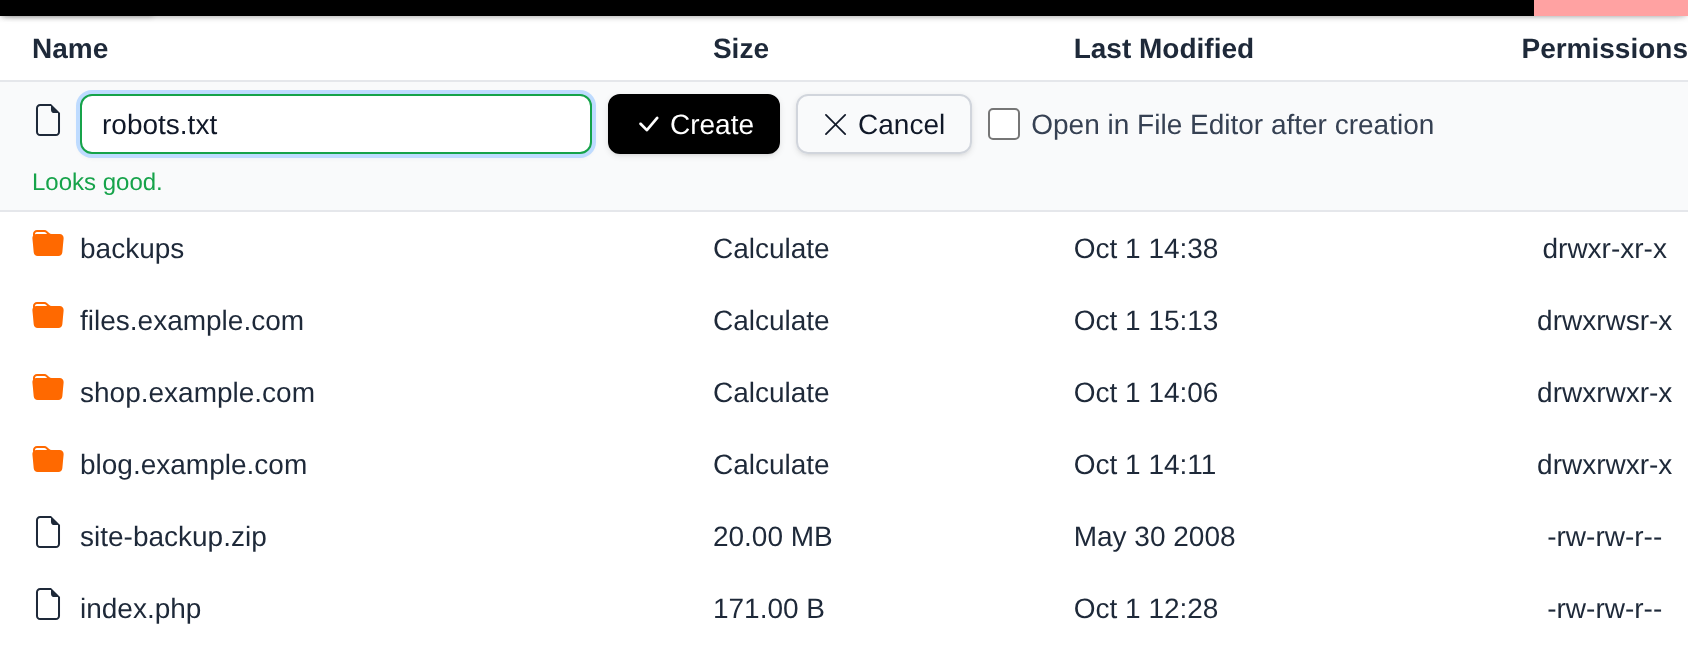
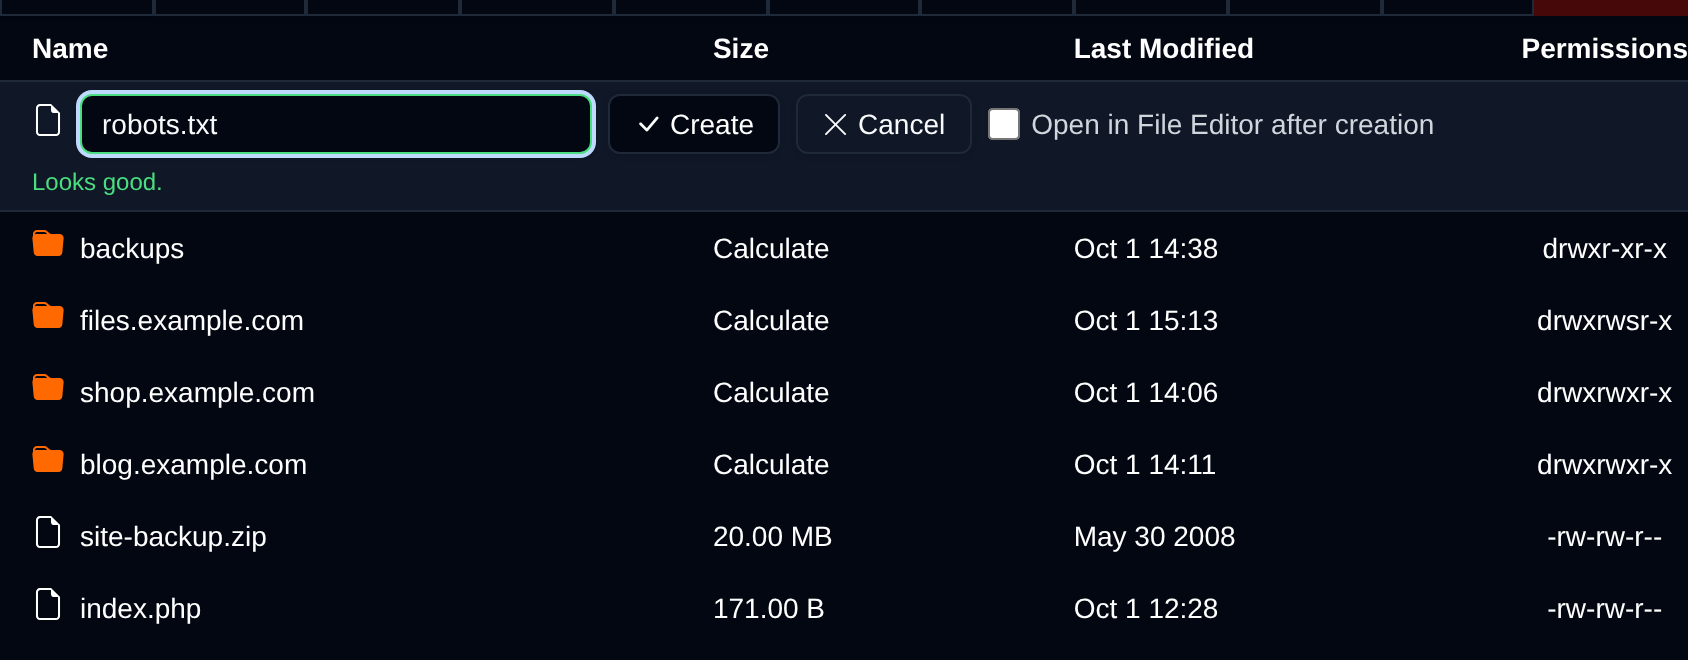
To create a new file, navigate to the desired directory and click the New File button. A new row appears at the top of the table where you type the file name, including its extension (for example robots.txt), and click Create. Press Esc, click Cancel or click anywhere outside the row to cancel.
Optionally, if you want to open the file in the Editor immediately after creation, check the Open in File Editor after creation option.
Create Folder
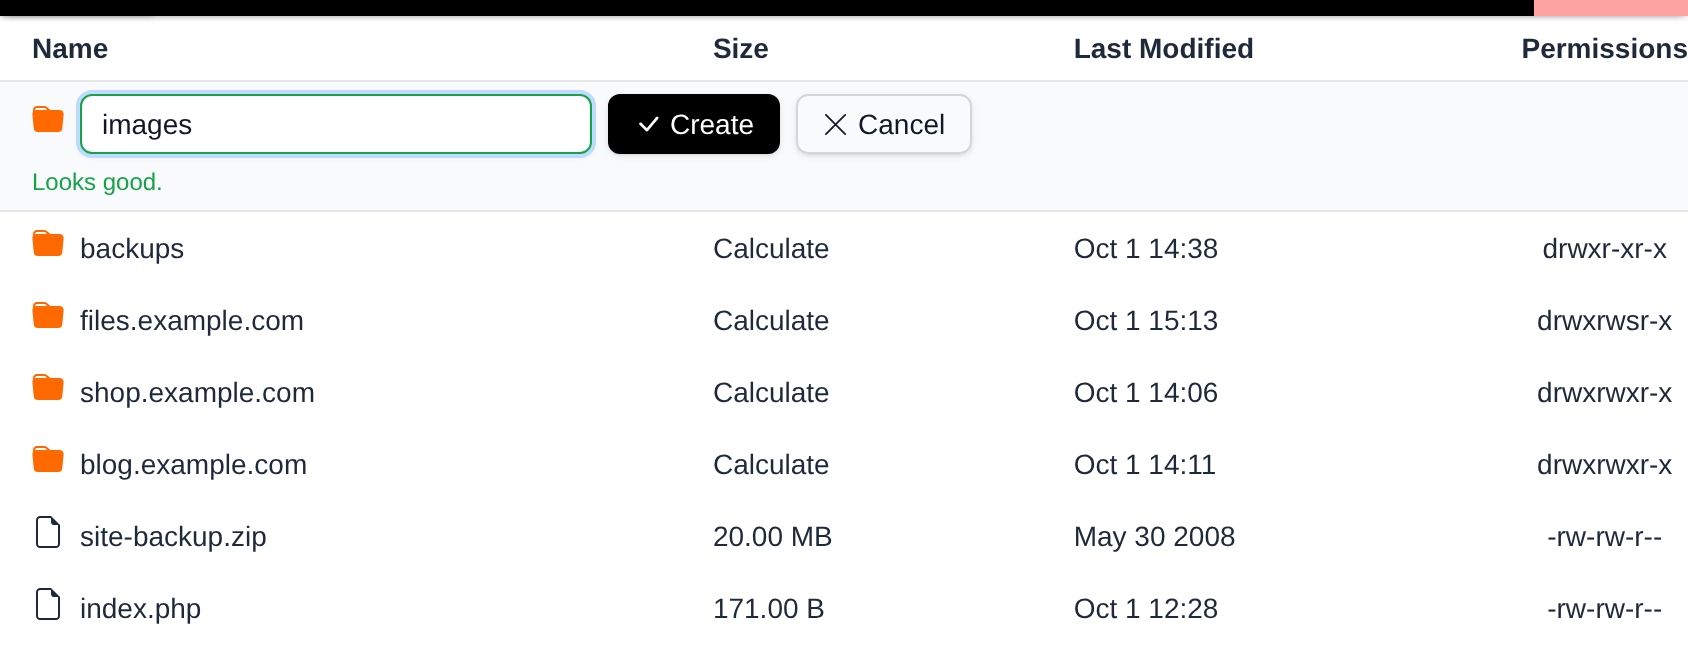
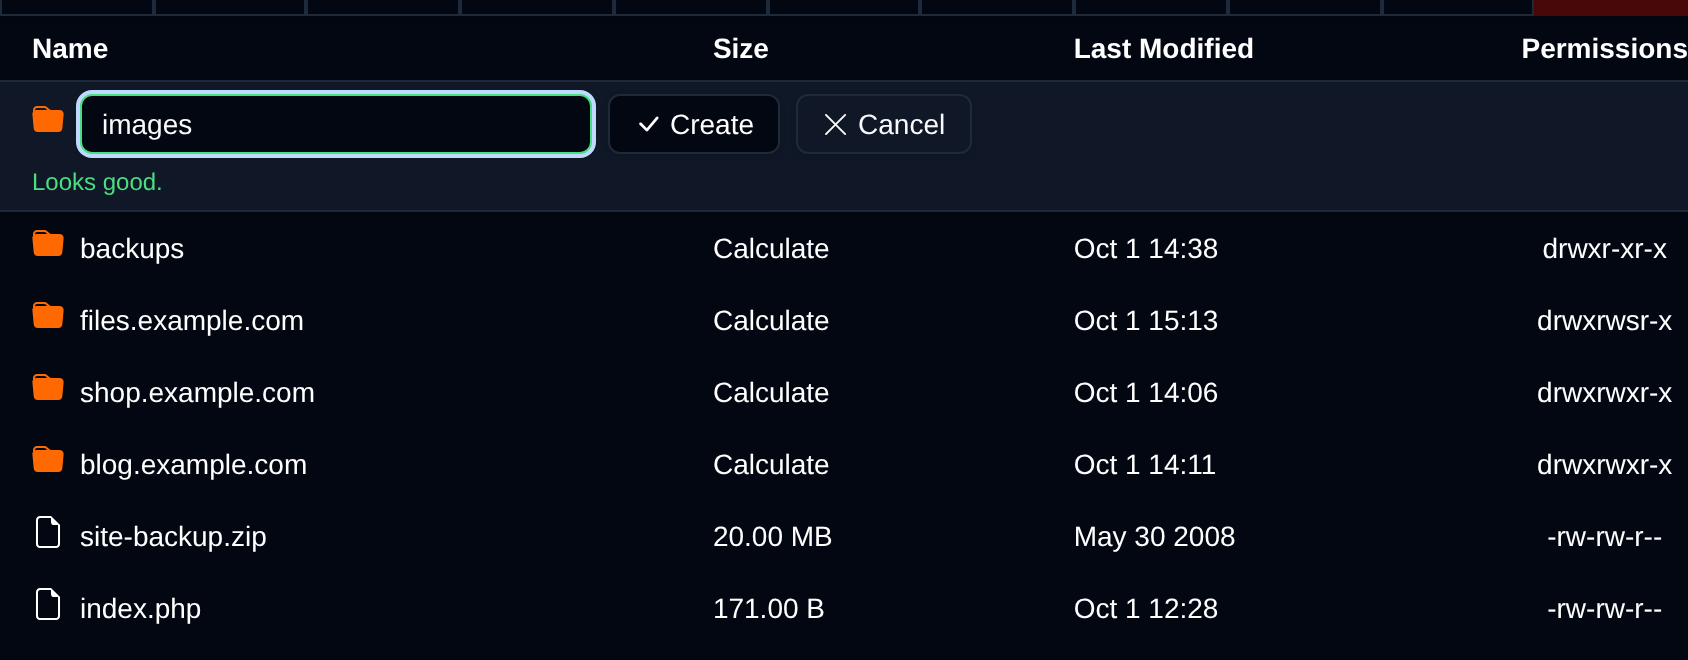
To create a new folder, navigate to the desired directory and click the New Folder button. A new row appears at the top of the table, type the folder name and click Create.
Upload Files
The File Manager allows you to upload multiple files at once. You can upload files using one of the following methods:
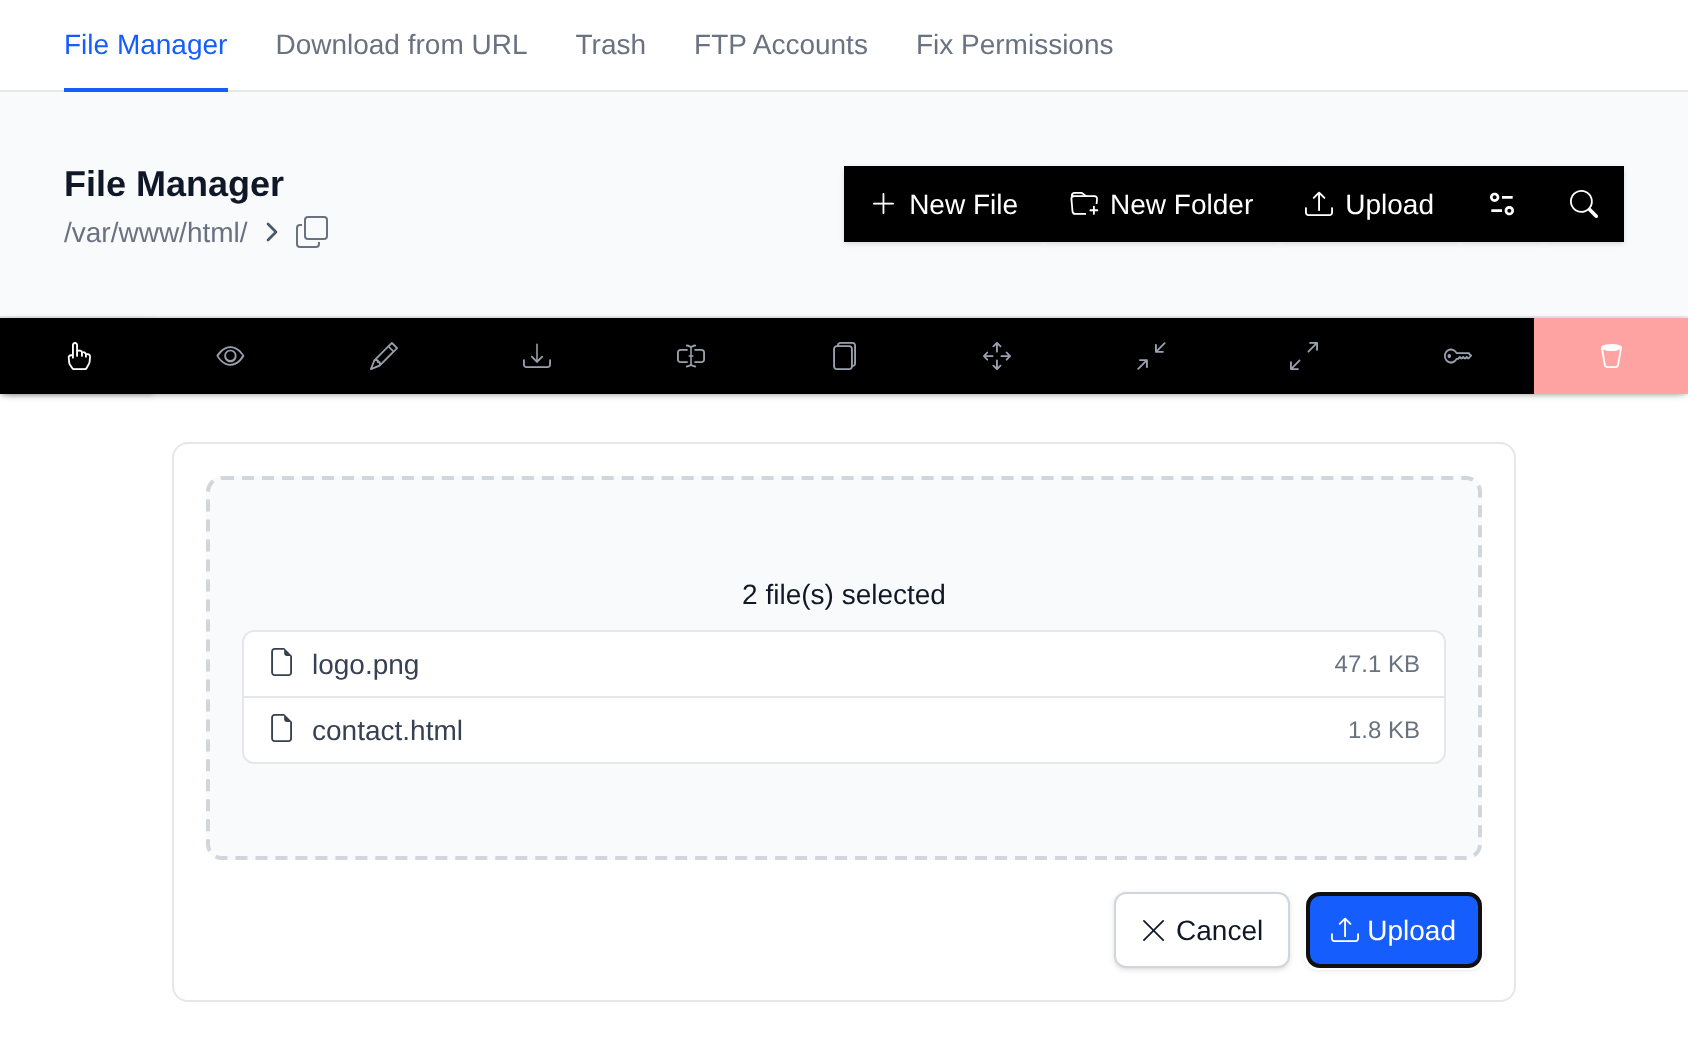
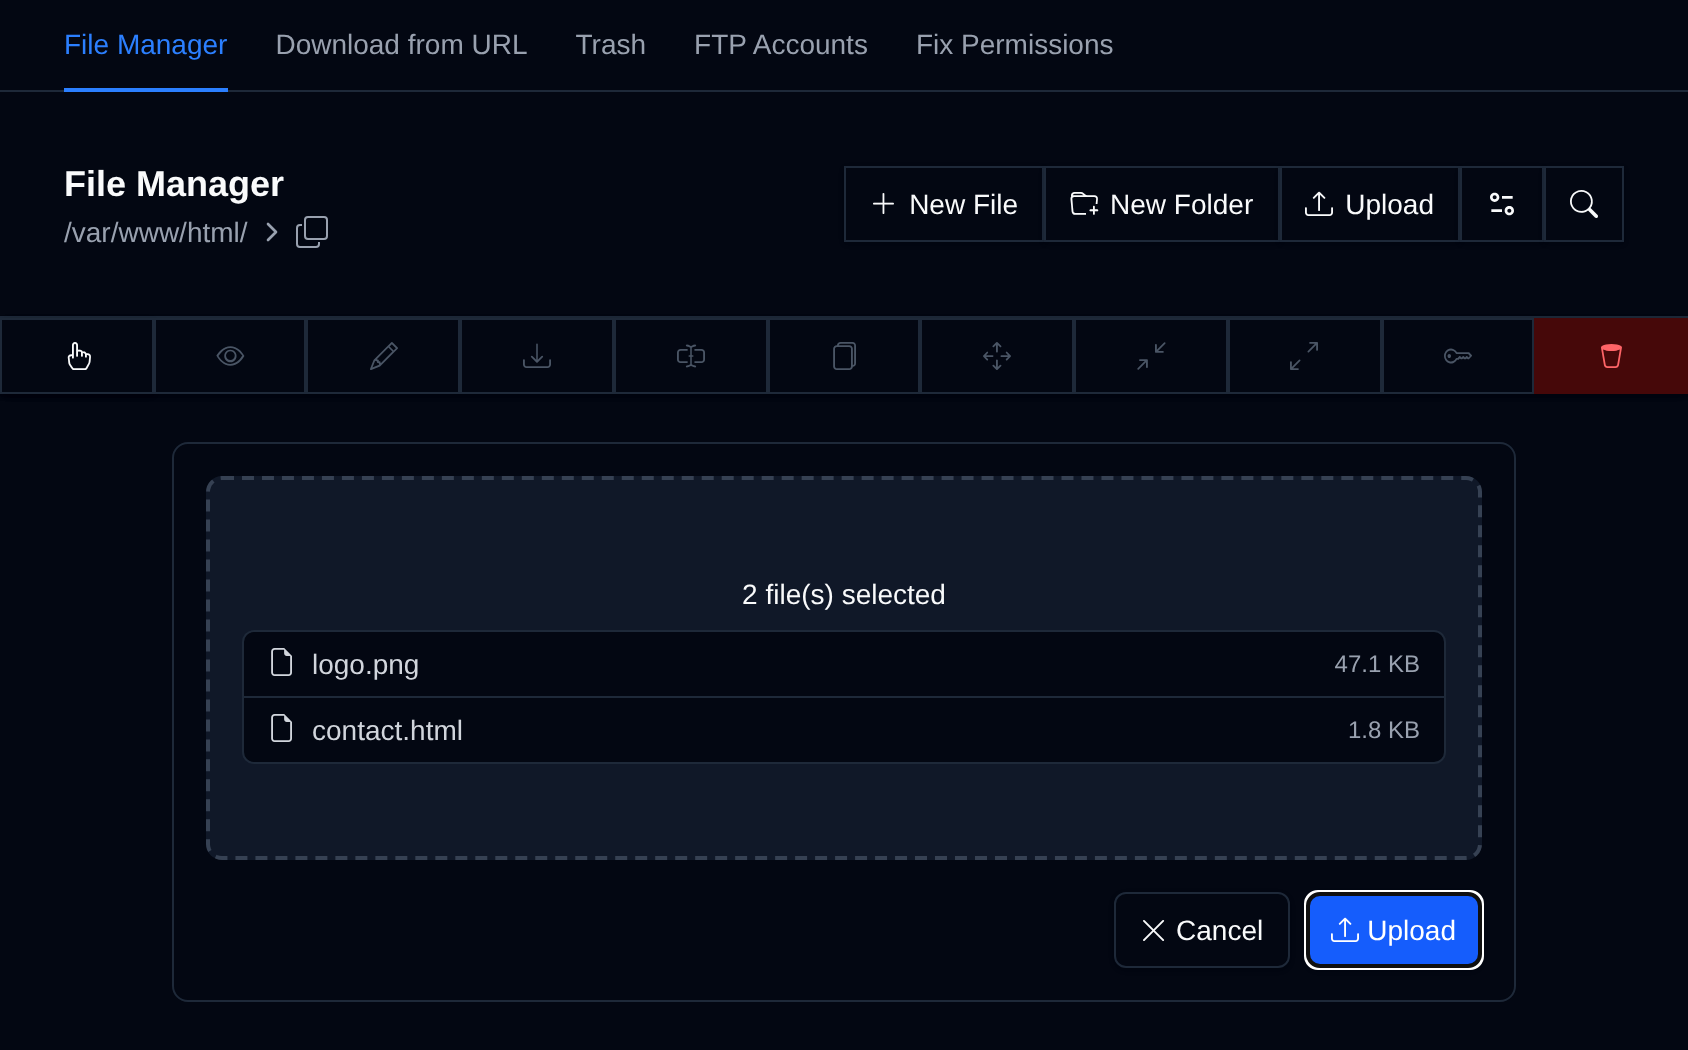
- Upload button: click Upload to open the upload area above the file list together with your device's file picker. The selected files start uploading right away.
- Drag & Drop: drag files from your computer anywhere onto the File Manager. The dropped files are listed with their size, click Upload to start or Cancel to discard them.
- Download from URL: open the Download from URL tab and enter the link to the file you want to download.
While files are uploading, a progress bar is shown in the upload area. You can keep adding files during an upload, they are listed as Queued and uploaded as soon as the current batch finishes. Once everything is uploaded the page reloads to show the new files. If any file fails, the upload area stays open and lists the errors.
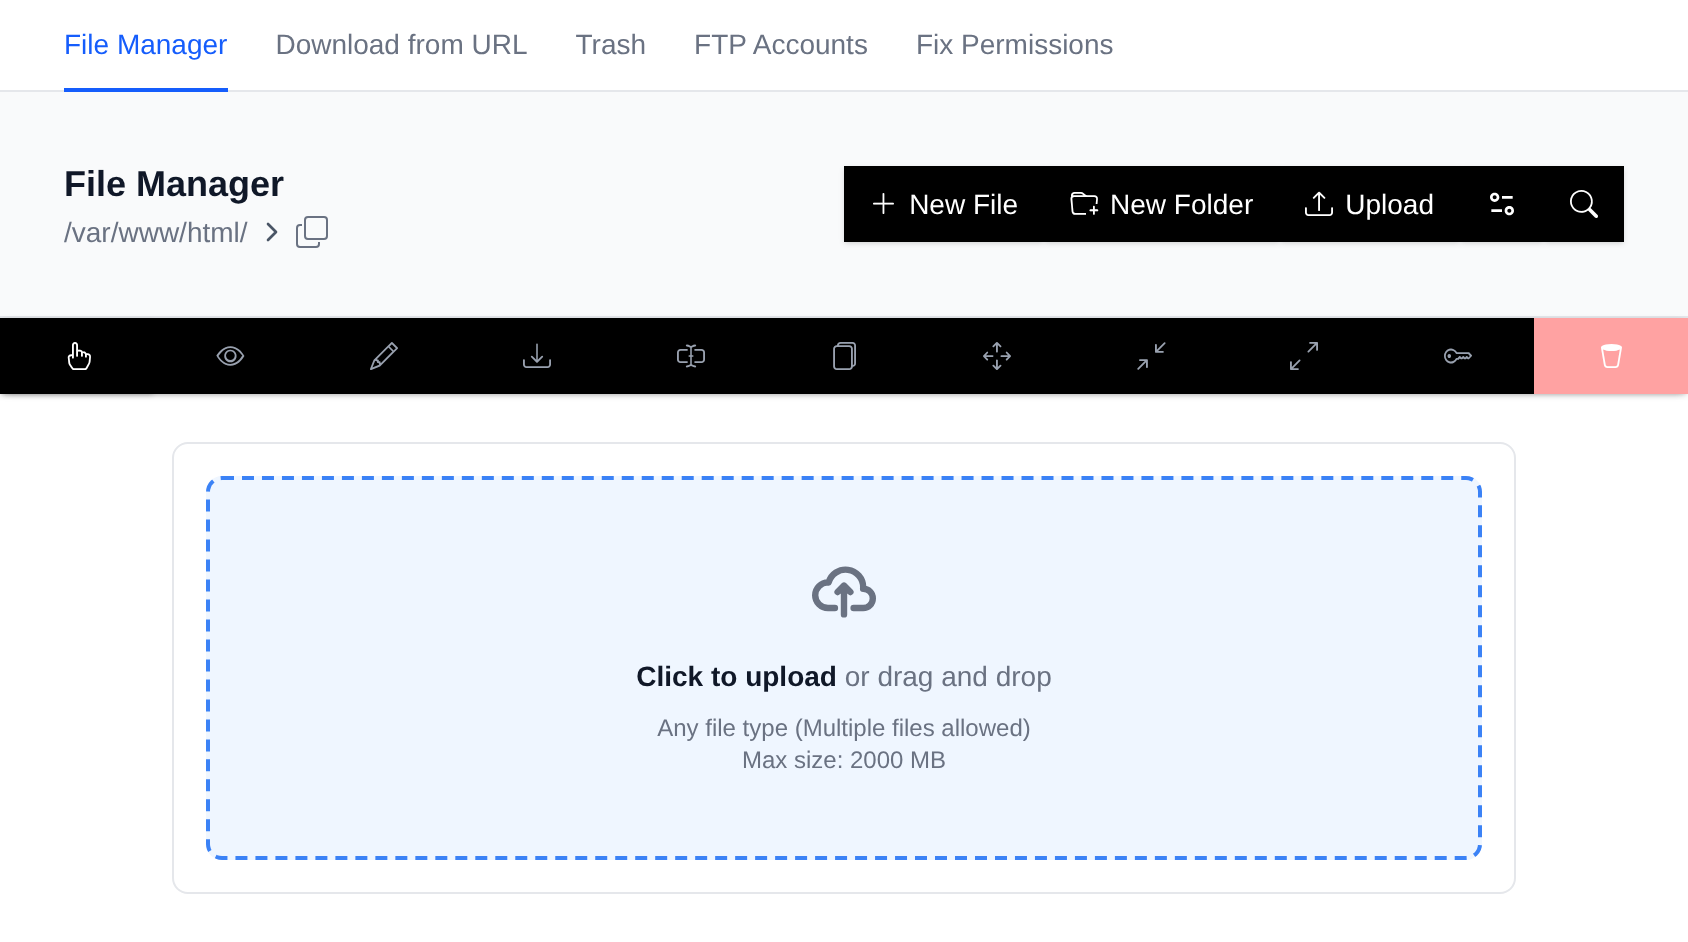
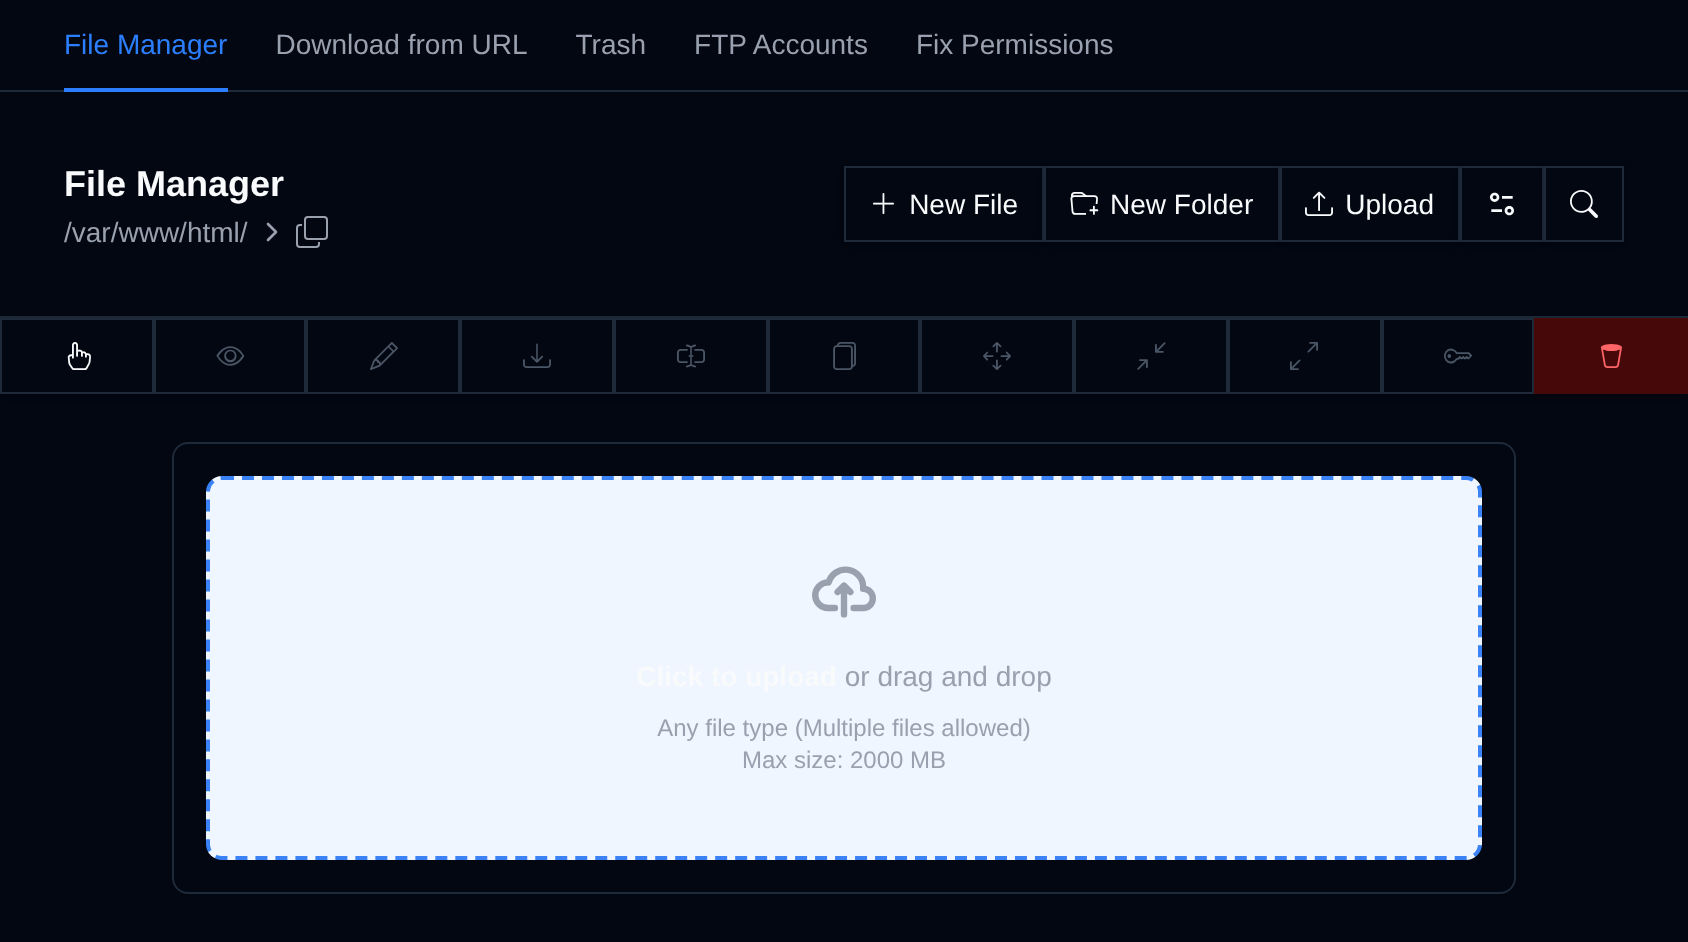
Upload size limits are configurable by the Administrator.
Button Style: Classic vs Modern
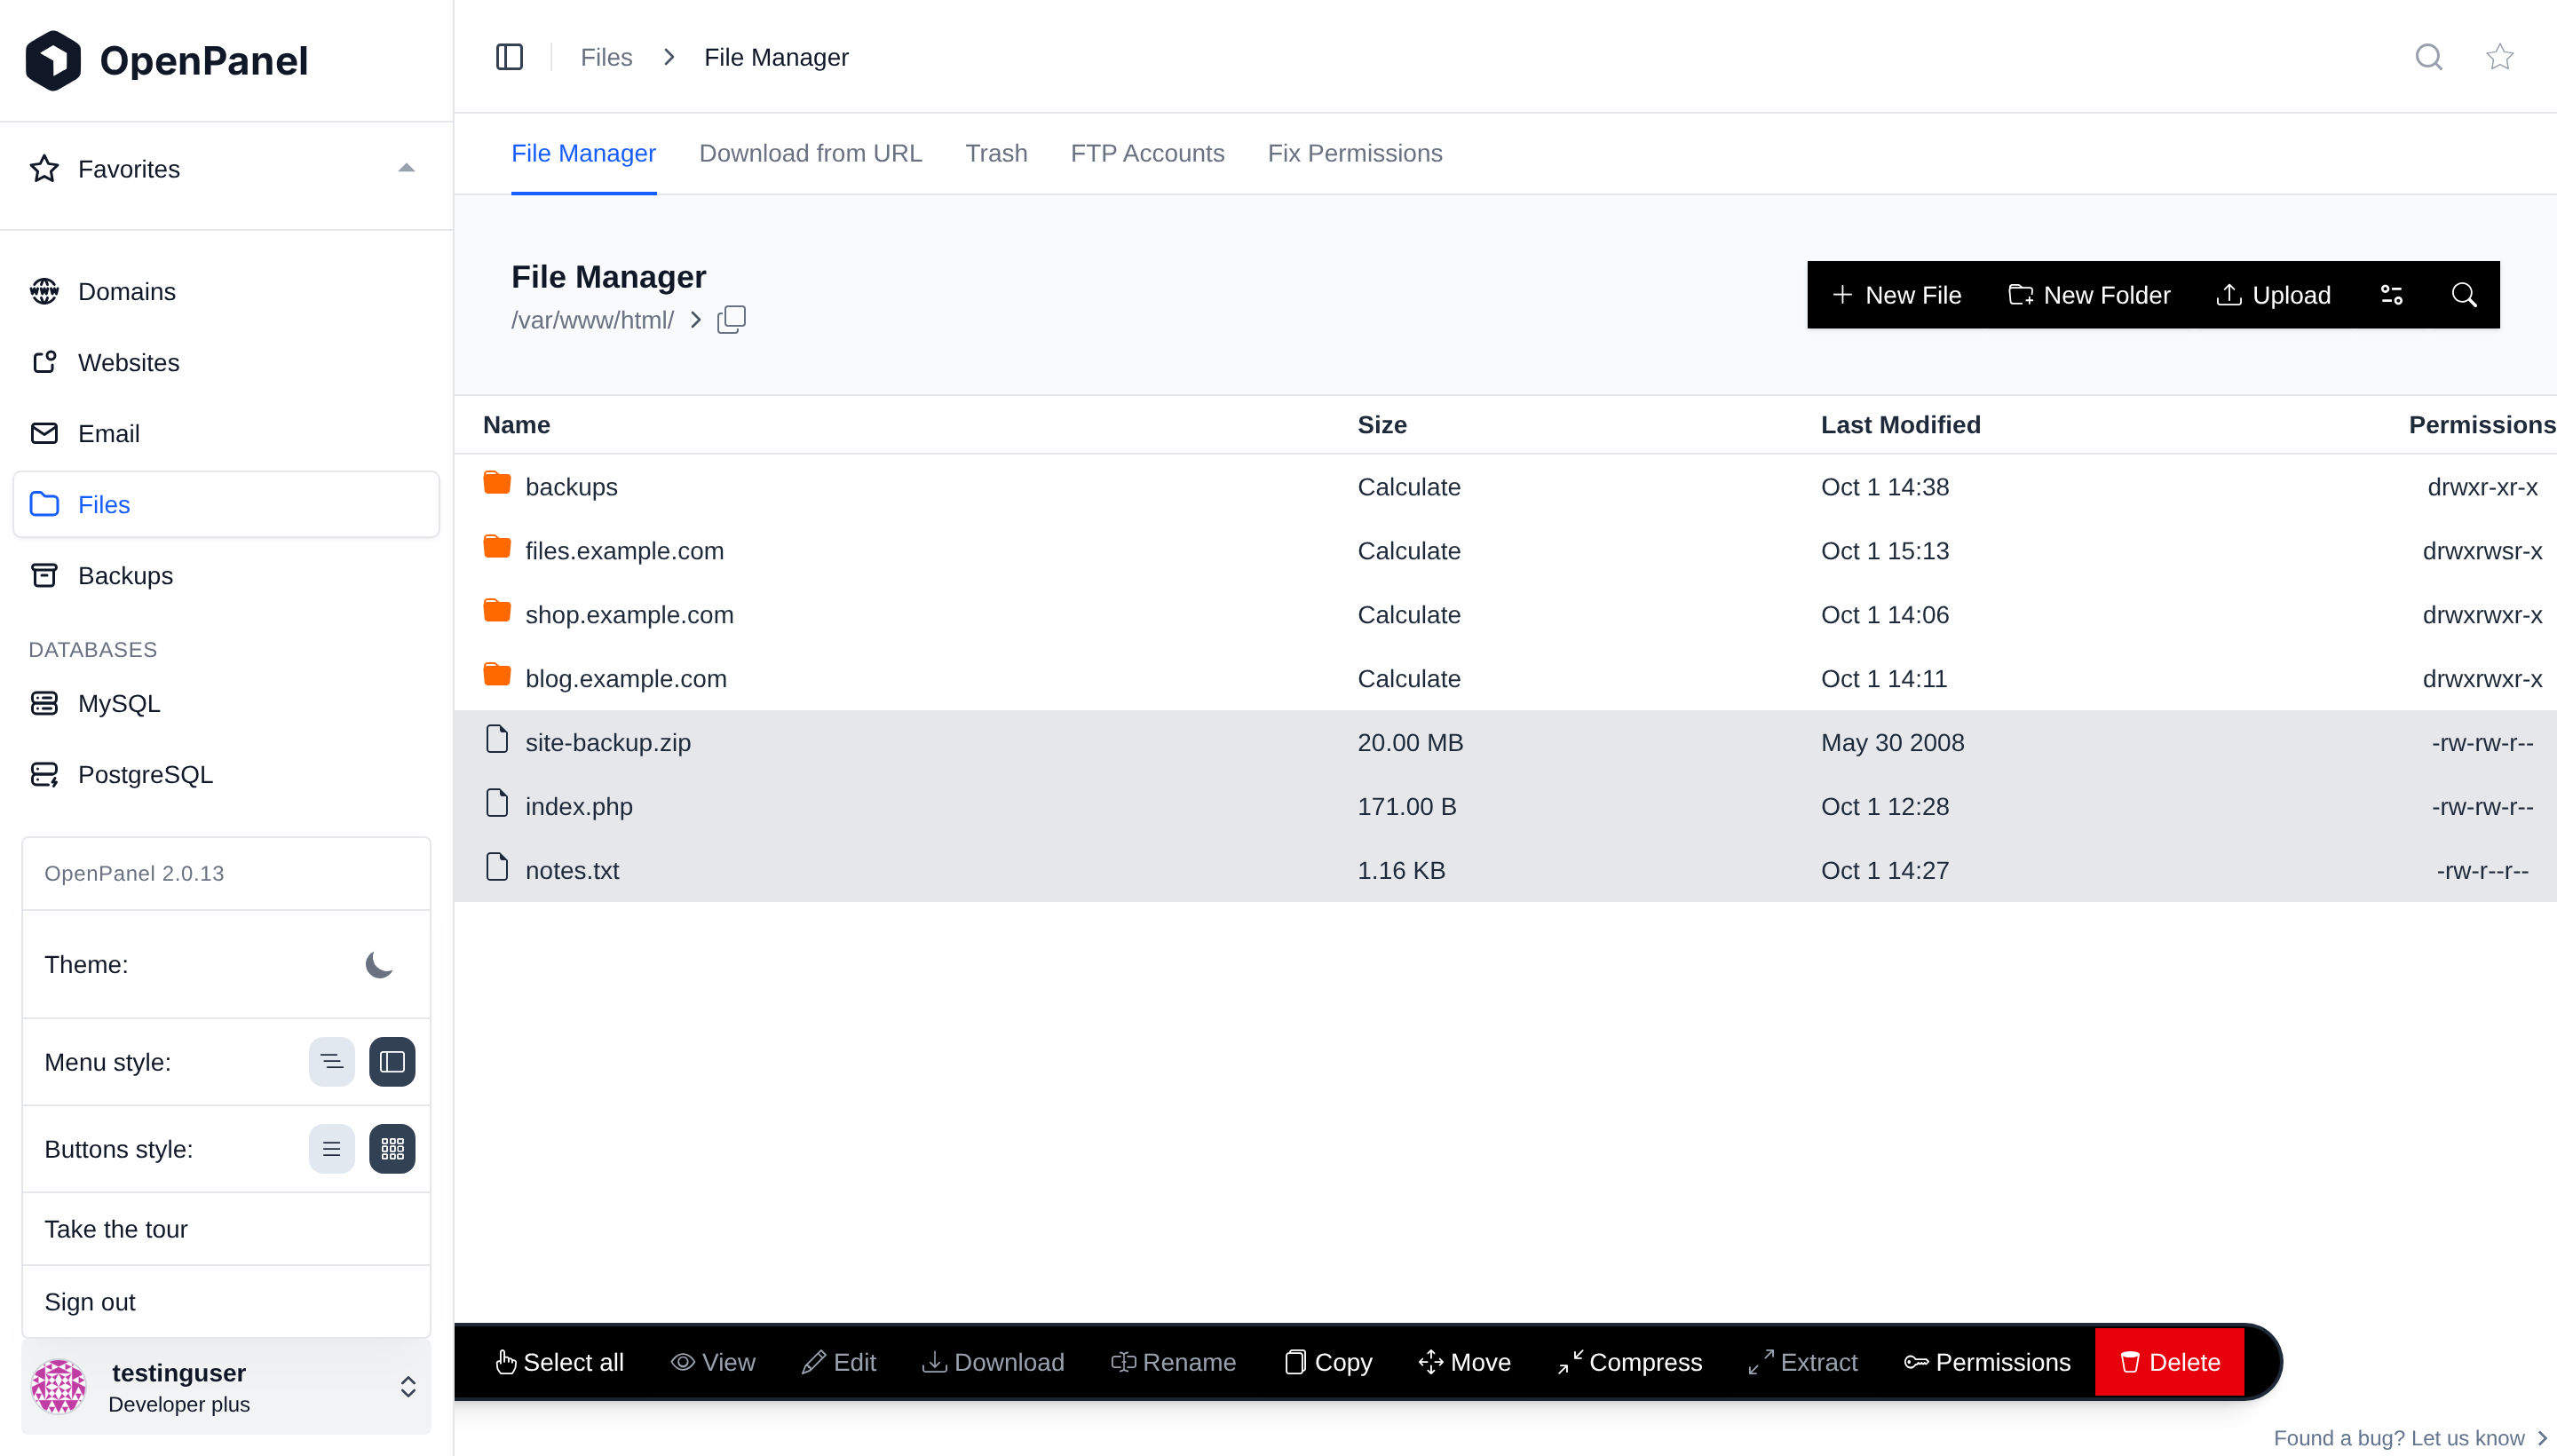
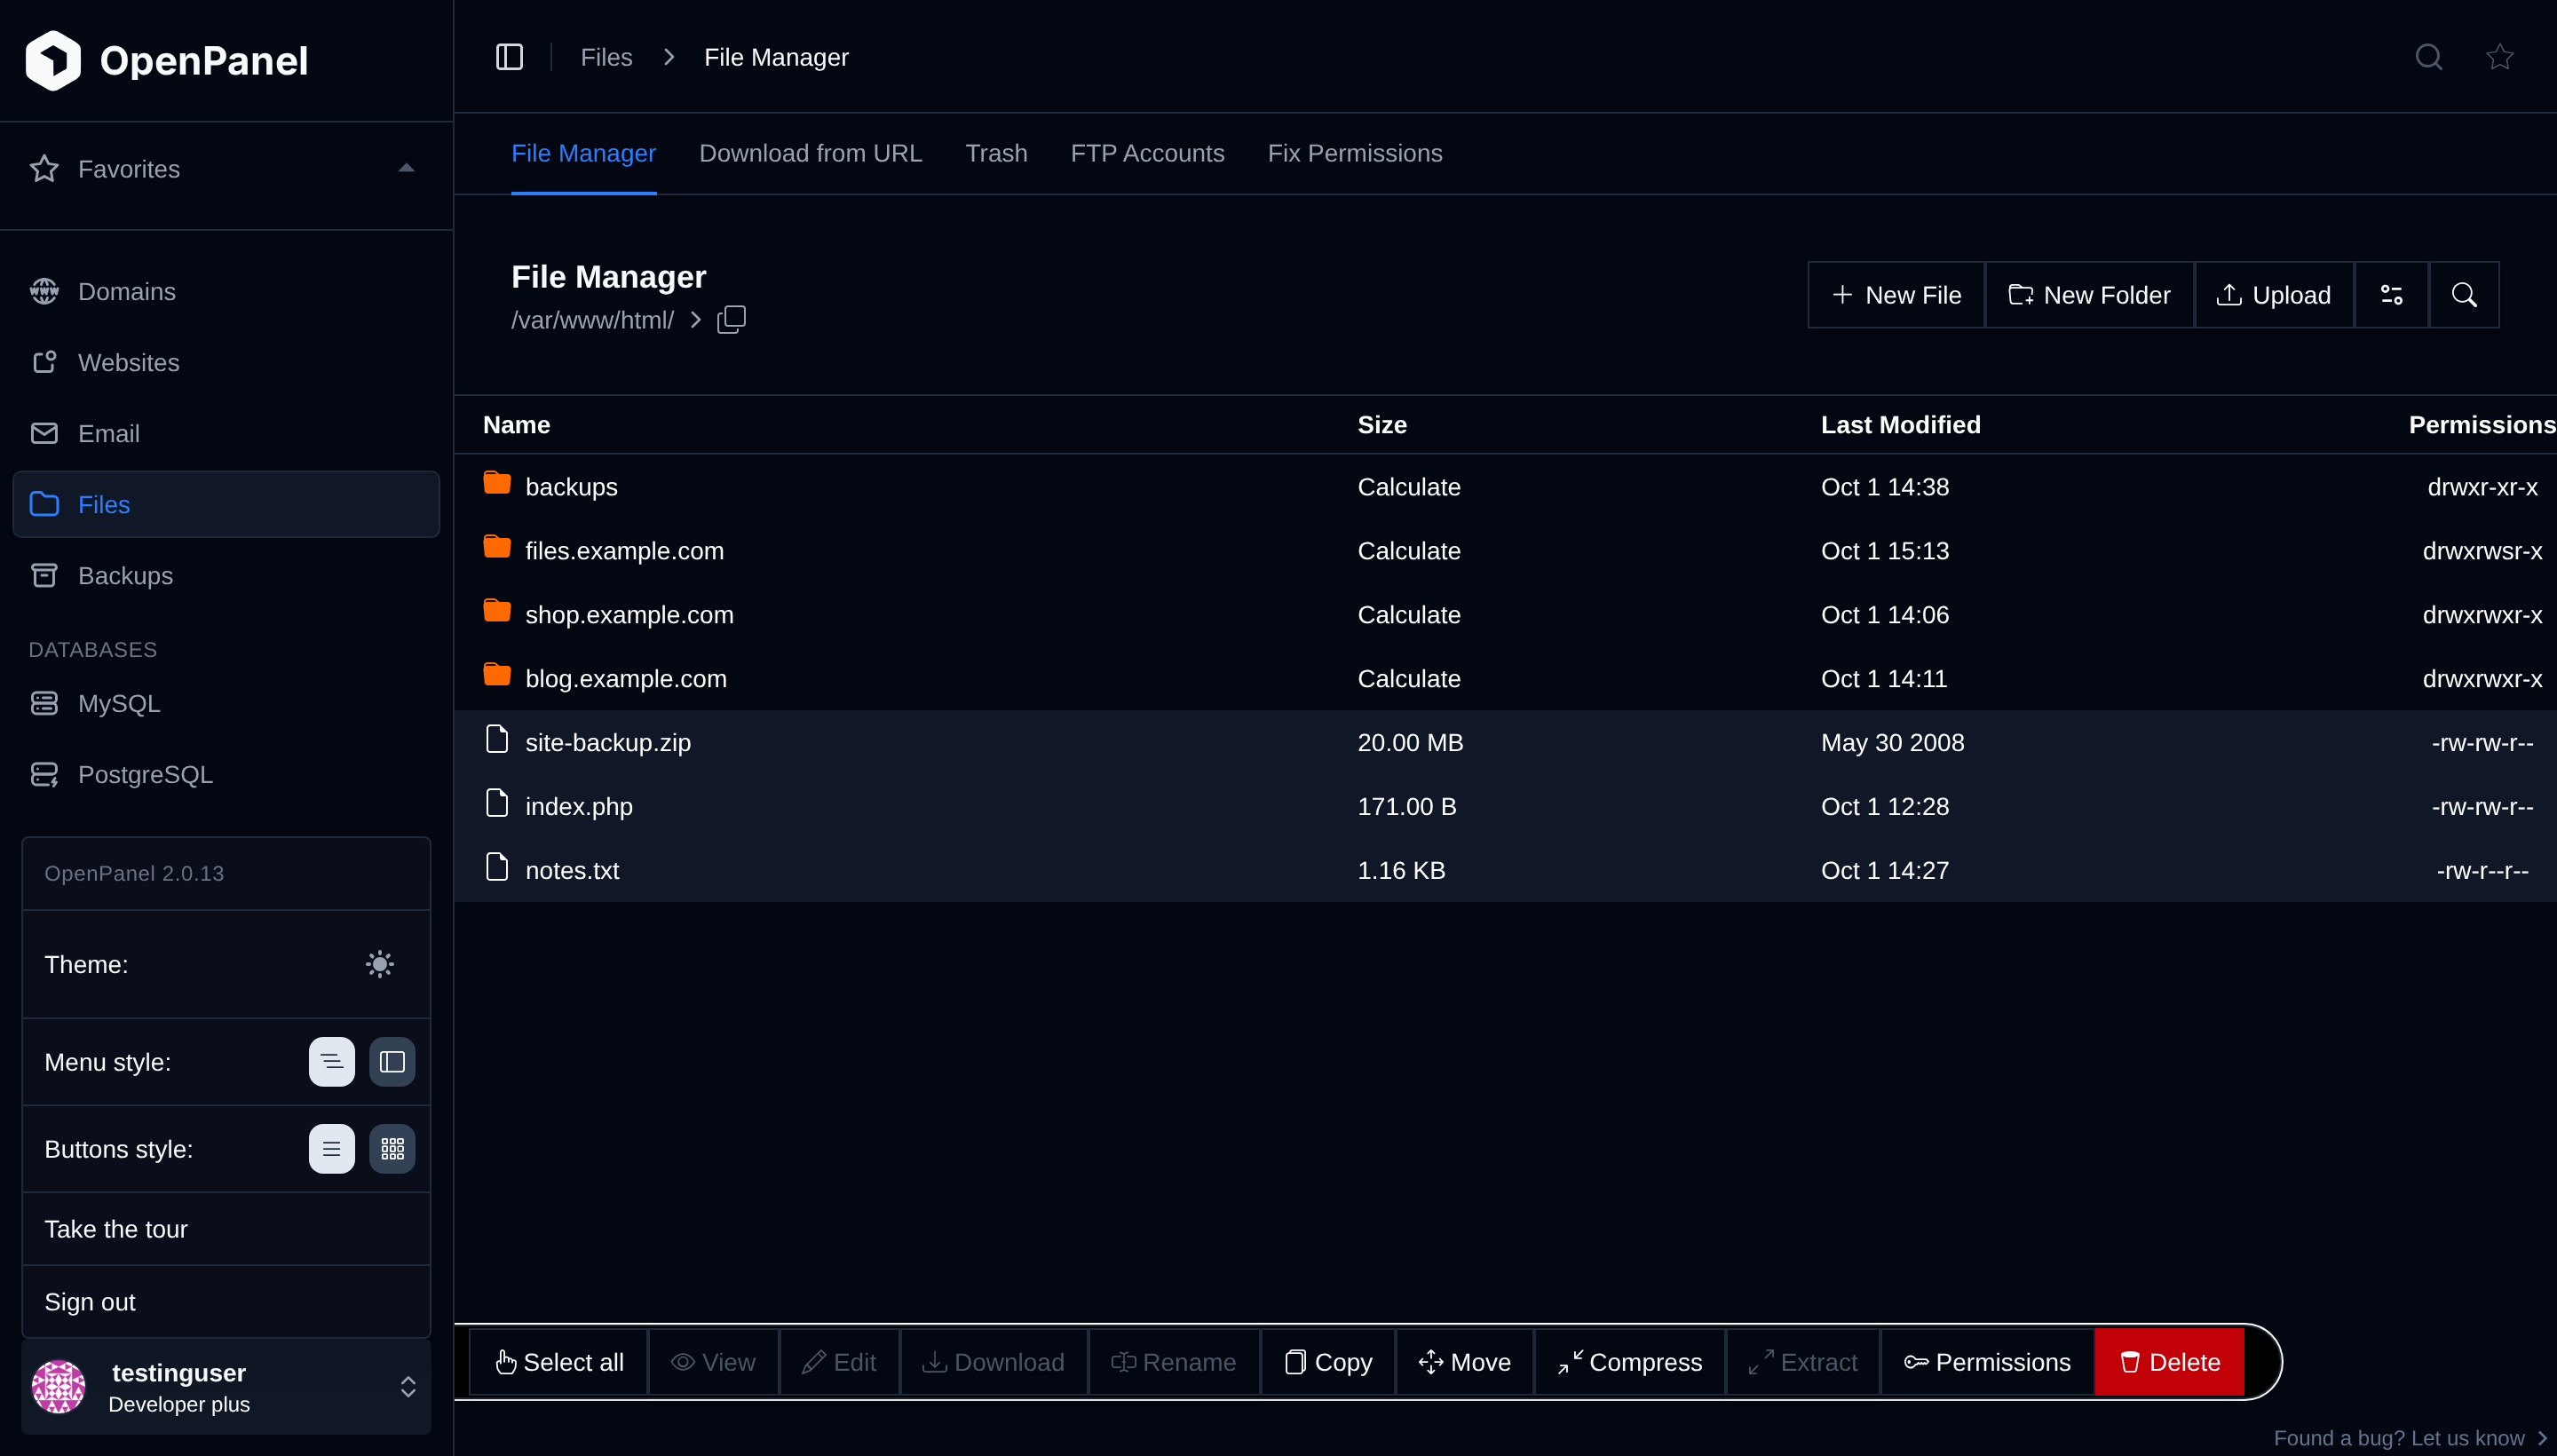
The File Manager's action buttons (Copy, Move, Delete, etc.) can be displayed in two styles: Classic, a toolbar fixed above the file list, or Modern, a floating pill bar that appears at the bottom of the screen once you select something.
To switch between them, open the account menu in the bottom left of the sidebar (only shown while you're on the Files page) and pick Classic or Modern next to "Buttons style".
Actions Toolbar
Once a file or folder is selected, the toolbar above the table shows the actions that apply to it, in this order:
| Button | Works on |
|---|---|
| Select all / Deselect | all items in the folder |
| View | a single file that can be viewed |
| Edit | a single file that can be edited |
| Download | a single file |
| Rename | a single file or folder |
| Copy | one or more items |
| Move | one or more items |
| Compress | one or more items |
| Extract | a single .zip, .tar or .tar.gz archive |
| Permissions | one or more items |
| Delete | one or more items |


On smaller screens the buttons show only their icons, hover over a button to see its name. The New File, New Folder and Upload buttons in the page header also switch to icons only on mobile, so they fit in one row with the filter and search buttons.
Select all
Use your mouse cursor to select multiple files and folders. Click and drag, then click again to release the selection.
To select multiple files, one by one, click and hold Ctrl key while clicking on the rows.
To select all files in the directory at once, click on the 'Select All' button. To deselect all files, click on the 'Deselect' button.
The name of a file or folder can be selected as text (for example to copy it) only while that is the only selected row, so selecting multiple rows never highlights their names.
Right-click Menu
When using the Classic button style, right-clicking a file or folder opens a context menu with the same actions as the toolbar, in the same order. Only the actions that apply to the selected item(s) are shown - for example, Extract only appears for archives, and View/Edit only appear for files that support them.
Right-clicking an item that isn't already selected selects just that item; right-clicking within an existing multi-selection keeps the whole selection, so you can act on multiple files or folders at once.
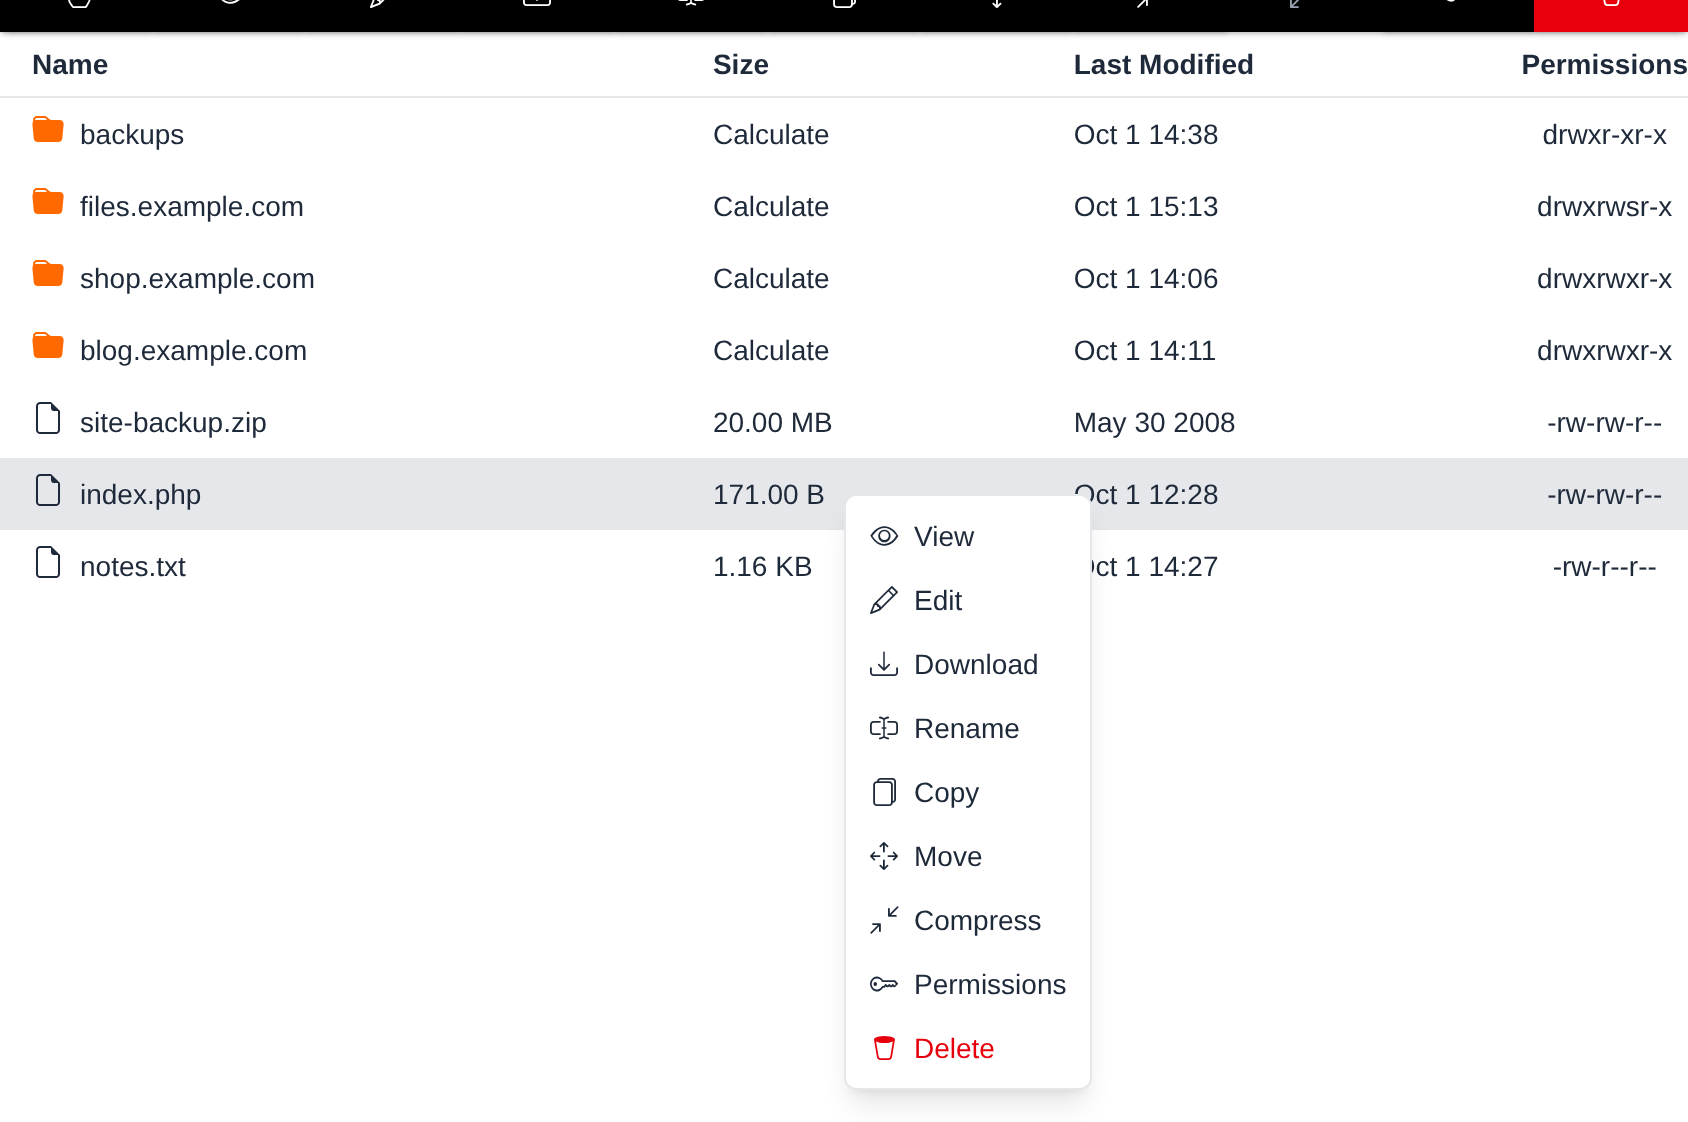
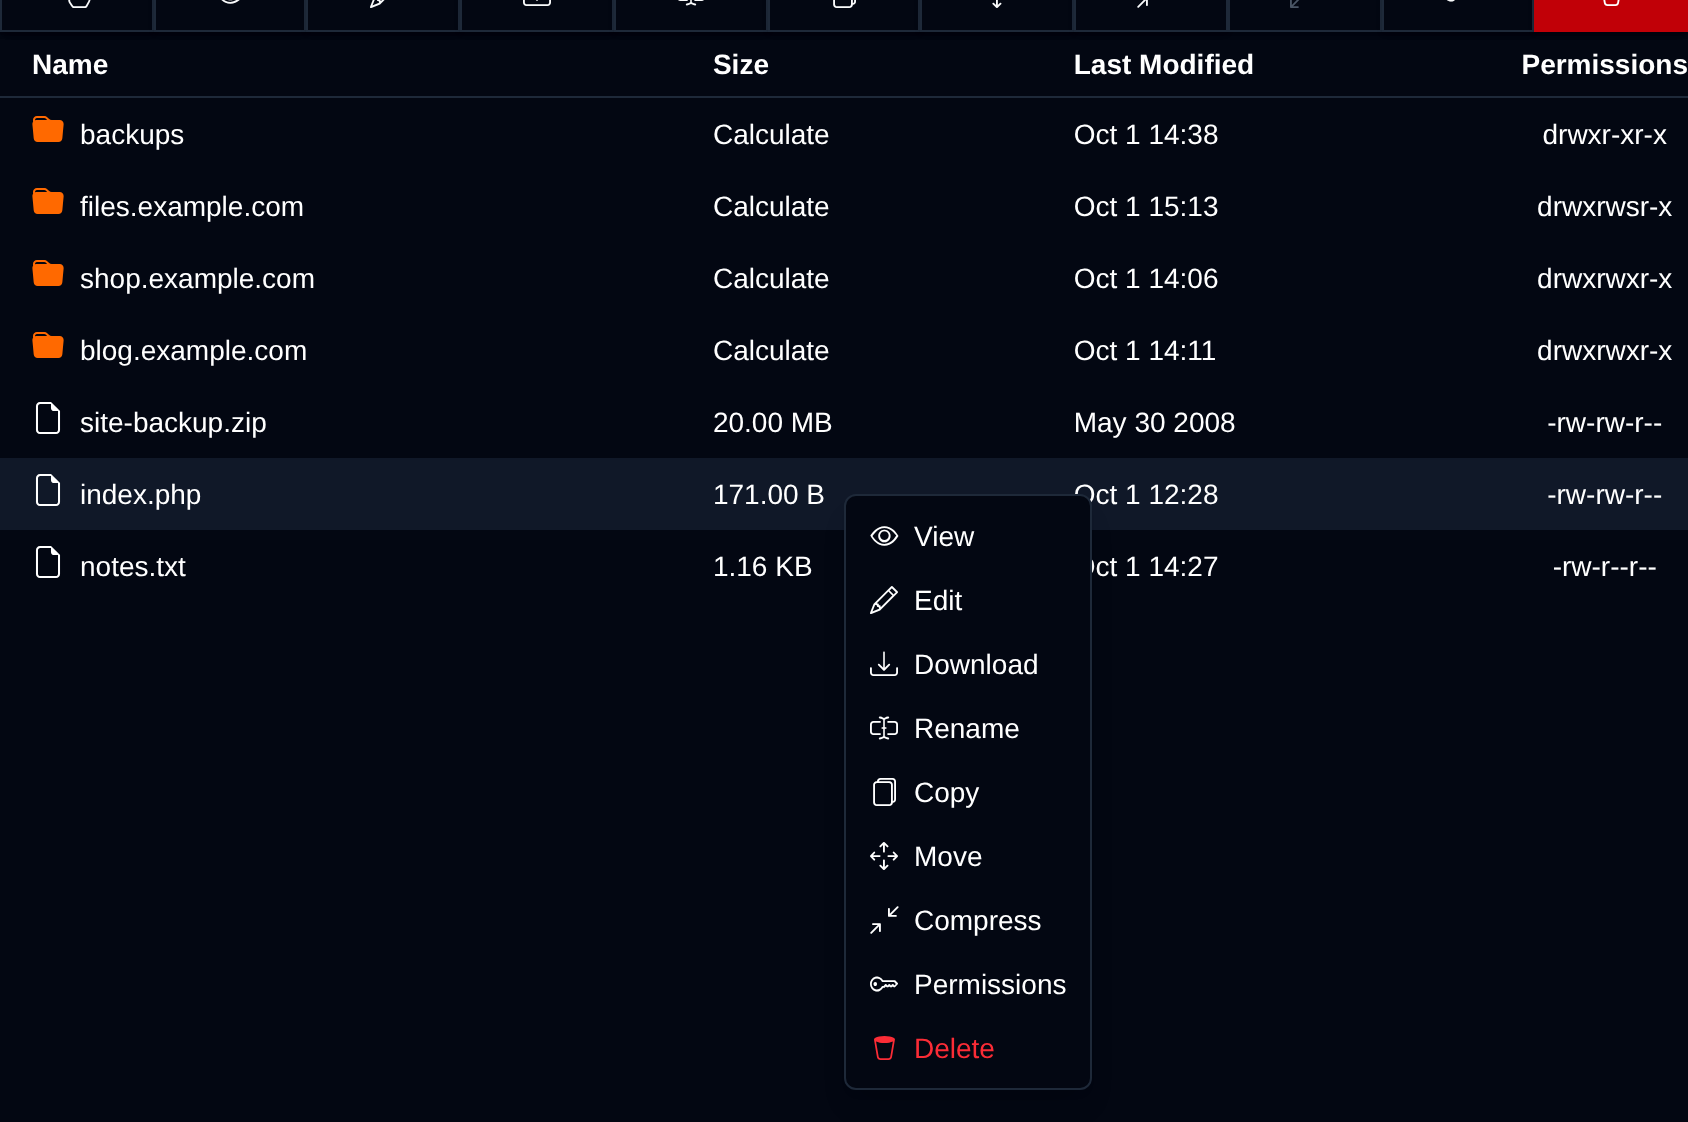
The right-click menu is only available in the Classic button style.
Delete
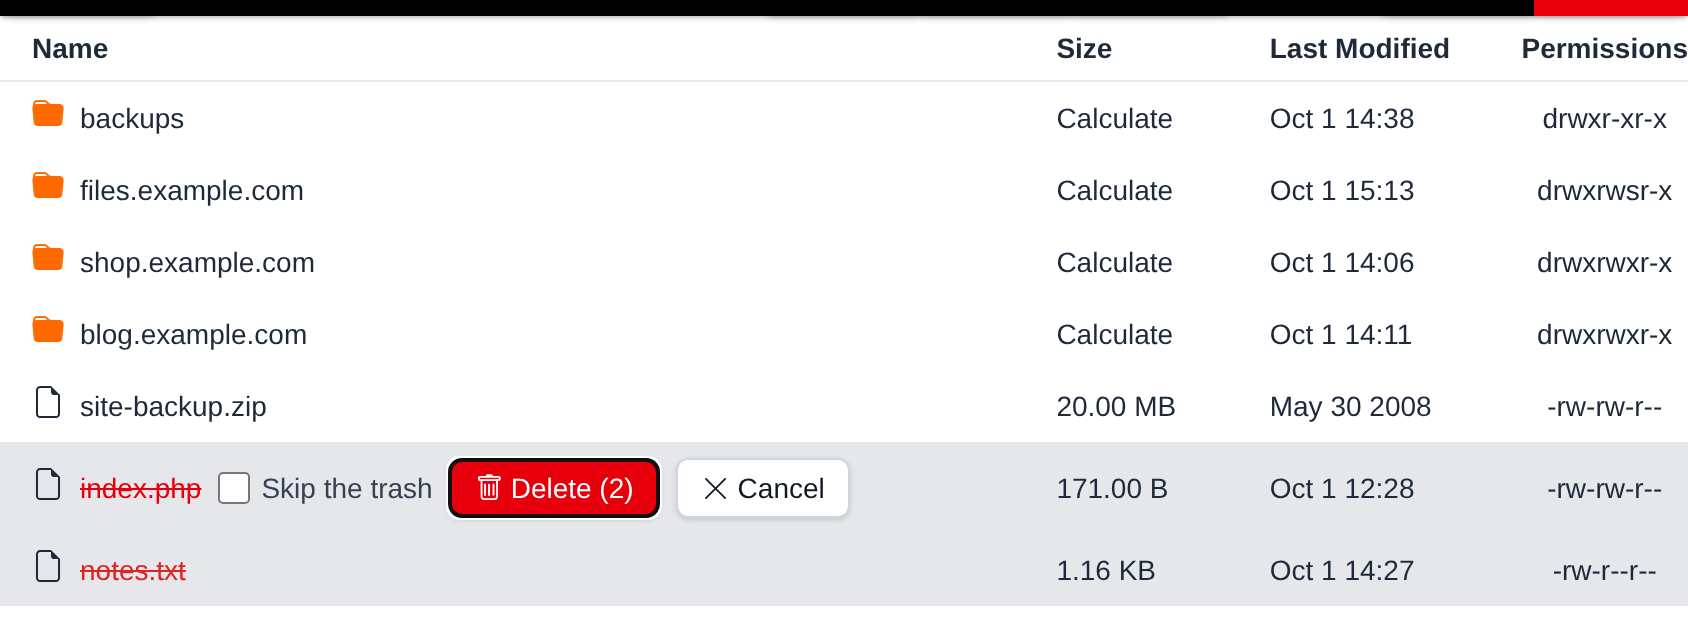
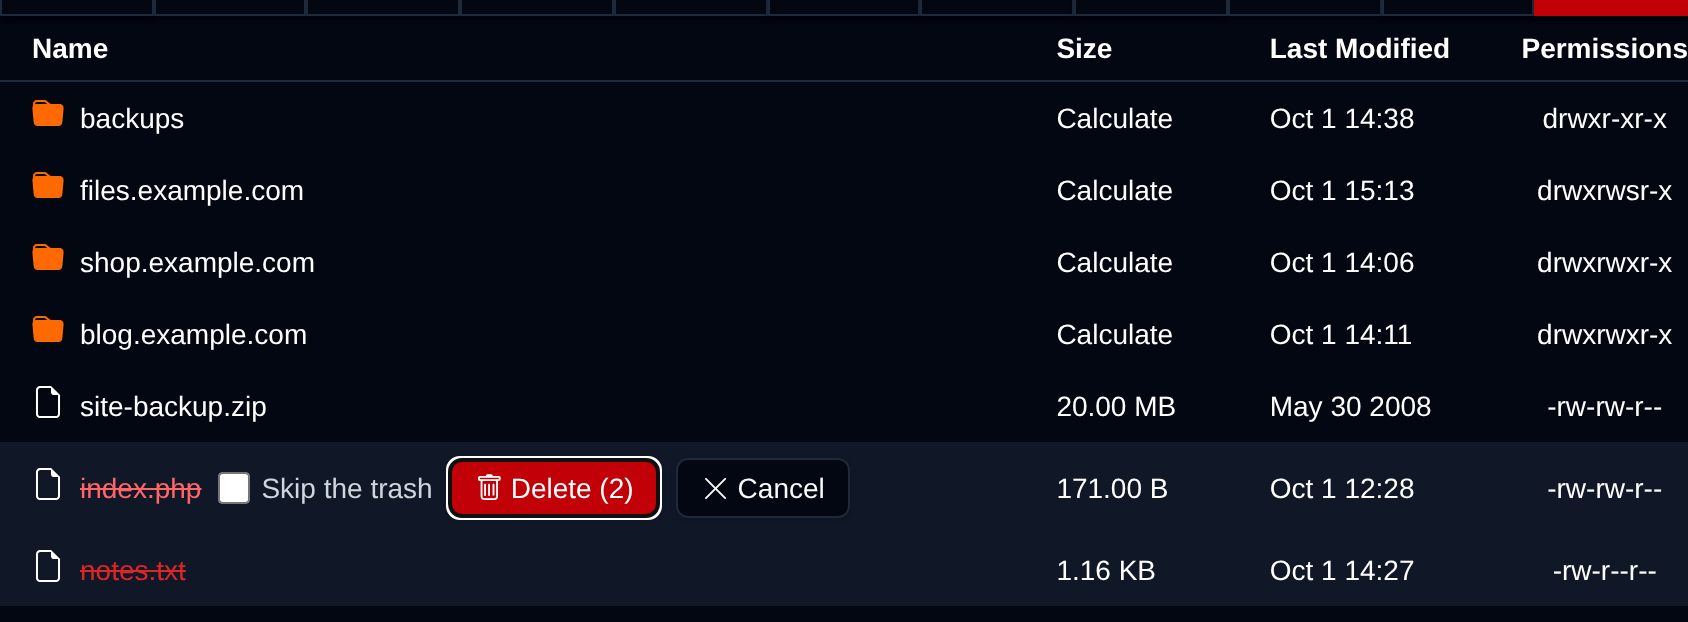
To delete files or folders, select them and click on the Delete button. The names of all selected items are crossed out in red, and the first one shows the Delete and Cancel buttons. Click Delete to confirm, or Cancel (or Esc) to keep the files.
By default items are moved to the Trash, from where they can be restored. Check Skip the trash to delete them permanently instead. This option is only shown if the Trash feature is enabled for your account.
Download File
To download a file, click on the Download button when the file is selected.
Downloading multiple files at once is not supported. Instead, the 'Compress' option should be used to create an archive of files, and then download that archive.
View File
To view the content of a file that can be edited in a text editor or opened as an image, click on the file, then on the View button.
Edit File
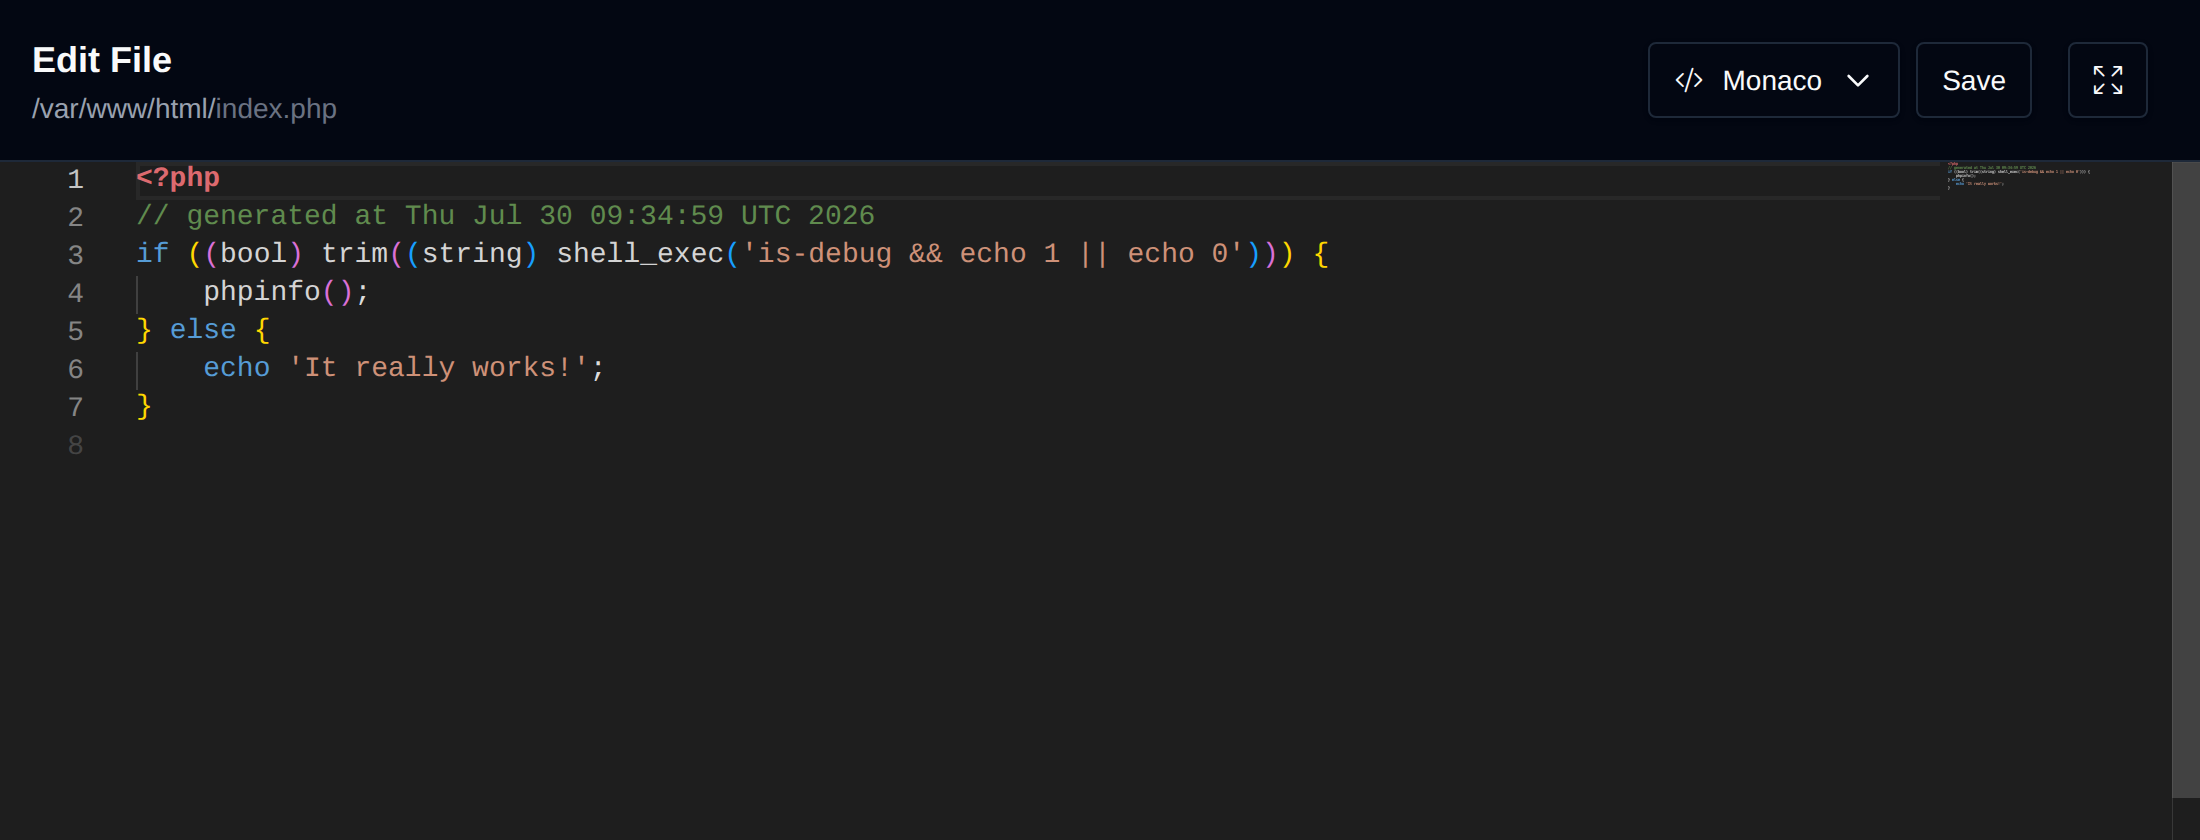
To edit the content of a file that can be edited in a text editor, click on the file, then on the Edit button. A new page will open with a text editor where you can edit the file content.
Using the button in top-right corner you can switch between one of the 4 available editors: Monaco (defualt), Ace, CodeMirror, Plain Text.

Rename File
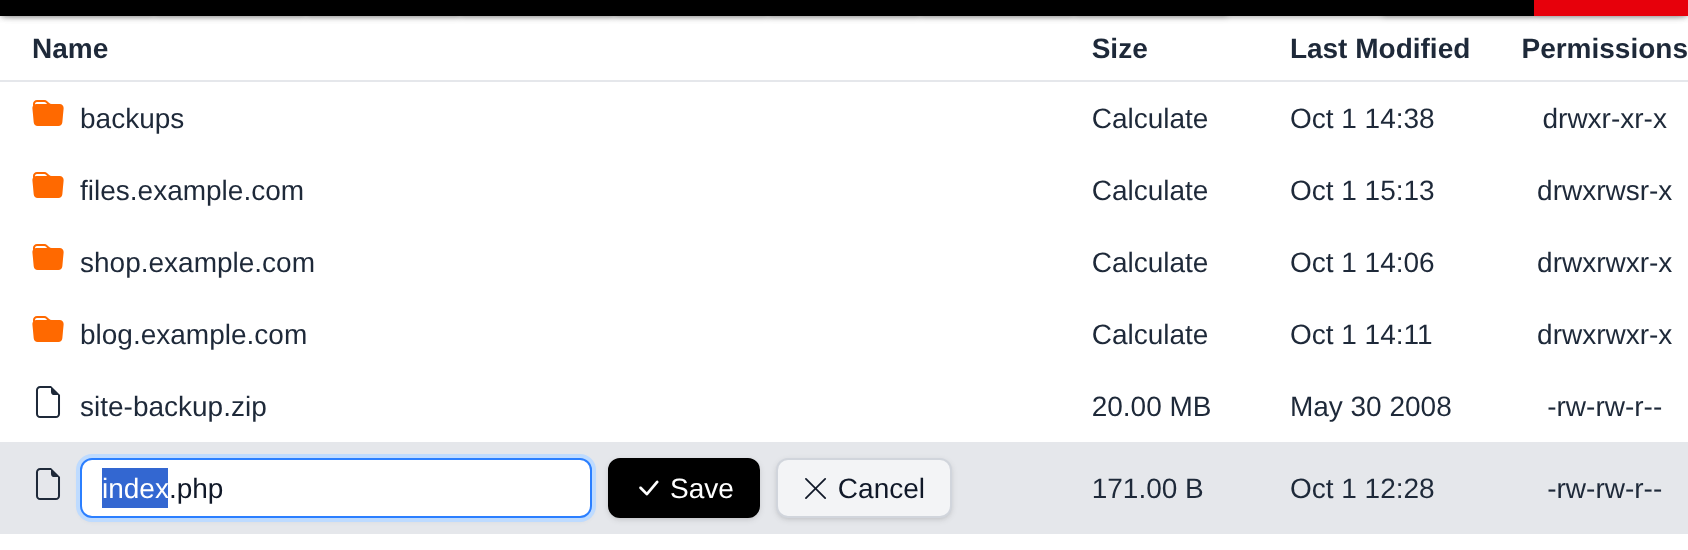
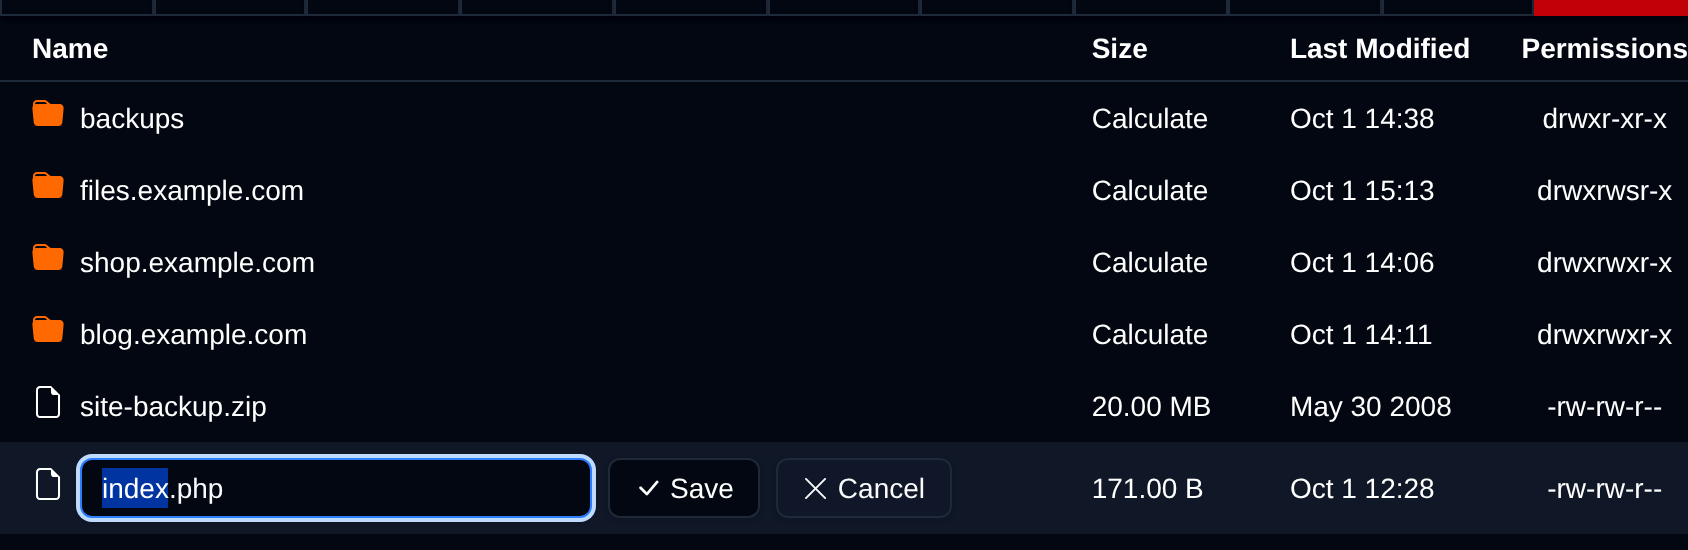
To rename a file or folder, click on it, then click on the Rename button. The name in the table turns into an input, type the new name and press Enter or click Save. For files, the name is preselected without its extension, so you can type over it right away. Press Esc, click Cancel or click outside the row to keep the old name.
Copy and Move Files
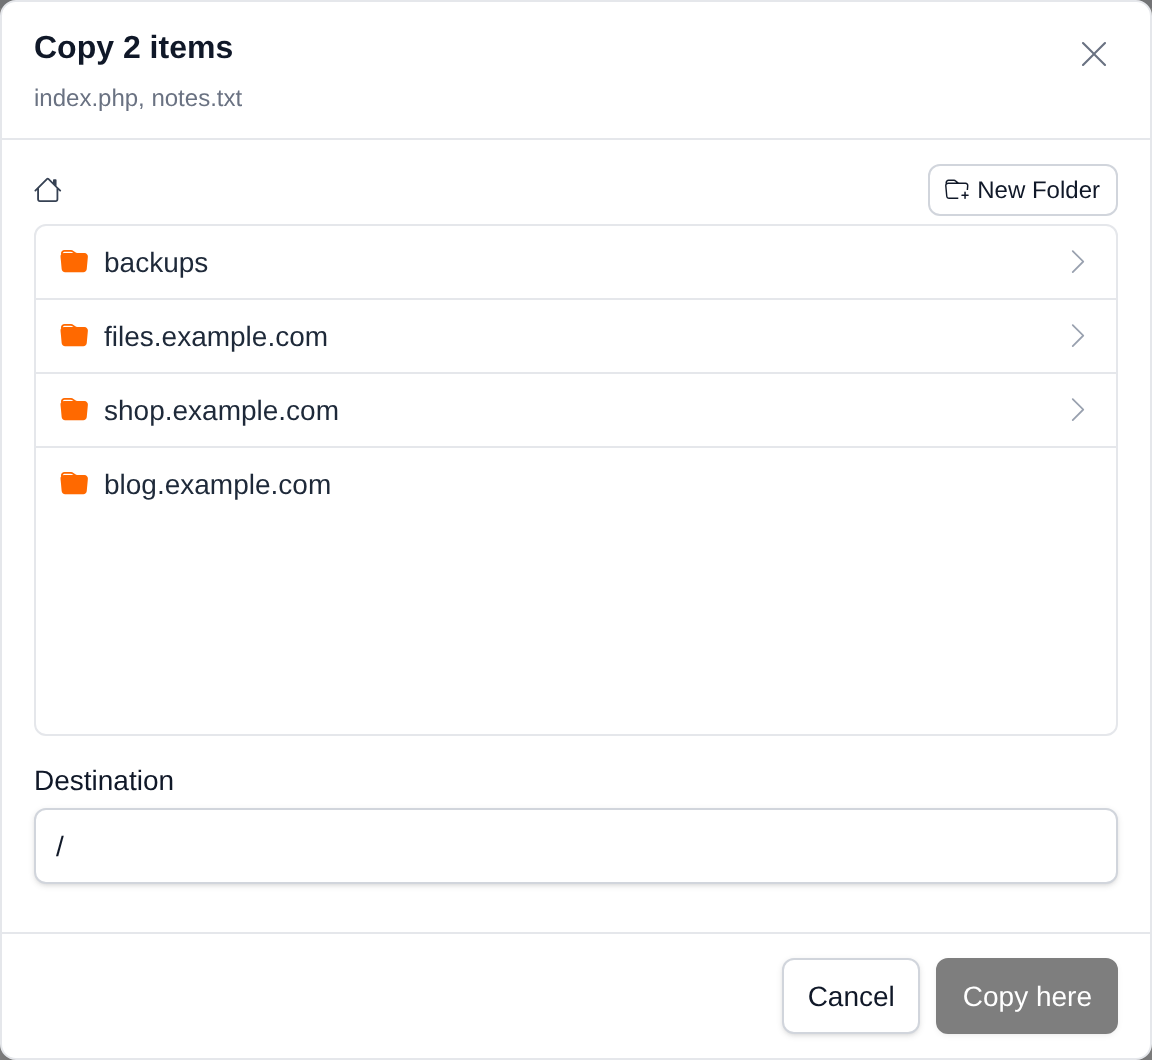
To copy or move files to another folder, select them and click on the Copy or Move button. A dialog opens with a folder browser that starts in the current folder:
- click a folder to open it, or
..to go one level up, - use the breadcrumb above the list to jump back to any parent folder,
- click New Folder to create a folder in the current location and open it,
- or type a path in the Destination field and press
Enterto go straight there.
Click Copy here or Move here to start. A selected folder can't be copied or moved into itself or one of its subfolders, so those folders are greyed out in the browser.
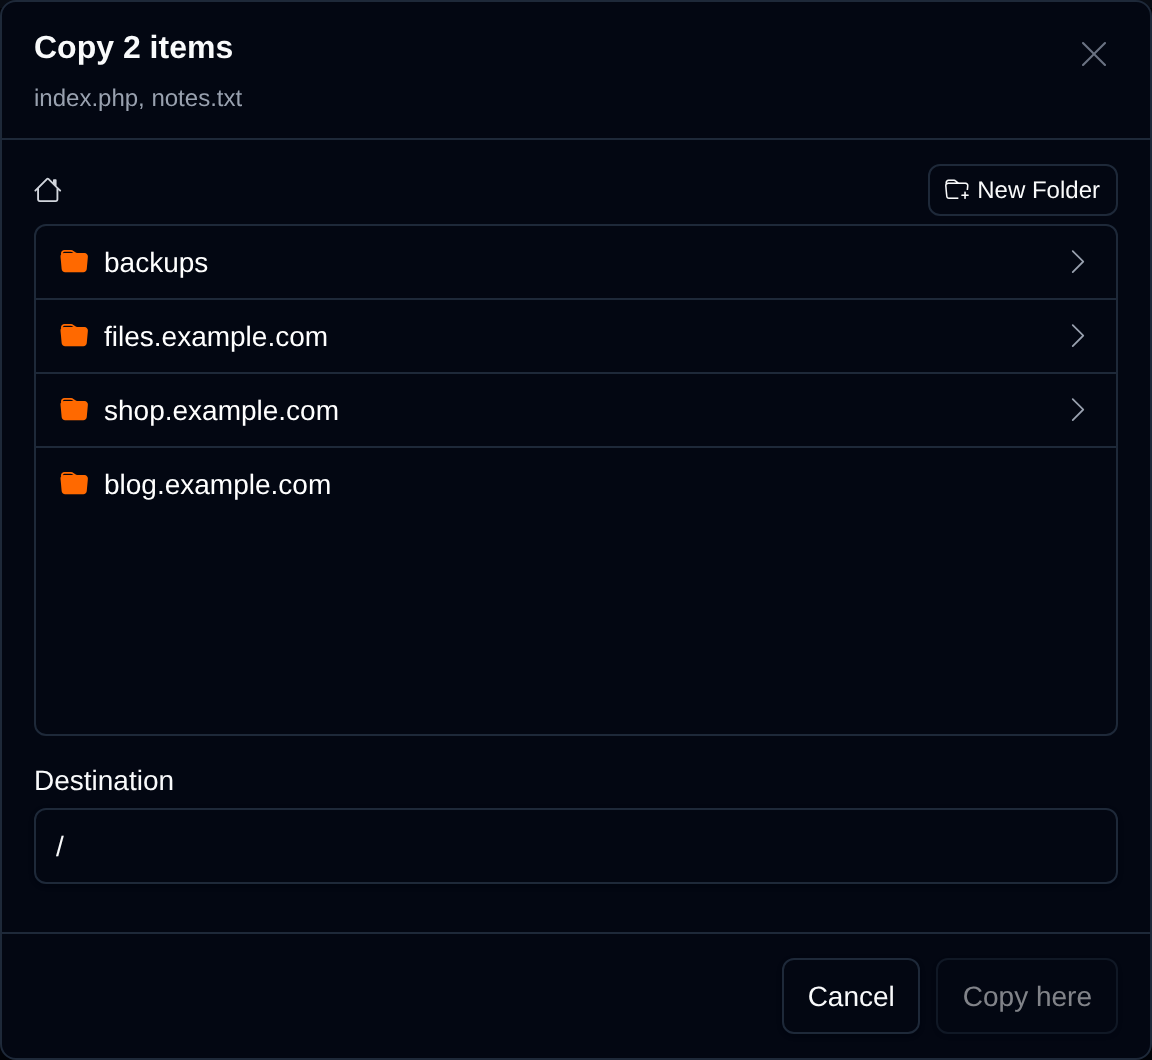
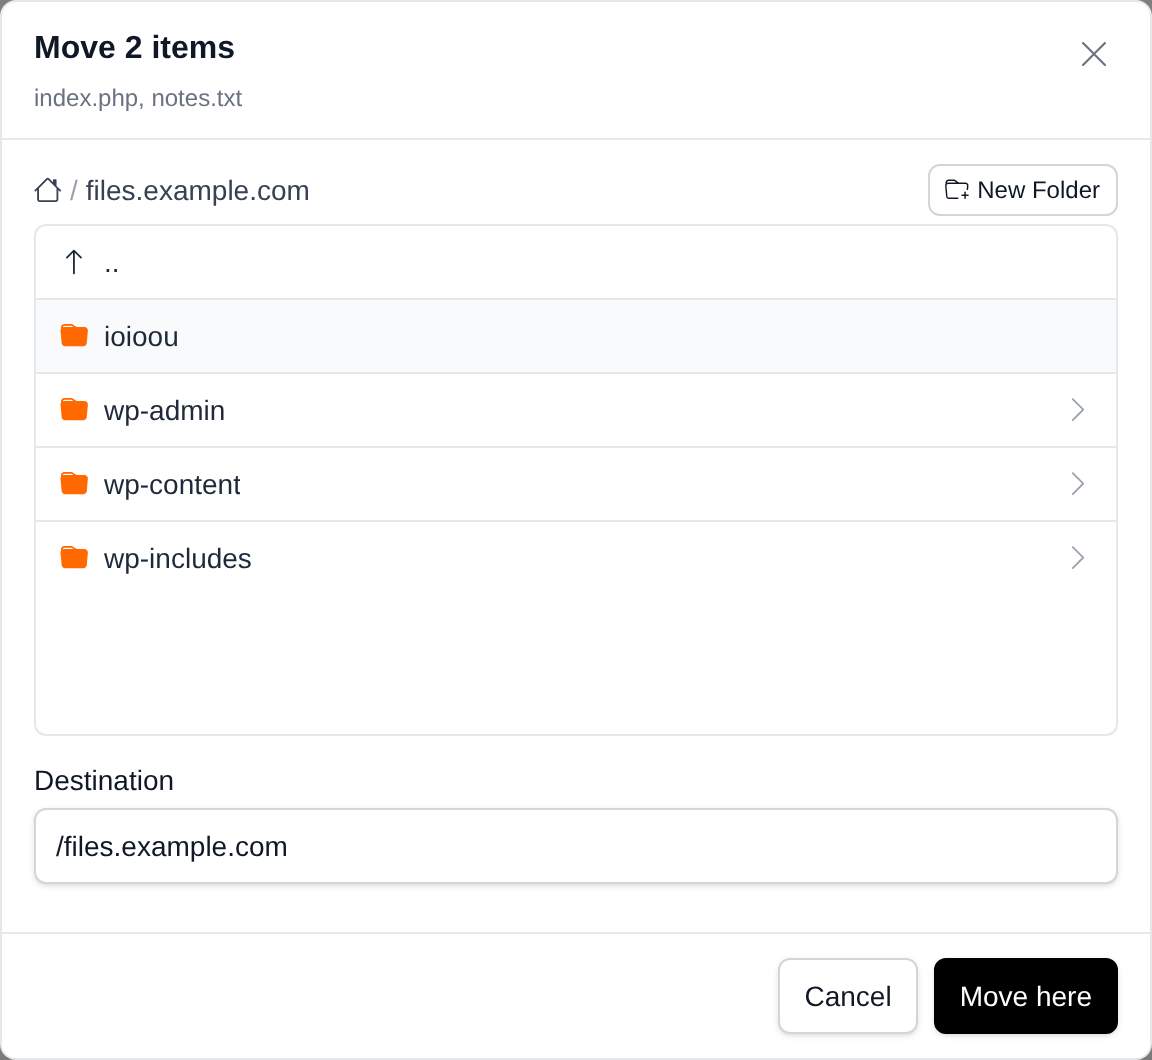
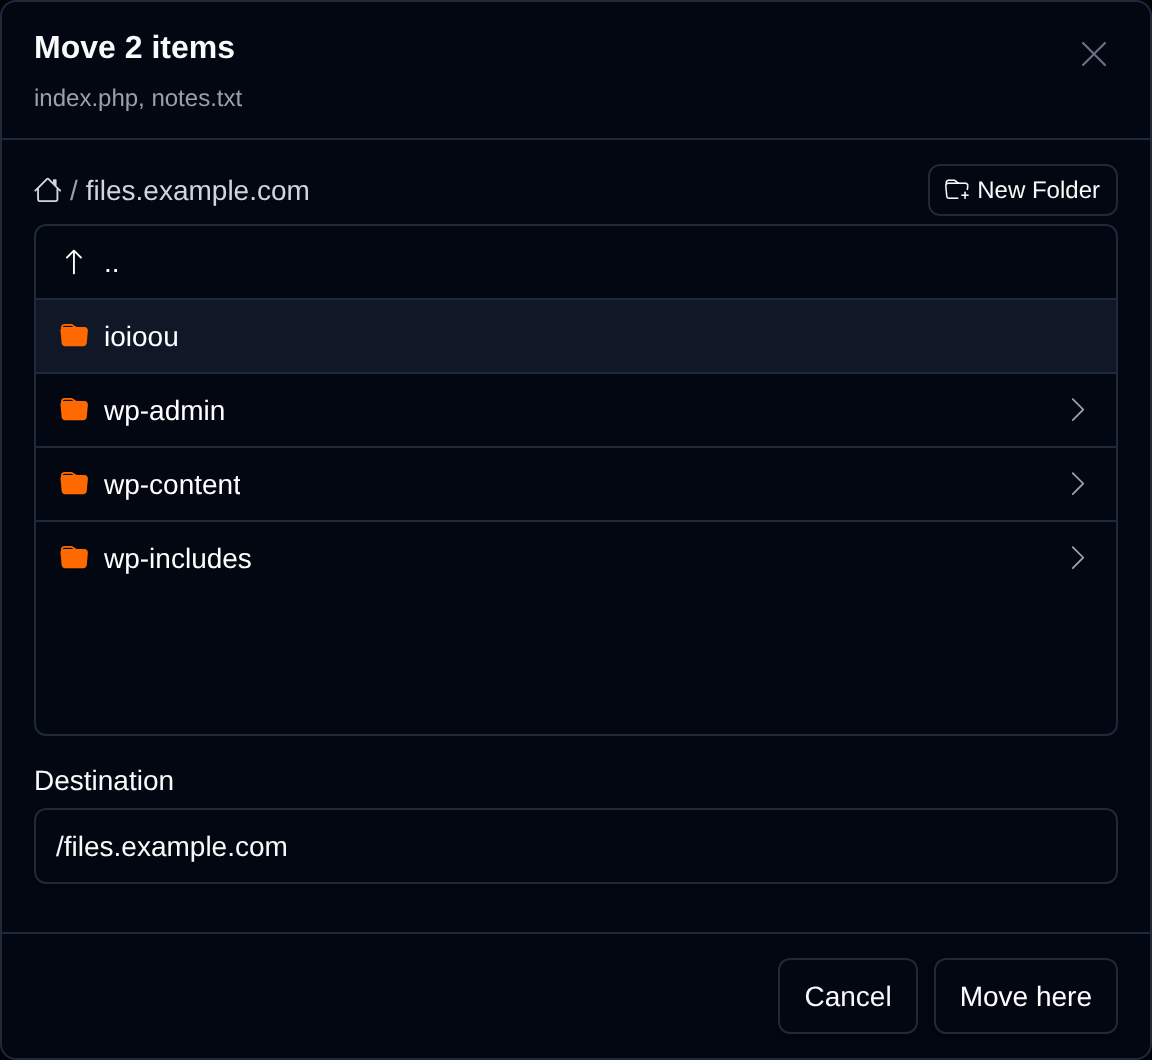
The progress is shown in the dialog. When all items are done the page reloads, if some items fail the dialog stays open and lists the errors.
Compress to Archive
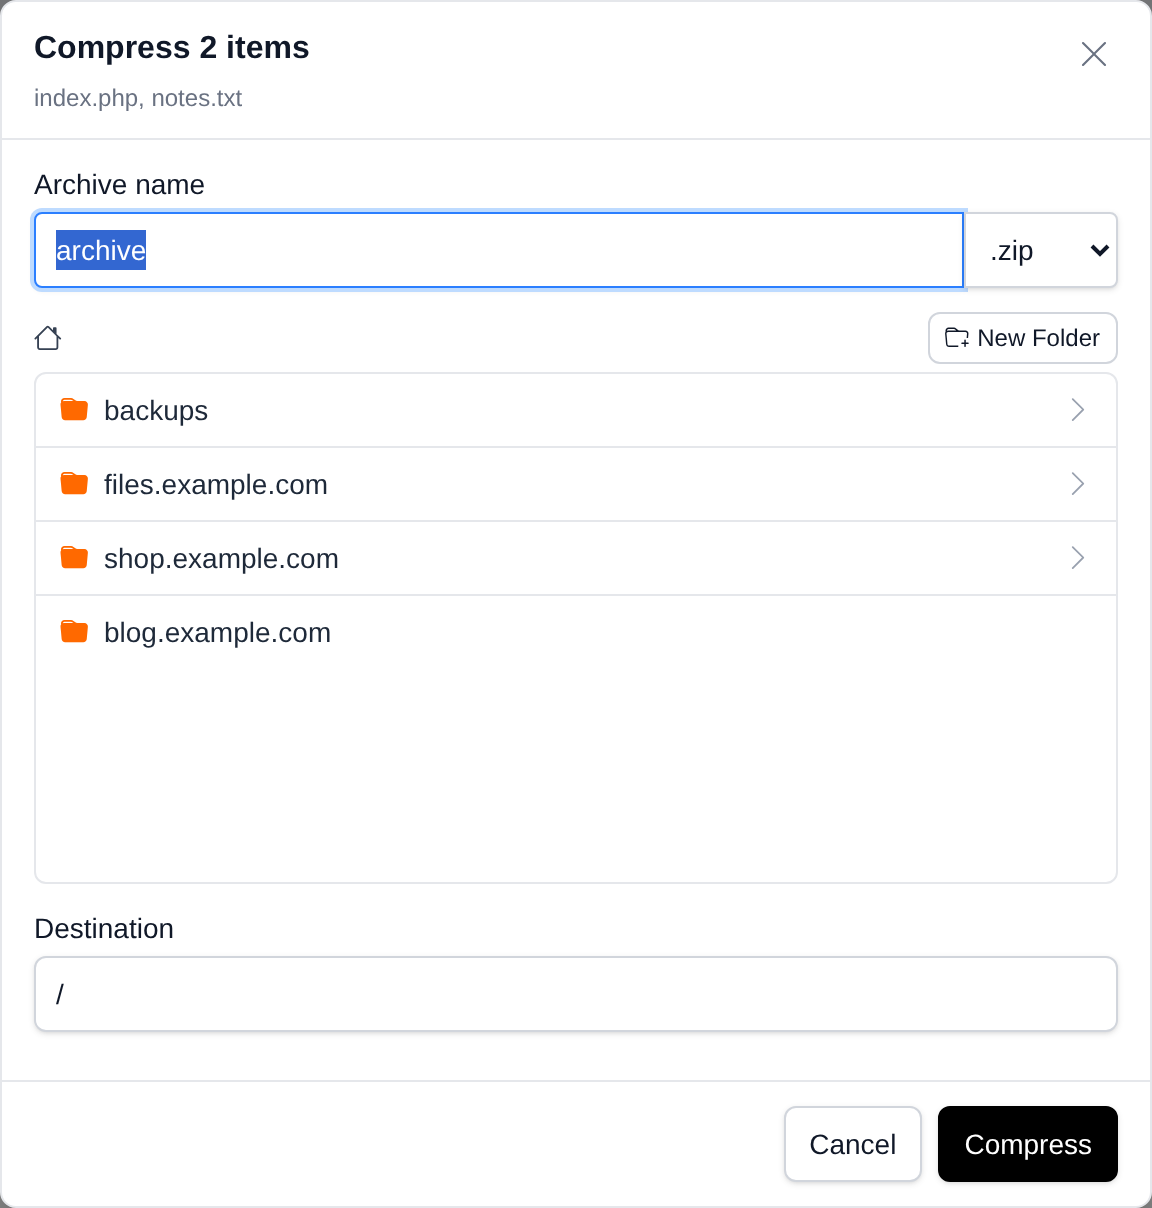
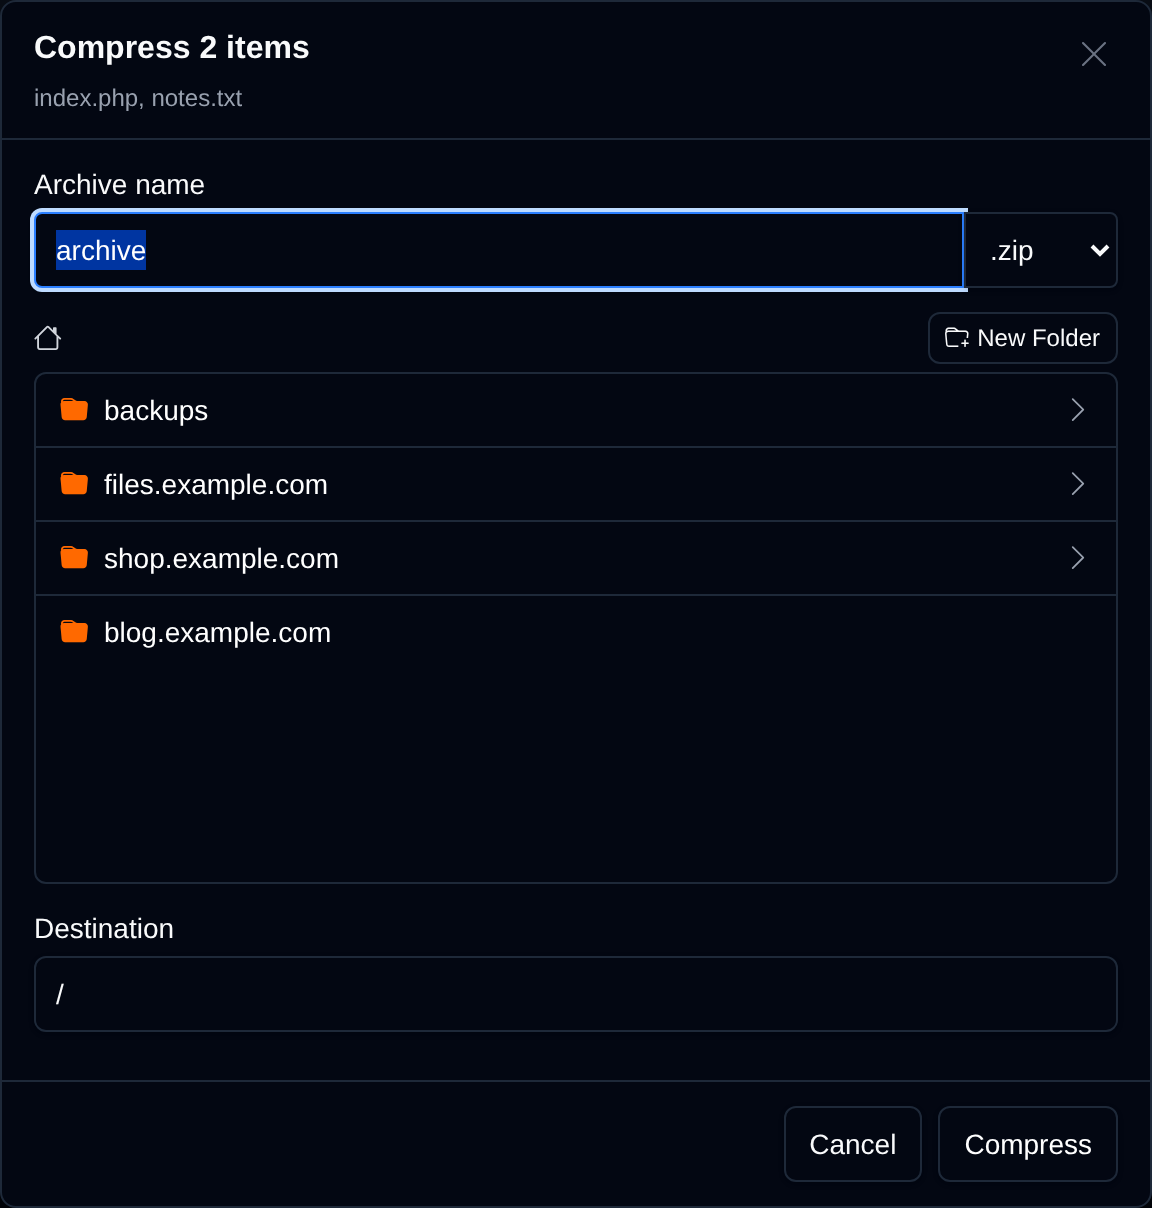
To create an archive, select the files or folders and click on the Compress button. In the dialog, set the archive name, pick its format (.zip, .tar.gz or .tar), and use the folder browser to choose where the archive will be saved. By default, it is saved in the current folder.
Extract Archive
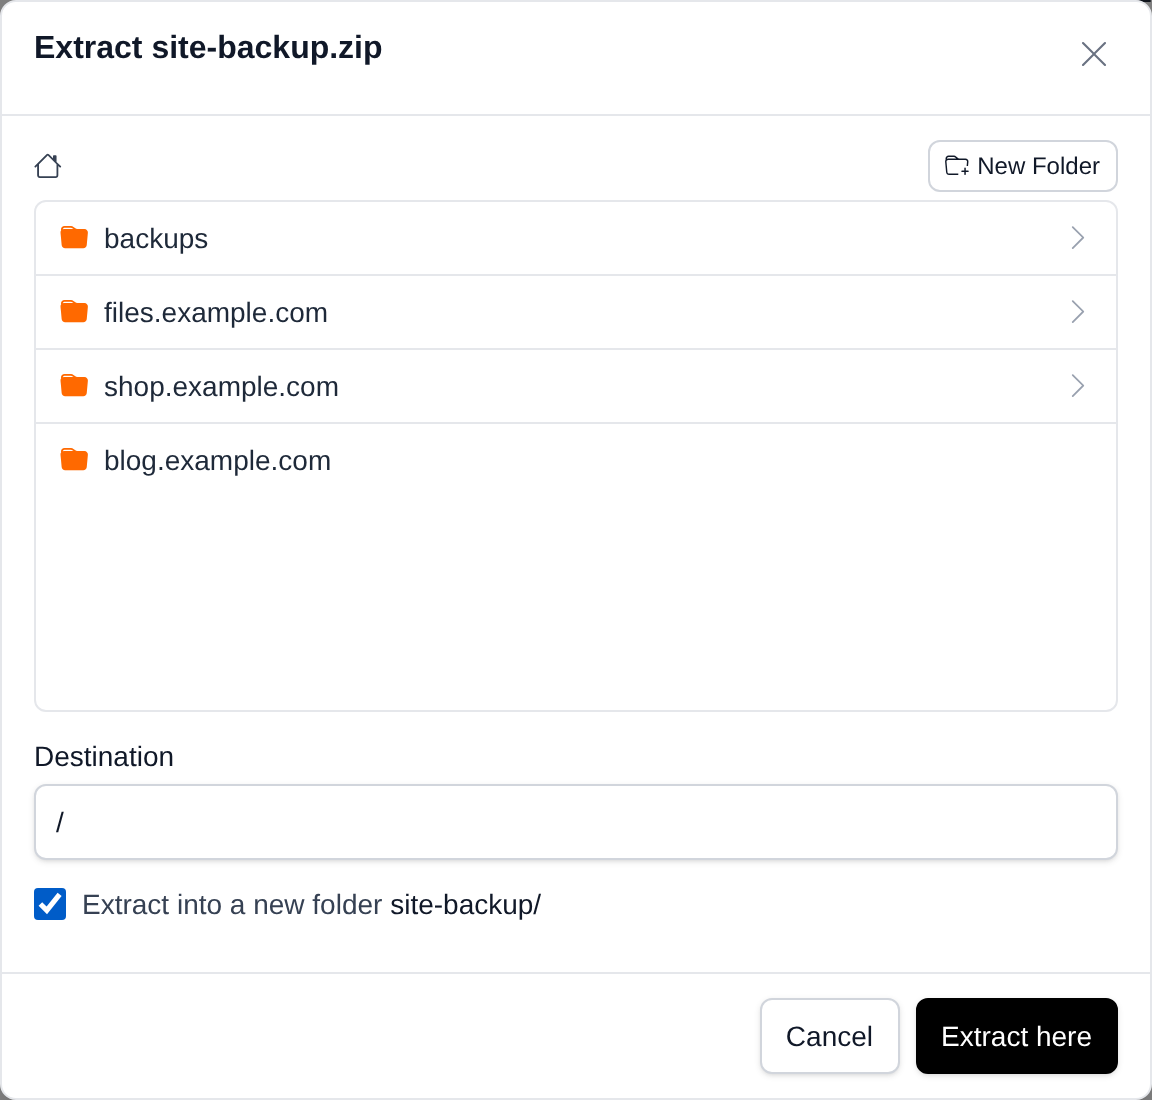
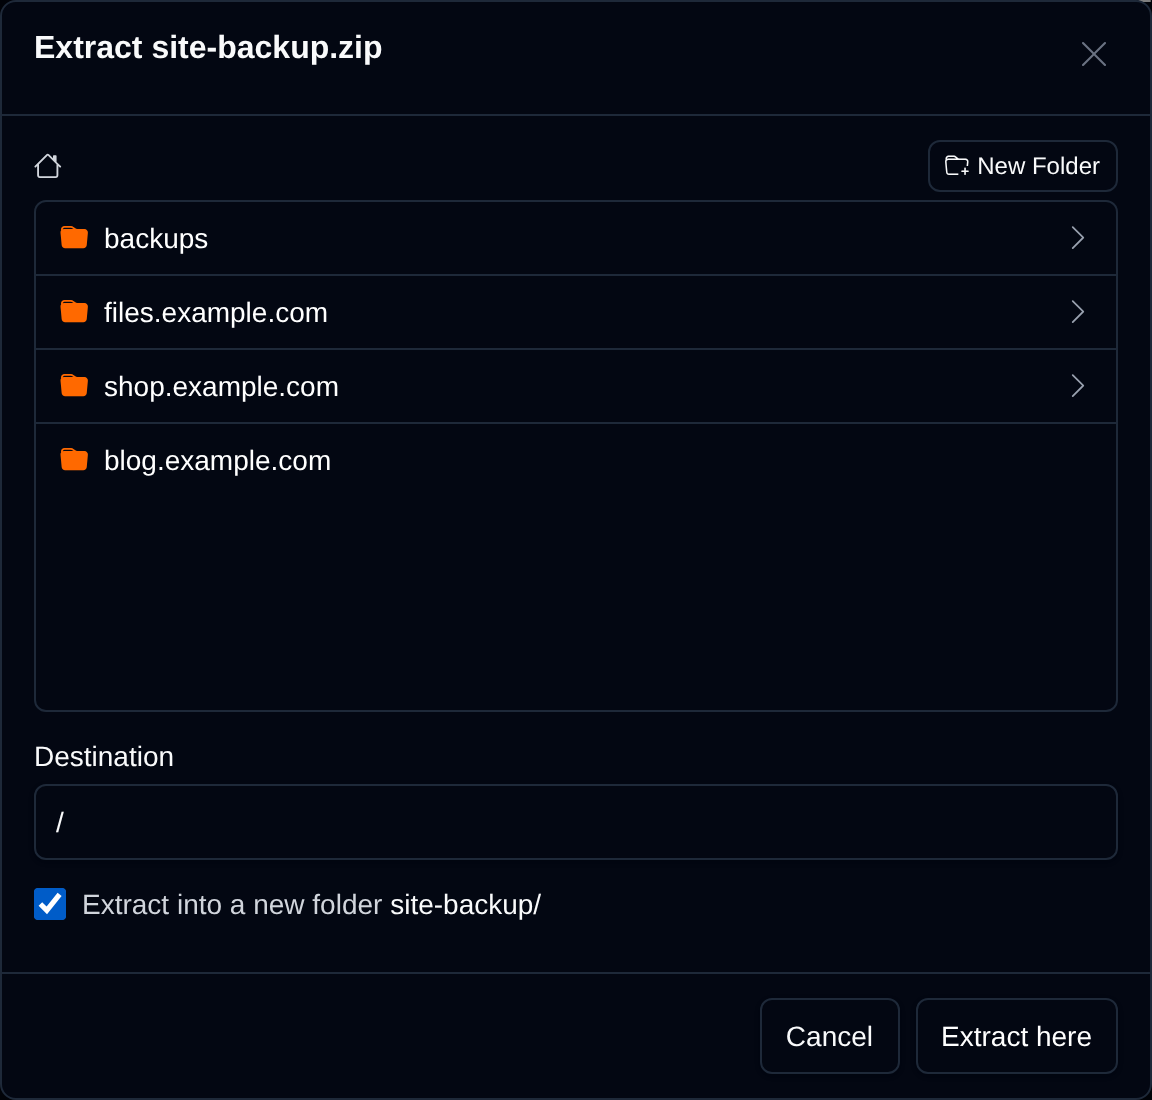
To extract an archive (.zip, .tar, .tar.gz), select the file and click on the Extract button. Use the folder browser to choose where the files will be extracted, by default into the current folder.
Check Extract into a new folder to put the extracted files into a new folder named after the archive, instead of mixing them with the files already in the destination.
Change Permissions
To change permissions, select the files or folders and click on the Permissions button. The permissions of the first selected item turn into an input for the octal value (e.g. 755), and the other selected items show the same value as you type it. Only the digits 0-7 can be entered. Click Save or press Enter to apply it to all selected items.
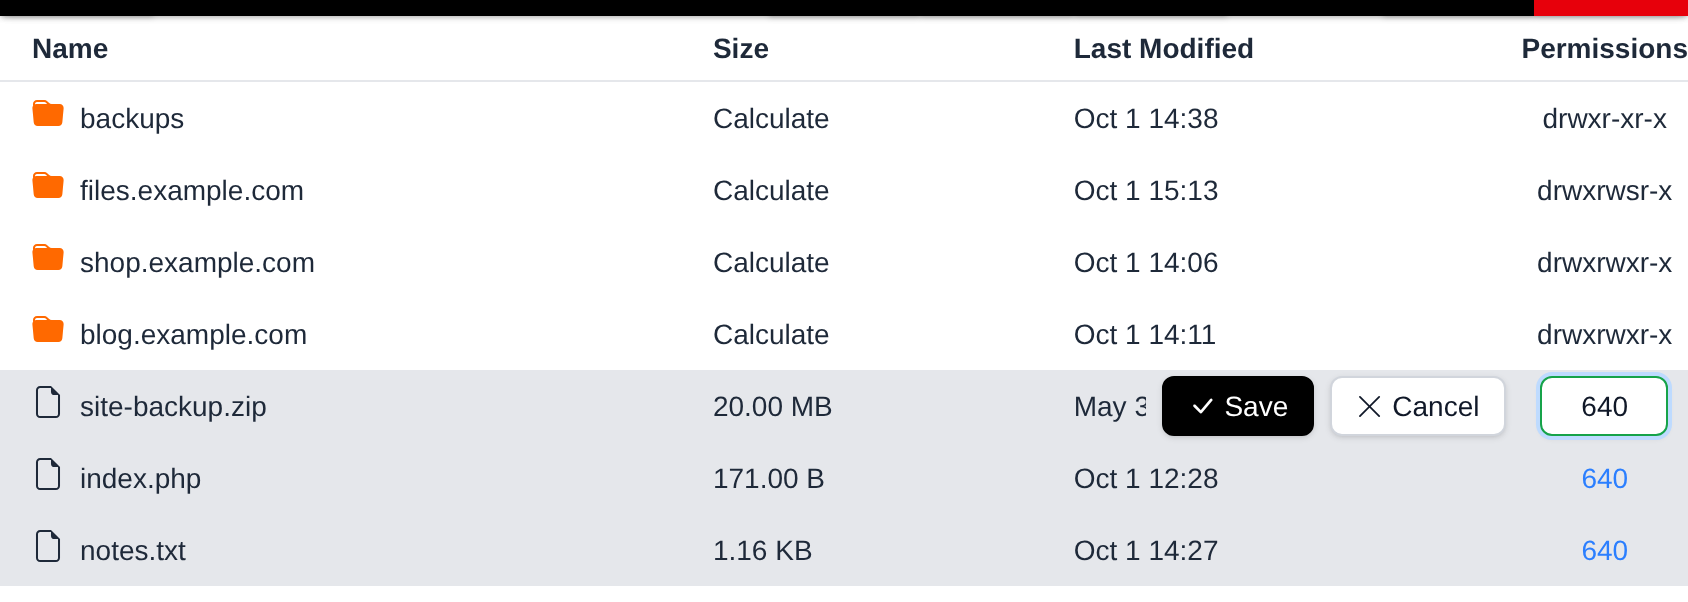
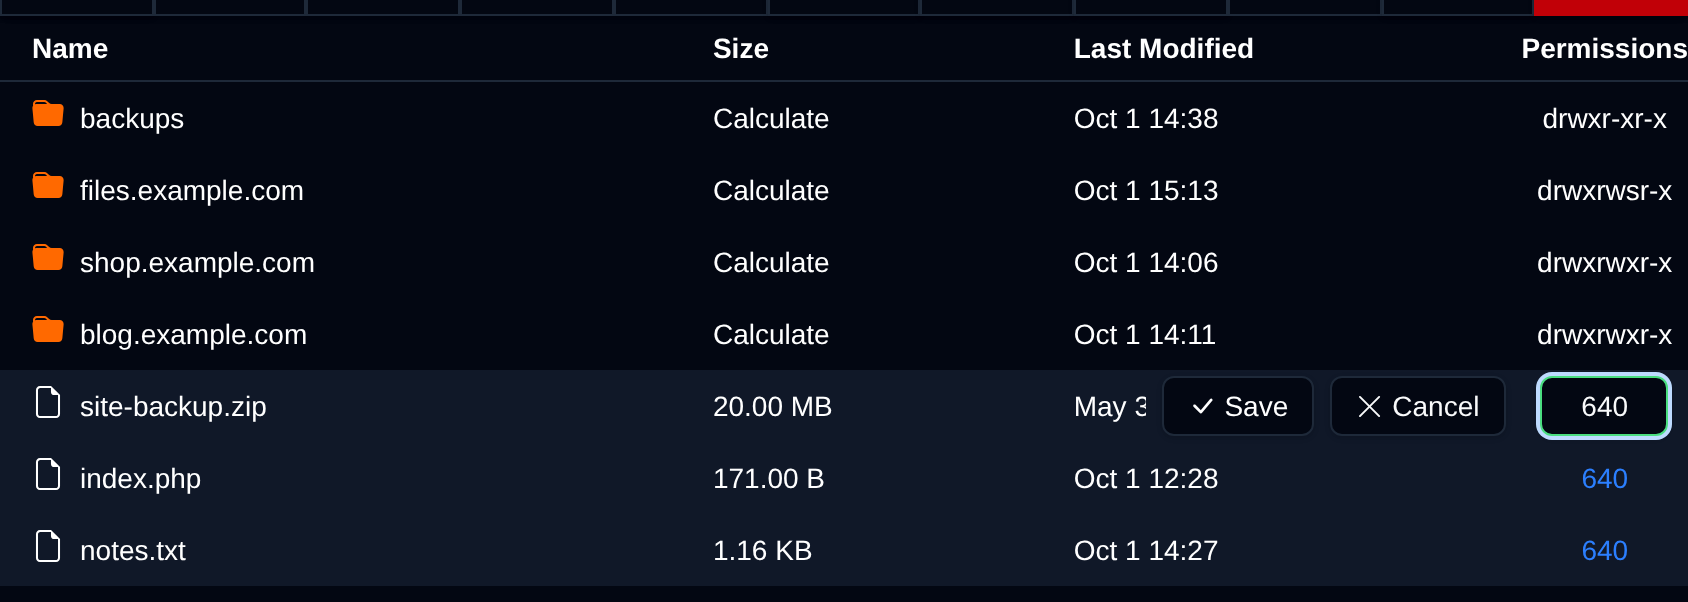
If at least one selected item is a folder, a Recursive checkbox is shown next to the buttons. Check it to apply the permission value to the folder and everything inside it, instead of just the folder itself.
Quarantine Folder
If the Malware Scanner is enabled for your account, files it detects are moved to the .quarantine folder. Opening that folder in the File Manager takes you to the Quarantine page instead, where you can restore, mark as safe or delete them. The folder is also left out of the folder browser in the Copy, Move, Compress and Extract dialogs.
Empty Folder
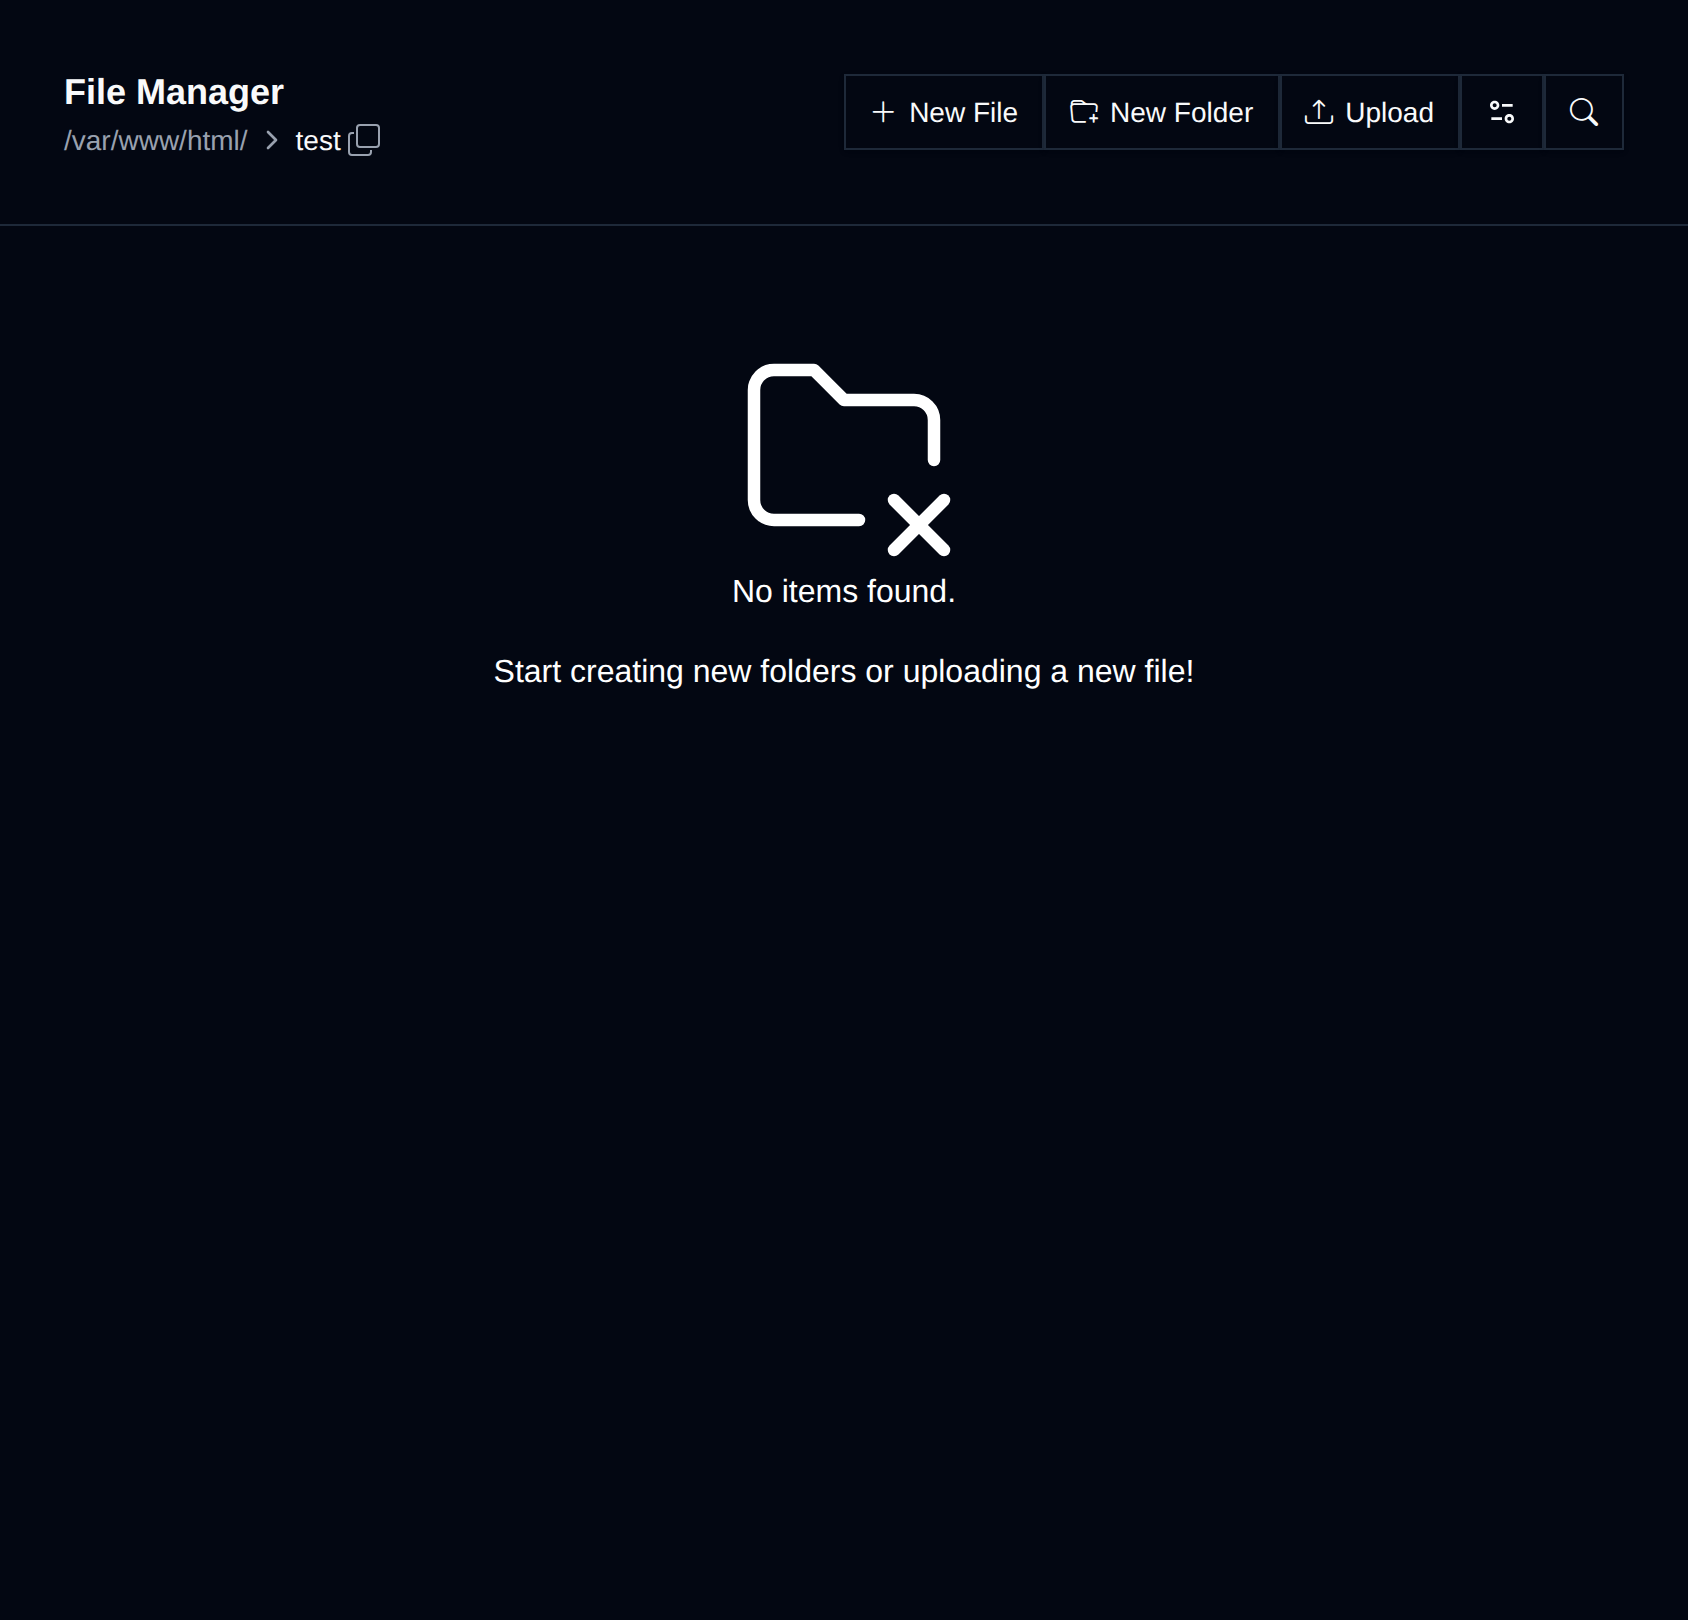
If a folder is empty, you will see the 'No items found.' message and the menu with file options will be hidden. Only the options to create a new file, folder, or upload files will be available.

Search Files and Folders
To activate the search field, click the magnifying glass icon in the File Manager toolbar (not the one in the page header). Clicking on the Toggle icon will display options to search only files or only folders, and path to search in.
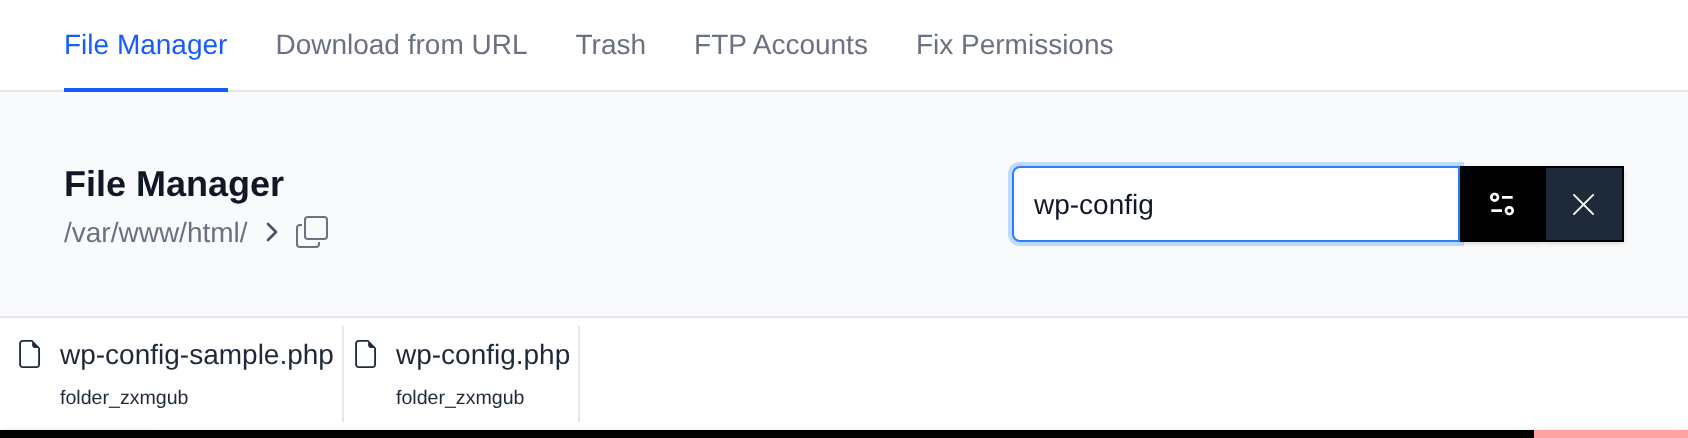
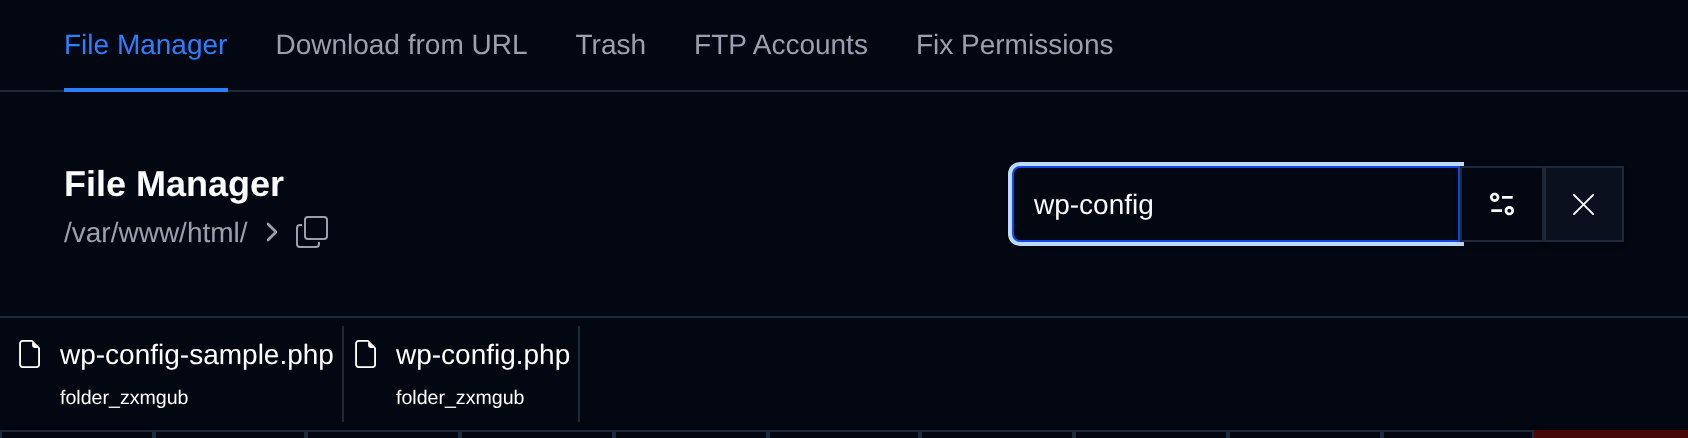
For performance reasons, search results are limited to a maximum of 10 results for files and 10 results for folders.