Containers
The Containers page in OpenPanel allows you to manage Docker services defined via Docker Compose files by your Administrator.
This section provides a clear overview of your containerized services and their resource usage.
To access this feature:
- The Docker module must be enabled server-wide by an Administrator.
- Your account must have the Docker feature enabled.
Overview
At the top of the page, you'll see:
- Running Containers / Total Containers – Indicates how many services are currently active.
- Total CPU – Number of CPU cores assigned to your hosting plan.
- Total Memory – Amount of RAM (in GB) assigned to your hosting plan.
You can allocate portions of these total resources to individual services.
Container Table
Use the Show Columns dropdown above the table to show or hide columns. Name, CPU Usage, Memory Usage, PIDs, Status and Actions are shown by default, Block I/O and Net I/O are hidden.
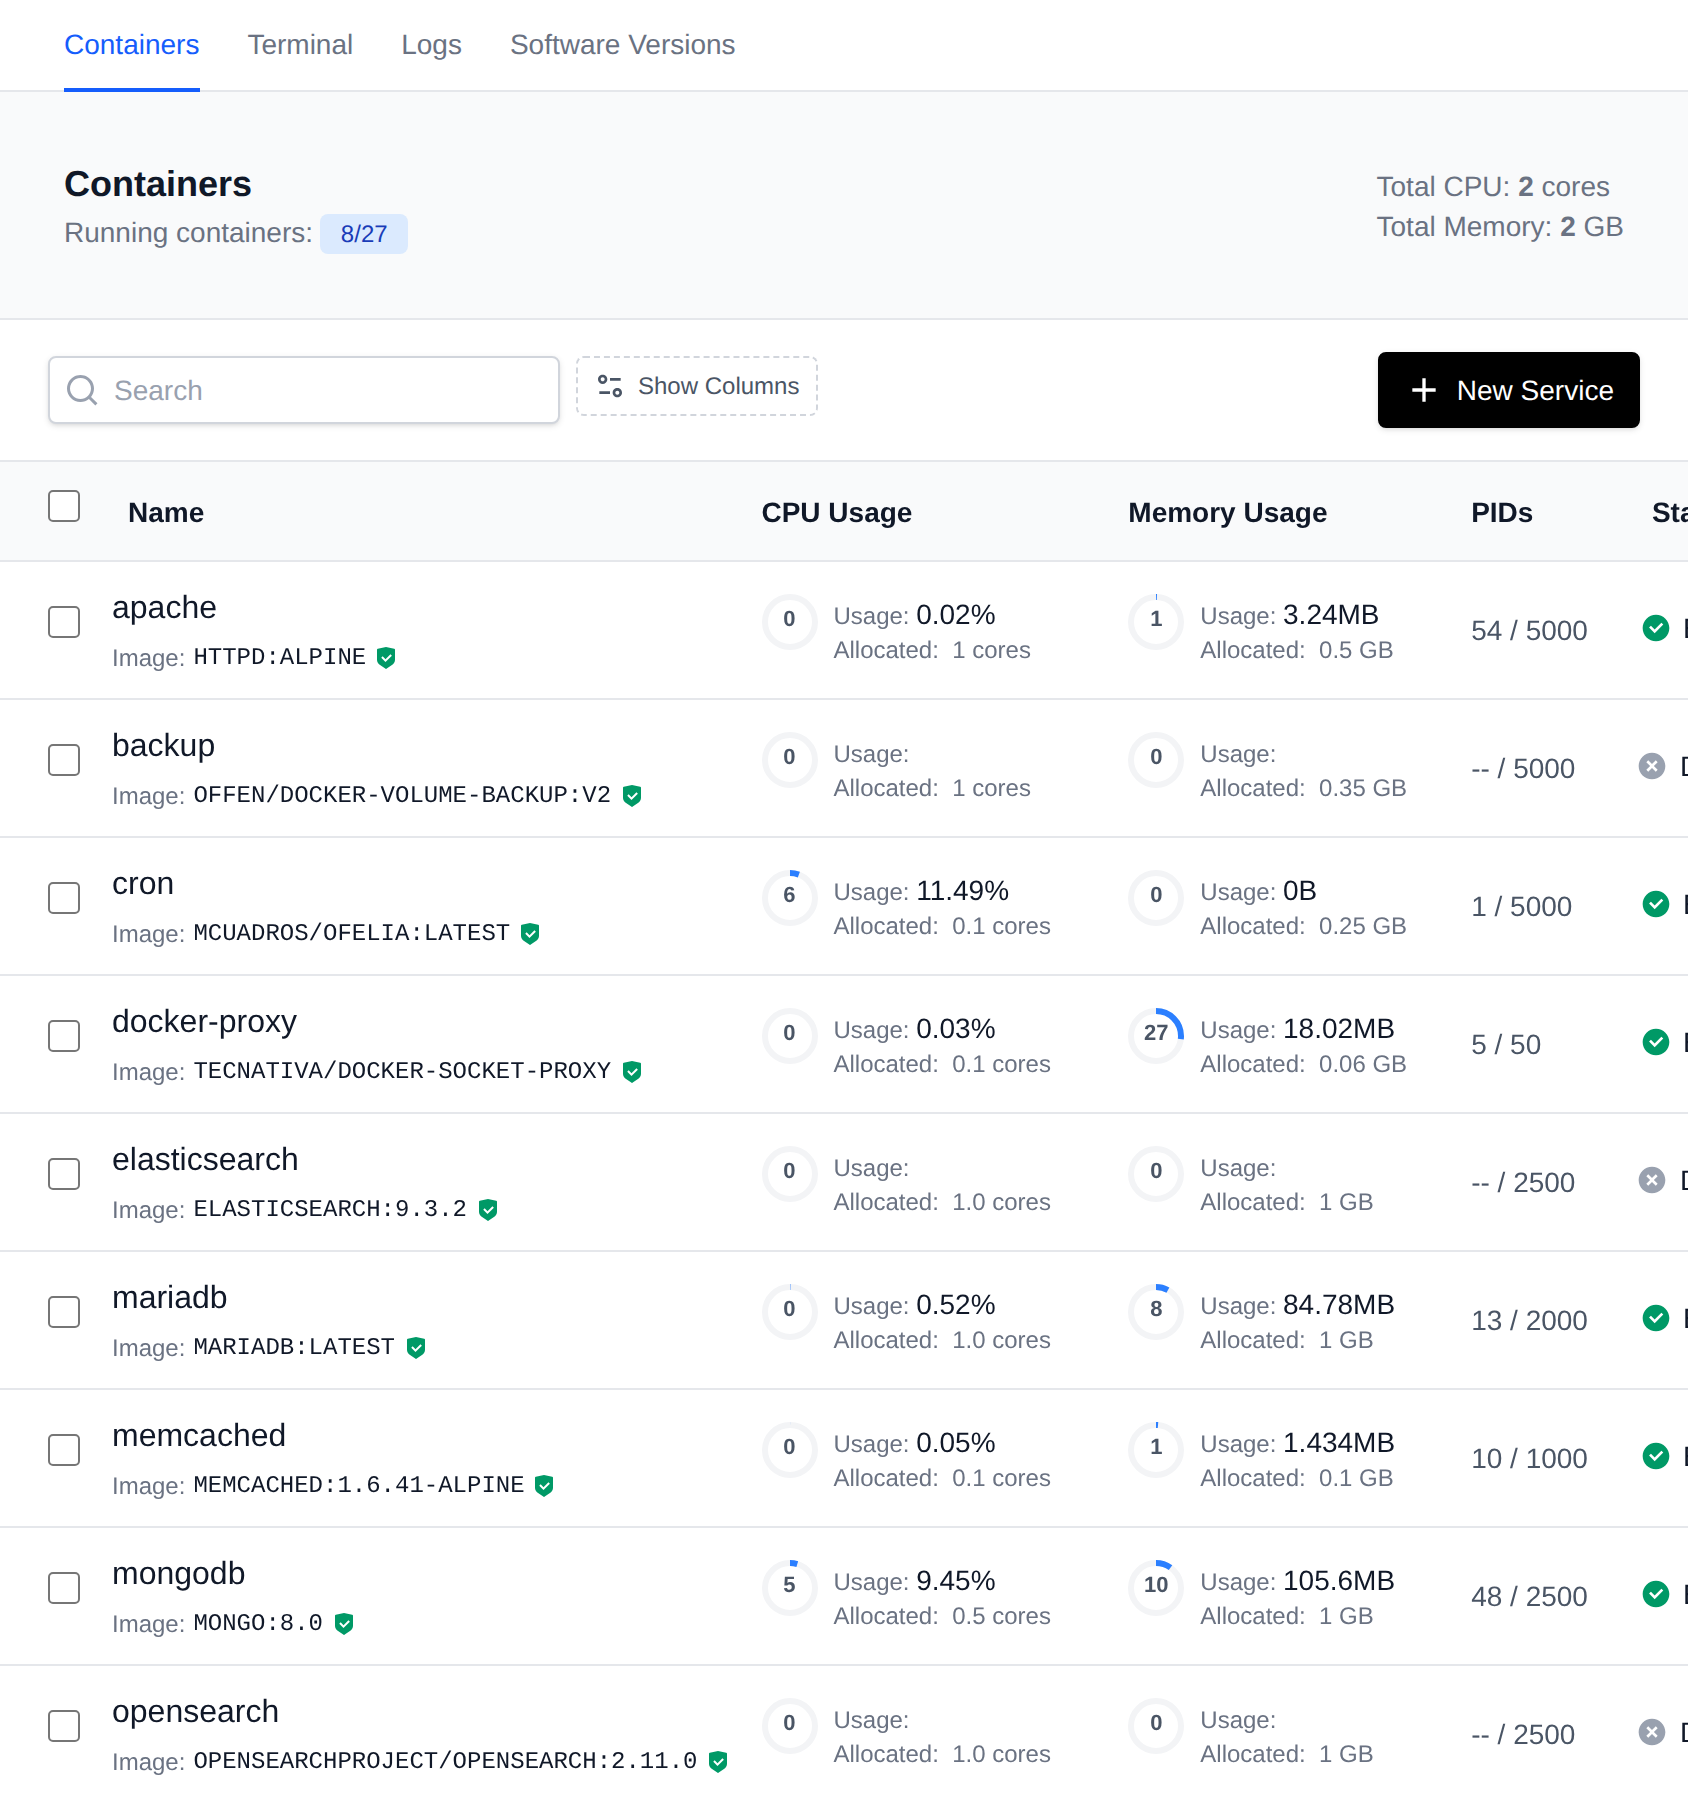
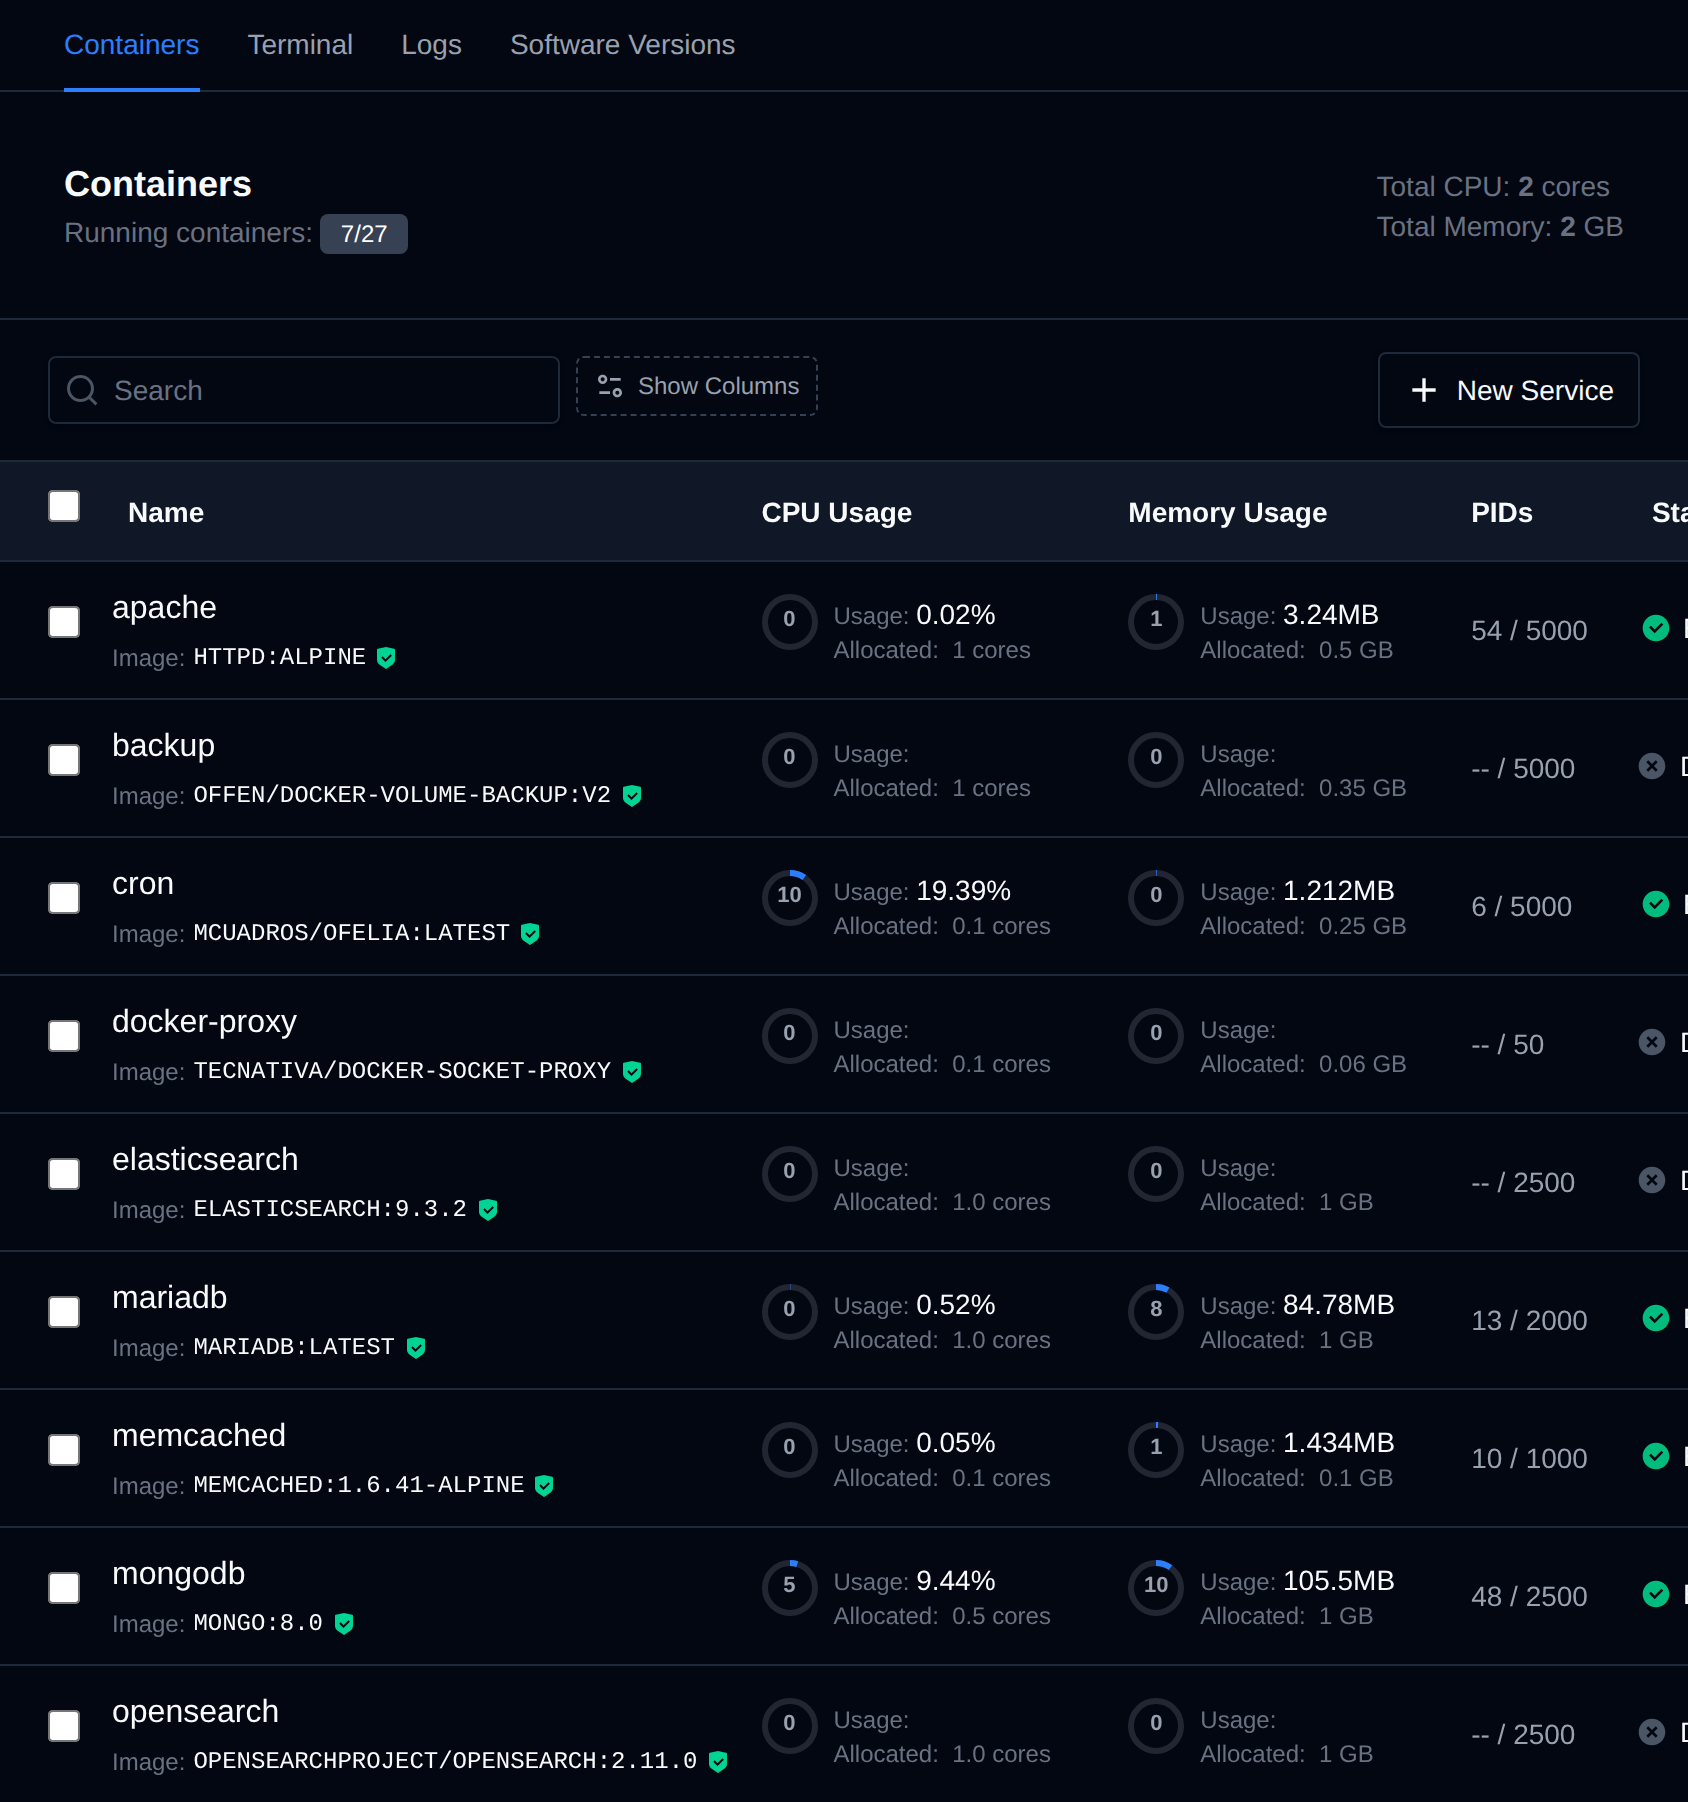
Each row in the table represents a containerized service and displays:
- Checkbox – Selects the service for bulk actions.
- Name – Name of the Docker service, along with the image used and its tag (version).
- CPU Usage
- Graph – Real-time usage as a percentage of the allocated CPU.
- Usage – How much CPU the container is using from its allocated amount.
- Allocated – Number of CPU cores allocated to the service.
- Memory Usage
- Graph – Real-time usage as a percentage of the allocated memory.
- Usage – RAM used by the service from its allocated amount.
- Allocated – Memory (in GB) allocated to the service.
- PIDs – Processes running in the container and the most it can run.
- Status – A badge showing whether the service is currently Enabled (running) or Disabled (stopped).
- Actions – The ⋮ menu of the service:
- Start if the service is stopped, or Stop if it's running.
- Terminal opens a web terminal (
podman exec) for that container, and Logs jumps to its log output. - Edit and Delete are only shown for services you added yourself, core services (webserver, database, cache, etc.) can't be edited or deleted from this page.
Editing Resources
To change the CPU, Memory or PIDs limit of a service:
- Hover over the Allocated value in the table.
- Click the pencil icon.
- Adjust the value in the input field.
- Click Save.
The change is applied immediately to the running container (no restart required). Setting CPU or Memory to
0removes the limit and falls back to the maximum allowed by your hosting plan, and PIDs0means unlimited.
To change the limit of several services at once, use bulk actions.
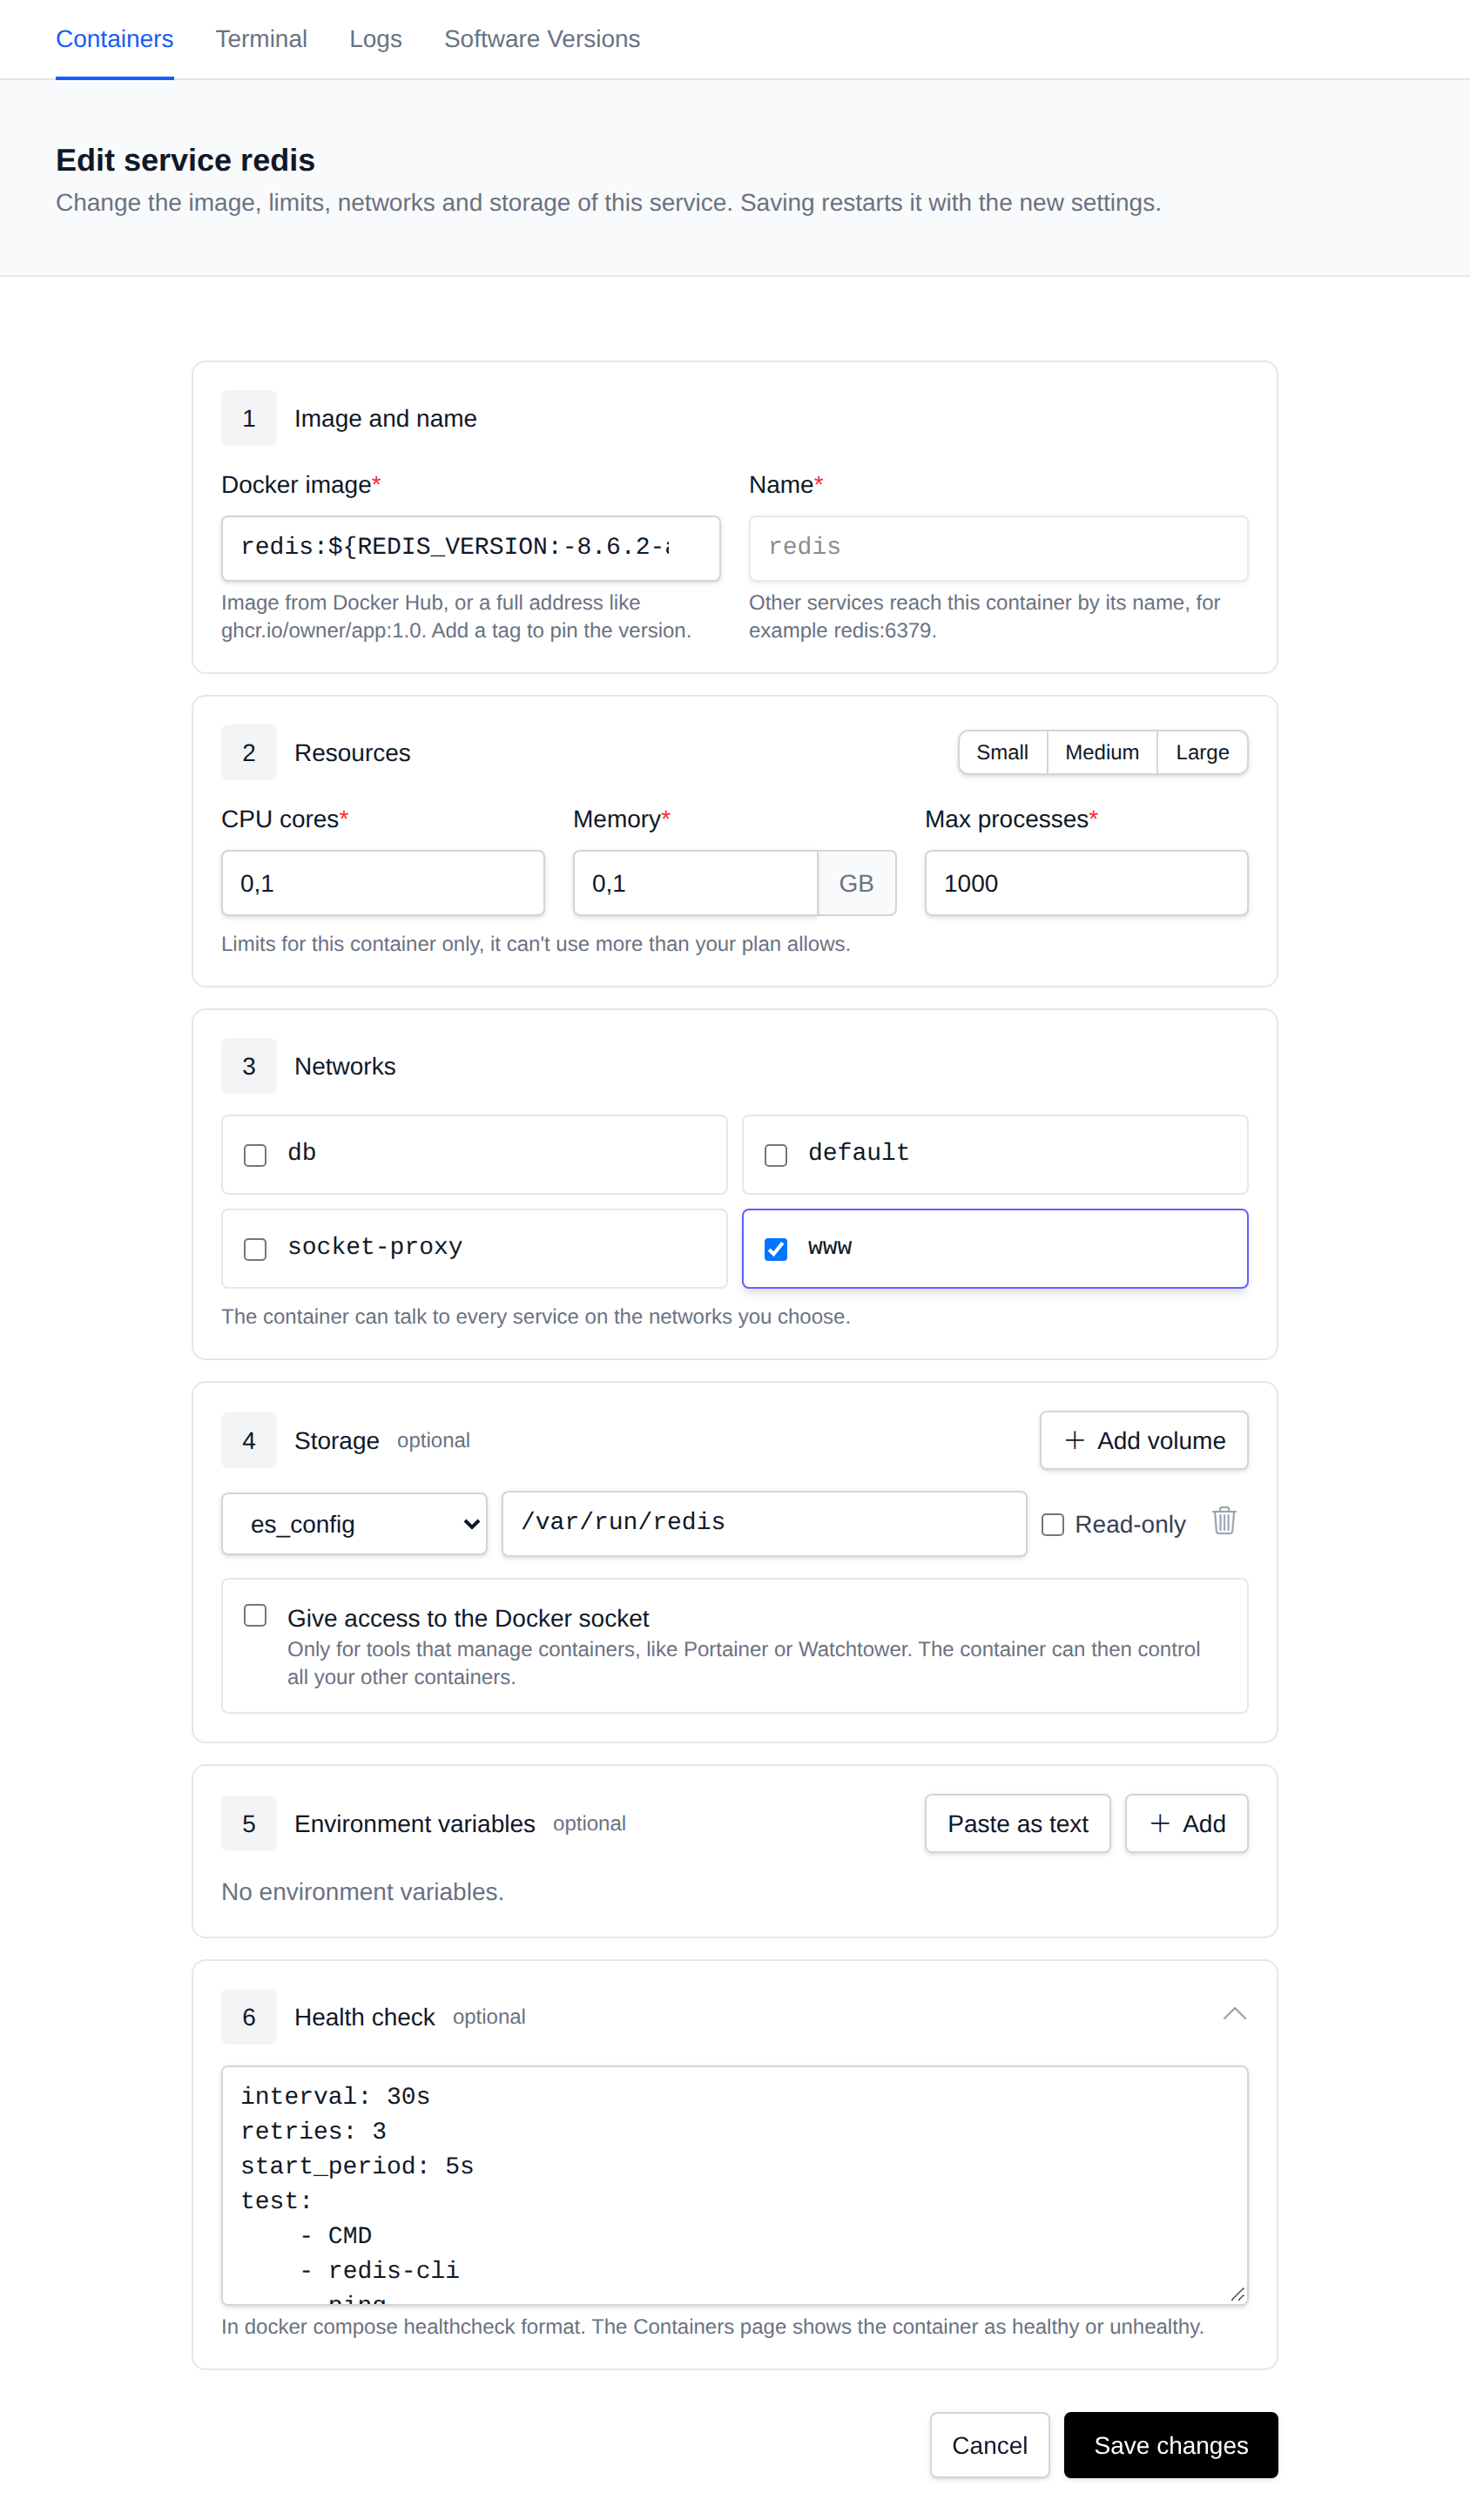
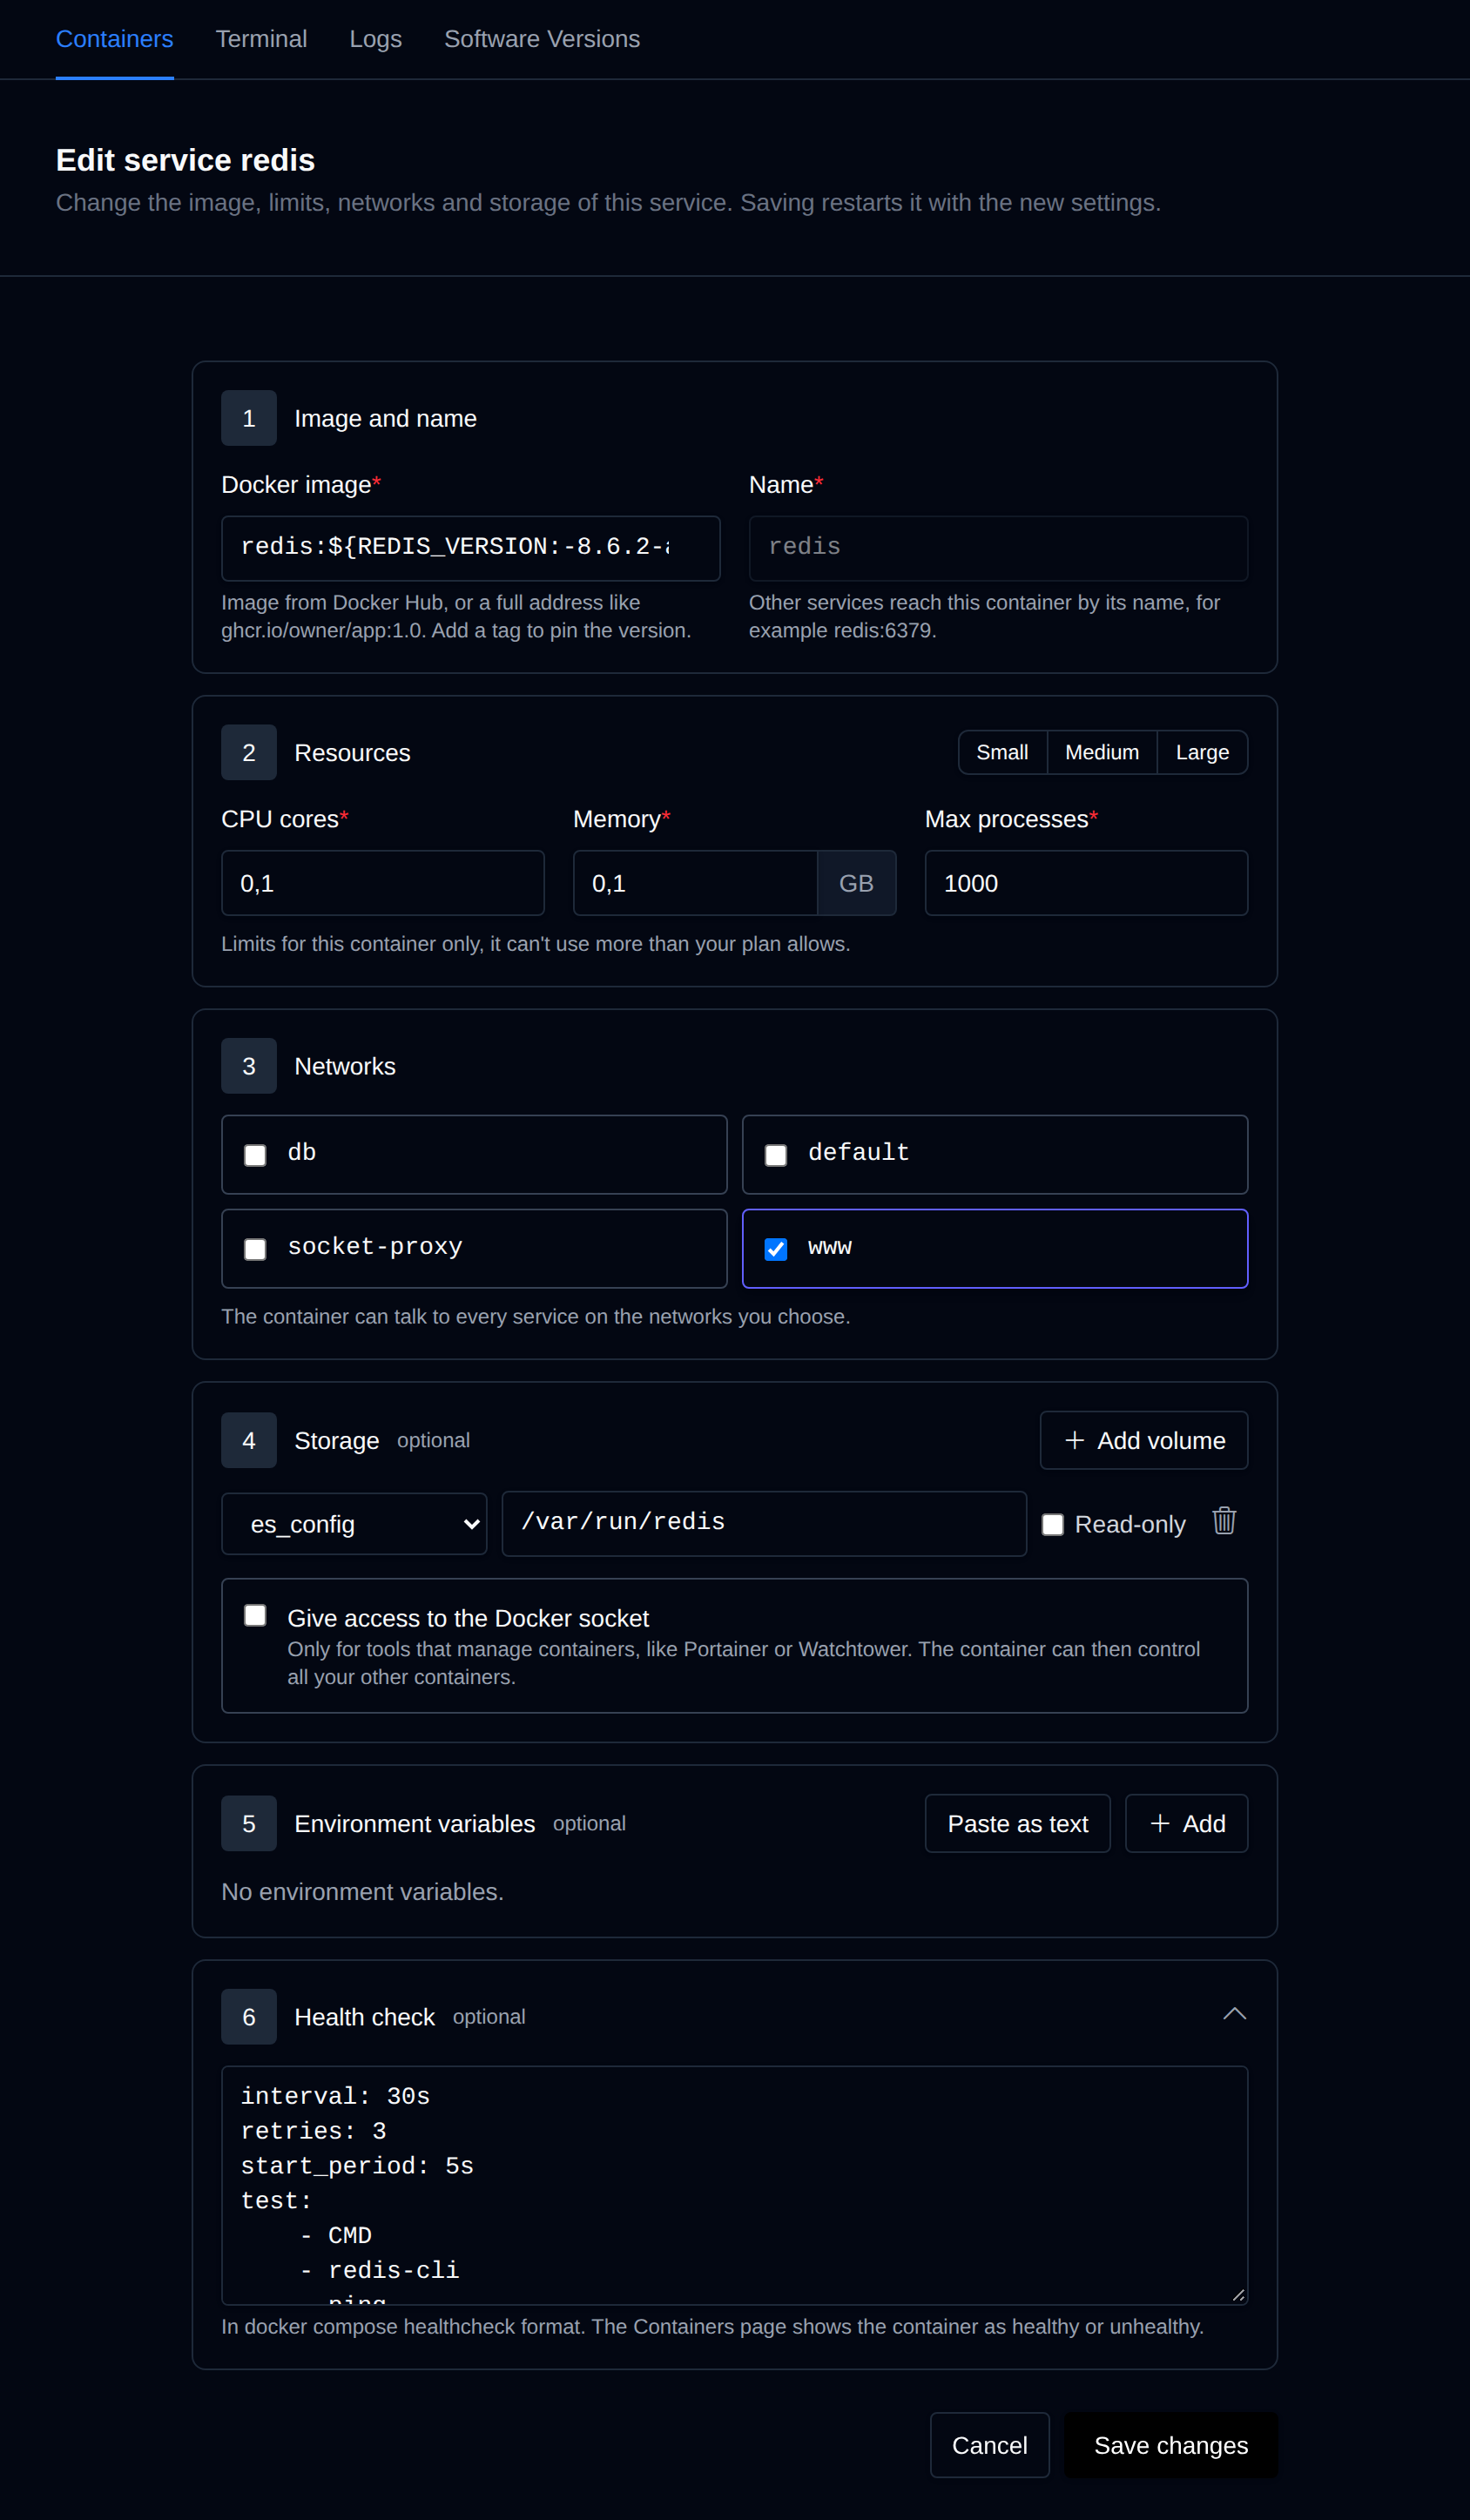
All limits of a service (CPU, memory and PIDs), along with its image, environment variables, volumes and networks, can also be changed from its Edit page:
Bulk Actions
Tick the checkbox of one or more services, or the checkbox in the table header to select every service shown by the current search. A bar appears at the bottom of the page with the number of selected services, a Clear link and these actions:
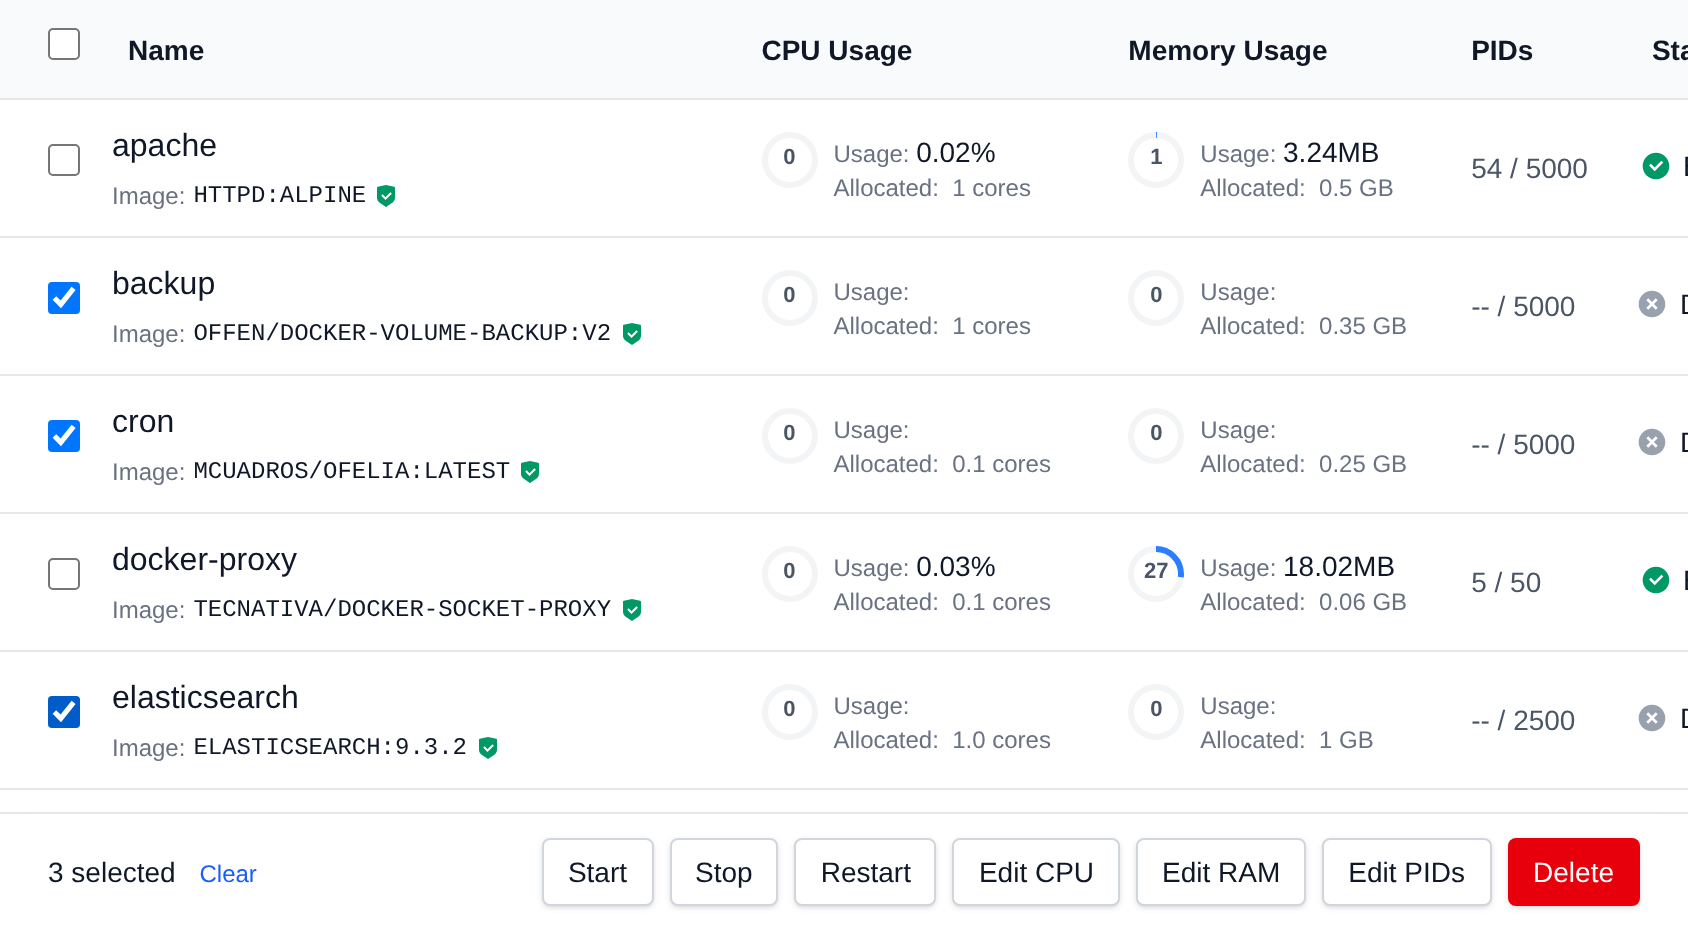
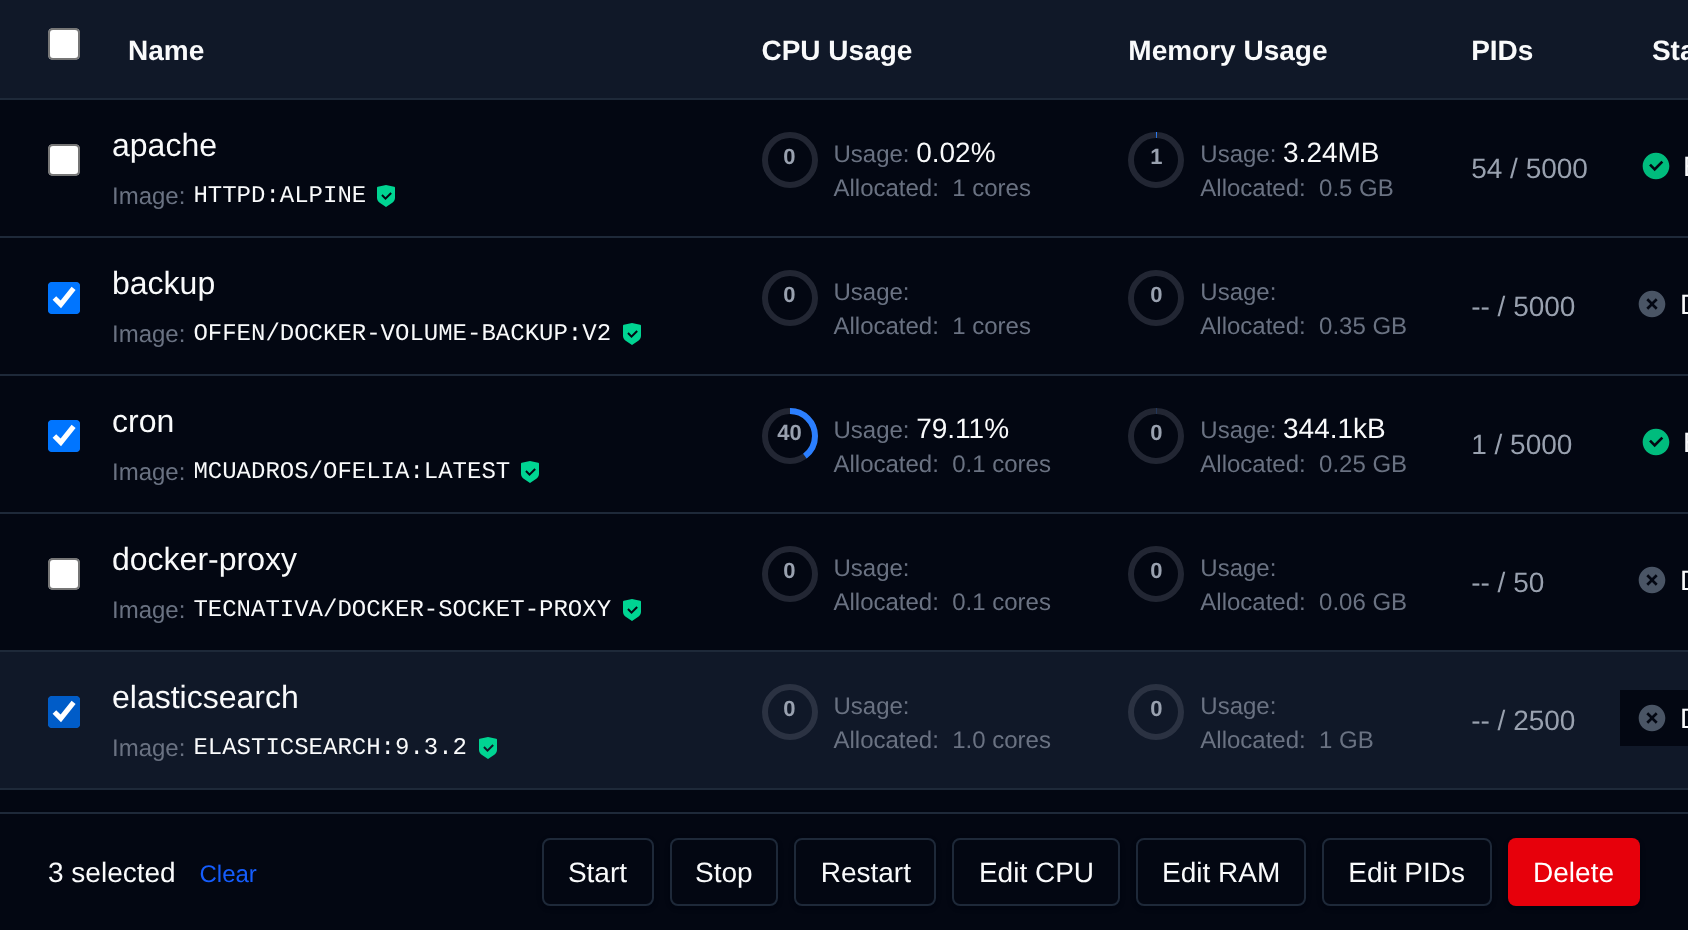
| Action | What it does |
|---|---|
| Start | Starts the selected services. |
| Stop | Stops the selected services. |
| Restart | Stops and starts the selected services again. |
| Edit CPU | Sets the same CPU limit (cores) on every selected service. |
| Edit RAM | Sets the same memory limit (GB) on every selected service. |
| Edit PIDs | Sets the same maximum number of processes on every selected service. |
| Delete | Deletes the selected services and their images. Only services you added yourself can be deleted. |
Clicking an action asks you to confirm it first. Edit CPU, Edit RAM and Edit PIDs also ask for the new value, 0 works the same as in Editing Resources, and CPU and memory can't be set higher than your hosting plan allows.


If some of the selected services don't support the action, for example core services with Delete, the confirmation says how many will be skipped and the action runs only on the rest.


Click Confirm and the action runs on the services one after another. When it's done the page reloads with a notice saying whether it succeeded for all of them, or which services failed and why.
Adding New Services
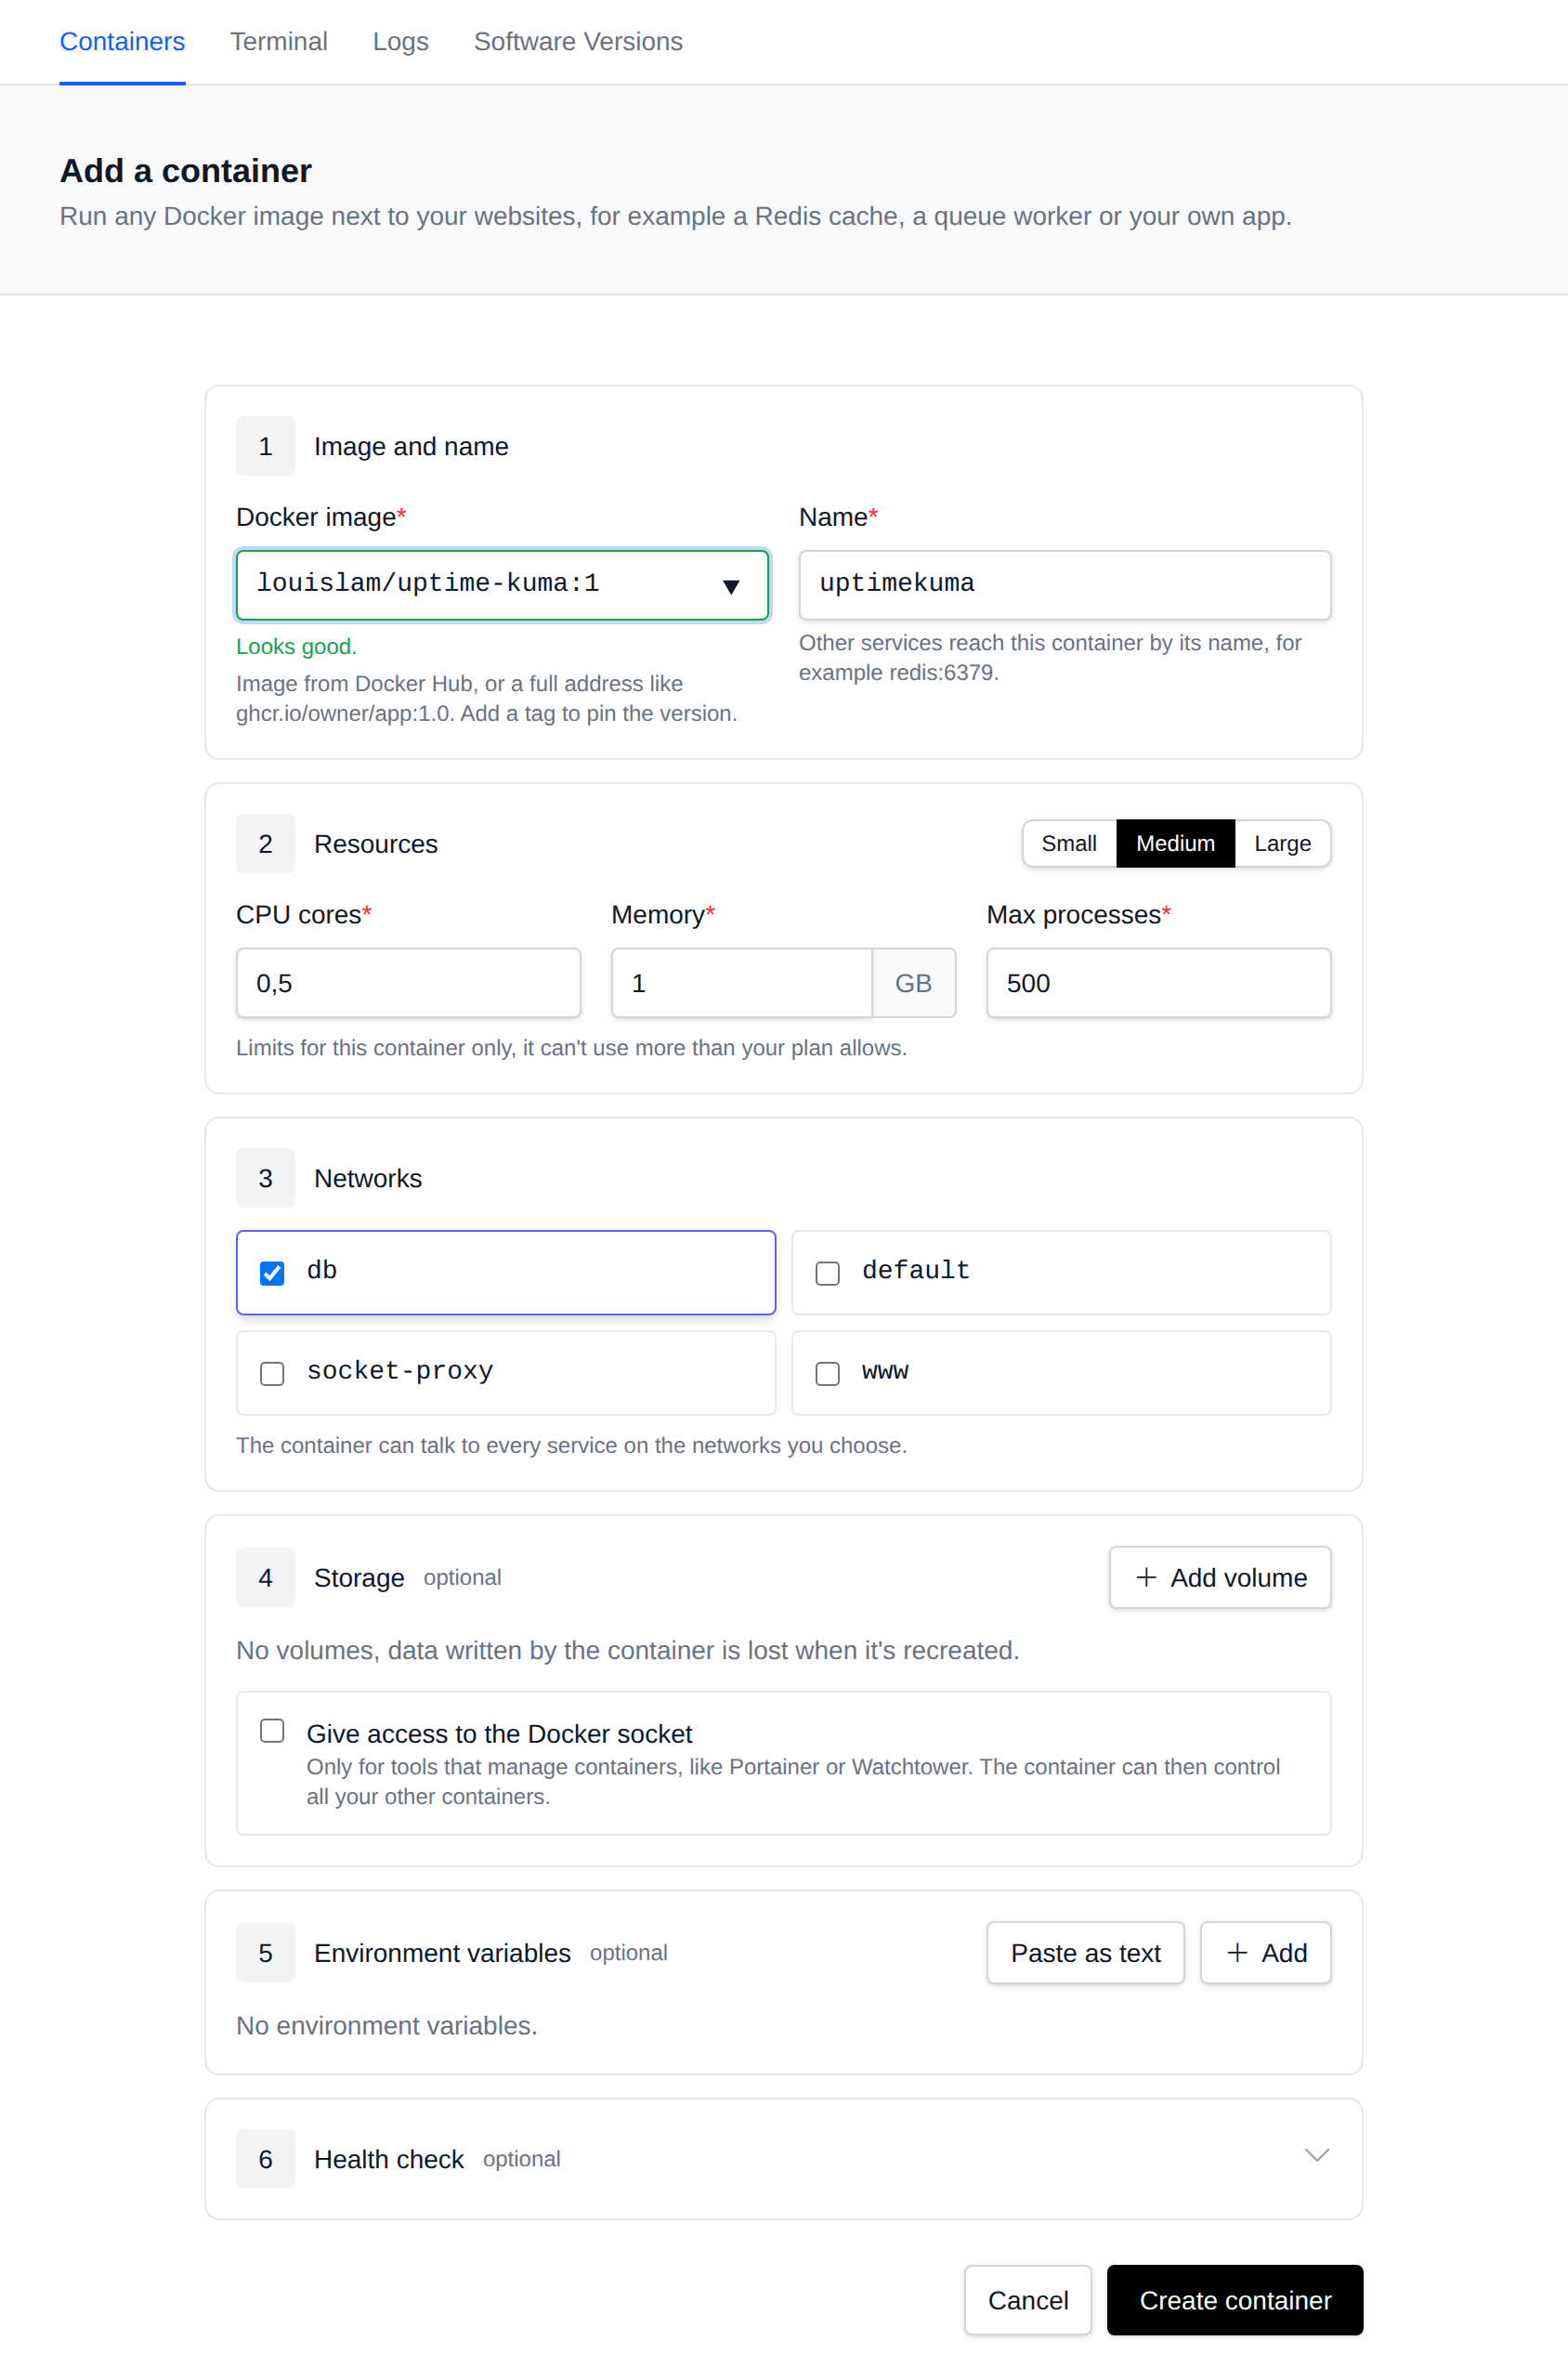
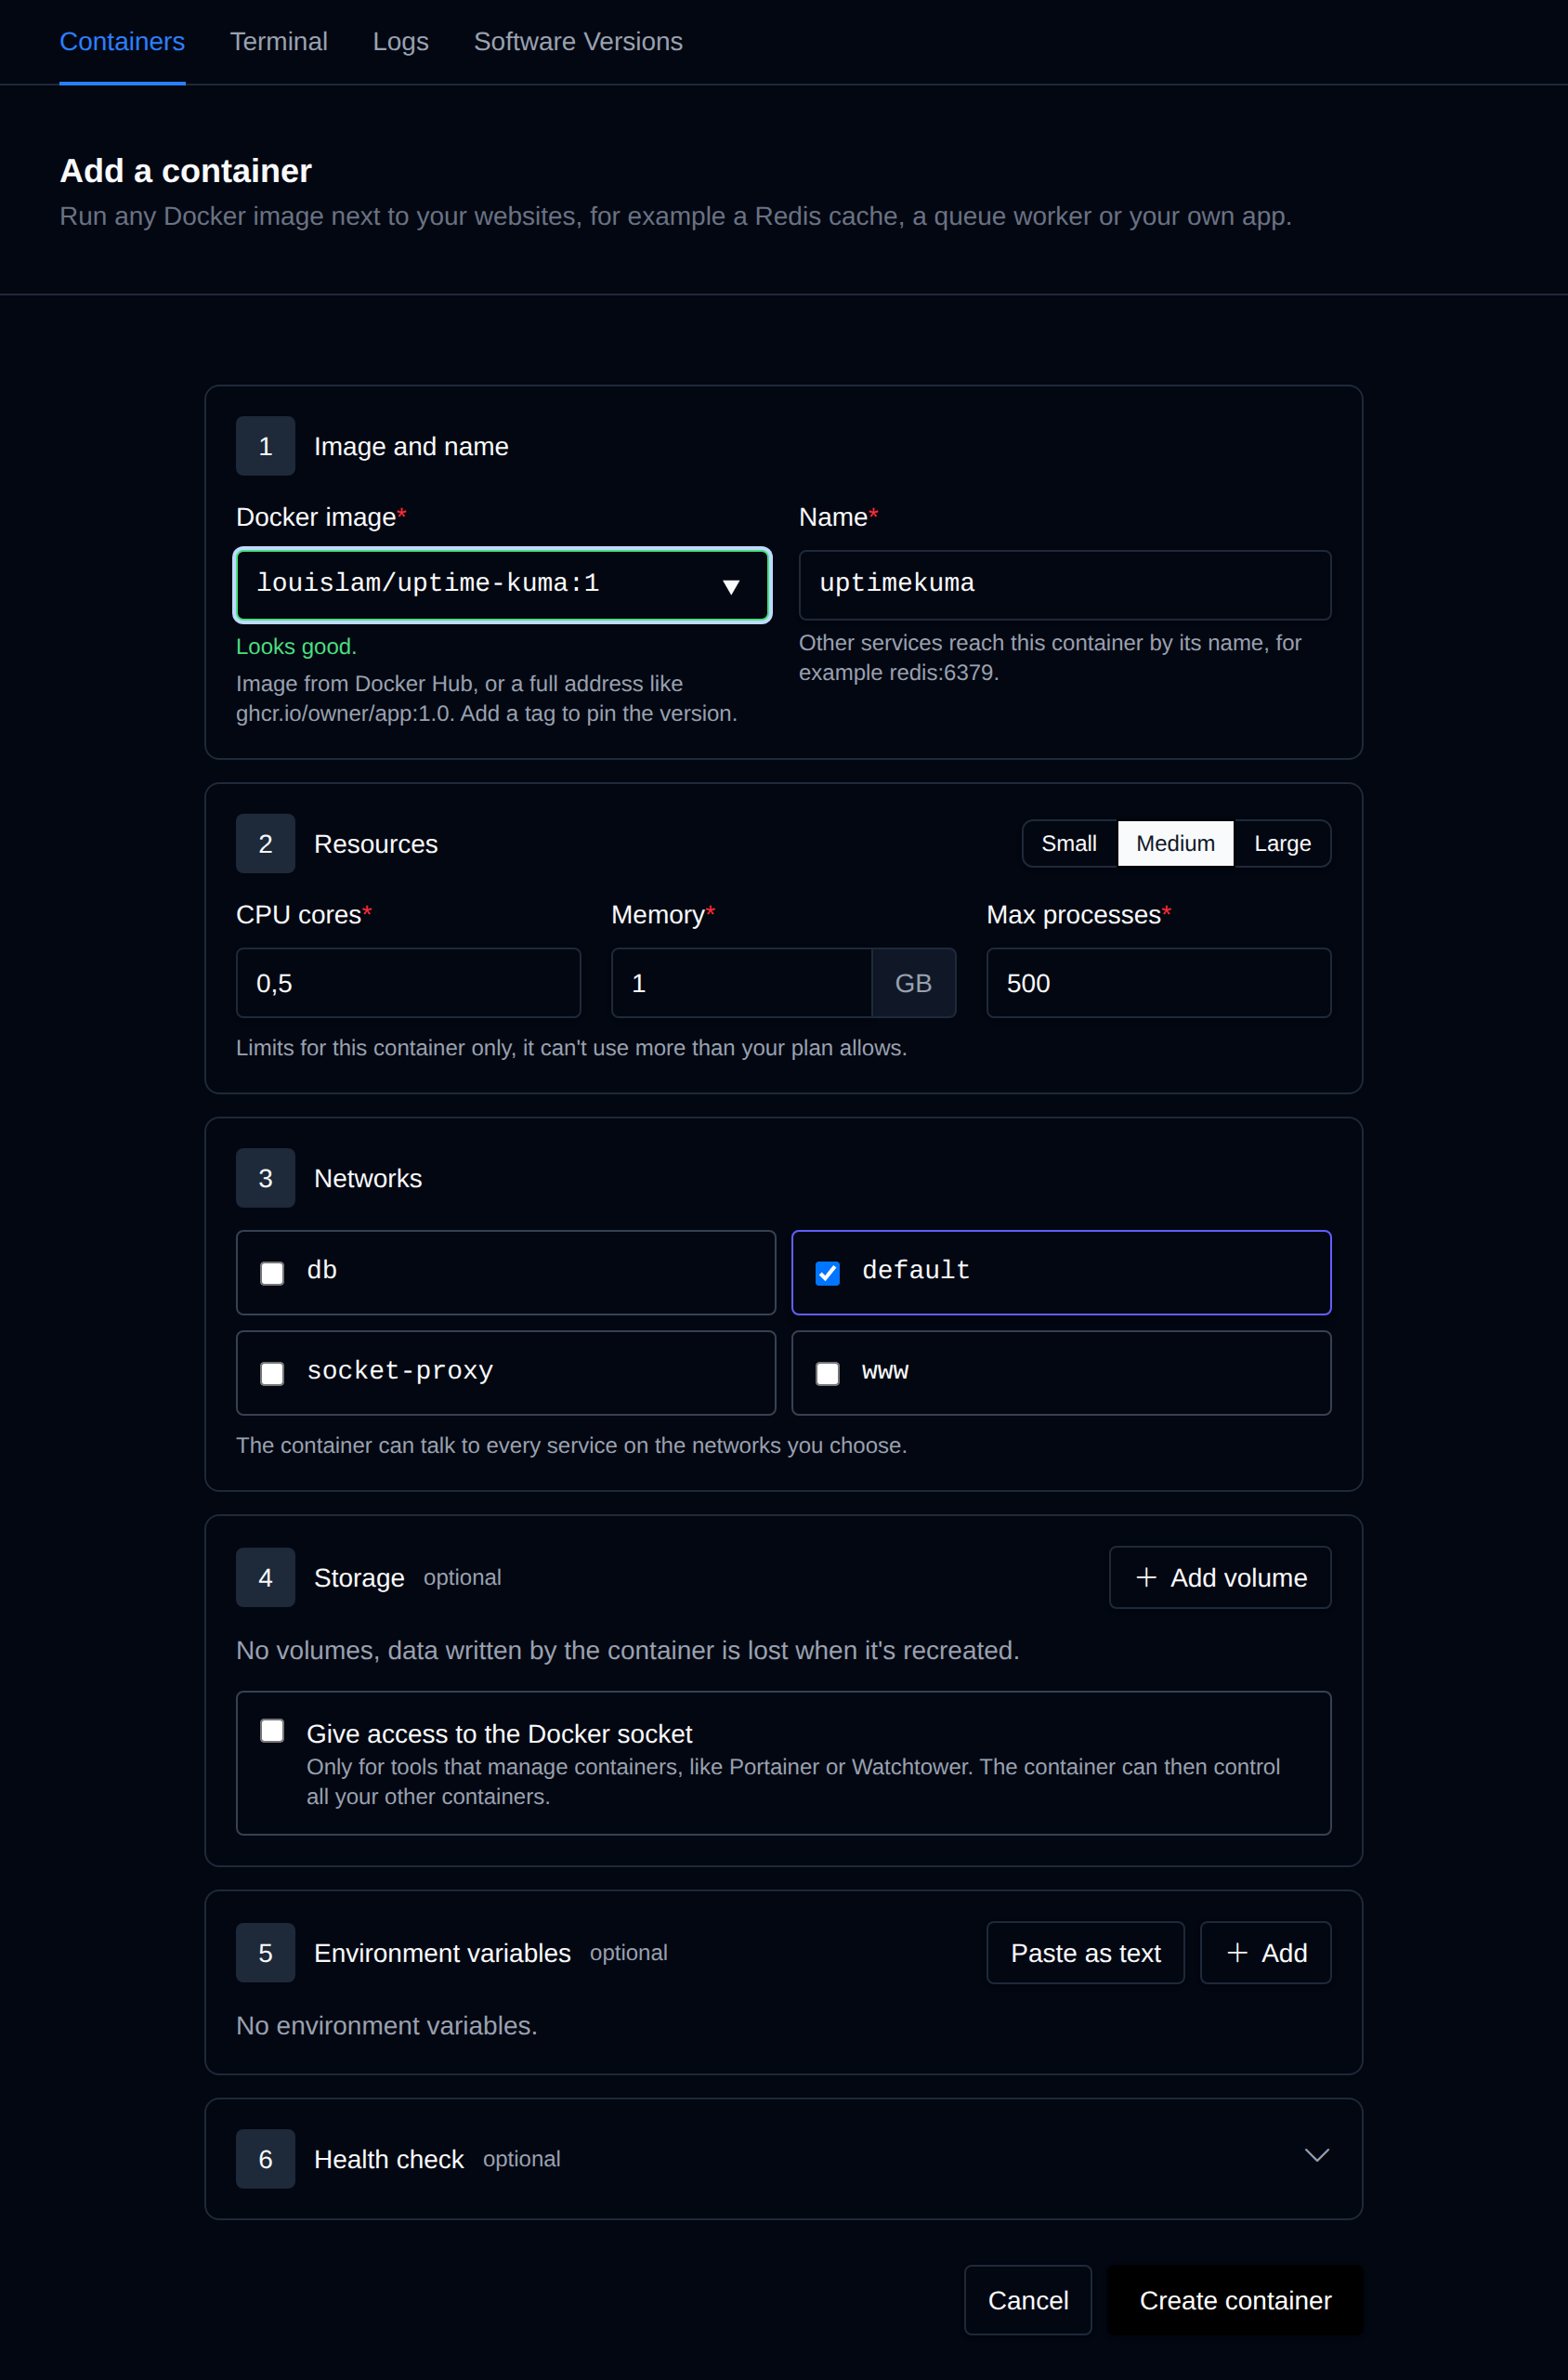
Click New Service on the Containers page to run any Docker image next to your websites, for example a Redis cache, a queue worker or your own app. The form is split into numbered steps:
-
Image and name
- Docker image – An image from Docker Hub such as
redis:7-alpine, or a full address likeghcr.io/owner/app:1.0. Popular images are suggested as you type. Add a tag to pin the version. - Name – Filled in from the image, and changed automatically if that name is already taken. It must start with a letter, contain only lowercase letters and digits, and be at least 3 characters long. Other services reach the container by this name, for example
redis:6379.
- Docker image – An image from Docker Hub such as
-
Resources – Pick Small (0.25 CPU, 0.25 GB, 100 processes), Medium (0.5 CPU, 1 GB, 500 processes, the default) or Large (1 CPU, 2 GB, 1000 processes), or type your own values:
- CPU cores – Maximum CPU the container can use, for example
0.5or1. - Memory – Maximum memory, always in GB, for example
0.5or2. - Max processes – The most processes the container can run at once.
These limits apply to this container only, it can't use more than your hosting plan allows.
- CPU cores – Maximum CPU the container can use, for example
-
Networks – Tick one or more networks from your
docker-compose.yml. The container can talk to every service on the networks you choose. At least one is required. -
Storage (optional)
- Add volume – Pick one of your Docker volumes, enter the path it's mounted at inside the container, and optionally mark it Read-only.
- Give access to the Docker socket – Only for tools that manage containers, like Portainer or Watchtower. The container can then control all your other containers. Unchecked by default.
-
Environment variables (optional) – Add a key and value per row, or click Paste as text to paste them as
KEY: valuelines, one per line. -
Health check (optional) – A docker compose
healthcheckblock. Click Insert example to get one that fits the image, for example:test: ["CMD", "redis-cli", "ping"]interval: 30stimeout: 5sretries: 3The Containers page then shows the container as healthy or unhealthy.
Click Create container and the progress of each step is shown on the page:
- Validating container details – The name, image, limits and networks are checked.
- Saving container to docker-compose.yml – The service is added to your
docker-compose.ymland its limits are saved to.env. - Downloading image – The image is pulled, so starting the container later is quick.
- Container created – You're taken back to the Containers page.
If the details are invalid the step turns red with the reason, and Back to the form returns you to the form with everything still filled in. If only the image download fails, the container is already saved, and the error from the registry is shown so you can fix the image from its Edit page.
The new container isn't started automatically. Start it from the Containers page when you're ready.
Each service gets an uppercase prefix for its environment variable keys, and its CPU, memory and process limits are stored as variables in .env. For example, a service named nginx gets:
NGINX_CPU
NGINX_RAM
NGINX_PIDS