Domains
To create a website, the first step is to add a domain name.
If the Domains module is enabled on the server and your user account has access to it, you'll see a table listing all current domains, the total number of domains, a search bar, filters, and an option to add a new domain.
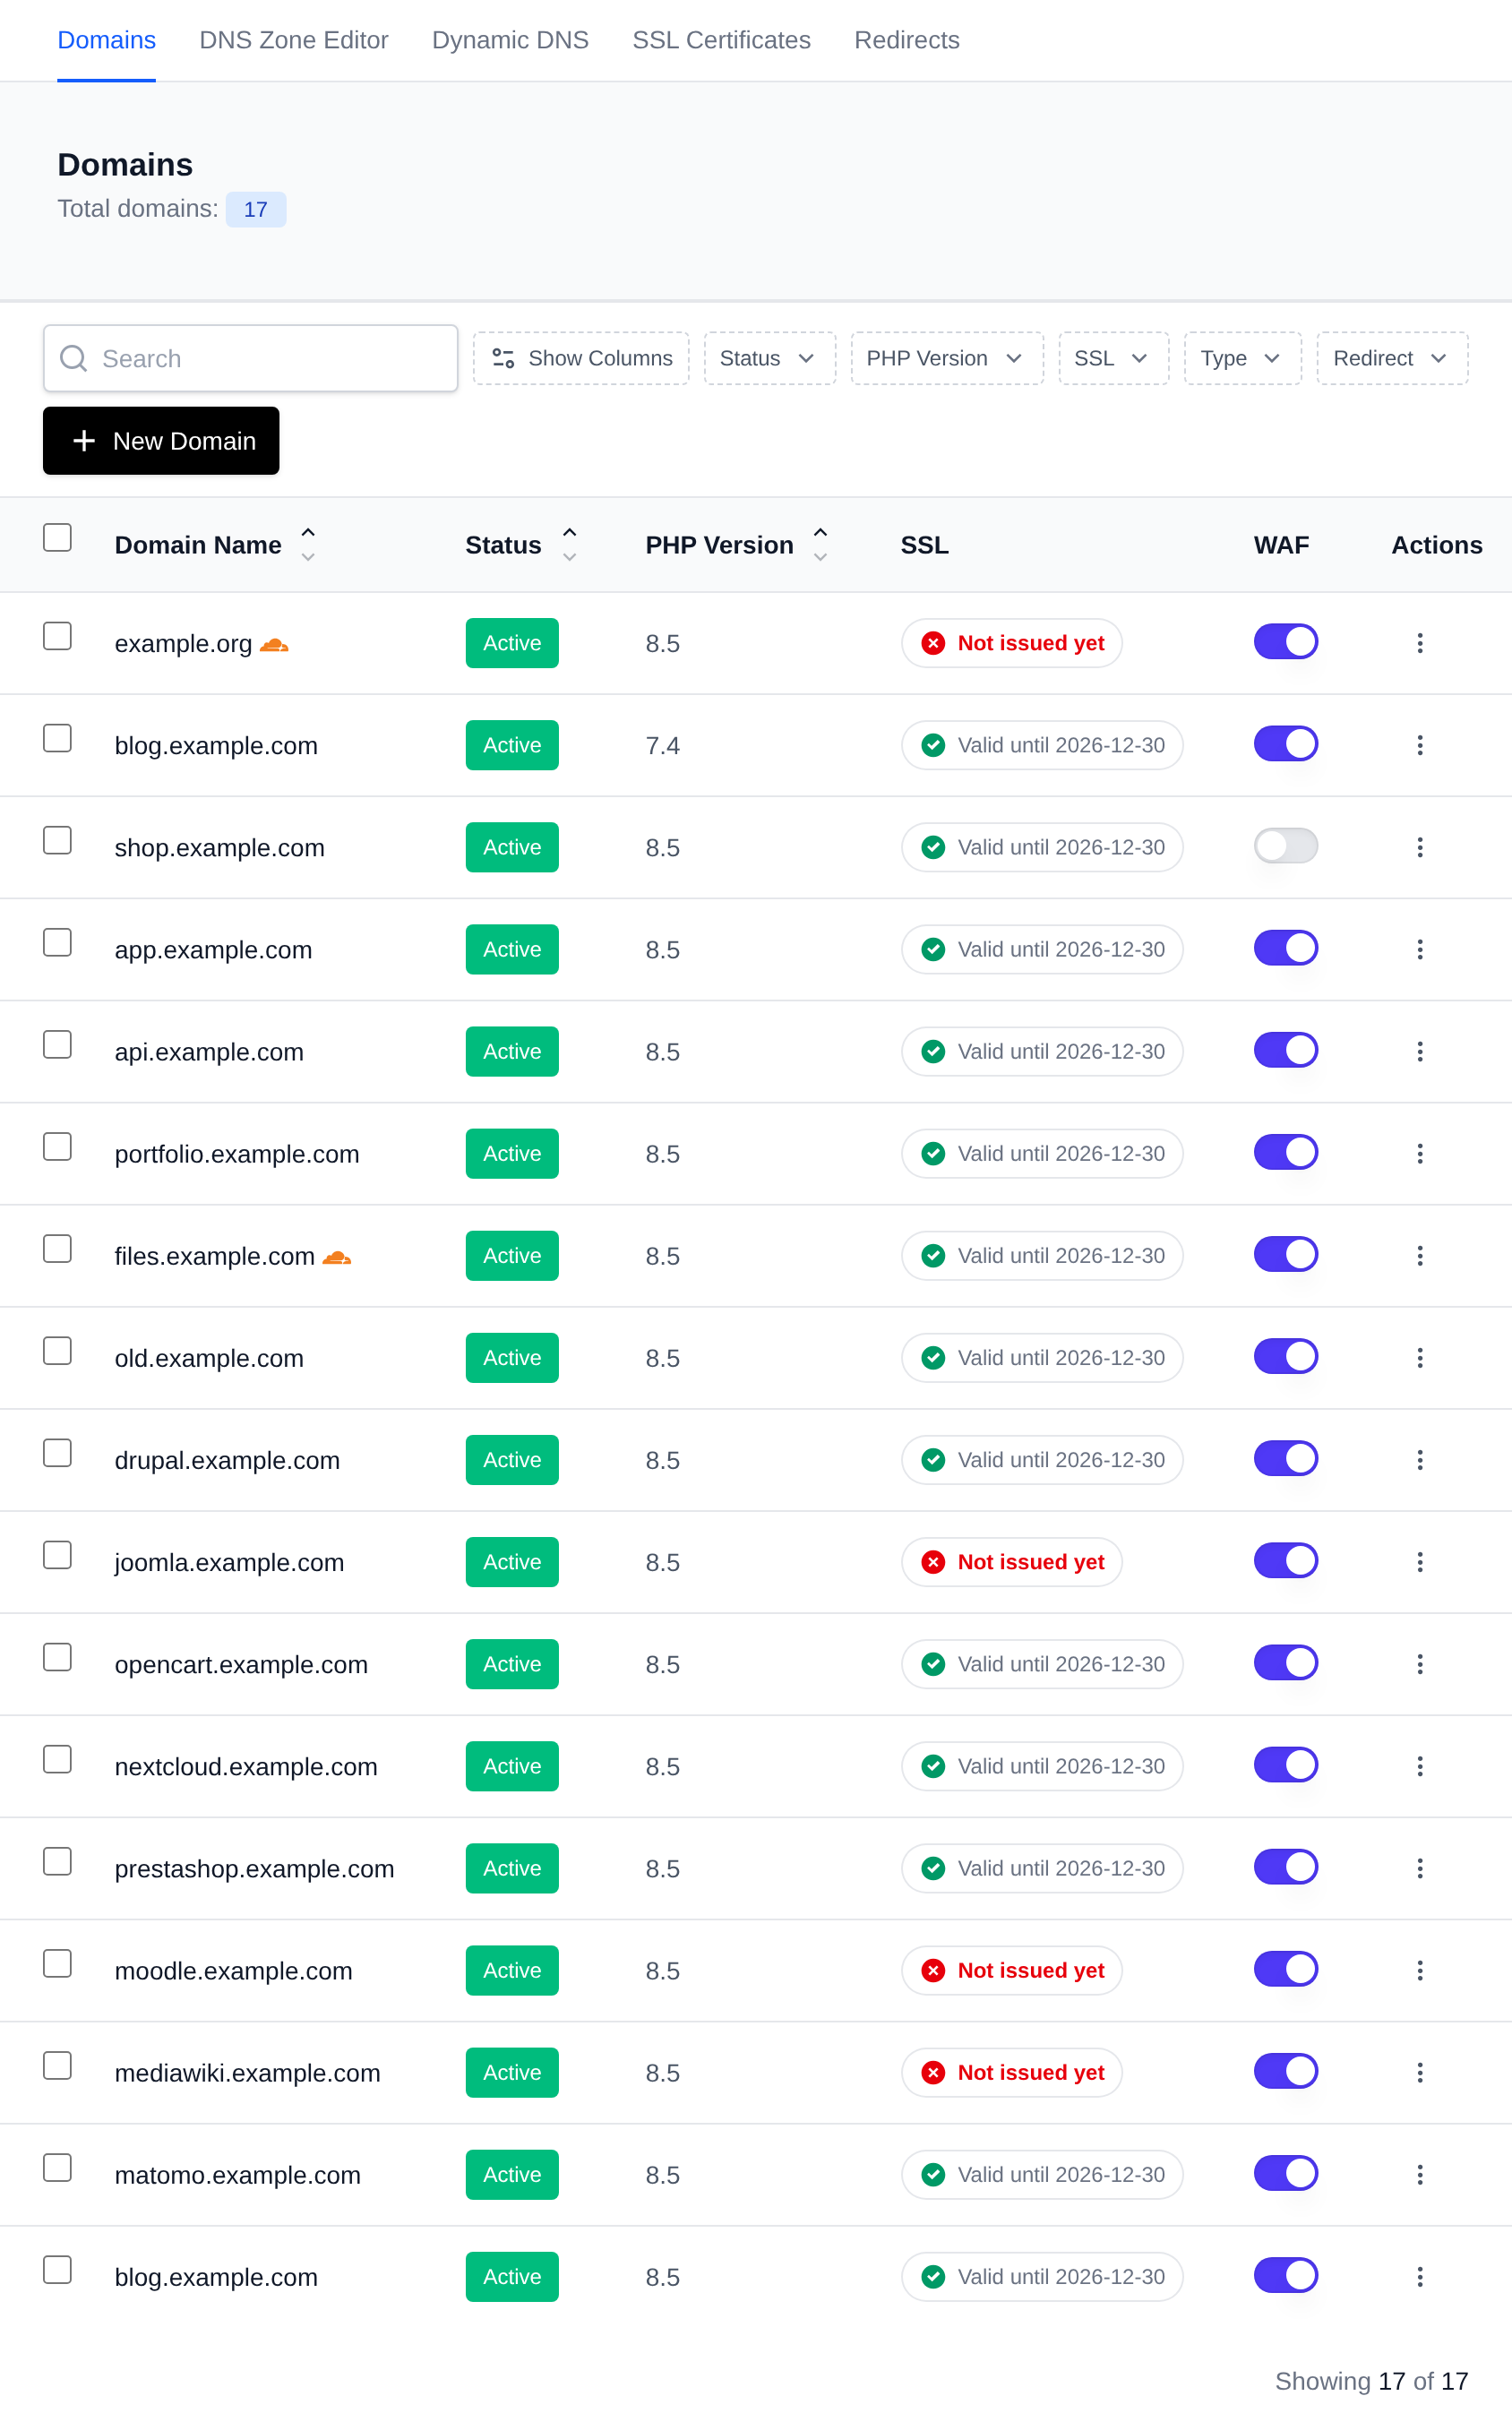
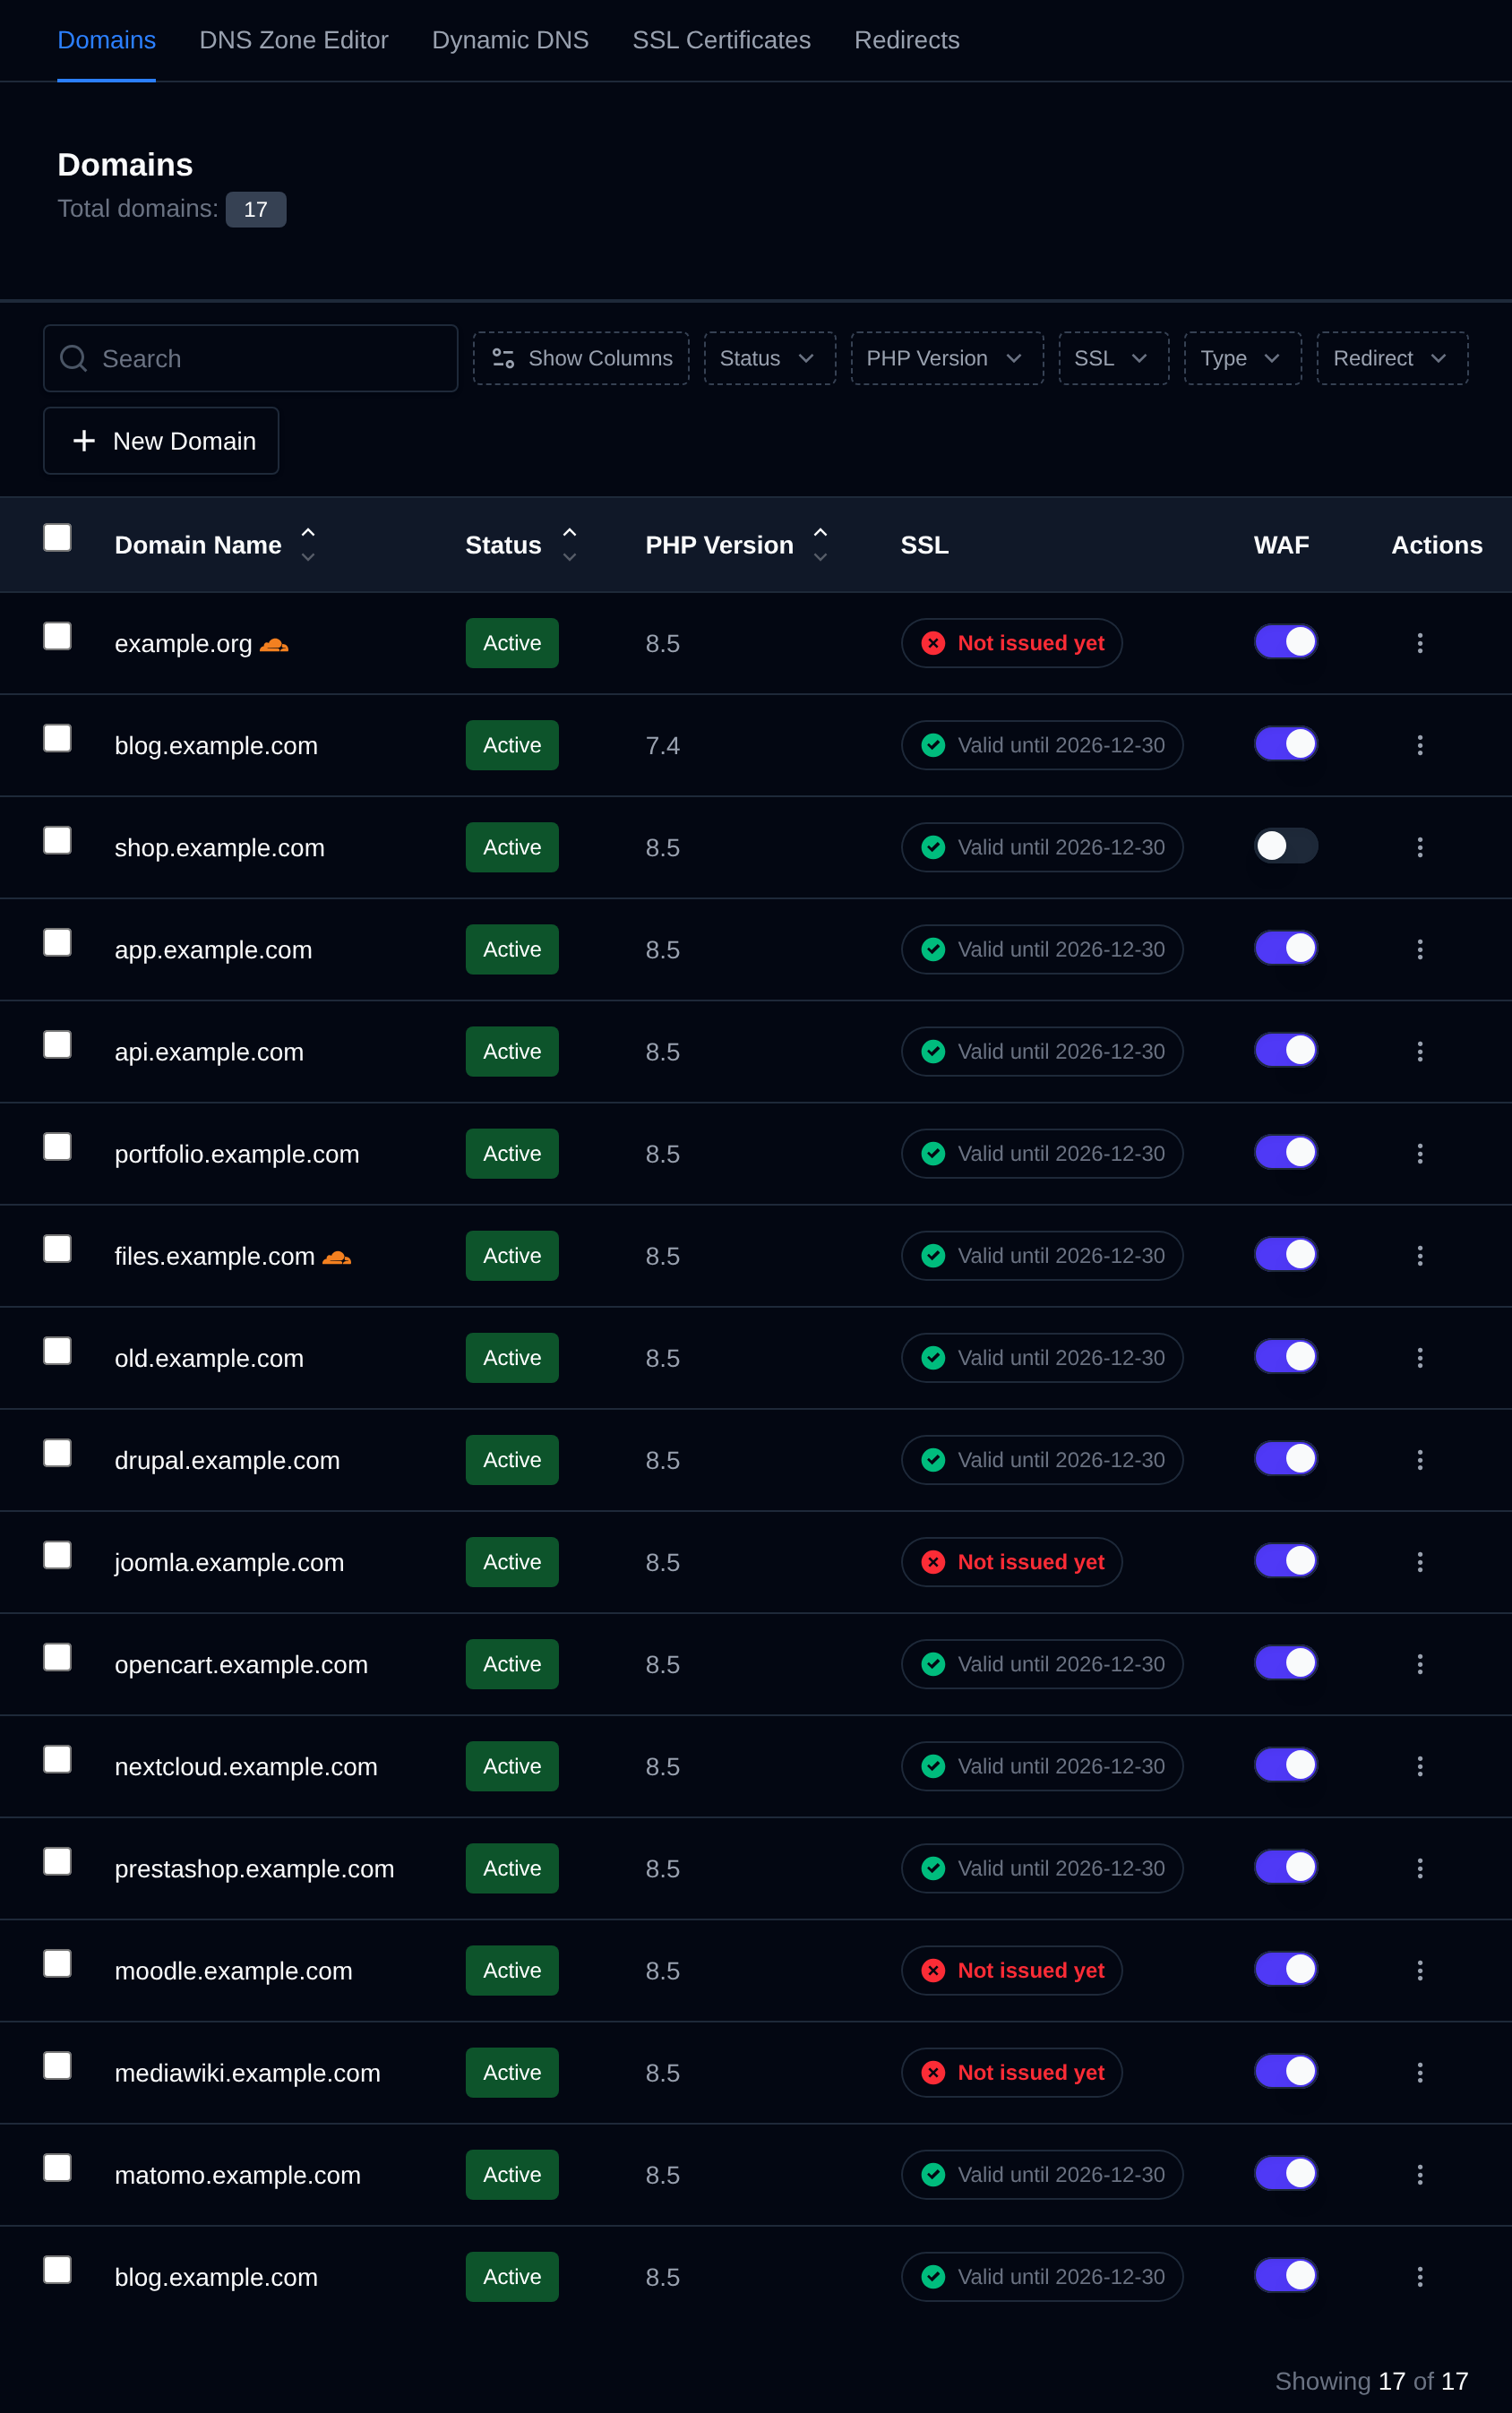
From this interface, you can view:
- Status: Active or Suspended
- Document Root: the folder where the website files are stored
- PHP Version used by the domain
- SSL: the state of the domain's certificate, see SSL column
- WAF: a toggle to turn the firewall on or off, see WAF column
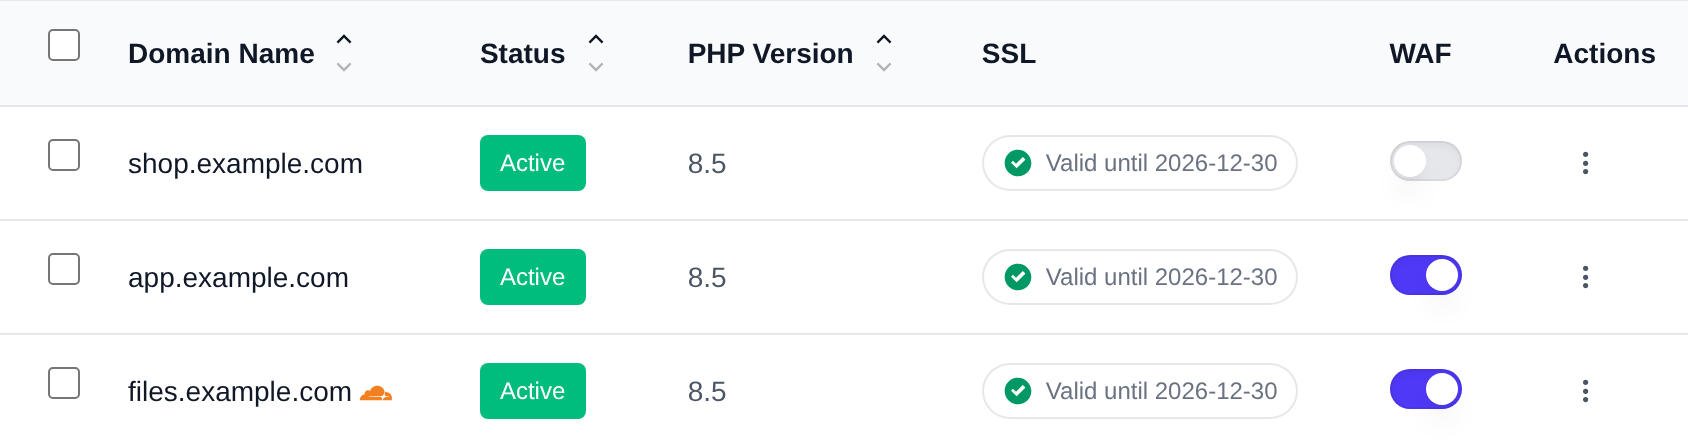
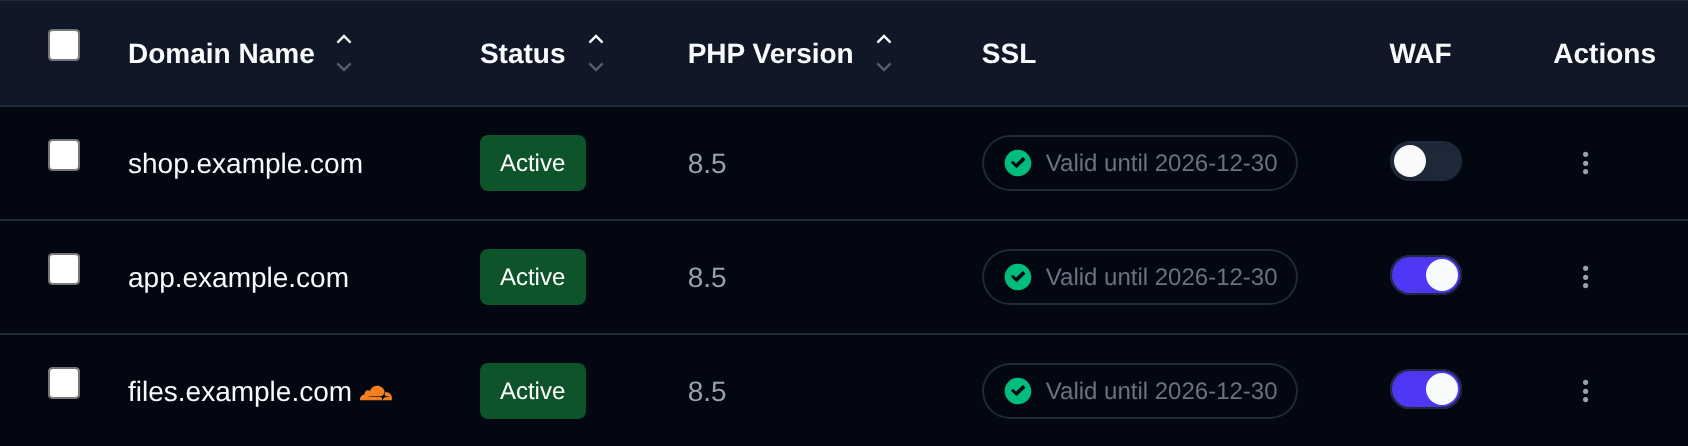
- Cloudflare: an orange cloud next to the domain name when it only accepts traffic from Cloudflare, see Cloudflare-only access
- Actions: a menu with the options your plan includes
Use Show Columns to choose which columns are shown, your choice is remembered in the browser. The Websites (number of websites on the domain), Link, Type and Redirect columns are hidden by default.
Filters
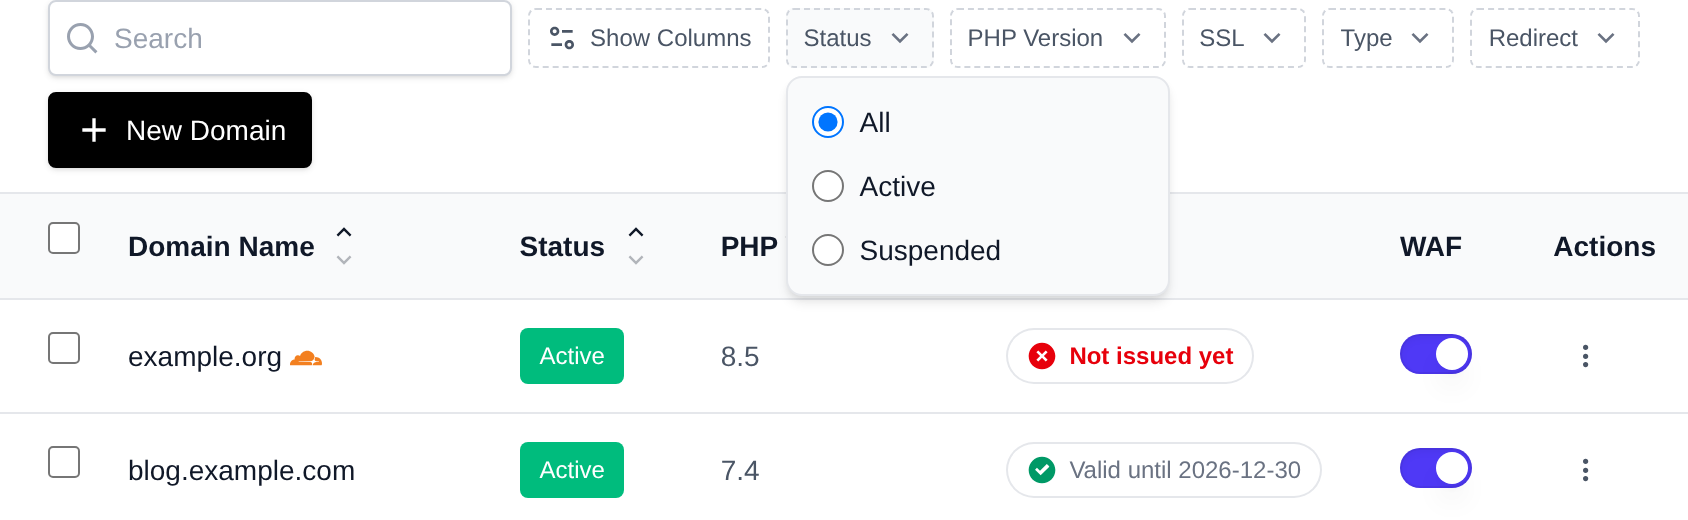
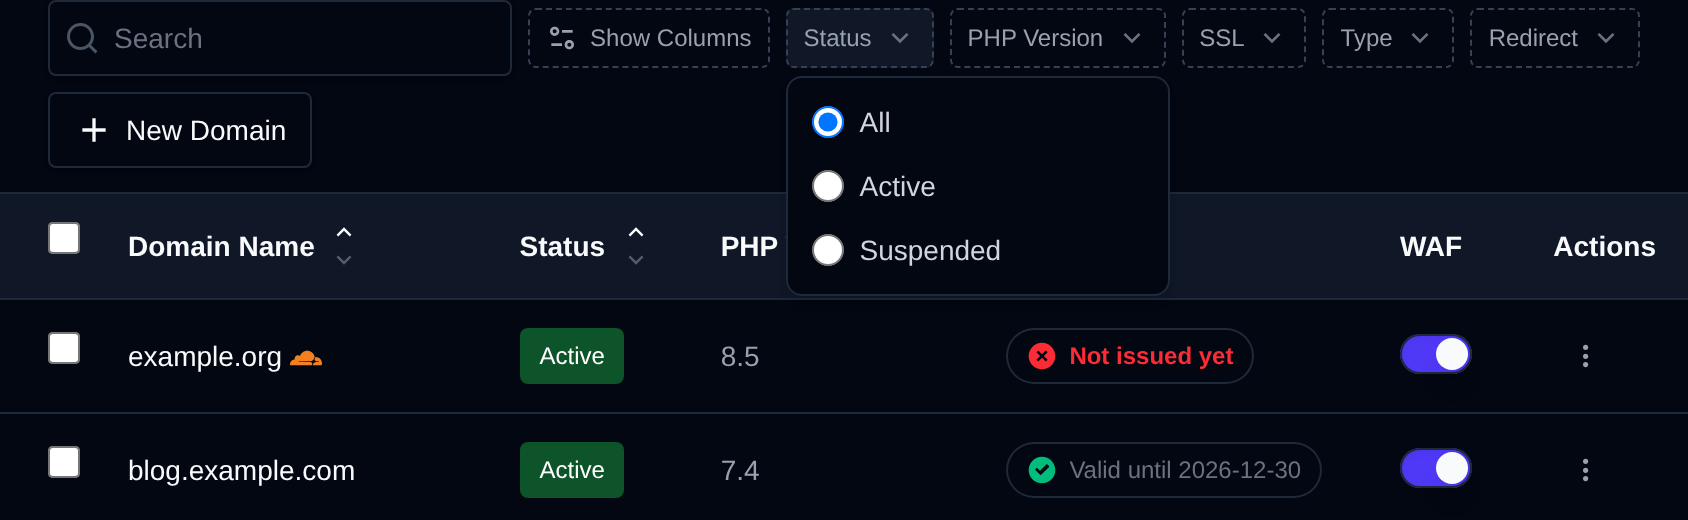
Next to Show Columns are filters to narrow down the list:
- Status: All, Active or Suspended
- PHP Version: each PHP version used by your domains
- SSL: AutoSSL or Custom SSL, if the SSL feature is enabled
- Type: Domain or Subdomain
- Redirect: with or without a redirect, if the Redirects feature is enabled
Filters work together with the search bar, and the counter below the table shows how many domains match. On small screens the filters are grouped under a single Filters button.
SSL column
If the SSL feature is enabled, the SSL column shows the state of each domain's certificate:
| Shown | Meaning |
|---|---|
| Valid until date | The certificate is valid until that date. |
| Expires date | The certificate expires within 14 days. |
| Expired date | The certificate has expired. |
| Not issued yet | AutoSSL hasn't issued a certificate for the domain yet, or the custom certificate file is missing. |
| Unreadable | The certificate file exists but can't be read. |
Hover over it to see whether the domain uses AutoSSL or a custom certificate and who issued it. Click it to open the domain's SSL settings.
WAF column
If the WAF feature is enabled, the WAF column has a toggle to turn the Web Application Firewall on or off for the domain. Hover over the toggle to see whether it is on, off or set to monitor only. To change the protection level or app profiles, choose Manage WAF from the Actions menu.
Available Actions
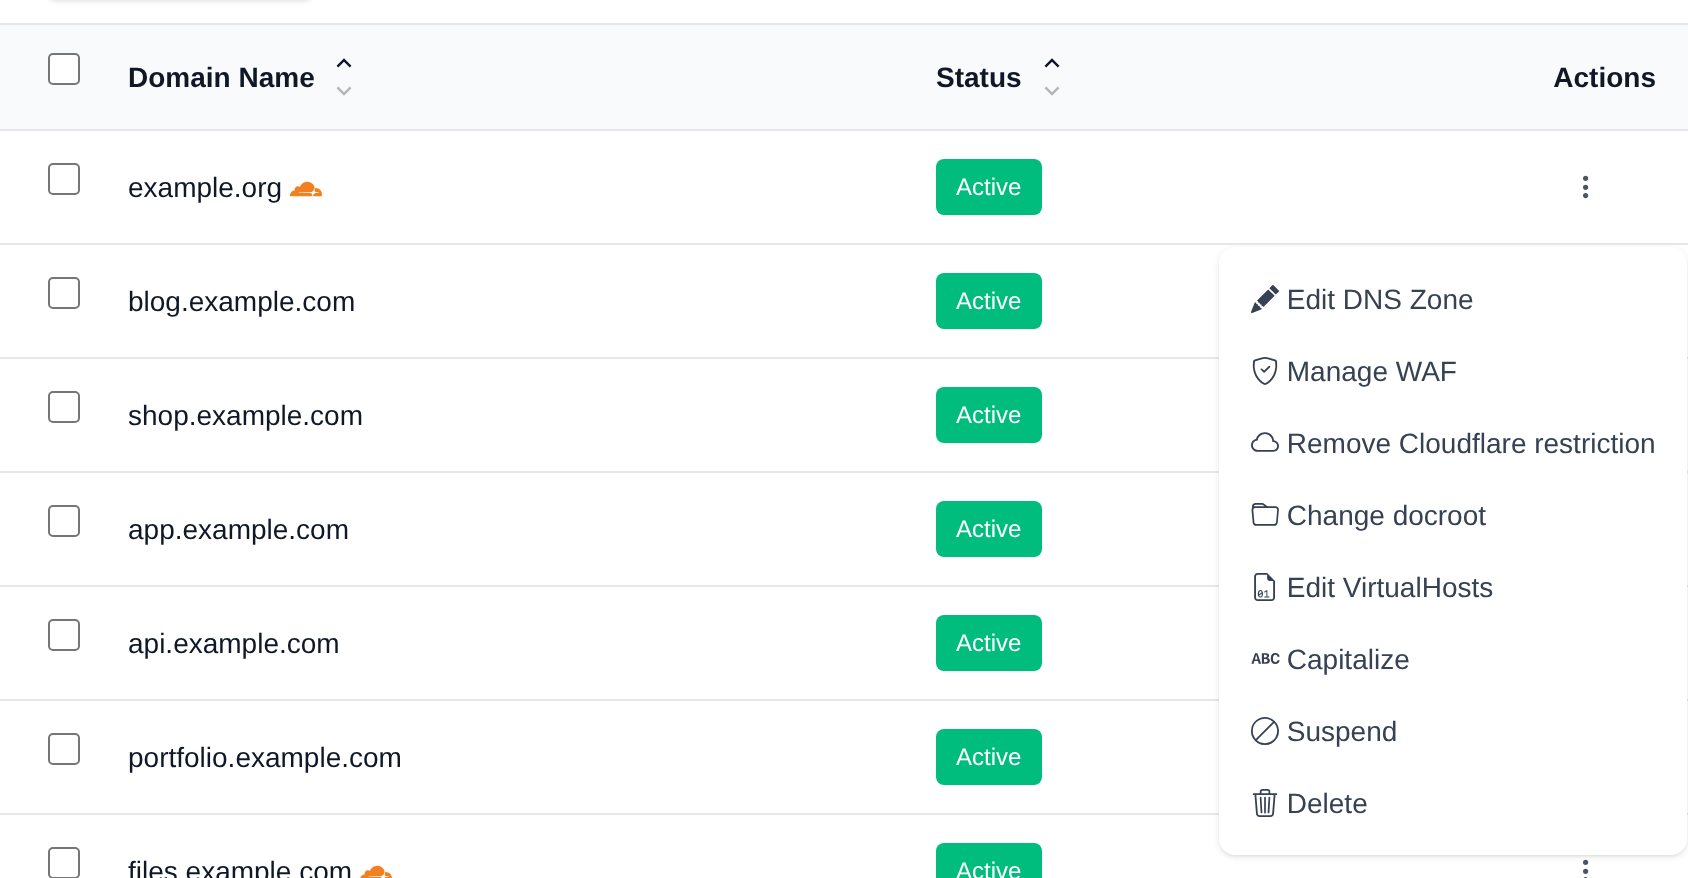
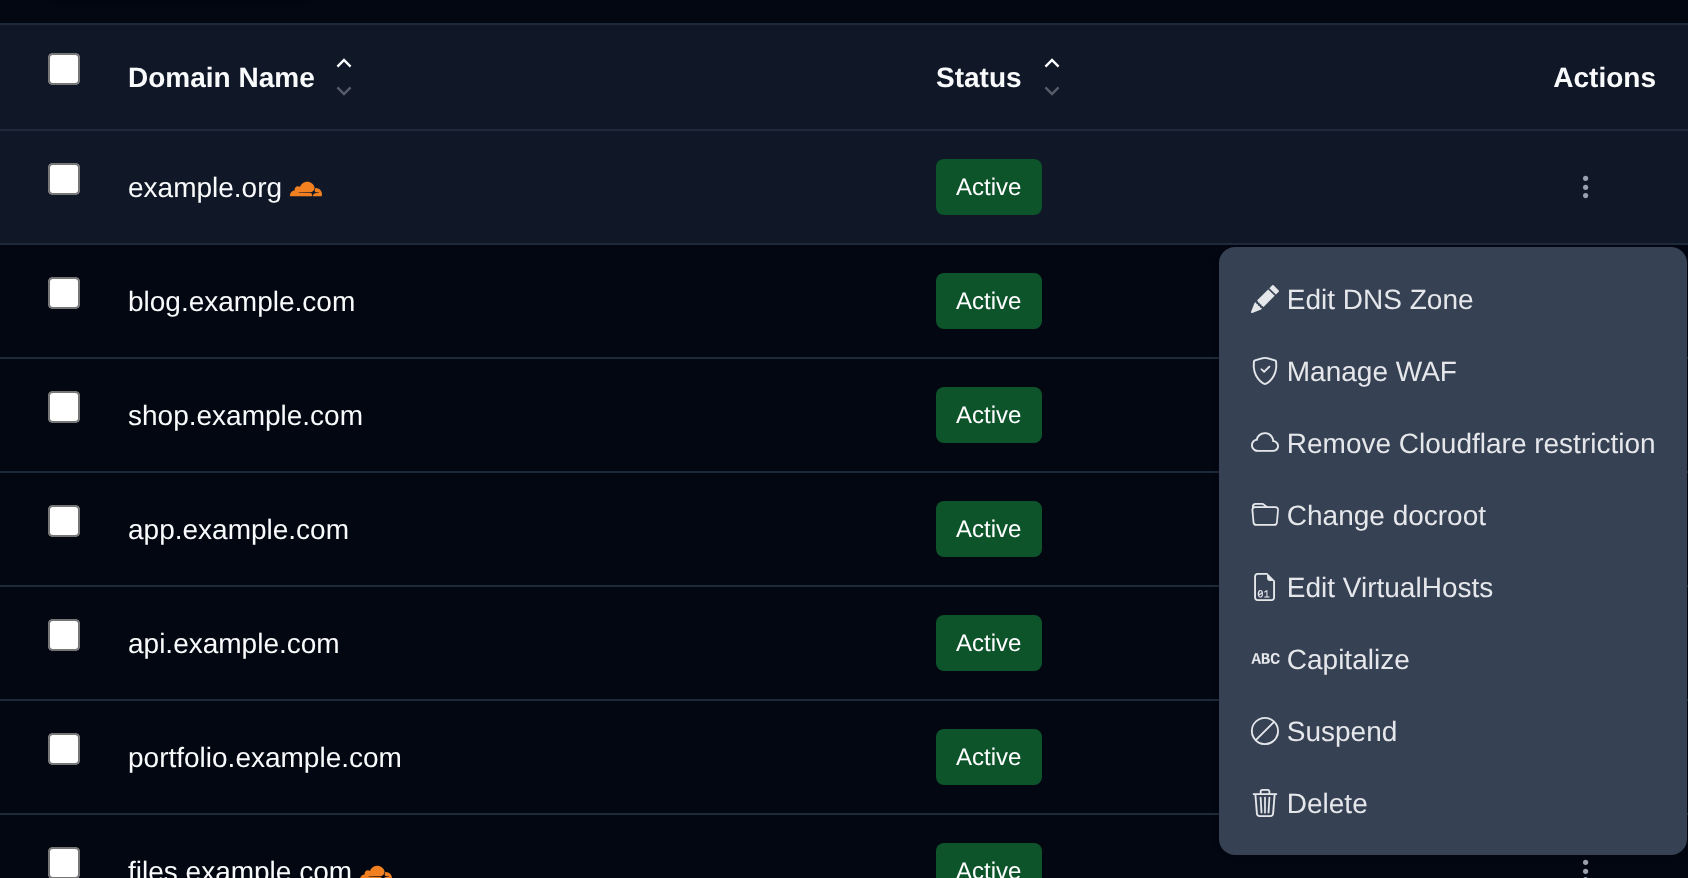
Depending on the features enabled on your server, the following actions are available from the Actions dropdown menu per domain:
- Edit DNS Zone — if the DNS feature is enabled
- Manage WAF — if the WAF feature is enabled
- Restrict to Cloudflare / Remove Cloudflare restriction — see Cloudflare-only access
- Change docroot — if the docroot feature is enabled
- Edit VirtualHosts — if the VHosts editor is enabled
- Capitalize — if the Capitalize feature is enabled
- Suspend / Unsuspend — if the Suspend feature is enabled
- Delete
In addition, if the Redirects feature is enabled, the Redirect column lets you create, edit, or delete a redirect directly from the table without opening the dropdown menu. It's hidden by default, turn it on from Show Columns.
Cloudflare-only access
If your domain is proxied through Cloudflare (the orange cloud is on in your Cloudflare DNS settings), you can make it accept traffic only from Cloudflare. Visitors that reach the server directly, for example by pointing the domain to your server IP in their hosts file, get a 403 error instead of the website. This keeps attackers from going around Cloudflare's firewall and DDoS protection.
To turn it on, open the domain's Actions menu and click Restrict to Cloudflare. An orange cloud appears next to the domain name.
To turn it off, click Remove Cloudflare restriction in the same menu.
Only restrict domains that are proxied through Cloudflare. If the domain points straight to your server, every visitor gets a 403 error.
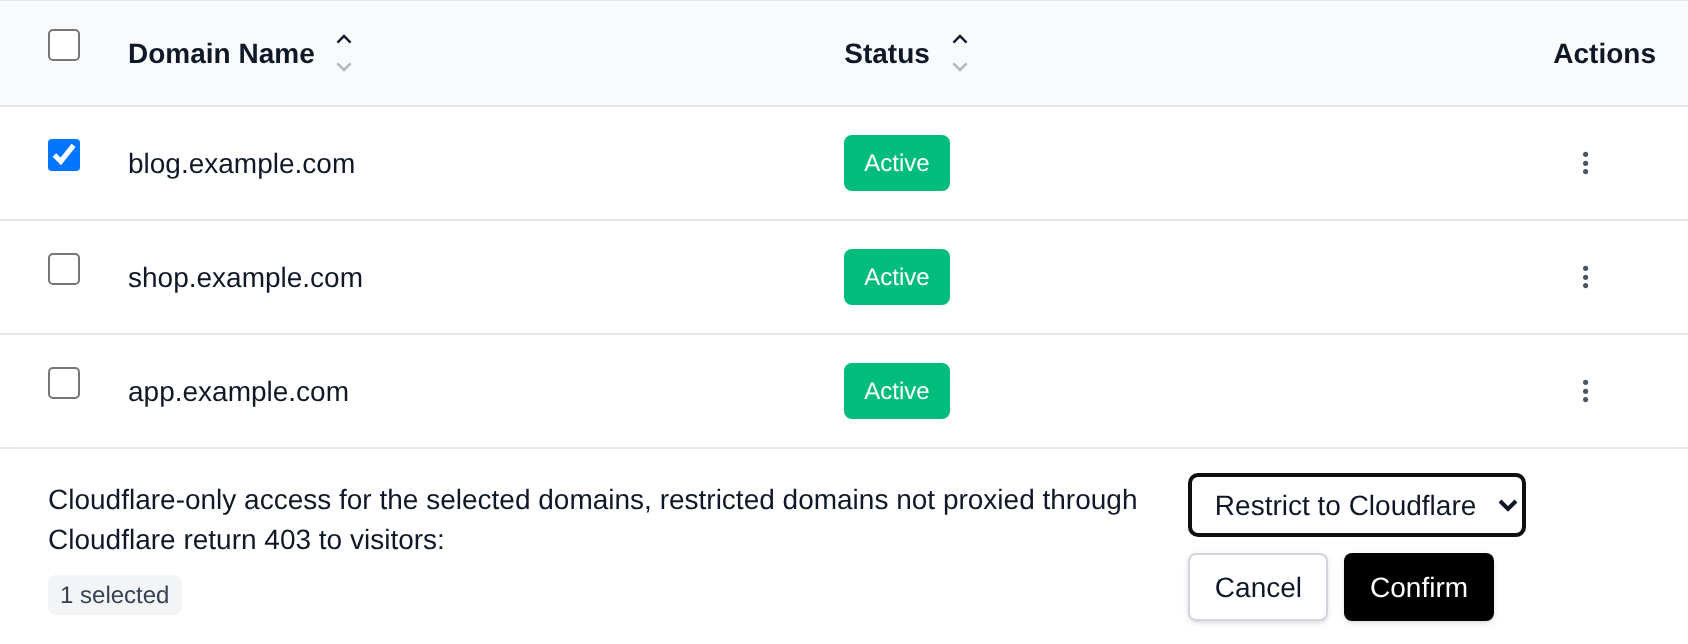
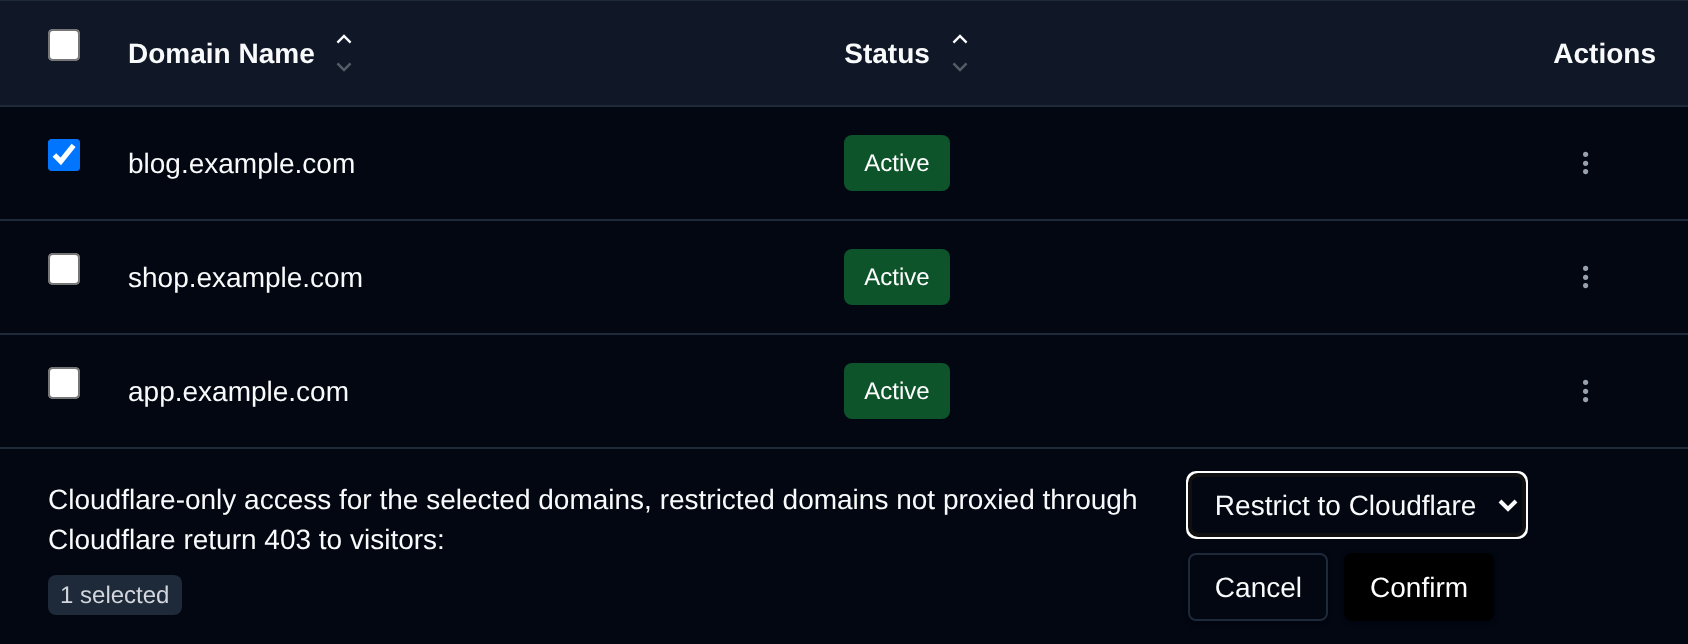
To change several domains at once, use the Cloudflare bulk action. Cloudflare-only access is not available for .onion domains.
Bulk Actions
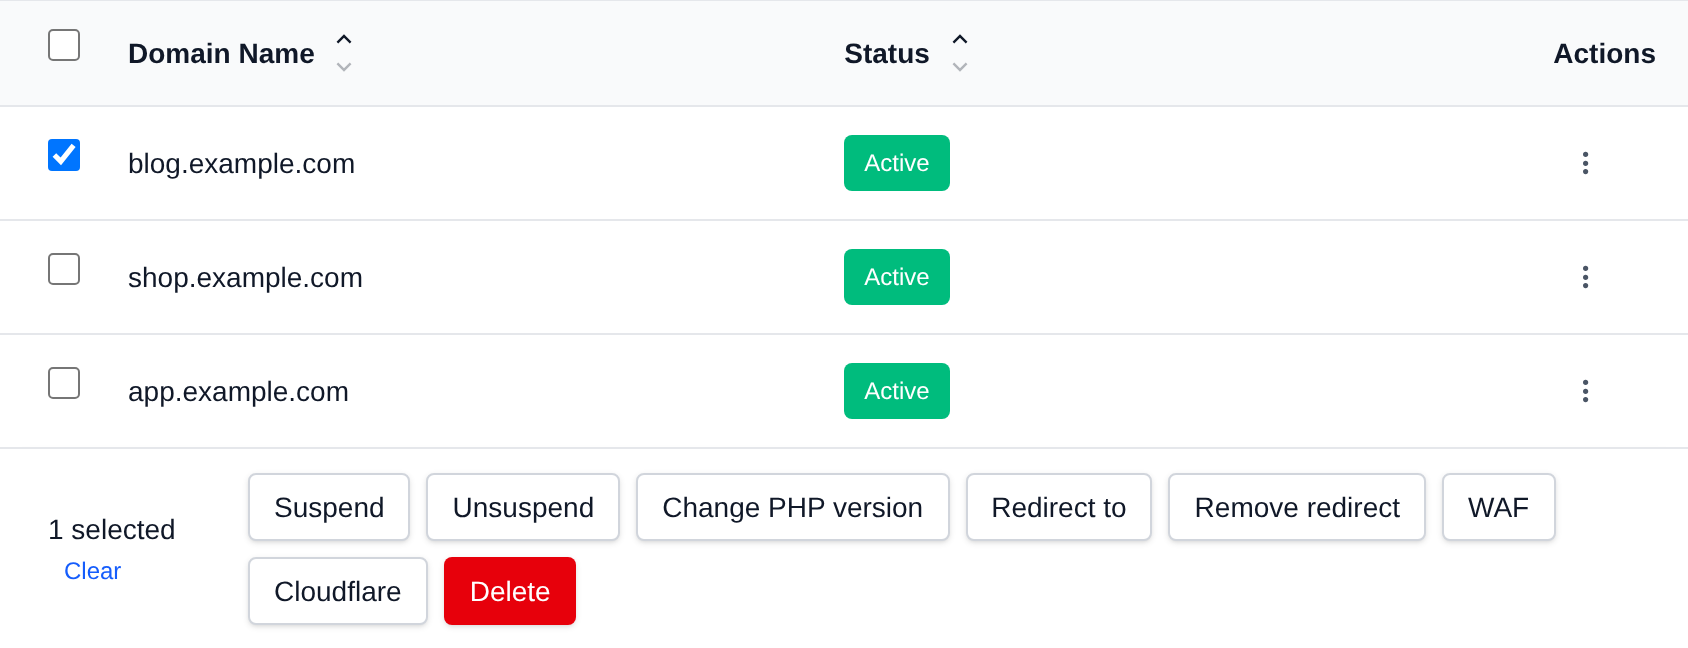
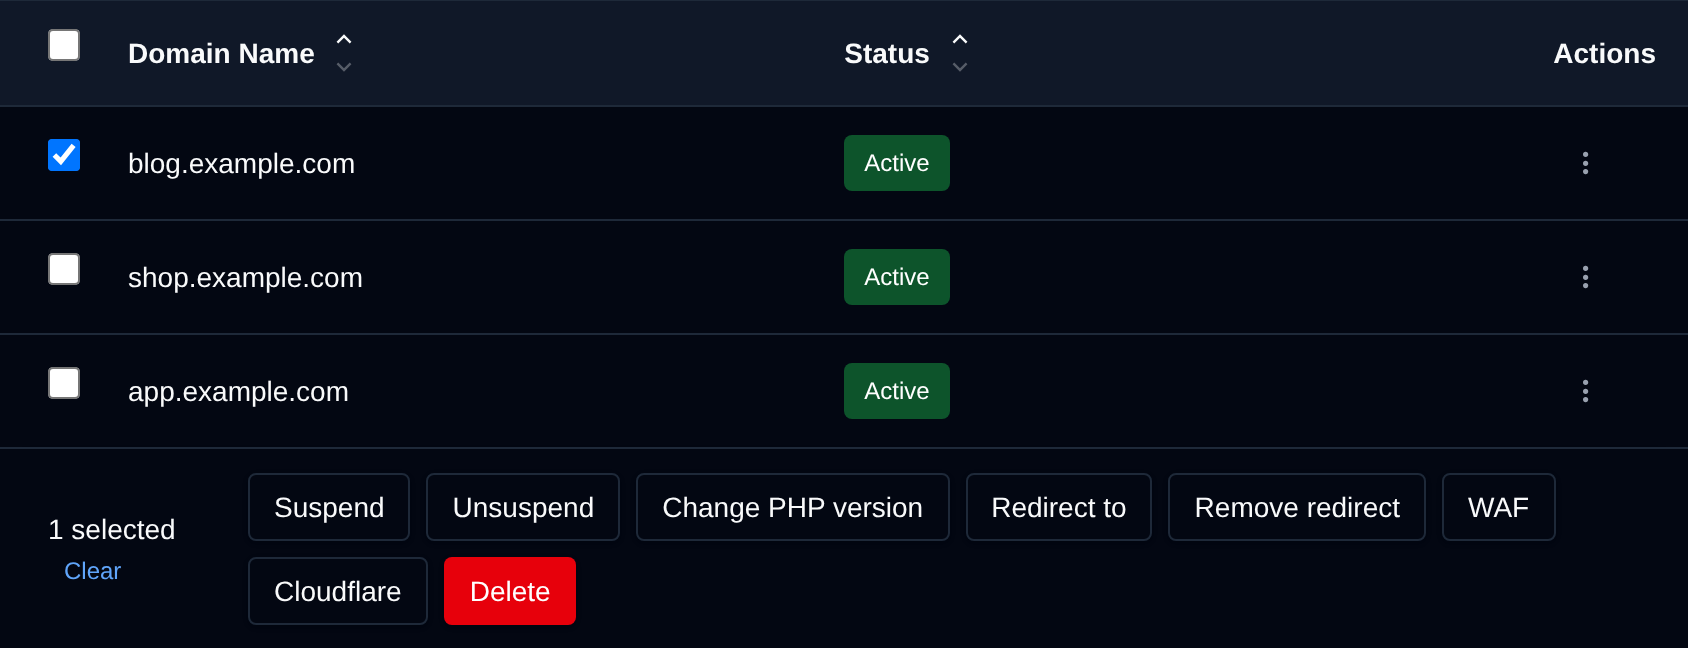
Tick the checkbox of one or more domains, or the checkbox in the table header to select every domain shown by the current search. A bar appears at the bottom of the page with the number selected, a Clear link and these actions:
| Action | What it does |
|---|---|
| Suspend | Suspends the selected domains, visitors see a suspended page. |
| Unsuspend | Makes the selected domains available again. |
| Change PHP version | Switches the selected domains to the PHP version you pick. |
| Redirect to | Redirects the selected domains to the URL you enter, starting with http:// or https://. |
| Remove redirect | Removes the redirect from the selected domains. |
| WAF | Turns the firewall On or Off for the selected domains. |
| Cloudflare | Restrict to Cloudflare or Unrestrict the selected domains, see Cloudflare-only access. |
| Delete | Permanently deletes the selected domains, including their websites, files and DNS zones. |
Actions only show when your plan includes that feature, for example Suspend and Unsuspend need domain suspension, and Change PHP version needs PHP. Selected domains that don't support an action, like a domain that is already suspended, are skipped.
Click an action, pick a value if it asks for one, confirm it, and it runs on the selected domains one after another. When it's done the page reloads with a notice listing the domains it worked for, or which ones failed and why.
Create a New Domain
To add a new domain:
- Click the "New Domain" button.
- Enter the domain name.
- Click "Add Domain" to save.
Unlike other panels, OpenPanel treats all domains equally. From this single interface, you can add primary domains, addon domains, or subdomains.
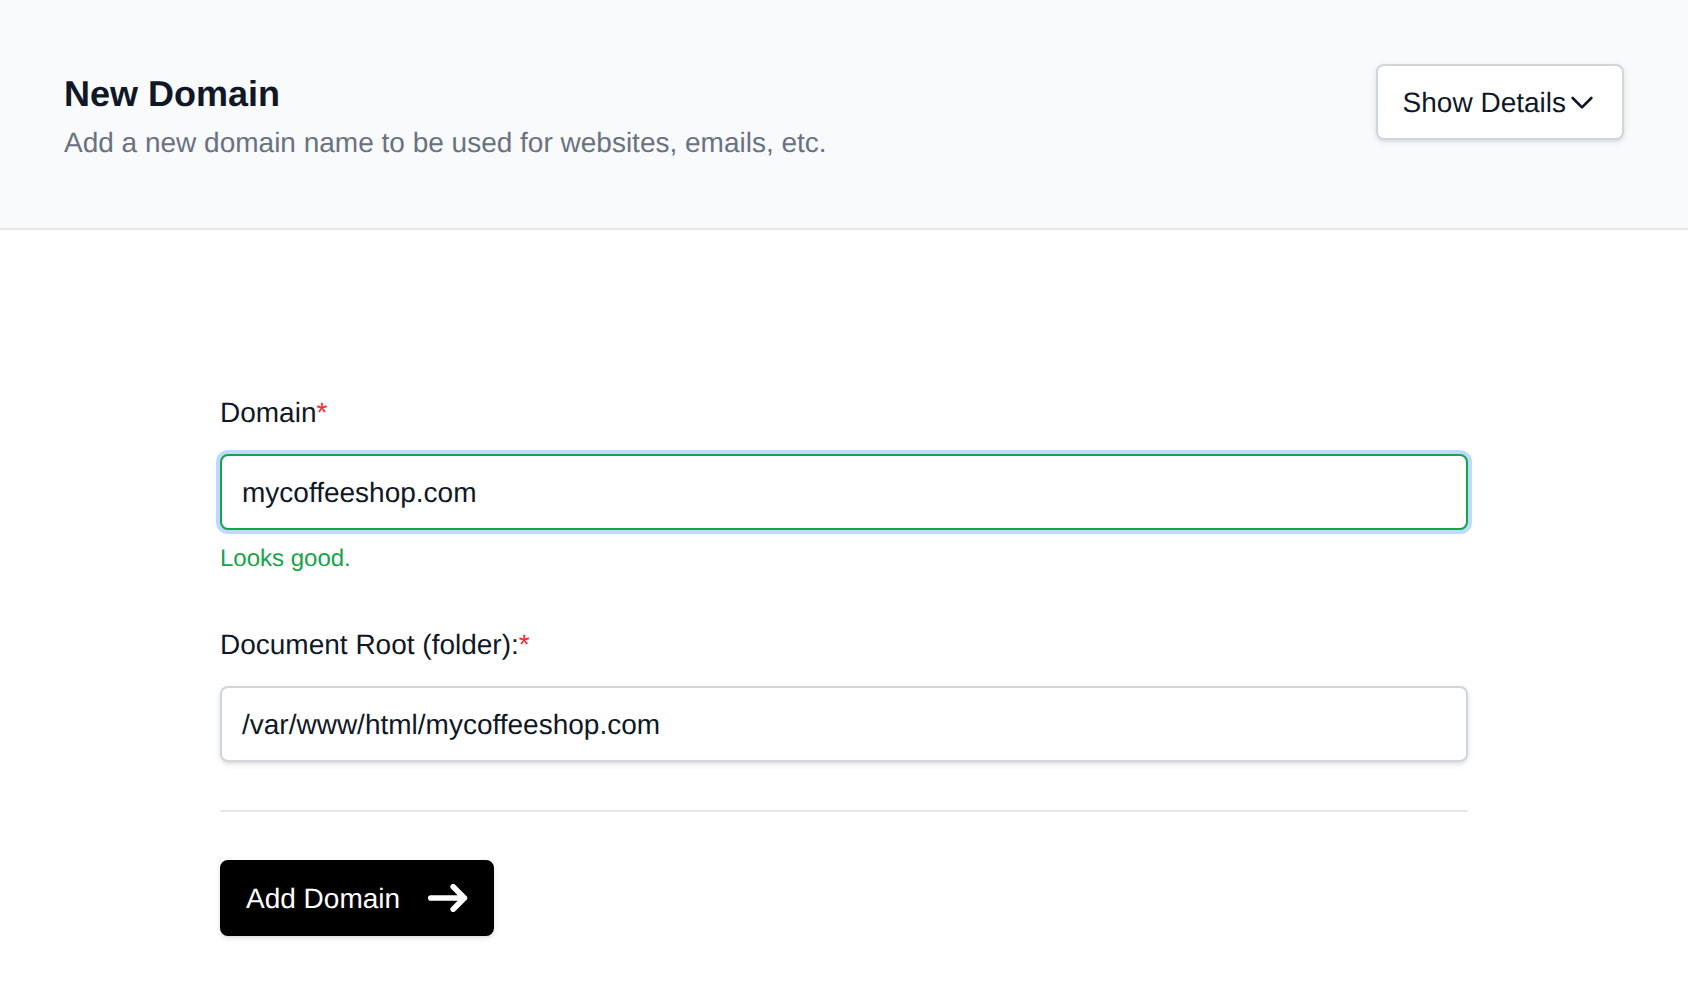
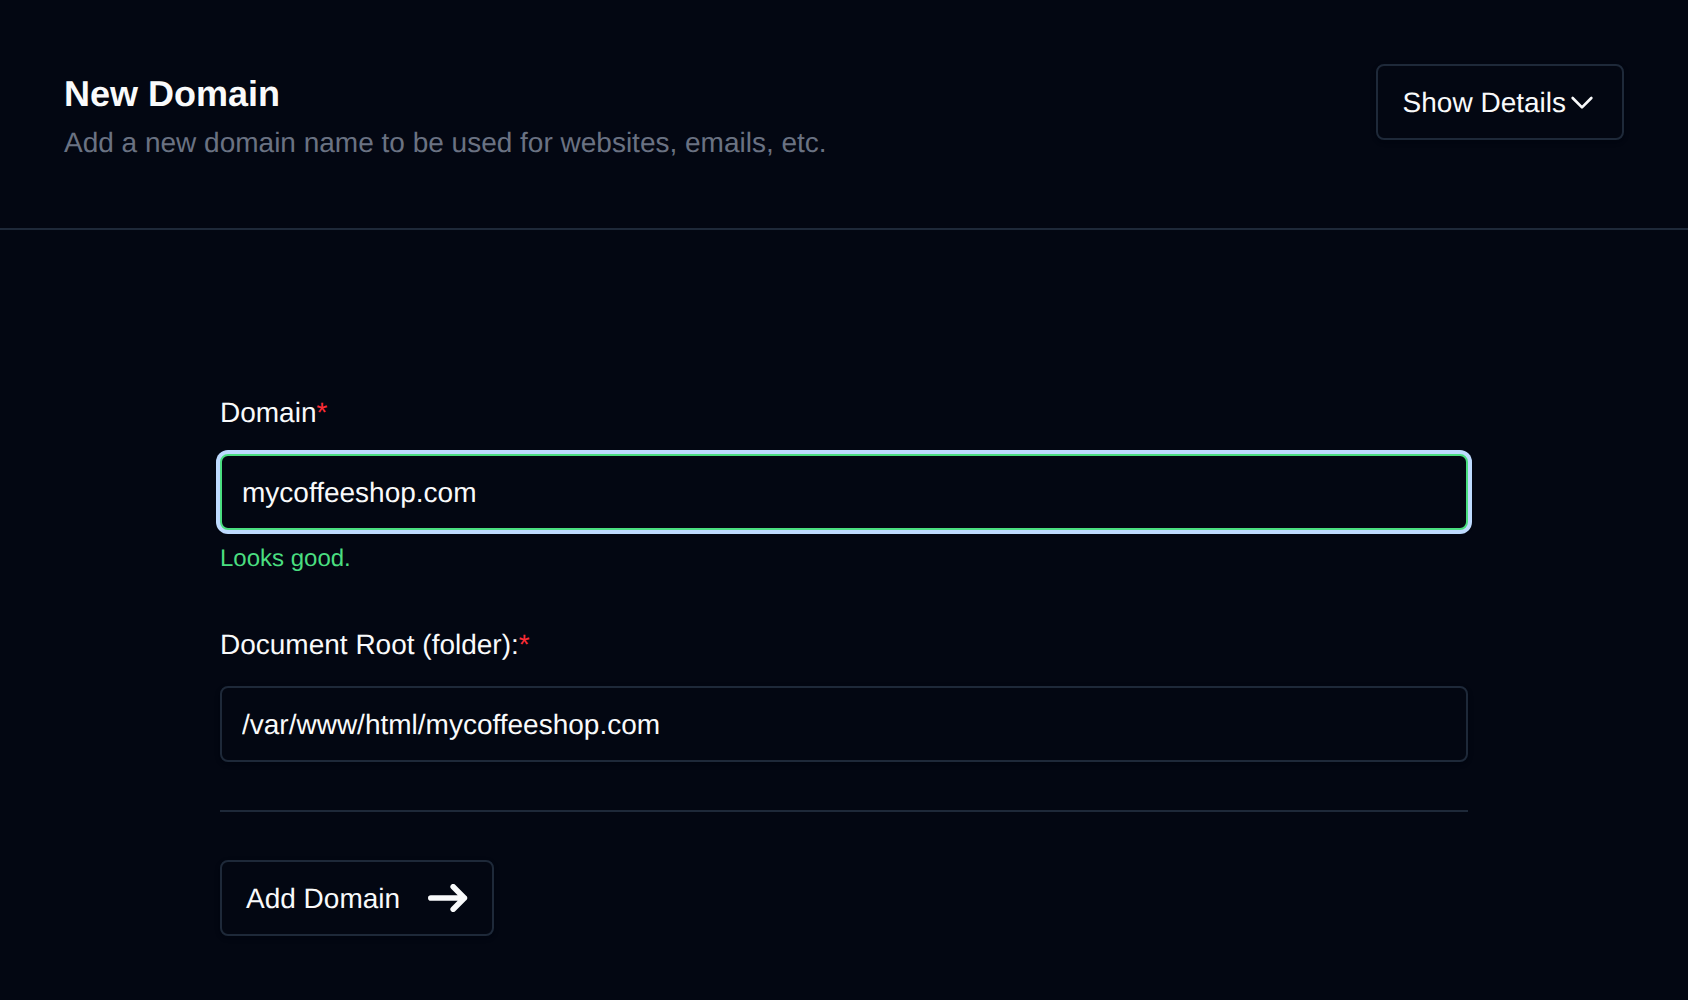
Once added, the system will automatically attempt to issue a free Let’s Encrypt SSL certificate. If successful, the certificate will be applied immediately.
Delete a Domain
To delete a domain:
- Click the "Delete" option from the domain's dropdown menu.
- A confirmation page will appear. Click "Delete Domain" to proceed.
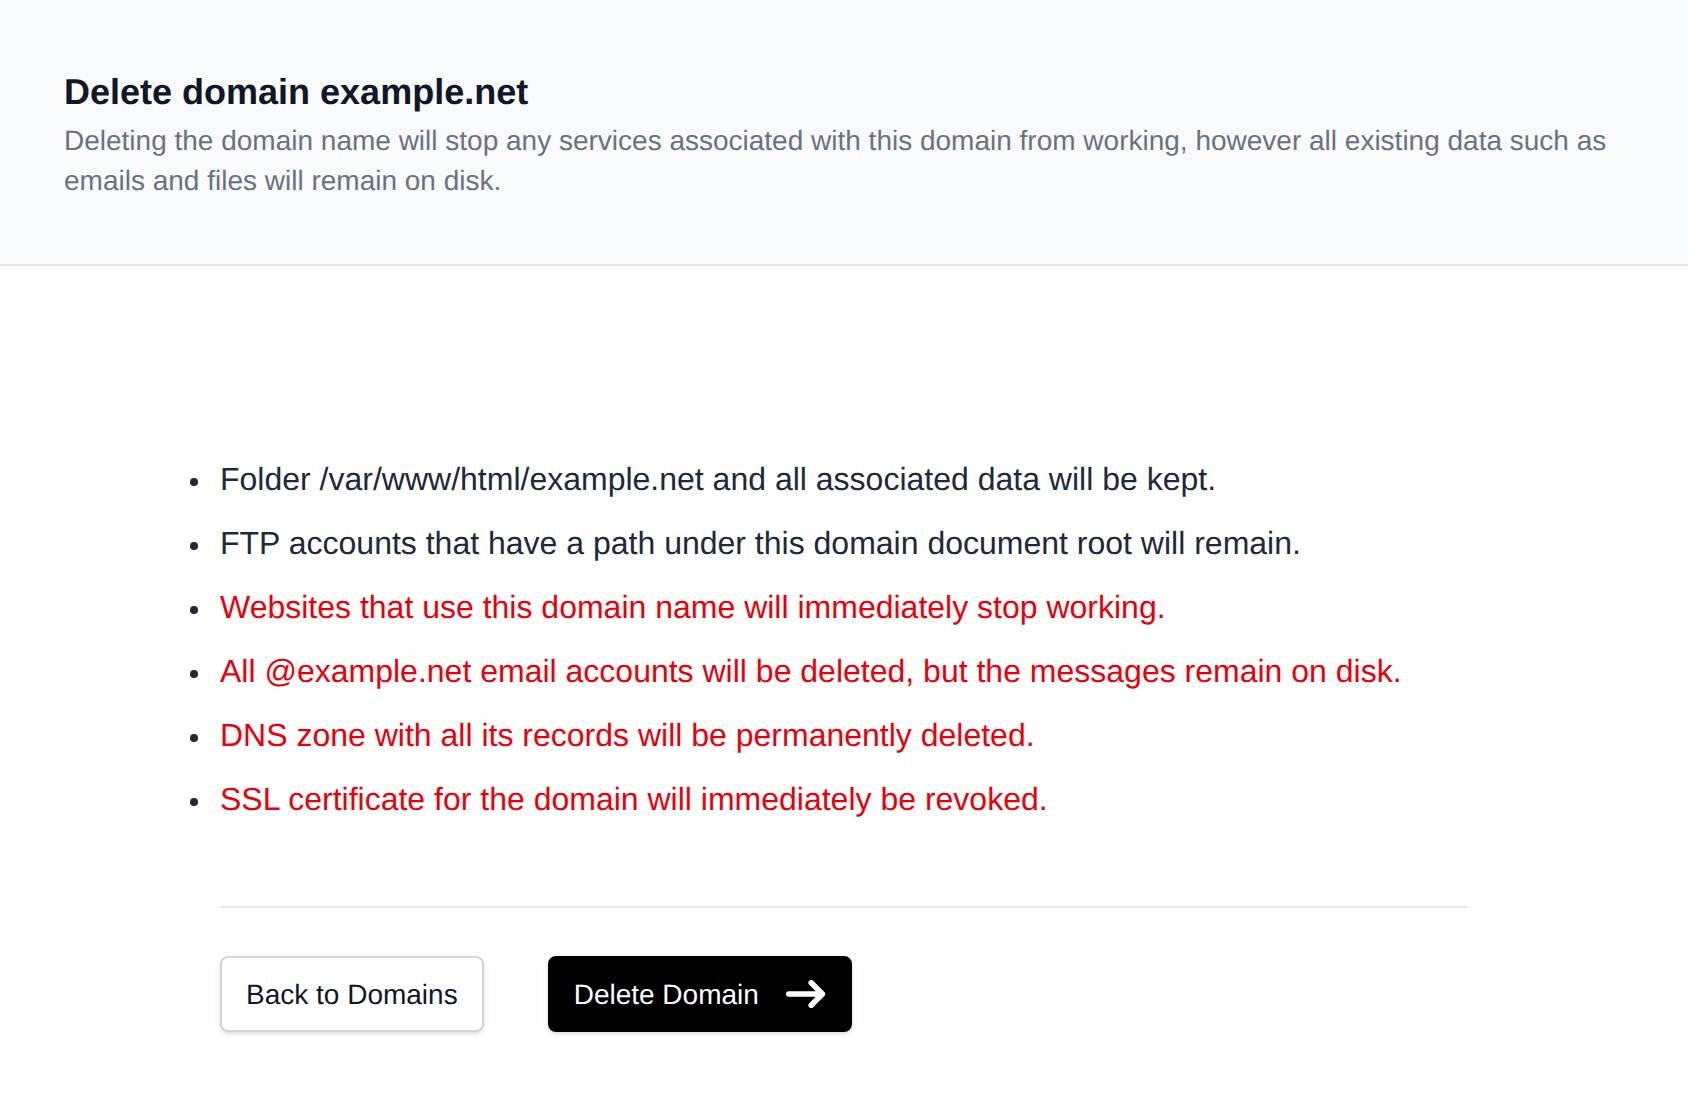
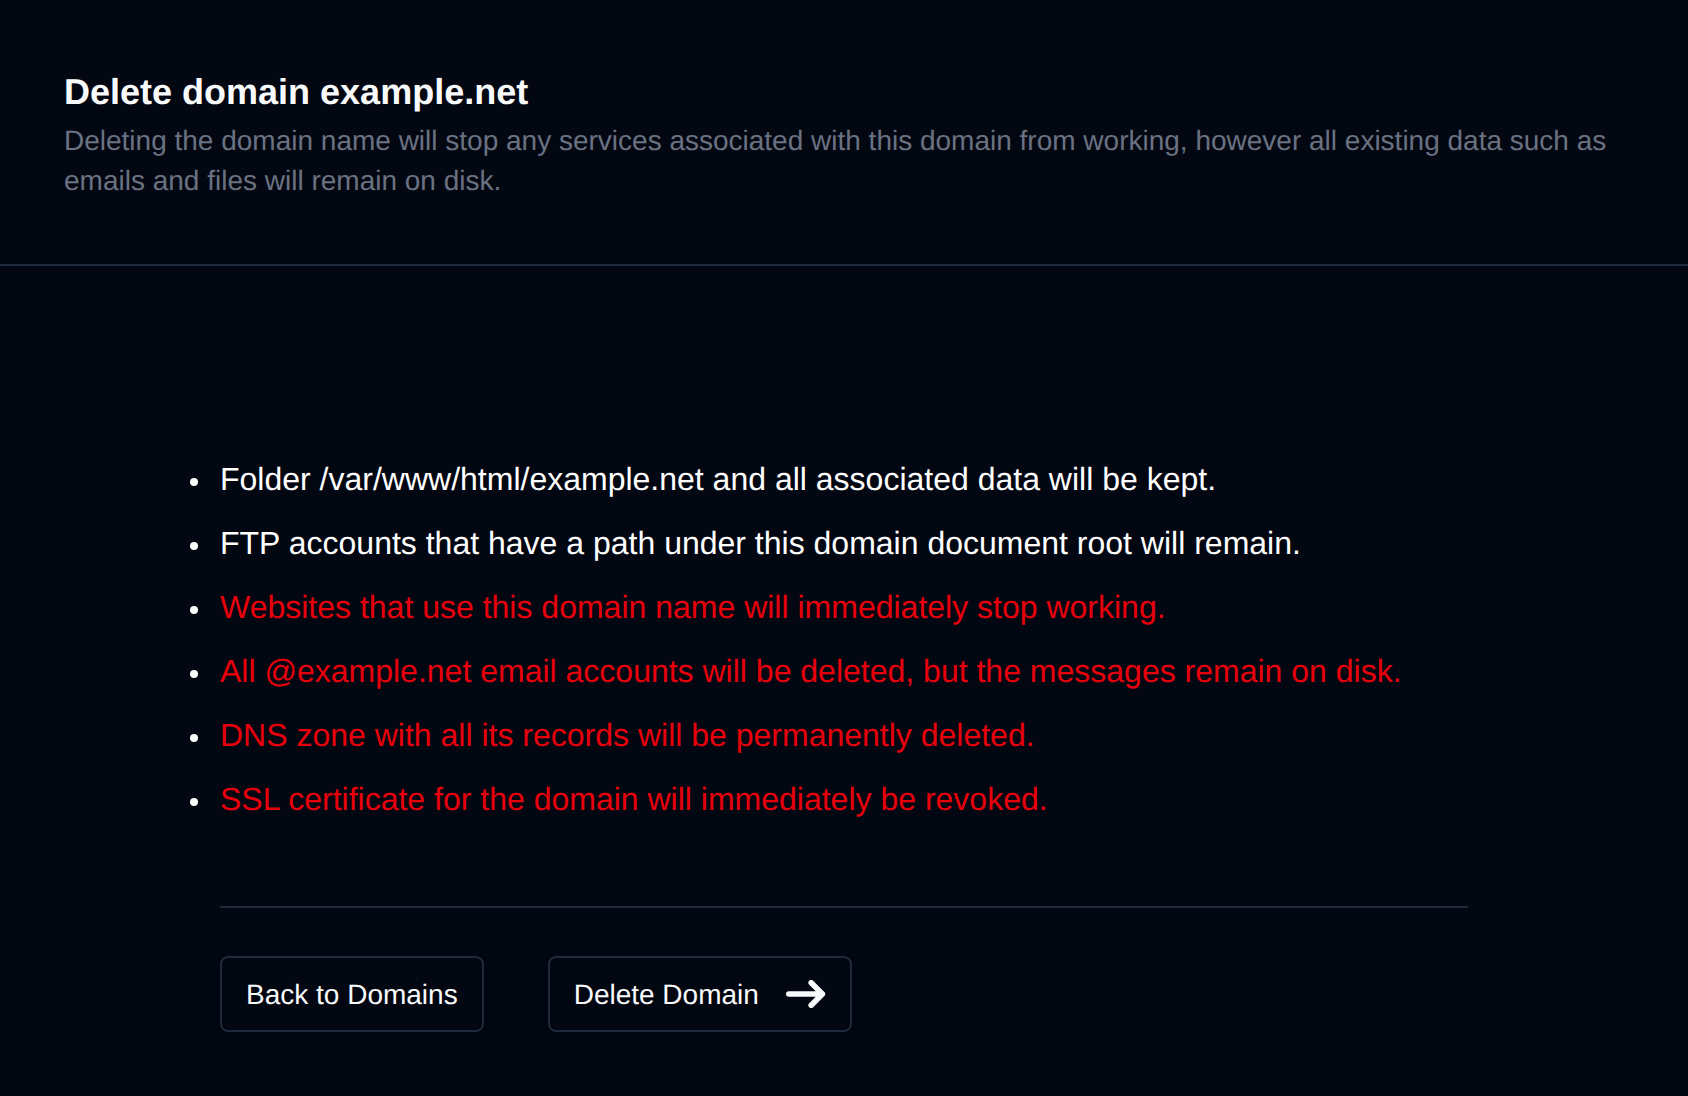
If the domain has subdomains or is linked to websites (e.g. Node.js, Python or WP Manager), deletion will be blocked until those are removed. This prevents accidental removal of domains tied to running websites.
Deleting a domain will permanently remove the following:
- Web server configuration for the domain, including its redirect, WAF and Cloudflare-only settings
- DNS zone with all its records
- SSL certificate
- Access logs and WAF logs
- Email accounts on the domain, the messages stay on disk
Files in the domain's document root are kept.
Redirects
Add Redirect
To create a redirect:
- Click the "Create Redirect" button next to the domain.
- Enter the full URL (must start with
http://orhttps://). - Click "Save" to apply or "Cancel" to discard.
Edit Redirect
Click the pencil icon next to an existing redirect URL to modify it.
Delete Redirect
Click the cross icon next to the redirect URL to remove it.
Edit VirtualHosts File
The VirtualHosts file defines the configuration for the domain within Nginx or Apache. It includes settings such as:
- Access logs
- PHP version
- Application runners
- Redirect rules
- Custom directives
To edit this file:
- Click "Edit VirtualHosts" from the domain’s dropdown menu.
- A new page will open with the Vhost file content.
- Make your changes and click "Save Changes".
Once saved, OpenPanel will automatically restart the webserver to apply changes.