phpMyAdmin
phpMyAdmin is an advanced MySQL database management tool and is recommended only for experienced users.
Manage
To access phpMyAdmin, go to Databases > phpMyAdmin in the sidebar.
From this page you can enable/disable phpMyAdmin, check current status, change php_max_execution_time, php_memory_limit, php_upload_limit values and set PMA_ABSOLUTE_URI (custom domain to be used for phpmyadmin).

Access
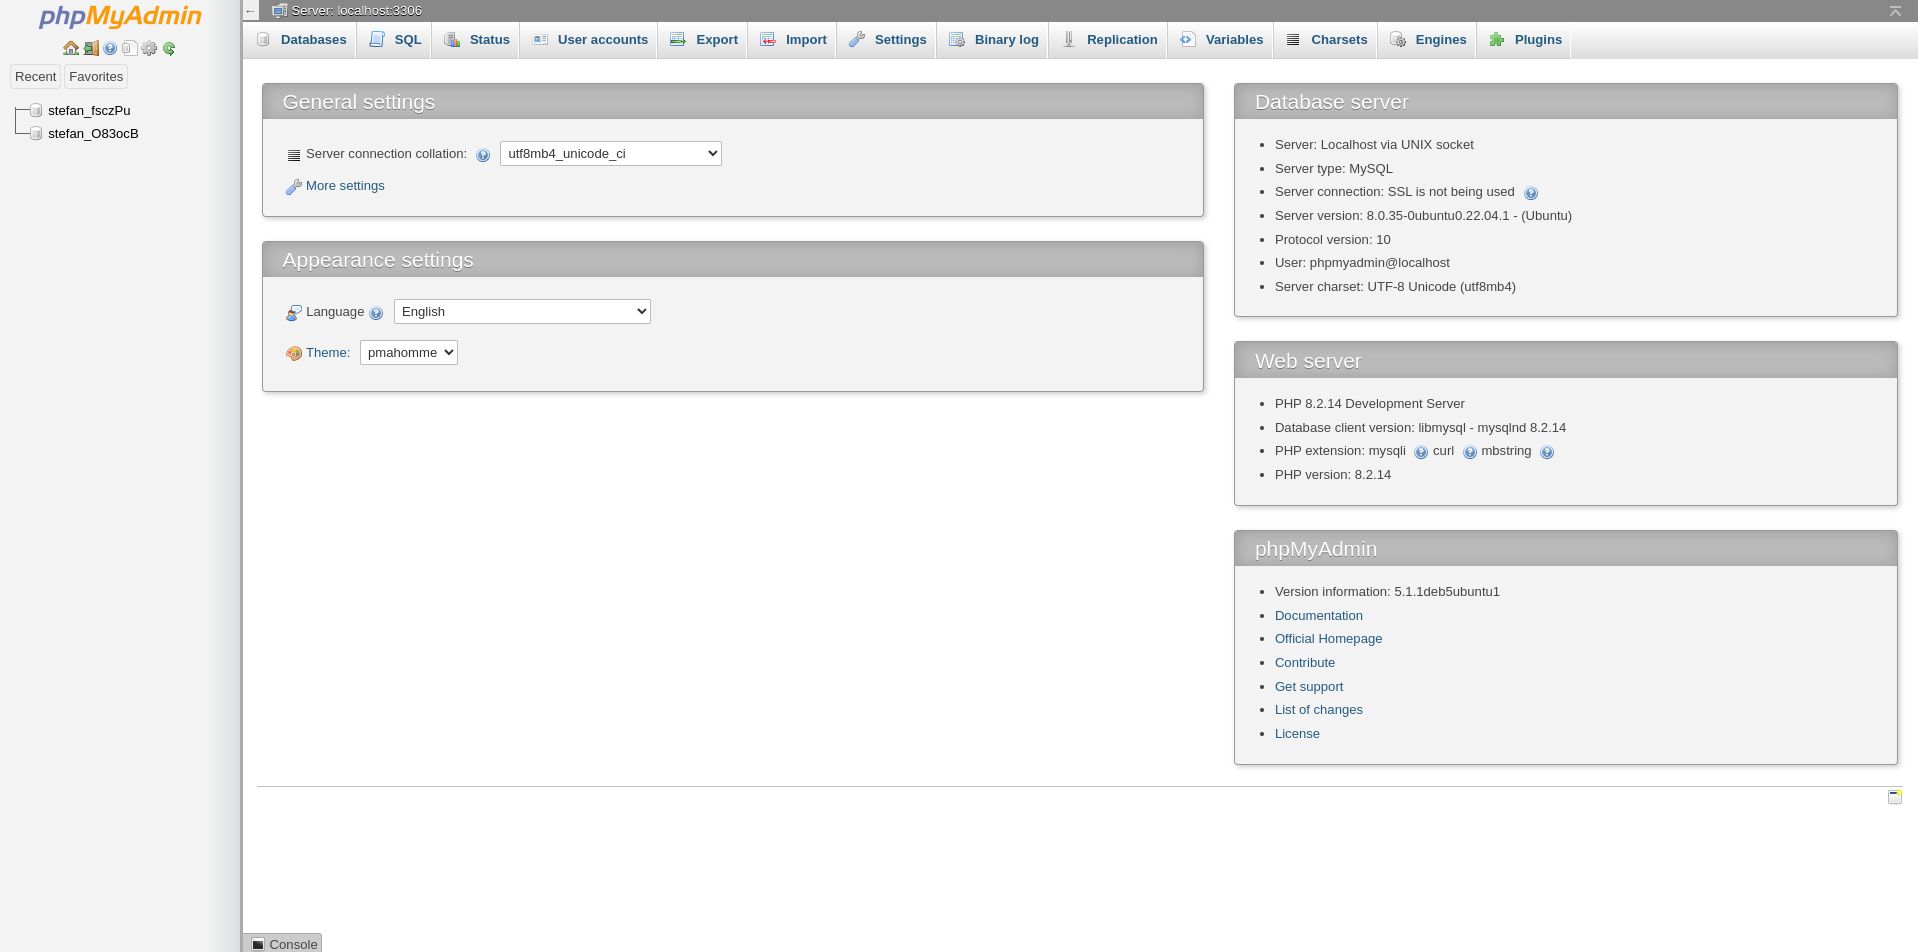
Click on 'Open phpMyAdmin Login' button, you will be automatically logged in and can view all existing databases and their tables.
Editing or manipulating tables directly in phpMyAdmin can break your site if done incorrectly. If you are unsure, consult a developer before making changes.
Once logged in, you can:
- View database tables
- Run SQL queries
- Drop tables
- Import data
- Export databases (e.g., your WordPress database)
- And more
For more information about using phpMyAdmin, refer to the official phpMyAdmin documentation.
Import SQL Files
phpMyAdmin allows you to import .sql files from different sources.
1. Import from Your Device
- Open phpMyAdmin and (optionally) select the database you want to import into.
- Click Import in the top menu.
- Under File to Import, click Choose File and select the
.sqlfile from your computer. - Click Import at the bottom and wait for the process to complete.
2. Import from the Server Upload Directory
You can also import files already uploaded to your server in /var/www/html/.
- Upload the
.sqlfile to/var/www/html/using File Manager. - Open phpMyAdmin and (optionally) select the target database.
- Click Import in the top menu.
- Under Select from the web server upload directory /html/:, choose the file name.
- Click Import at the bottom and wait for the process to complete.
3. Import via Terminal (Docker)
If the docker feature is enabled, you can import directly from the terminal inside your mysql or mariadb container.
- Open Containers > Terminal.
- Select the
mysqlormariadbcontainer. - Download or place your
.sqlfile in the container. - Run the appropriate command: Replace
mysql -u username -p database_name < file.sqlusername,database_name, andfile.sqlwith your actual details.