Trash
When deleting files you can select to permanently delete them, or to place them in the Trash (default option). The Trash page allows you to restore deleted files to where they were, or delete them permanently.
If the administrator has enabled automatic purging, a note under the page title shows after how many days items in the Trash are deleted automatically.
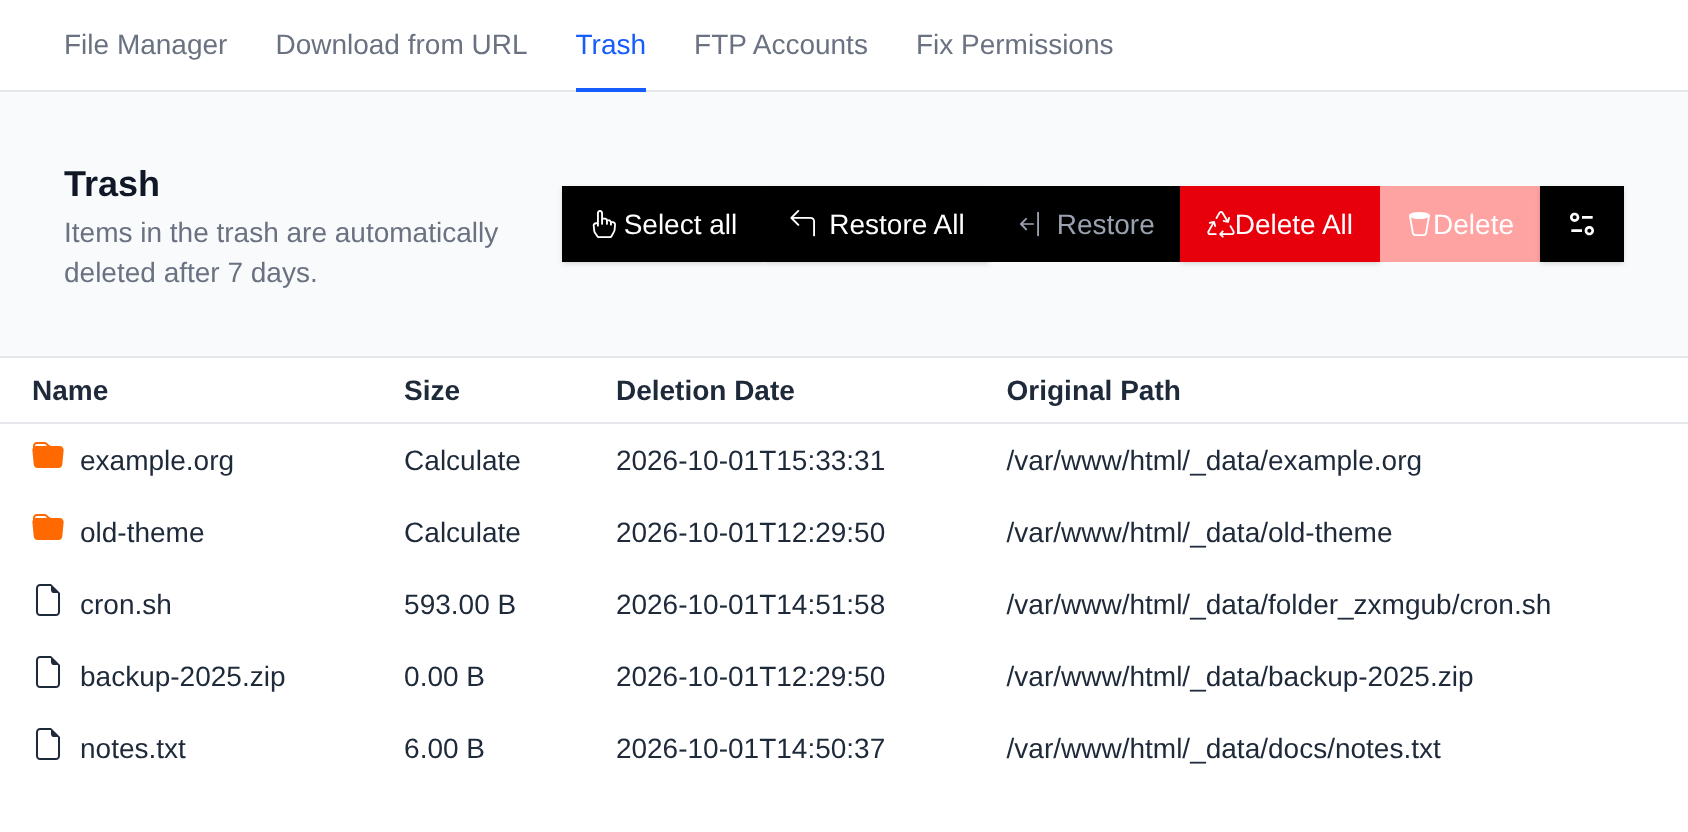
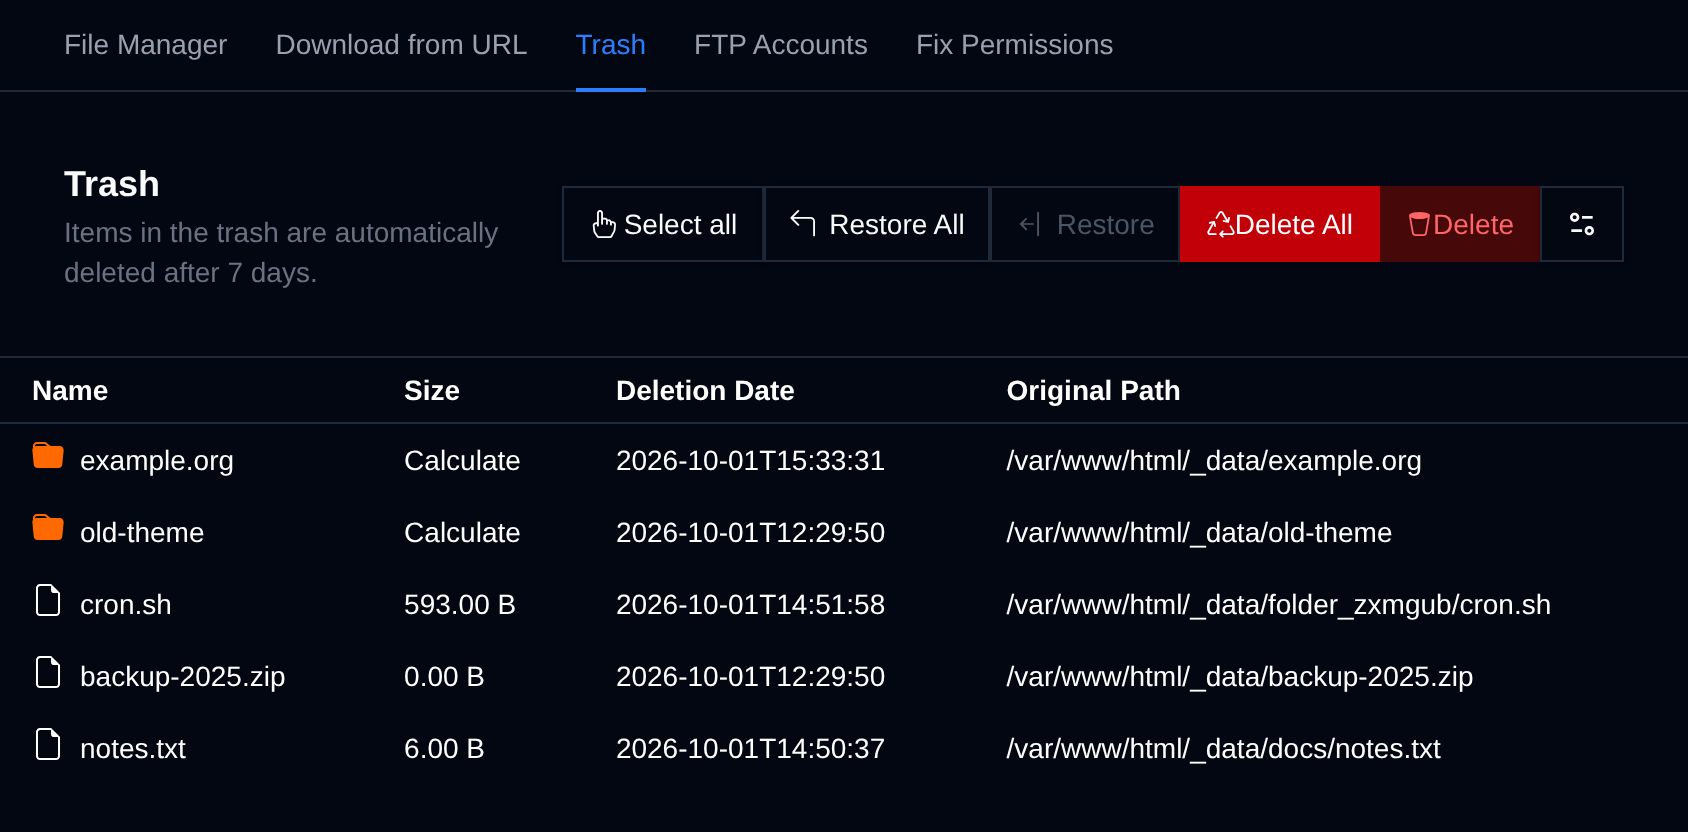
In the table, you can see the following information:
- Name
- Size – Displays the size for files. For folders, click Calculate to fetch their size.
- Deletion Date – Shows the timestamp when the file was deleted.
- Original Path – Displays where the file was located before delete.
Clicking the Toggle icon reveals additional details:
- Permissions – Displays symbolic file permissions (e.g.,
drwxr-xr-x). Hover over them to view the octal (numeric) equivalent (e.g.,0755). - Owner – The UID of the file or folder owner.
- Group – The GID of the group that owns the file or folder.
- Links – The number of hard links to the file or directory.
- Link Target – If it’s a symlink, this shows the target it points to.
- Type – Indicates whether it's a directory, file, or symbolic link.
Restore Files
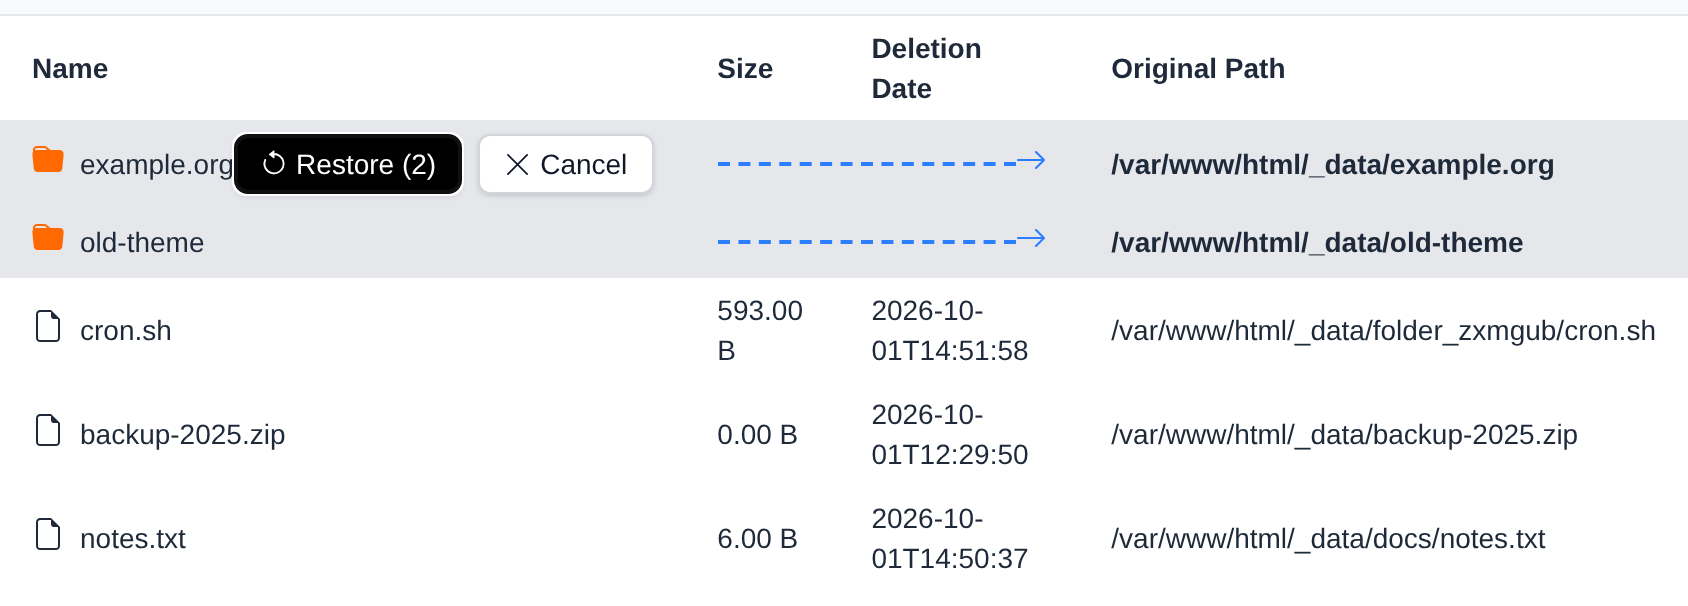
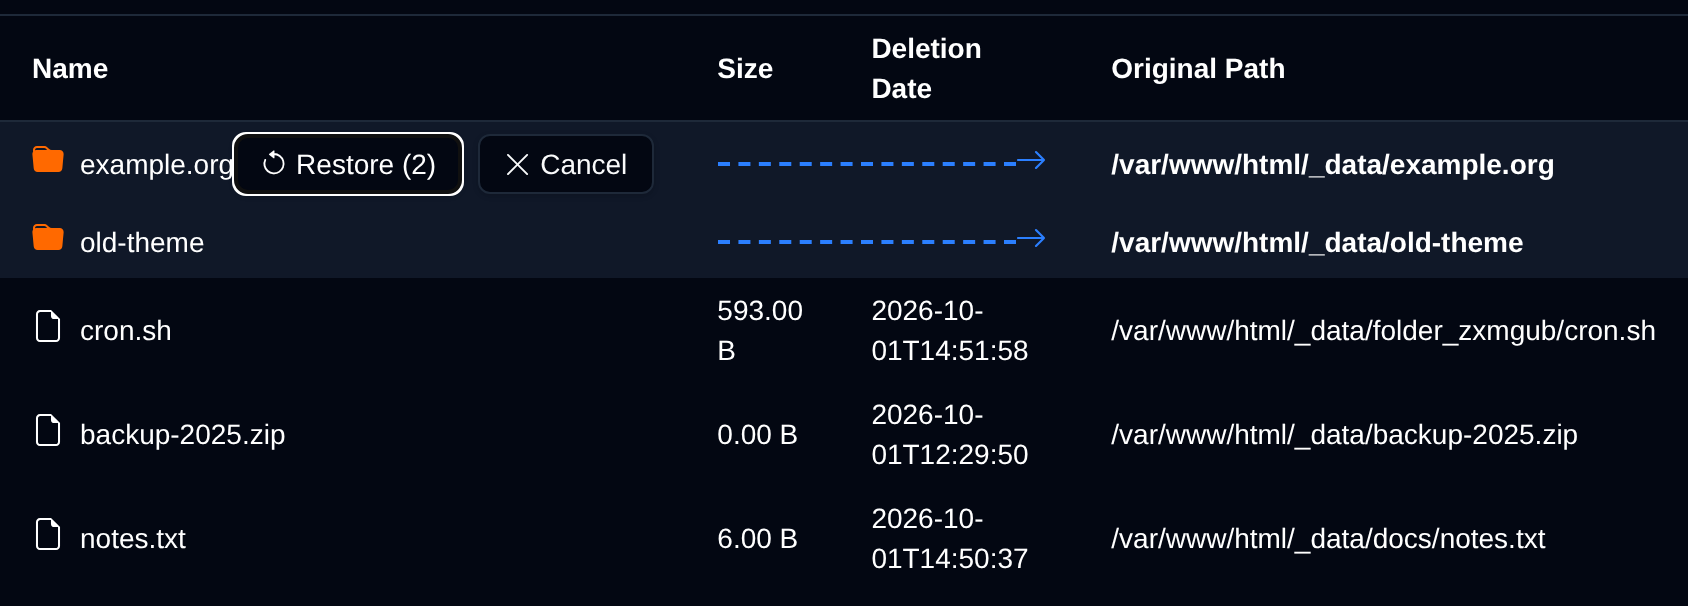
To restore files, select them and click on the Restore button. The selected rows are greyed out except for the name and the original path, with an arrow between them showing where each item will be moved back to. Click Restore to confirm, or Cancel (or Esc) to keep them in the Trash.
Restore All Files
To restore everything in the Trash, click on the Restore All button. All rows show where they will be restored to, click Restore to confirm.
Delete Files
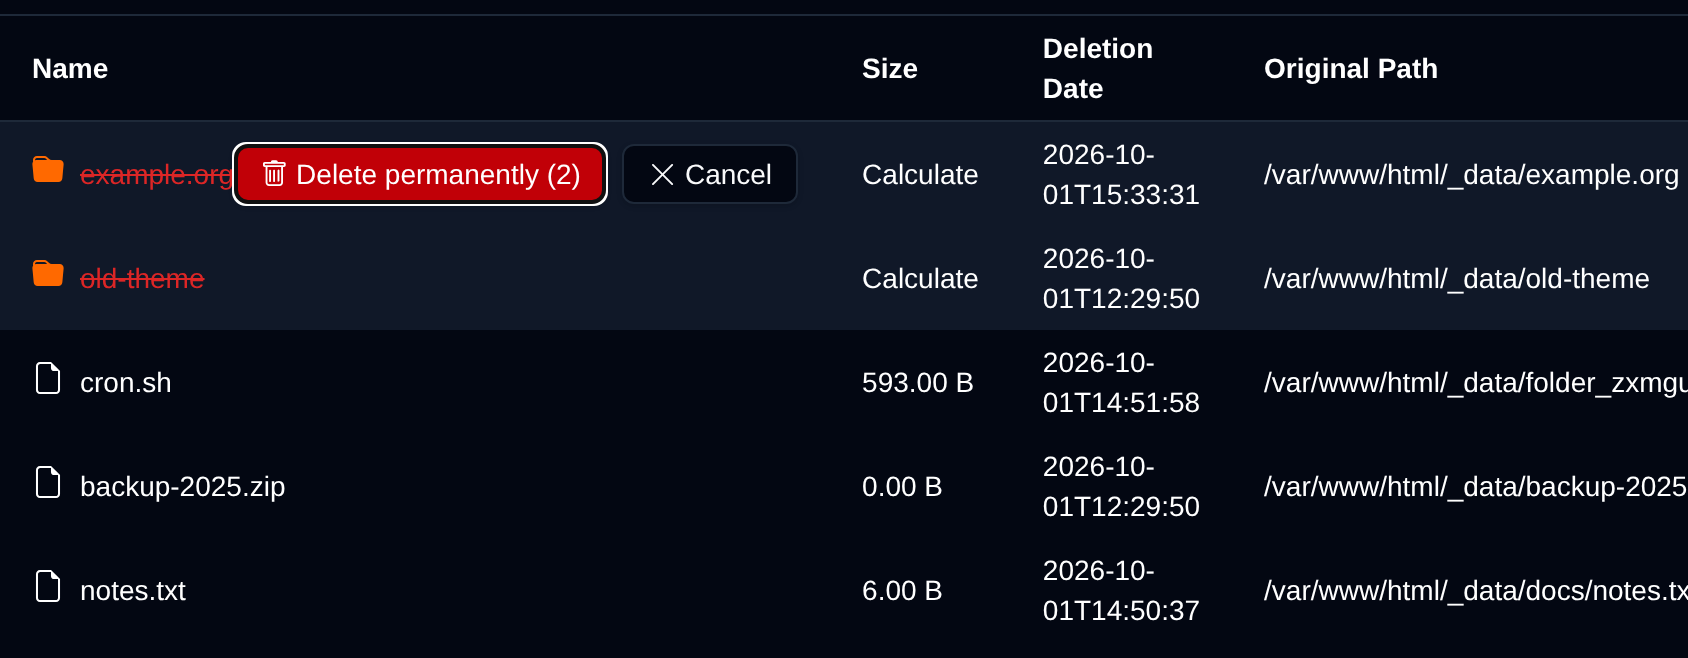
To permanently delete files, select them and click on the Delete button. Their names are crossed out in red, click Delete permanently to confirm, or Cancel (or Esc) to keep them.
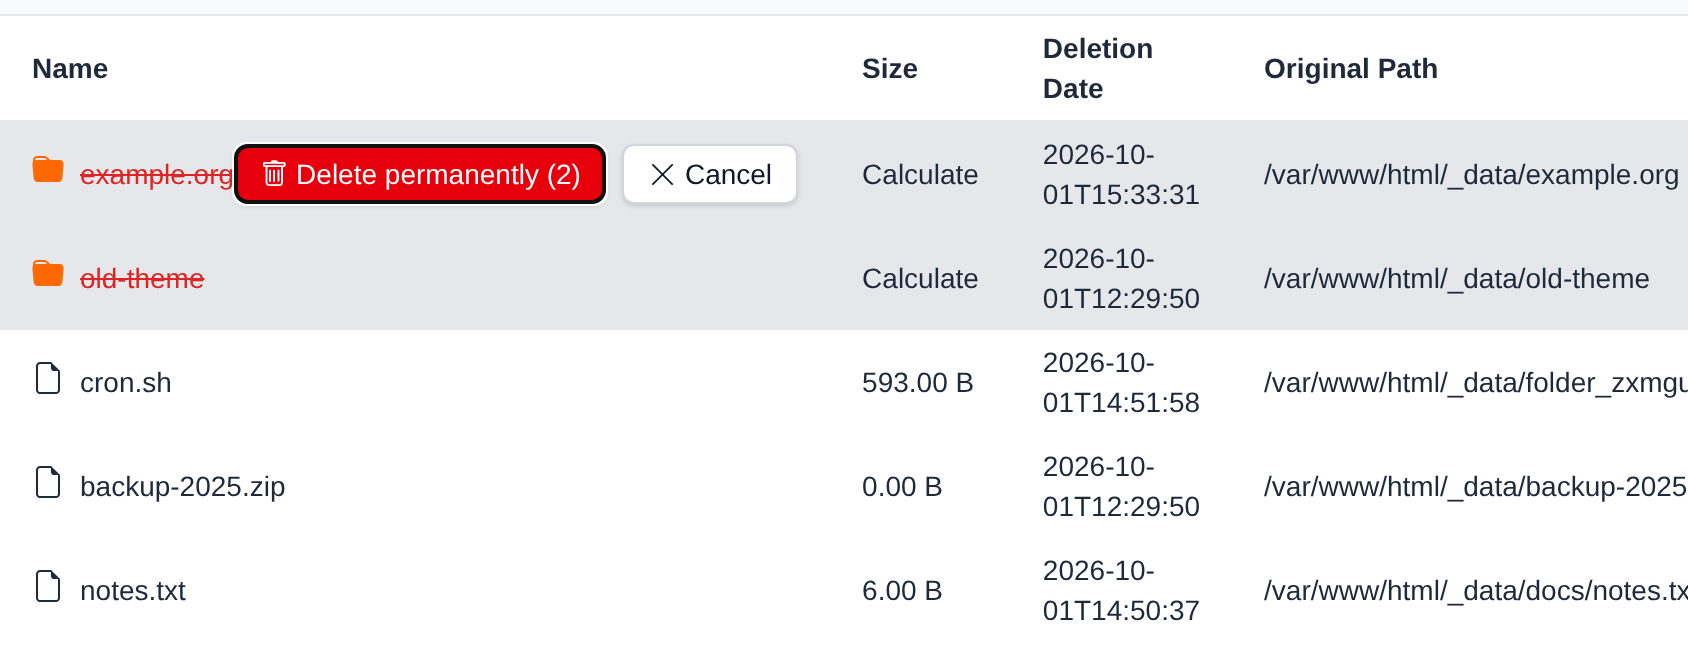
Files deleted from the Trash are permanently deleted and can't be restored.
Delete All Files
To empty the Trash, click on the Delete All button. All names are crossed out, click Delete permanently to confirm.