How to Install a Web Hosting Control Panel on a Raspberry Pi
OpenPanel supports ARM64 (AArch64) processors, so you can run it on a Raspberry Pi 4 or Raspberry Pi 5 and host websites from a tiny, low-power server at home.
Supported Models
| Model | Supported | Notes |
|---|---|---|
| Raspberry Pi 5 (4 GB / 8 GB / 16 GB) | ✅ Yes | Recommended. Use 8 GB or more for several sites. |
| Raspberry Pi 4 (4 GB / 8 GB) | ✅ Yes | 4 GB is enough for a few small sites. |
| Raspberry Pi 4 (2 GB) | ⚠️ Limited | Works for 1-2 static or small PHP sites. |
| Raspberry Pi 3, Zero 2 W, Pi 4 (1 GB) | ❌ No | Not enough RAM - the installer requires at least 1 GB of usable memory. |
| 32-bit OS on any model | ❌ No | A 64-bit OS is required. |
Use the resource calculator to see how many websites your Pi can handle.
What You Need
- A Raspberry Pi 4 or 5 with a good power supply.
- Storage: an SSD (USB 3 or NVMe HAT on the Pi 5) is strongly recommended. microSD cards are slow and wear out quickly under database writes. At least 32 GB.
- A wired Ethernet connection.
- Another computer with Raspberry Pi Imager.
Step 1: Flash Ubuntu Server 64-bit
Use Ubuntu Server 24.04 LTS (64-bit) - it's the recommended OS for OpenPanel on the Pi.
- Open Raspberry Pi Imager.
- Device: choose your Raspberry Pi model.
- Operating System: Other general-purpose OS → Ubuntu → Ubuntu Server 24.04 LTS (64-bit).
- Storage: select your SSD (or microSD card).
- When asked to apply customisation settings, click Edit settings and:
- set a hostname, username and password,
- on the Services tab, enable SSH.
- Write the image, connect the drive to the Pi and power it on.
Use Ubuntu Server rather than Raspberry Pi OS. OpenPanel is tested on the standard Ubuntu and Debian server images, and Ubuntu Server for the Pi is the closest match.
Step 2: Give the Pi a Fixed IP
In your router, create a DHCP reservation for the Pi so its local IP (for example 192.168.1.60) never changes. Port forwarding depends on it.
Step 3: Update the System
sudo -i
apt update && apt full-upgrade -y
reboot
Step 4: Install OpenPanel
Reconnect, switch to root, and run the installer:
sudo -i
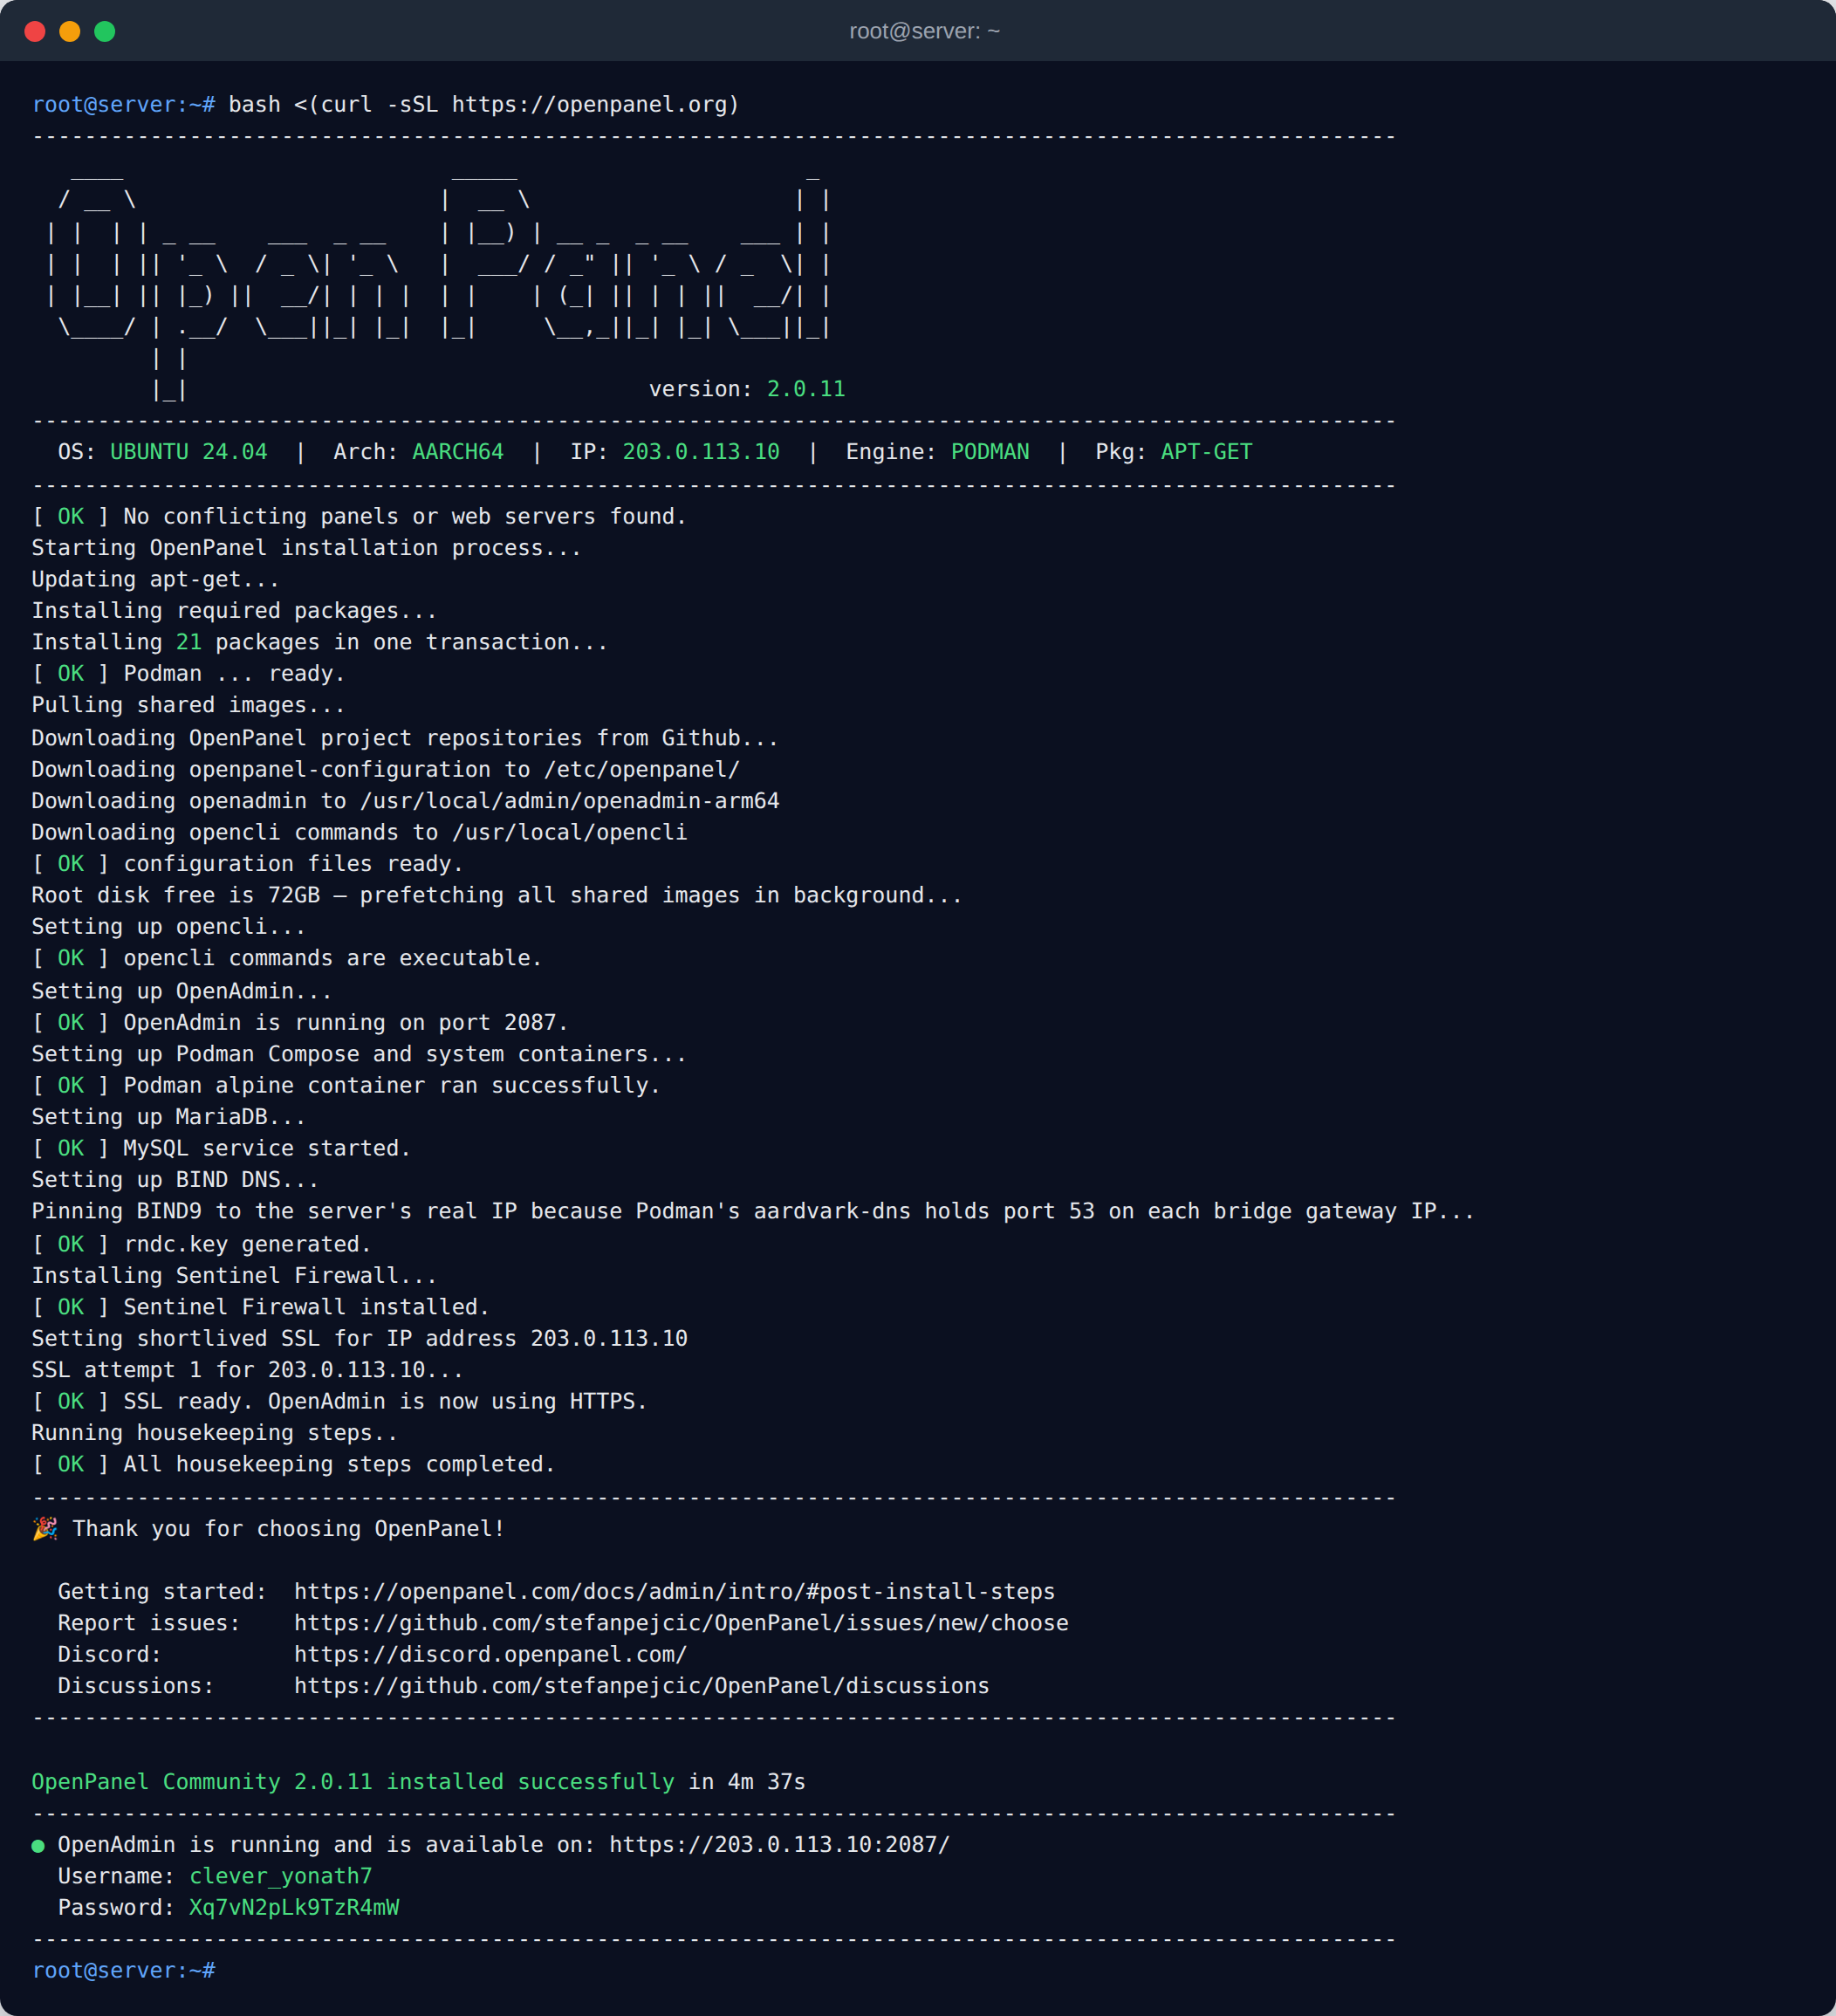
bash <(curl -sSL https://openpanel.org)
The installer detects the ARM64 CPU automatically and downloads the ARM builds of OpenPanel. On a Pi the installation takes longer than on a VPS - usually 10-20 minutes, depending on the storage speed.
When it finishes, it prints the OpenAdmin URL, username and password. Open https://192.168.1.60:2087 from your local network to log in.
The installer creates a swap file automatically on servers with 32 GB of RAM or less. On a Pi with an SSD you can choose the size with --swap=4 (in GB). Avoid large swap files on microSD cards.
Step 5: Put Your Sites Online
The Pi is now a normal OpenPanel server on your home network. To make websites reachable from the internet you need either port forwarding on your router or a Cloudflare Tunnel - both are explained in Self-Host Websites on a Home Server, together with dynamic IPs, CGNAT and accessing sites from inside your network.
Performance Tips
- Use an SSD. It is the single biggest speed-up for databases and WordPress.
- Use Nginx or OpenResty as the web server for lower memory usage - see switching the web server per user.
- Enable caching (Redis or Varnish) for WordPress sites - see Redis object cache for WordPress.
- Cooling: use the official active cooler or a case with a fan. Throttling makes the Pi much slower under load.