How to Enable Redis Object Cache for WordPress
A Redis object cache stores the results of WordPress database queries in memory, so repeated page loads don't hit MySQL again. It makes the WordPress admin, WooCommerce stores, membership sites and any logged-in pages noticeably faster.
OpenPanel includes a Redis service that each account can start on its own, as long as the Redis feature is enabled for the account's hosting plan (see Feature Manager). This guide covers the whole setup: start Redis, install the plugin, connect it, and check that it works.
Redis caches database queries (object cache). A page cache (like Varnish or a caching plugin) caches whole pages for visitors who aren't logged in. They work well together.
Step 1: Start the Redis Service
- Go to OpenPanel → Cache → Redis.
- Click Click to Enable.
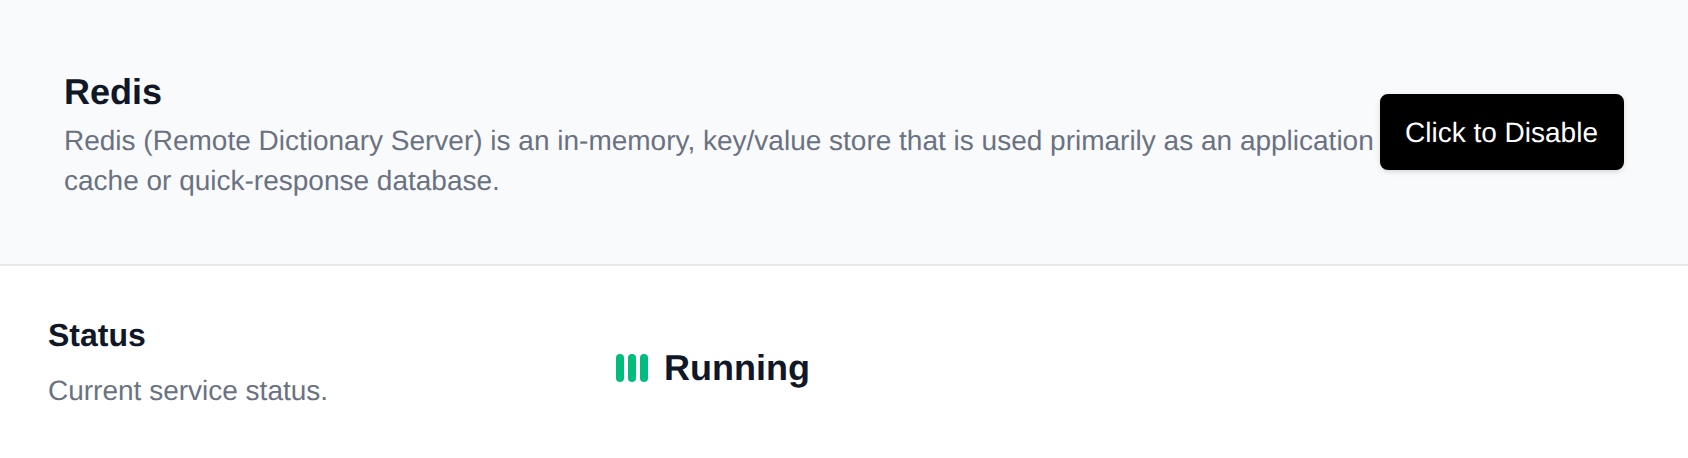
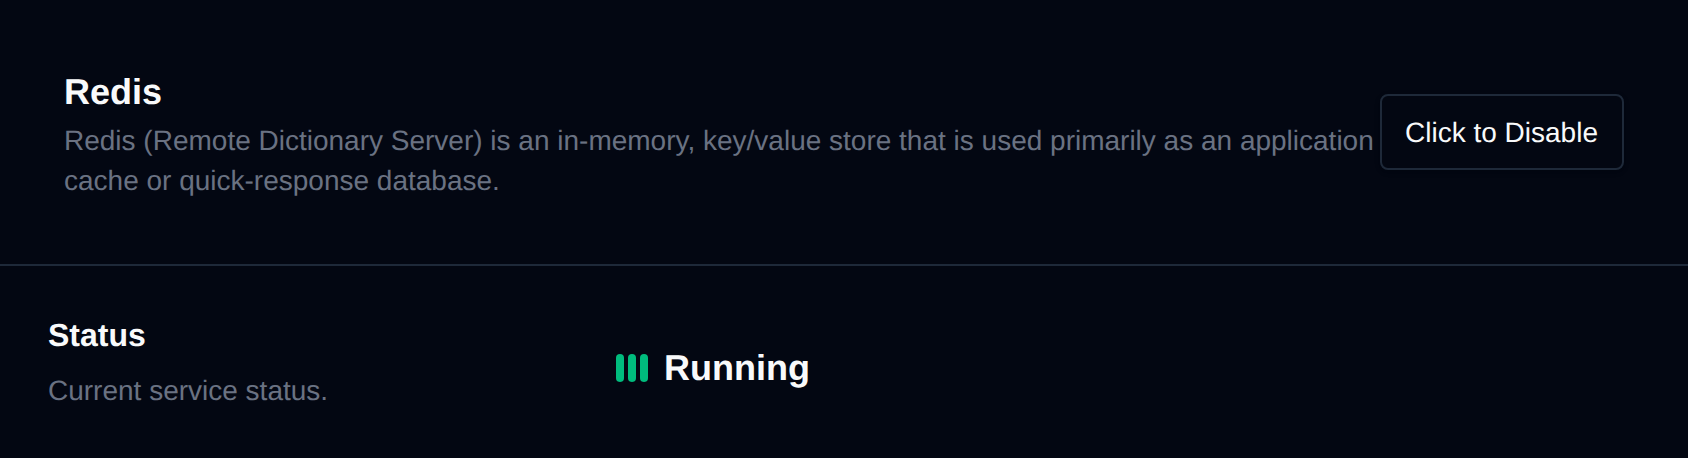
Redis starts in its own container and is reachable from your websites at:
- Host:
redis- not127.0.0.1orlocalhost - Port:
6379
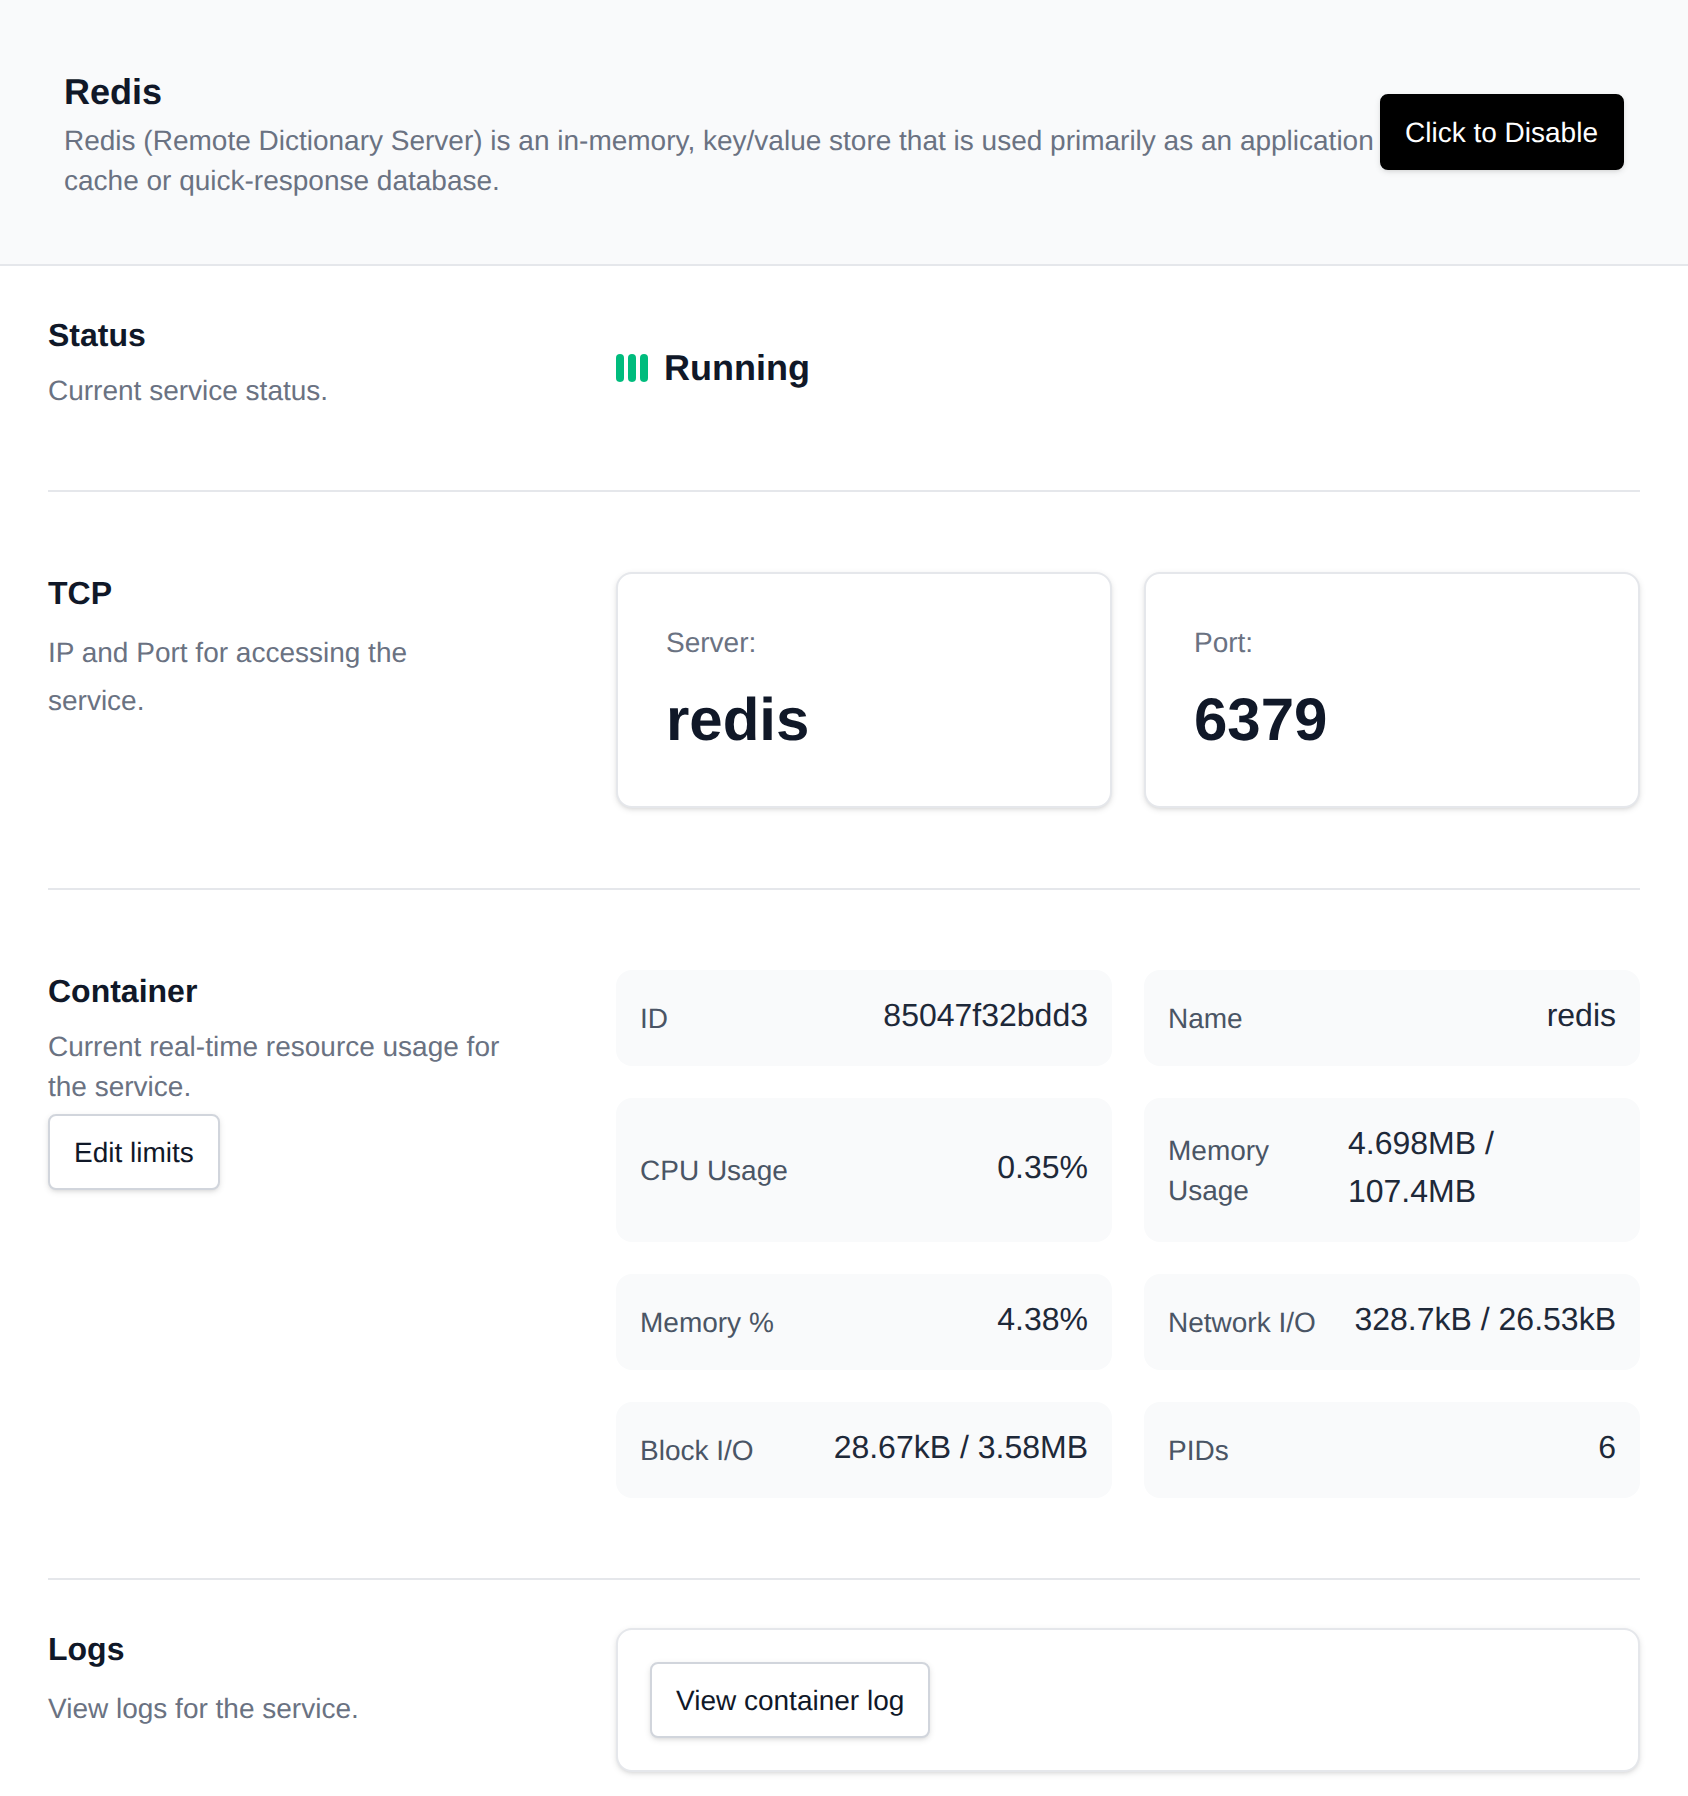
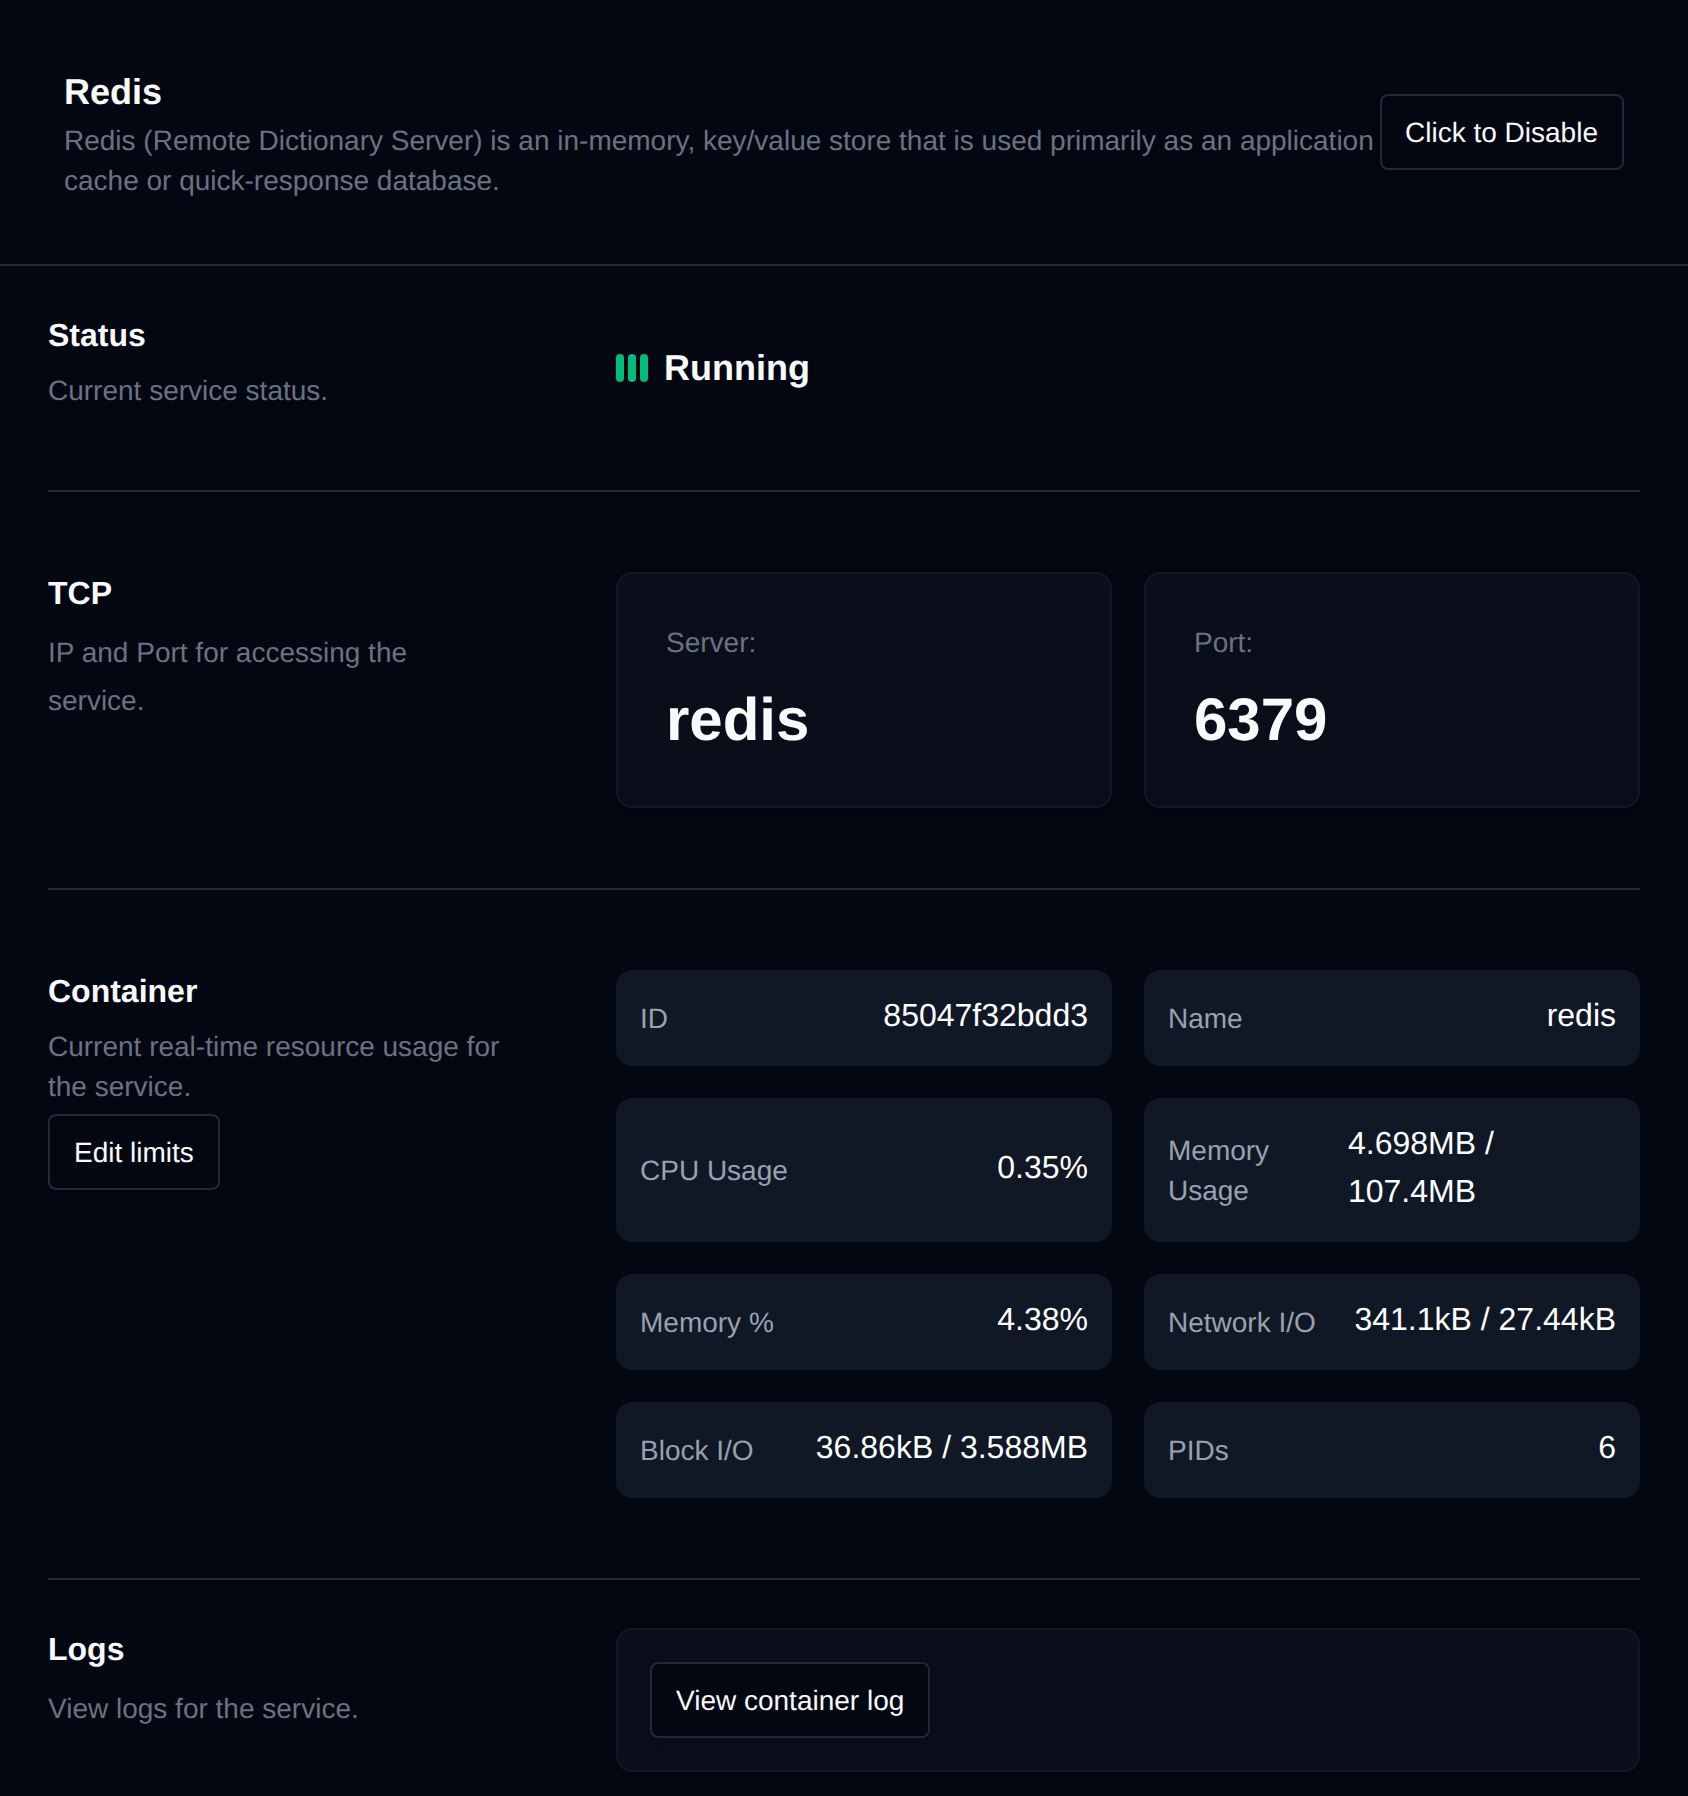
Optionally click Edit limits to give Redis more memory - 128-256 MB is plenty for most sites. See Redis.
Prefer Valkey, the open-source Redis fork? Enable it under Cache → Valkey instead and use valkey as the host below - the plugin works the same way.
Step 2: Tell WordPress Where Redis Is
Open the site's wp-config.php in the File Manager and add these lines above /* That's all, stop editing! */:
define( 'WP_REDIS_HOST', 'redis' );
define( 'WP_REDIS_PORT', 6379 );
define( 'WP_REDIS_PREFIX', 'example.com:' );   // unique per site
define( 'WP_REDIS_TIMEOUT', 1 );
define( 'WP_REDIS_READ_TIMEOUT', 1 );
Or with WP-CLI:
wp config set WP_REDIS_HOST redis --allow-root
wp config set WP_REDIS_PORT 6379 --raw --allow-root
wp config set WP_REDIS_PREFIX 'example.com:' --allow-root
WP_REDIS_PREFIX keeps each site's keys separate, so several WordPress sites can safely share one Redis service.
Step 3: Install and Enable the Plugin
- In WordPress, go to Plugins → Add New, search for Redis Object Cache (by Till Krüss), then Install and Activate it.
- Go to Settings → Redis and click Enable Object Cache.
With WP-CLI:
wp plugin install redis-cache --activate --allow-root
wp redis enable --allow-root
The plugin creates wp-content/object-cache.php, which makes WordPress use Redis.
Step 4: Check That It Works
- In WordPress, Settings → Redis should show Status: Connected, with the host
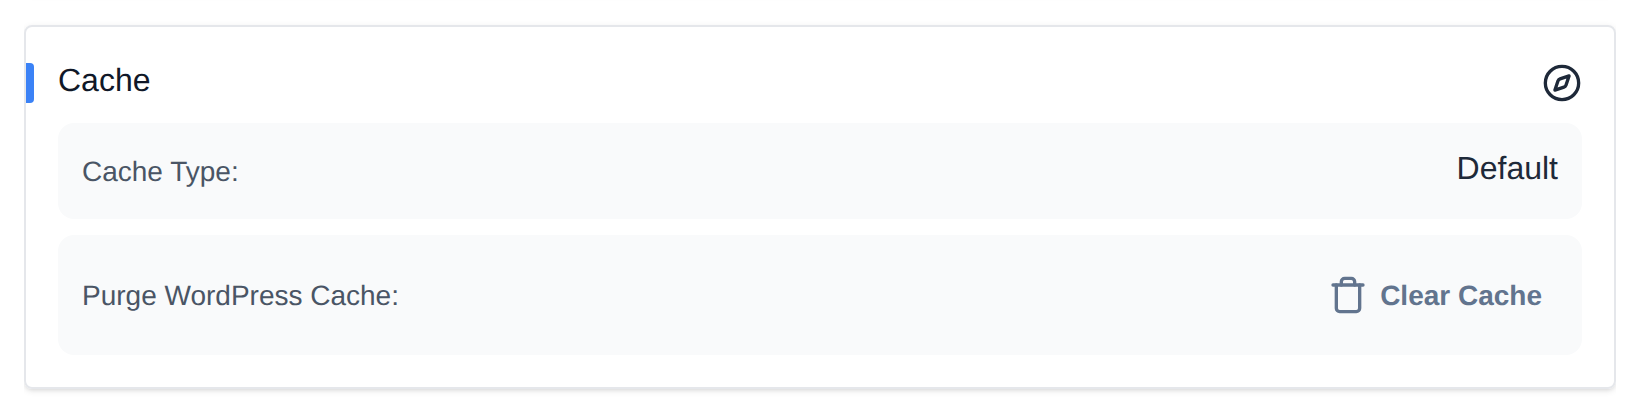
redis. - In OpenPanel, open the site in WordPress (WP Manager) - the Cache card shows the current cache type, which should now be Redis.
- With WP-CLI:
wp redis status --allow-rootandwp cache type --allow-root.
Browse the site and the admin for a minute, then check Settings → Redis → Diagnostics - the hit ratio should climb above 80-90%.
Clearing the Cache
- In WP Manager, click Clear Cache on the Cache card.
- Or in WordPress: Settings → Redis → Flush Cache.
- Or:
wp cache flush --allow-root.
Flush the cache after migrating or restoring a site, or when changes don't show up.
Troubleshooting
| Problem | Fix |
|---|---|
| Status: Not connected / Connection refused | The Redis service is stopped - enable it in Cache → Redis. Make sure WP_REDIS_HOST is redis, not 127.0.0.1. |
| Site shows Error establishing a Redis connection | Redis was stopped while object-cache.php is active. Start Redis again, or delete wp-content/object-cache.php to disable the object cache. |
| Two sites show each other's content | Both use the same keys - give each site a different WP_REDIS_PREFIX. |
| Redis memory keeps filling up | Raise Redis's memory limit with Edit limits, or flush the cache. Restarting Redis clears all cached data. |
| No speed difference for visitors | Object cache mostly helps dynamic and logged-in pages. For anonymous visitors, add page caching as well. |