How to Install a Hosting Control Panel on Linode (Akamai Cloud)
This guide shows how to install OpenPanel on a Linode instance, now part of Akamai Cloud.
Prerequisites
- A Linode / Akamai Cloud account.
- An SSH key (recommended) or a strong root password.
- Optional: a domain name for the panel, e.g.
server.example.com.
Step 1: Create a Linode
- Log in to the Cloud Manager and click Create → Linode.
- Under Choose a Distribution, select Ubuntu 24.04 LTS (recommended). Debian, AlmaLinux and Rocky Linux also work.
- Choose a Region close to your visitors.
- Choose a Linode Plan:
- Shared CPU plans are fine for most hosting servers.
- At least 2 GB RAM; 4 GB or more is recommended for production. Use the resource calculator to size the plan.
- Set a Linode Label, Root Password, and add your SSH key.
- Click Create Linode and wait for the status to change to Running.
You can paste the install command into Add User Data (Metadata / cloud-init) to install OpenPanel automatically on first boot - see Install OpenPanel with Cloud-Init.
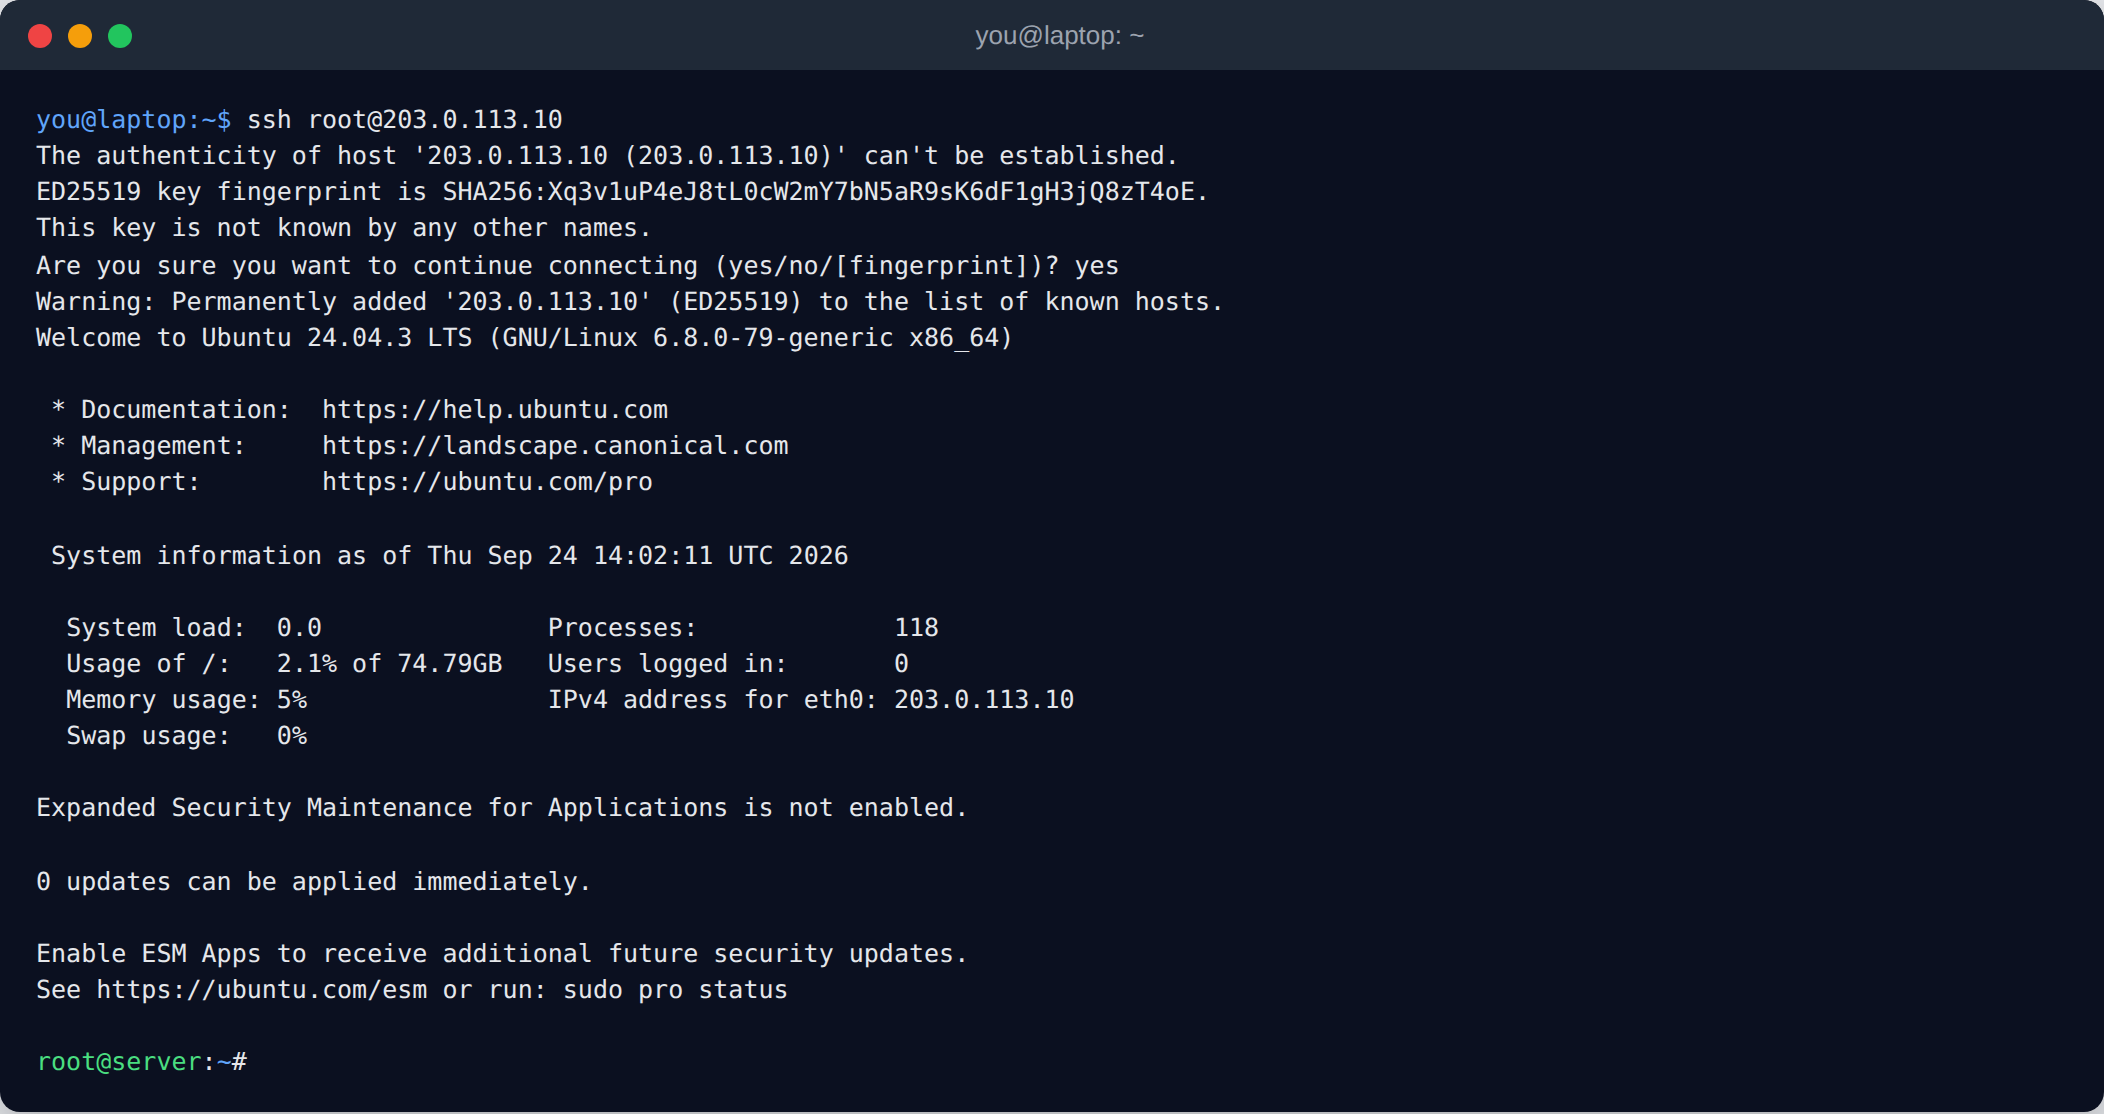
Step 2: Connect via SSH
ssh root@your-linode-ip
The IPv4 address is shown on the Linode's summary page.
Step 3: Run the OpenPanel Installer
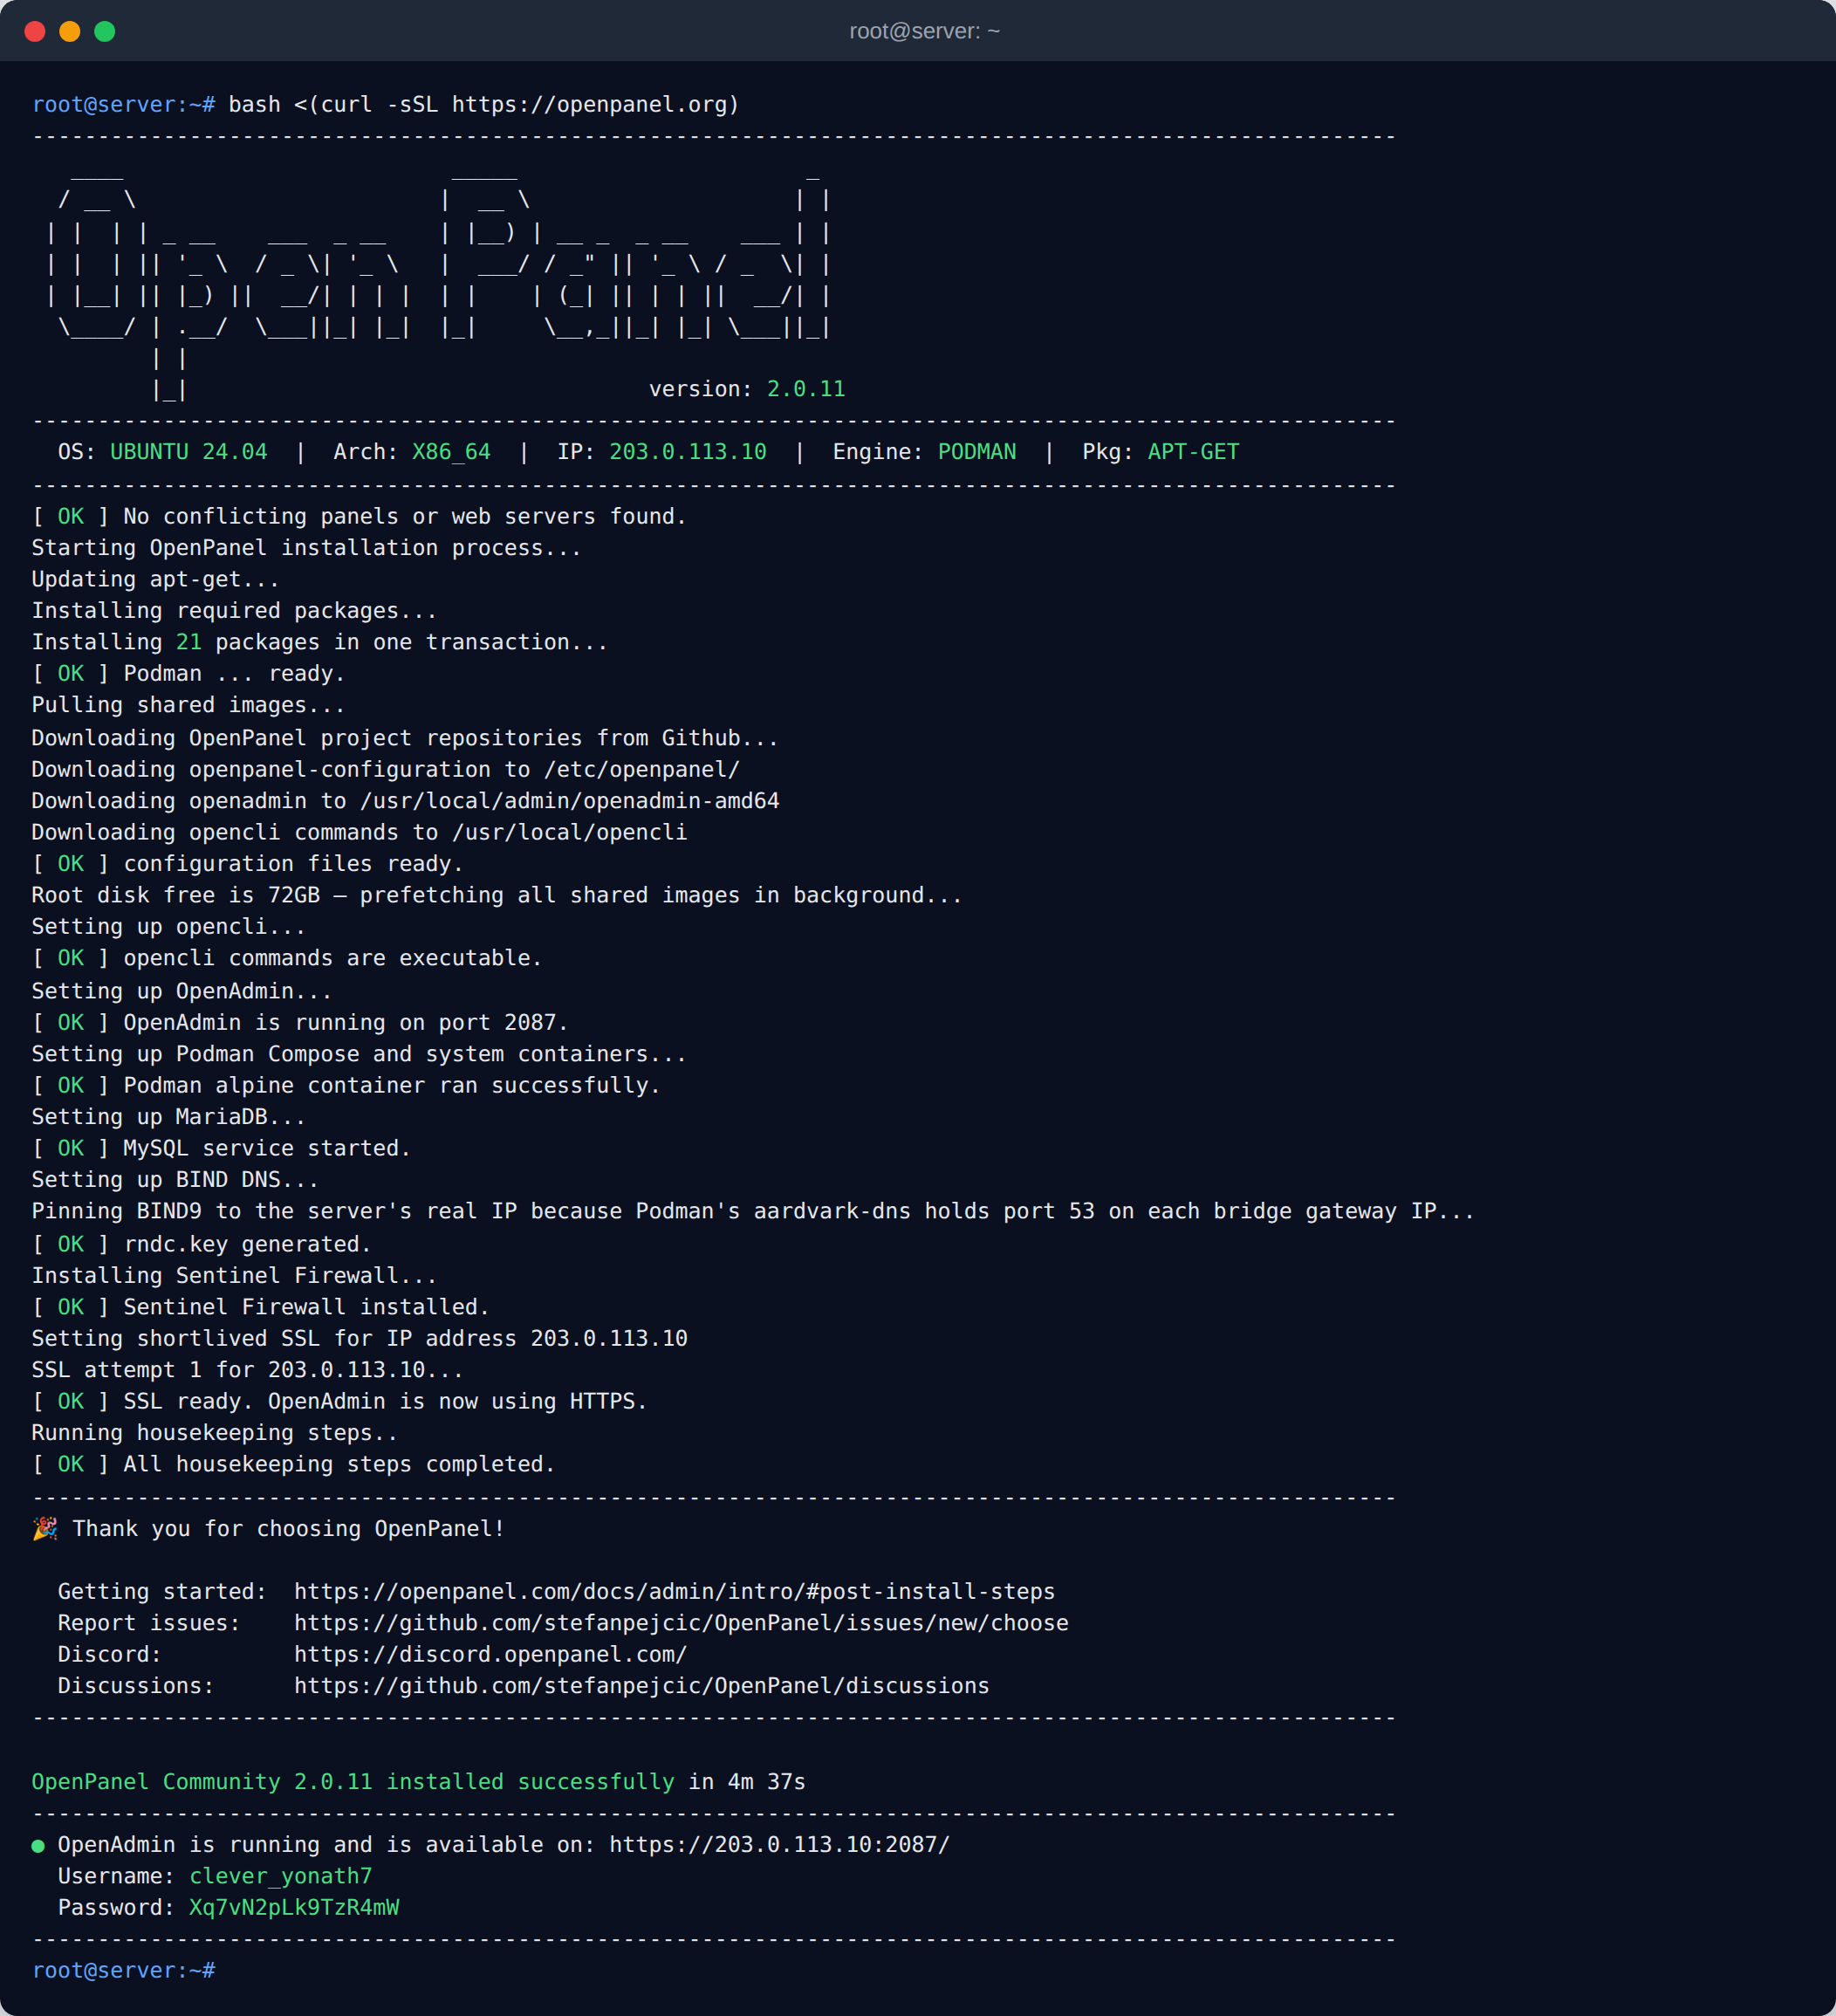
bash <(curl -sSL https://openpanel.org)
Installation takes about 5 minutes. For optional flags (domain, admin username, ports), use the install command generator.
When it finishes, the installer prints the OpenAdmin URL, username and password.
Step 4: Log in to OpenAdmin
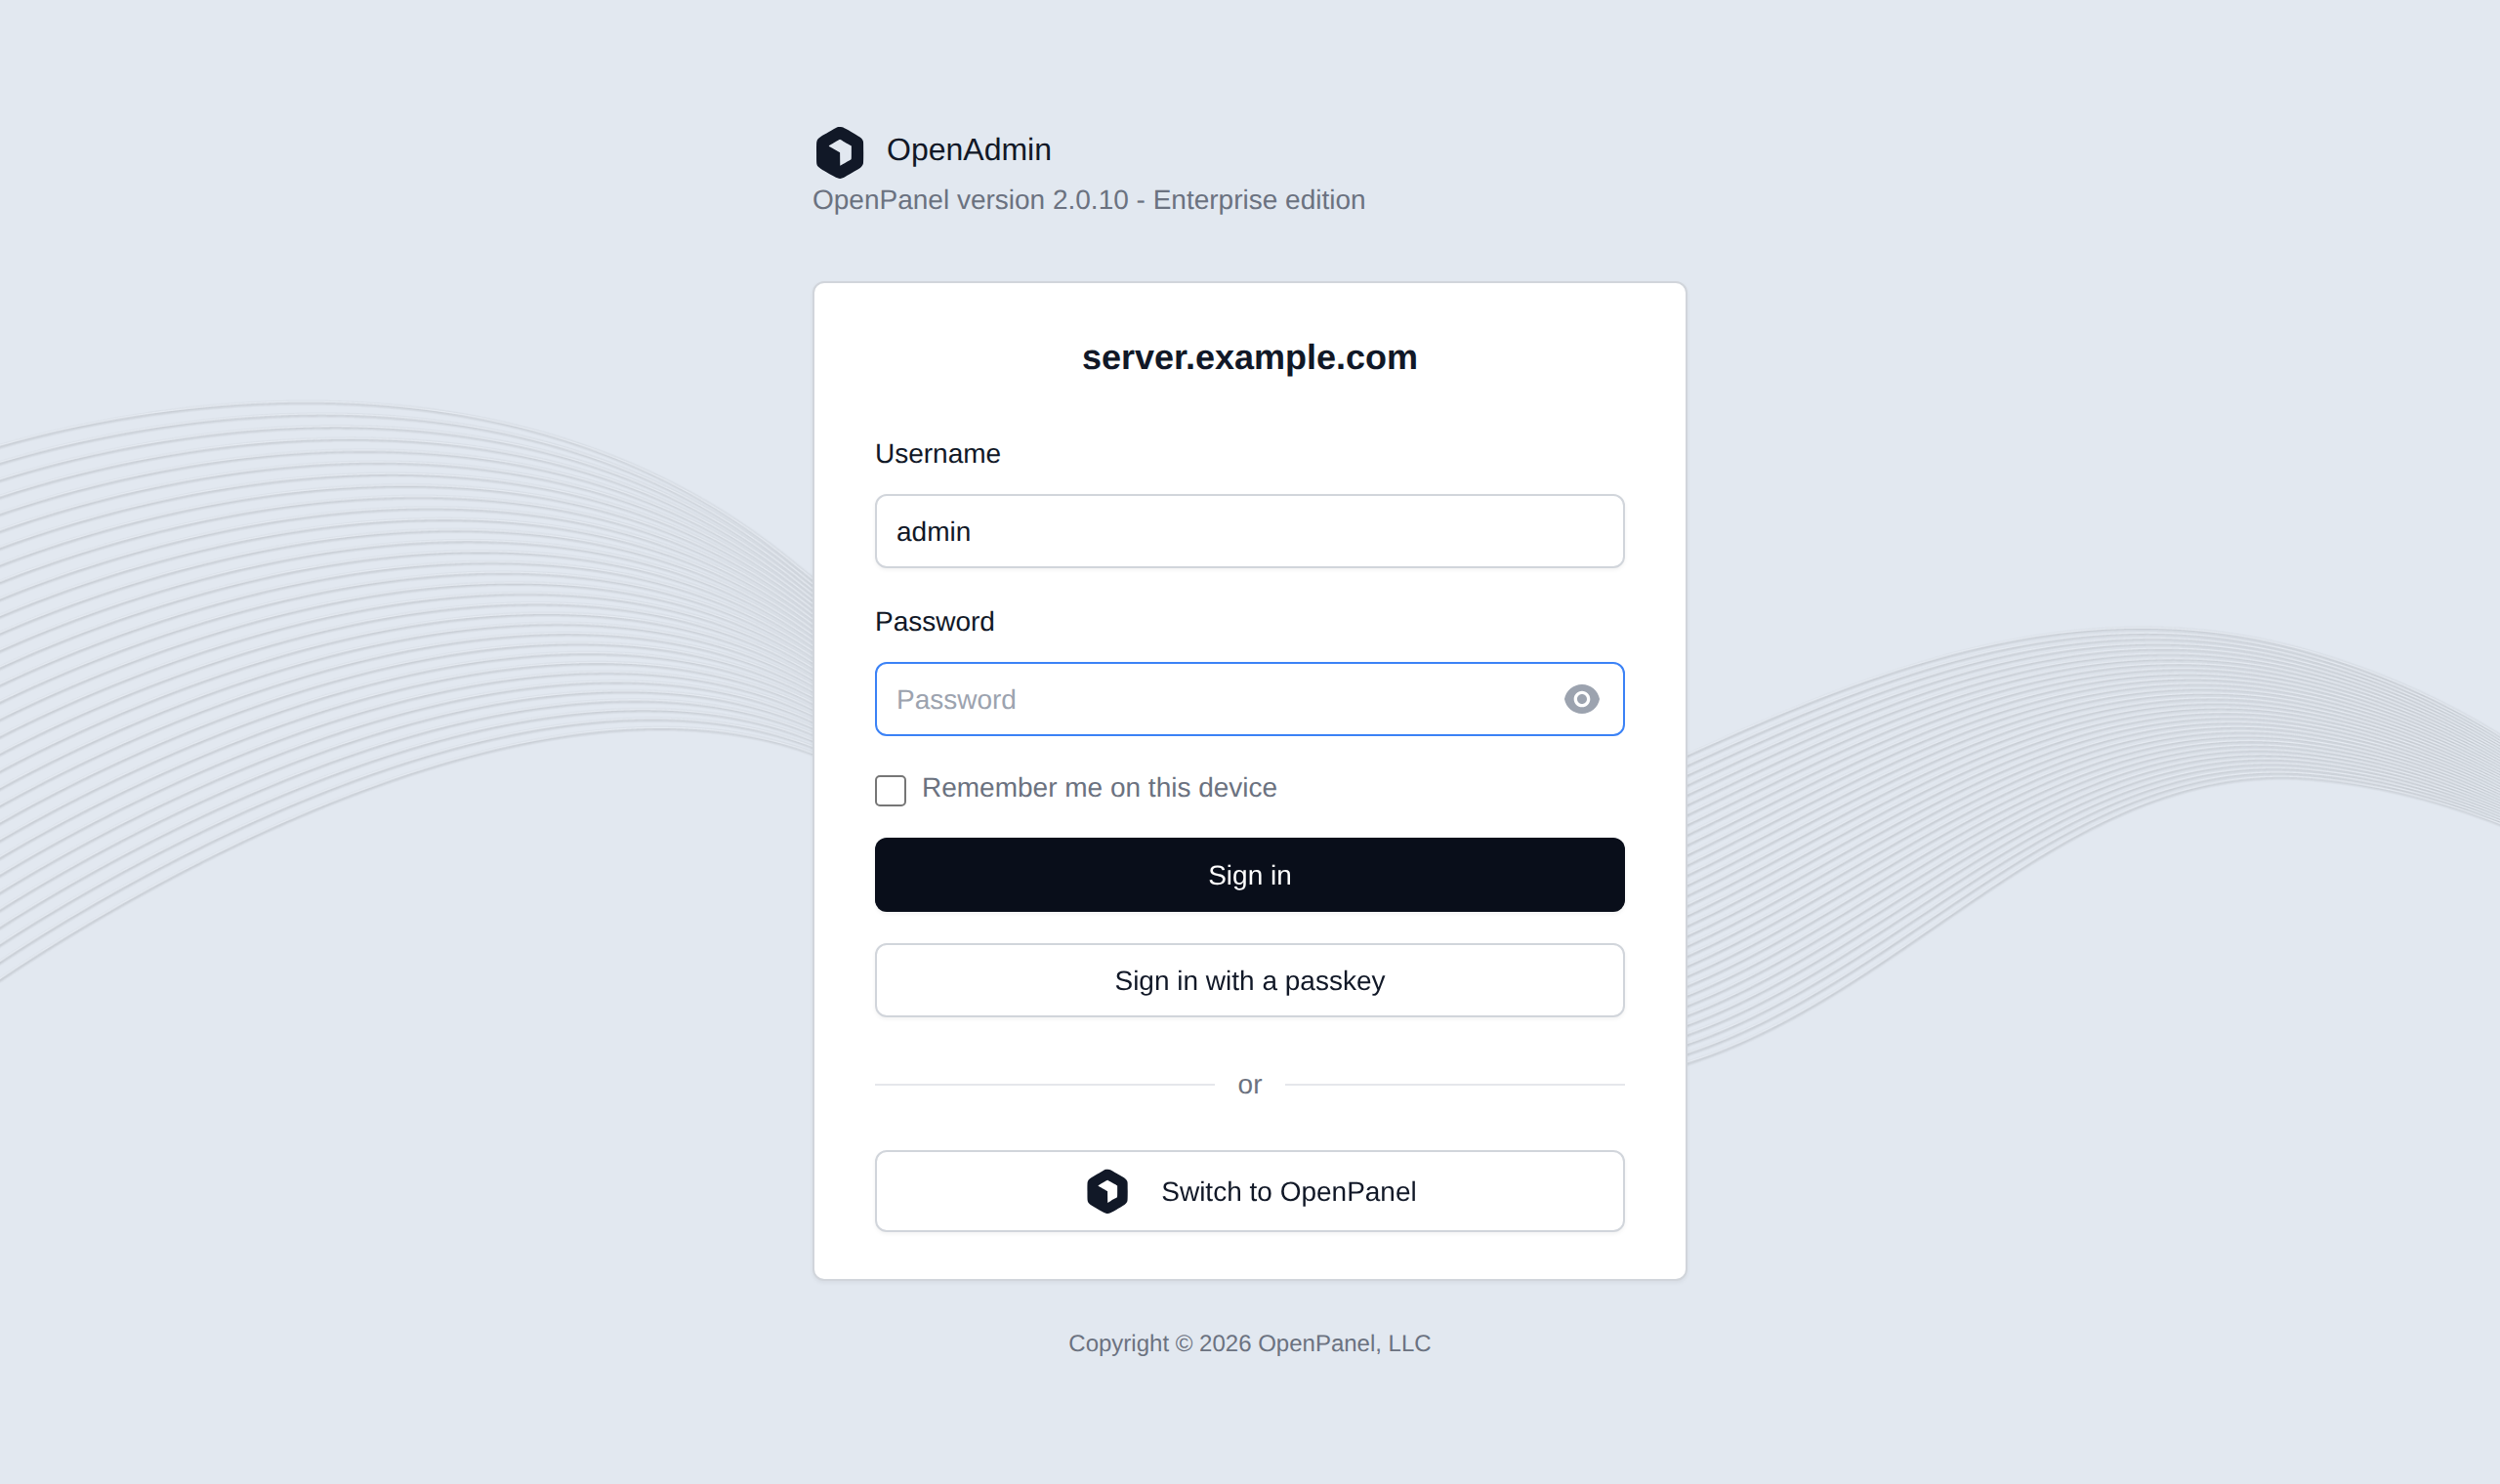
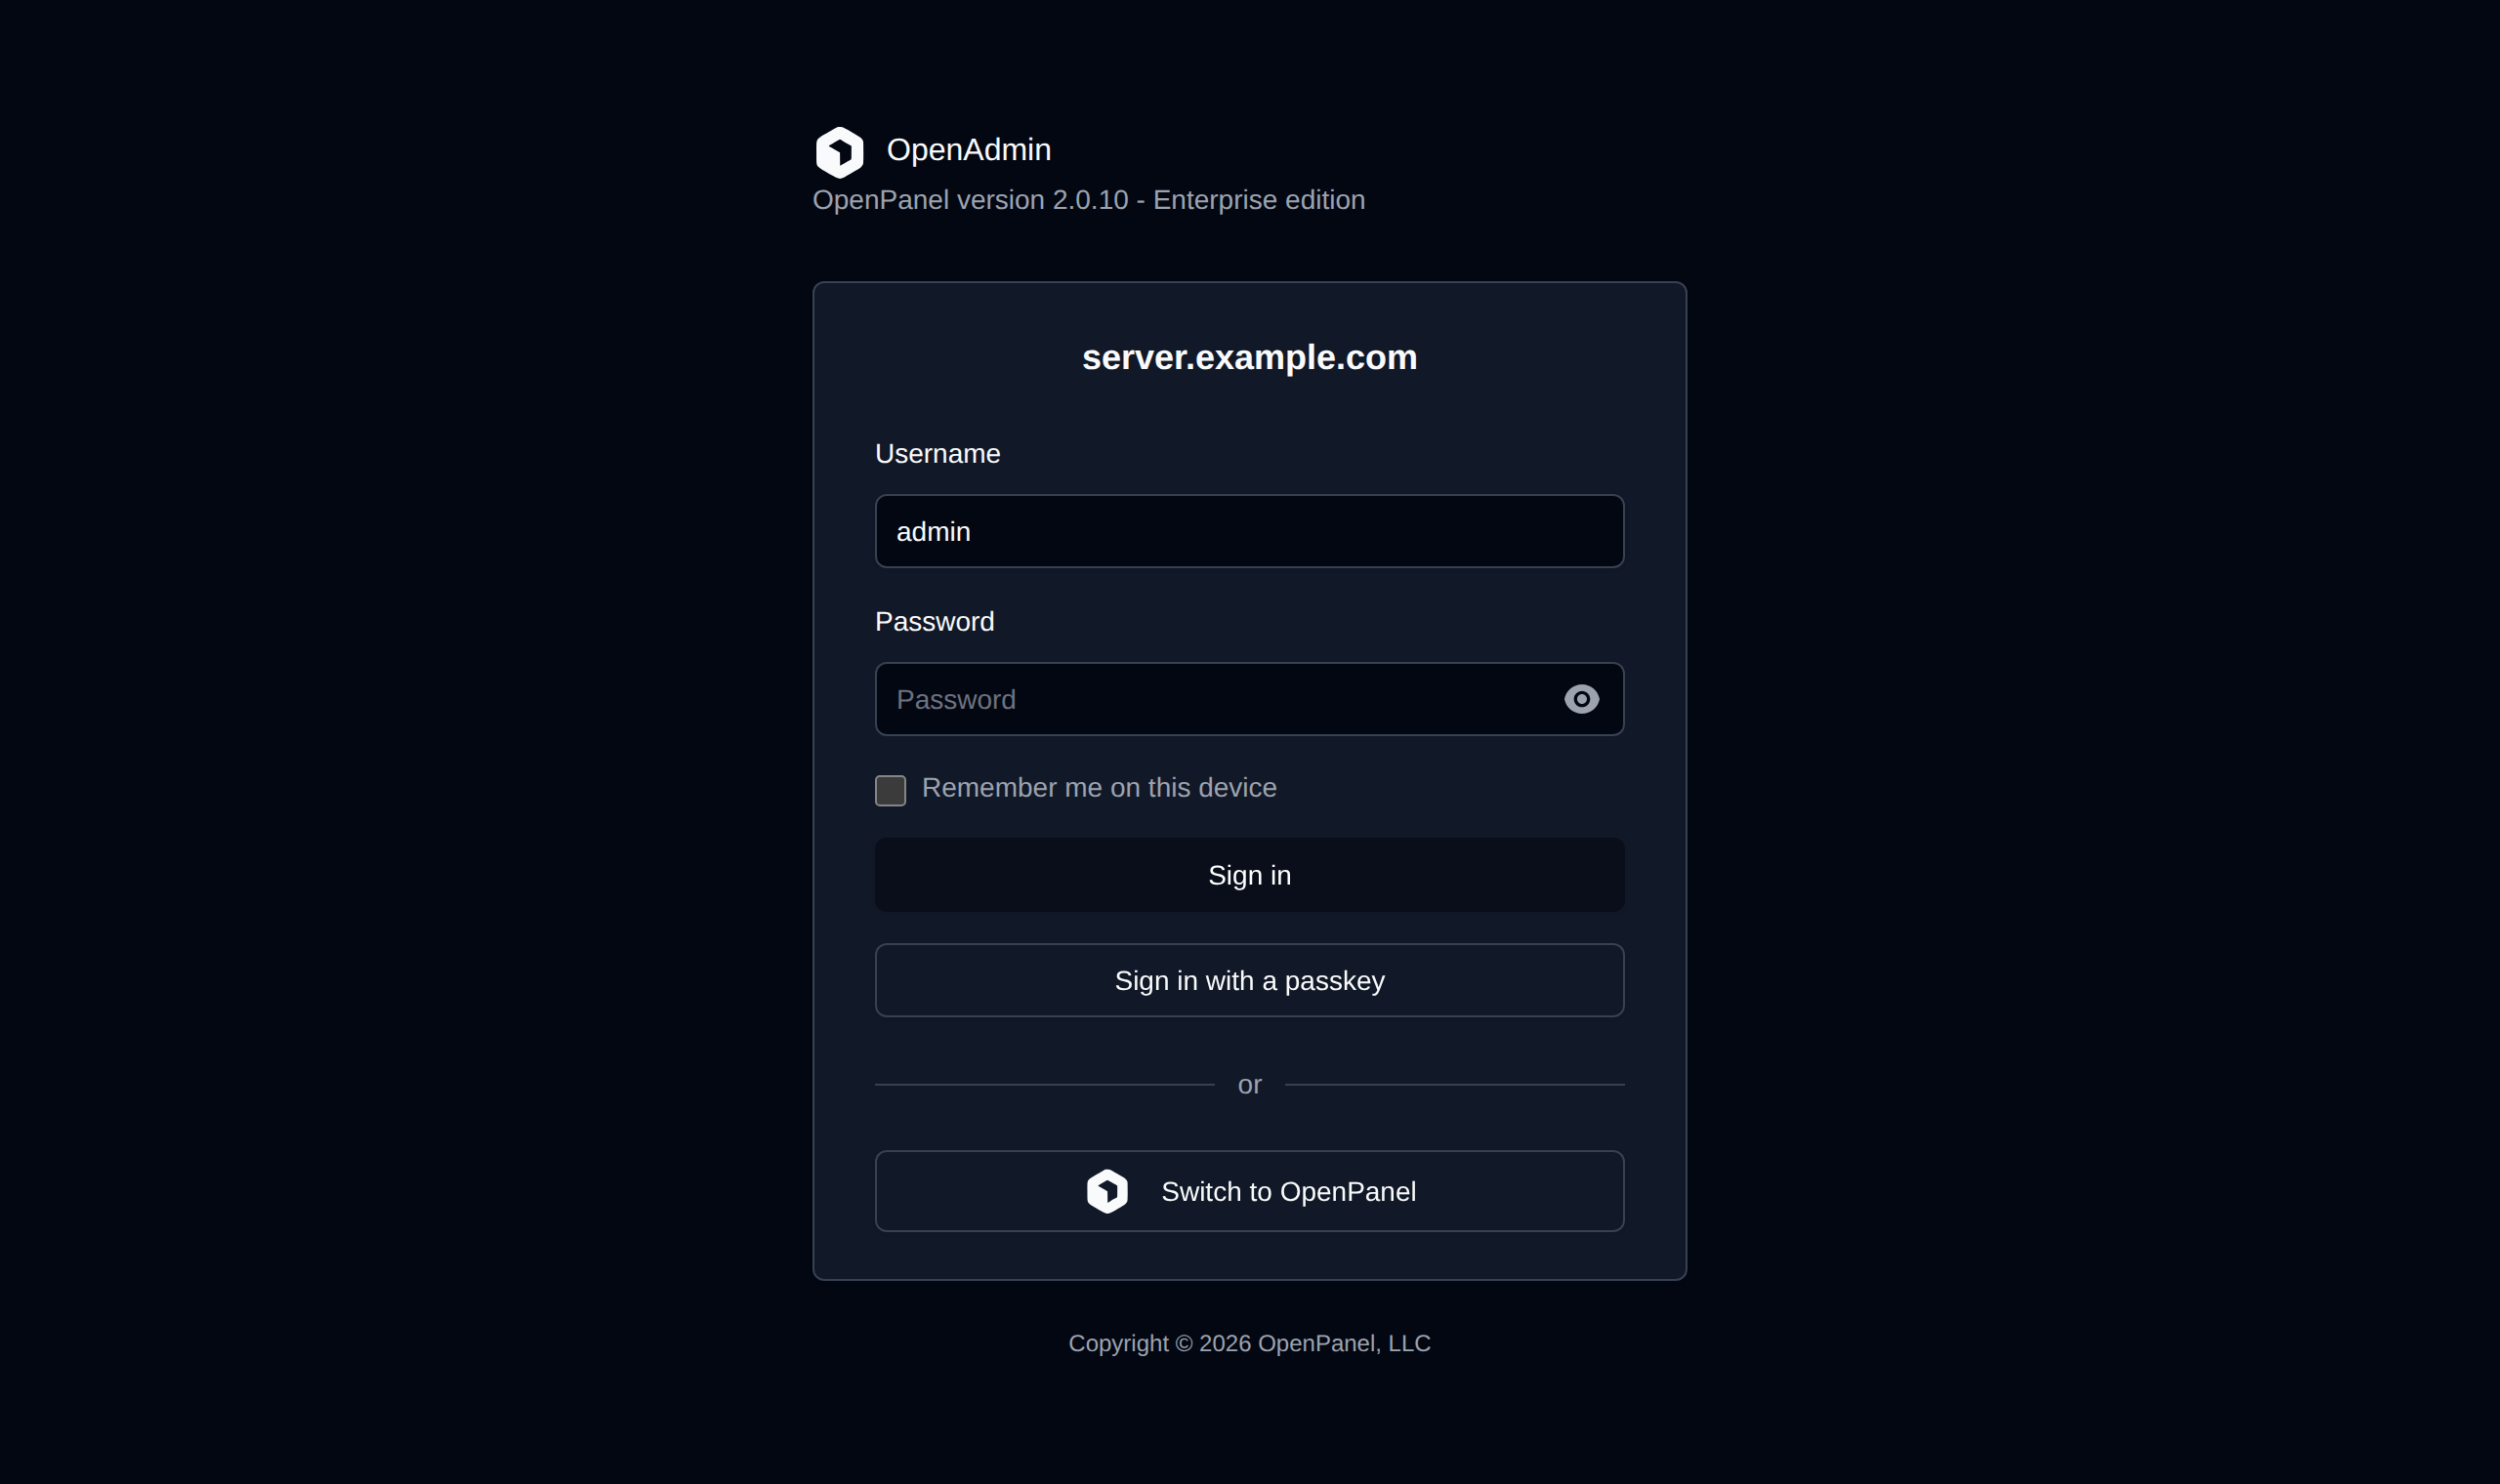
https://your-linode-ip:2087
Log in with the printed credentials and continue with the post-install steps.
Linode-Specific Settings
Cloud Firewall
OpenPanel installs Sentinel Firewall (CSF) automatically, so a Linode Cloud Firewall is optional. If you attach one, set the default inbound policy to Drop and allow at least ports 22, 53 (TCP and UDP), 80, 443, 2083 and 2087. The full list, including email and FTP ports, is in the requirements.
SMTP Restrictions (Port 25)
New Linode accounts have outgoing SMTP ports 25, 465 and 587 restricted to prevent abuse. Websites and the panel work, but email sent from the server will not be delivered.
To send email:
- Open a support ticket asking Linode to lift the SMTP restriction, and describe your use case (set up reverse DNS first - they usually ask for it).
- Or send email through an external relay - see Port 25 Blocked: How to Use an SMTP Relay.
Reverse DNS (PTR)
- Open the Linode and go to the Network tab.
- In the IP Addresses section, click ... next to the IPv4 address and choose Edit RDNS.
- Enter the server hostname, e.g.
server.example.com, and save.
The hostname must already resolve to the Linode's IP. See How to Set Up Reverse DNS (PTR).