How to Install a Hosting Control Panel on Hetzner
This guide walks you through installing OpenPanel on a Hetzner Cloud server. The same steps work for Hetzner dedicated (Robot) servers.
Hetzner is a popular choice for OpenPanel: servers are inexpensive, have fast NVMe storage, and both x86 and ARM64 (Ampere) servers are supported.
Prerequisites
- A Hetzner Cloud account.
- An SSH key (recommended) or root password.
- Optional: a domain name for the panel, e.g.
server.example.com.
Step 1: Create a Server
- Log in to the Hetzner Cloud Console and open (or create) a project.
- Click Add Server.
- Choose a location close to your visitors.
- Select the image: Ubuntu 24.04 (recommended). Debian 12/13, AlmaLinux and Rocky Linux also work.
- Choose a type:
- x86 (Intel/AMD) or Arm64 (Ampere) - OpenPanel runs on both.
- At least 2 GB RAM; 4 GB RAM or more is recommended for production. Use the resource calculator to size the server for the number of websites you plan to host.
- Make sure Public IPv4 is enabled - OpenPanel requires an IPv4 address.
- Add your SSH key.
- Click Create & Buy now.
Leave Cloud config empty, or paste the install command there to install OpenPanel automatically on first boot - see Install OpenPanel with Cloud-Init.
Step 2: Connect via SSH
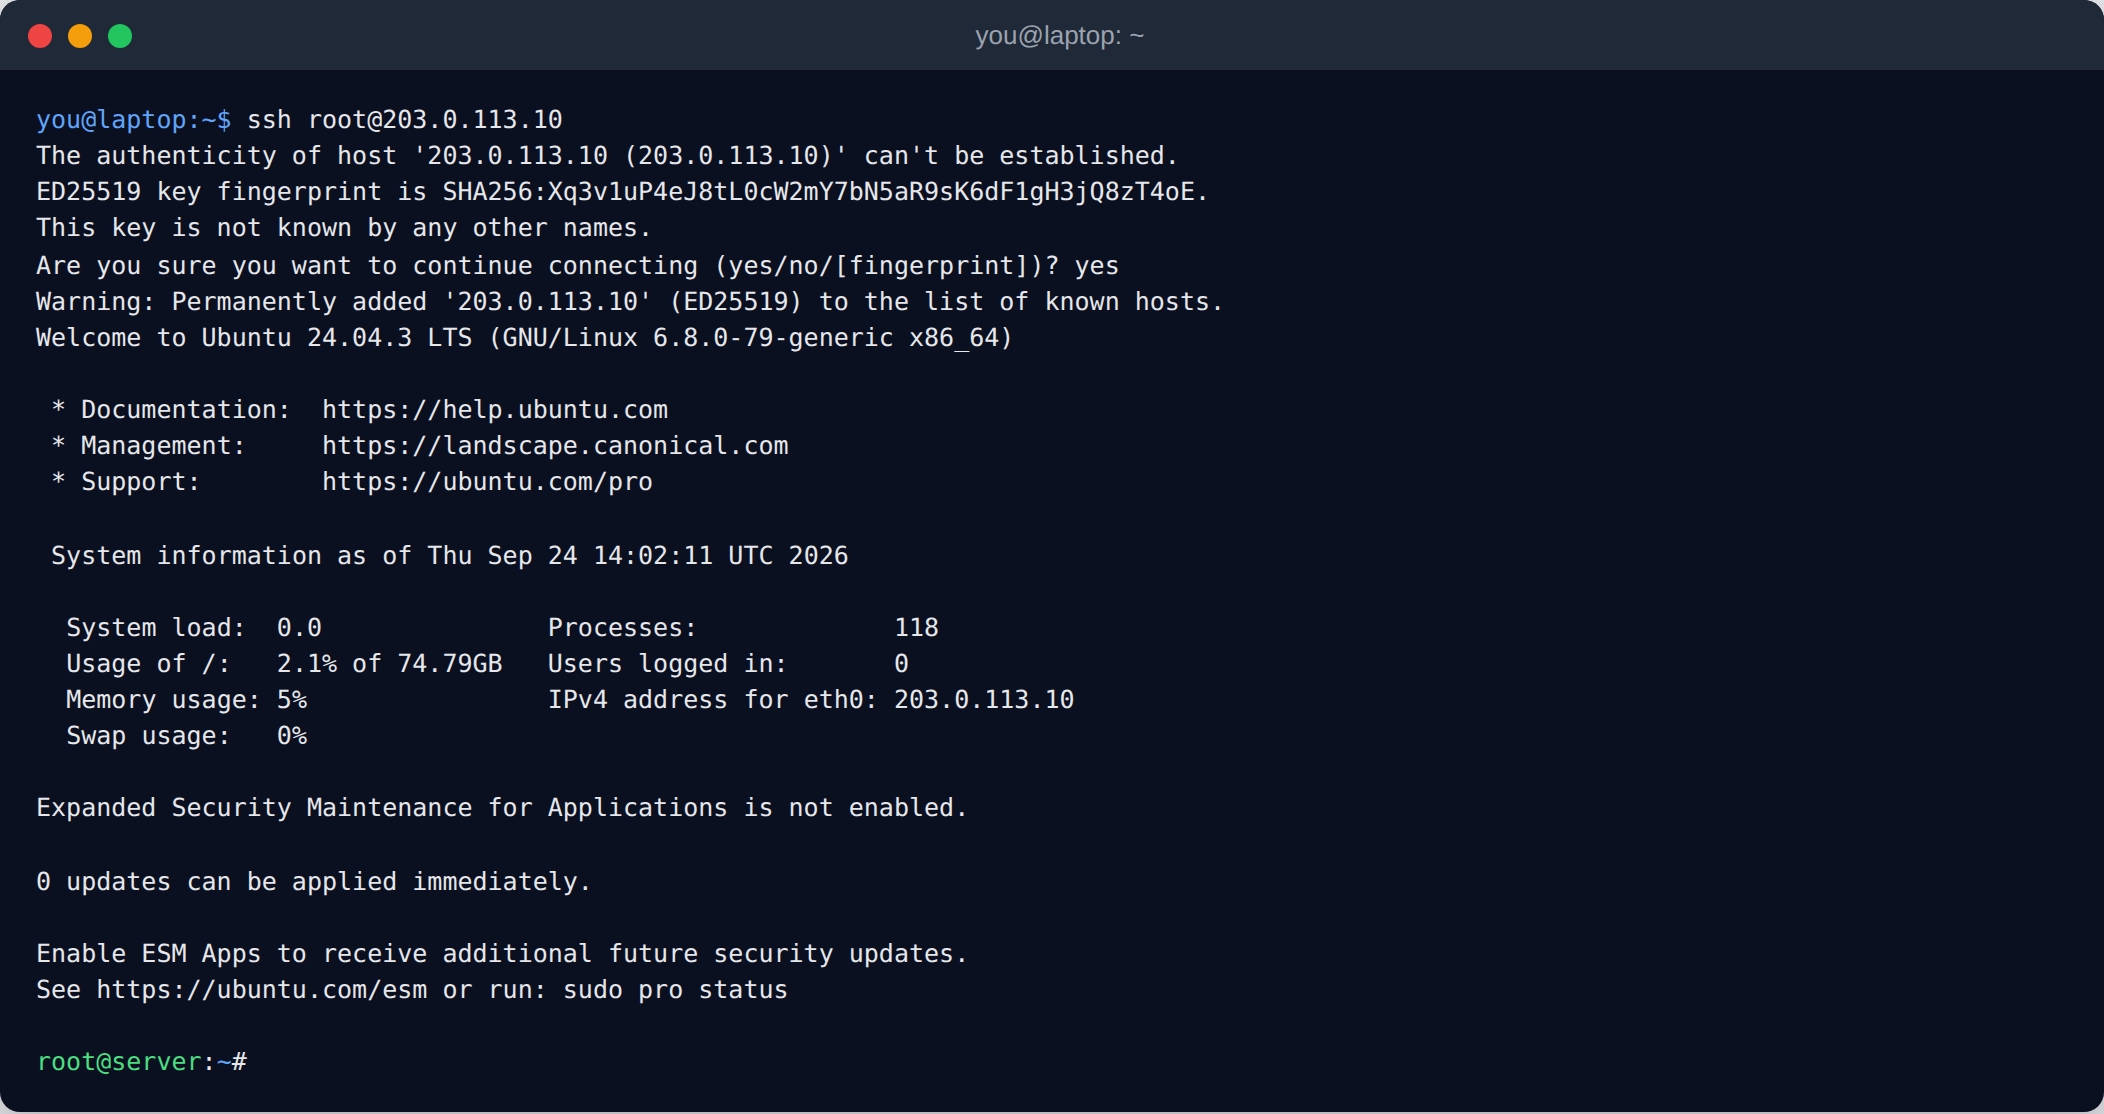
ssh root@your-server-ip
Replace your-server-ip with the IPv4 address shown in the Cloud Console.
Step 3: Run the OpenPanel Installer
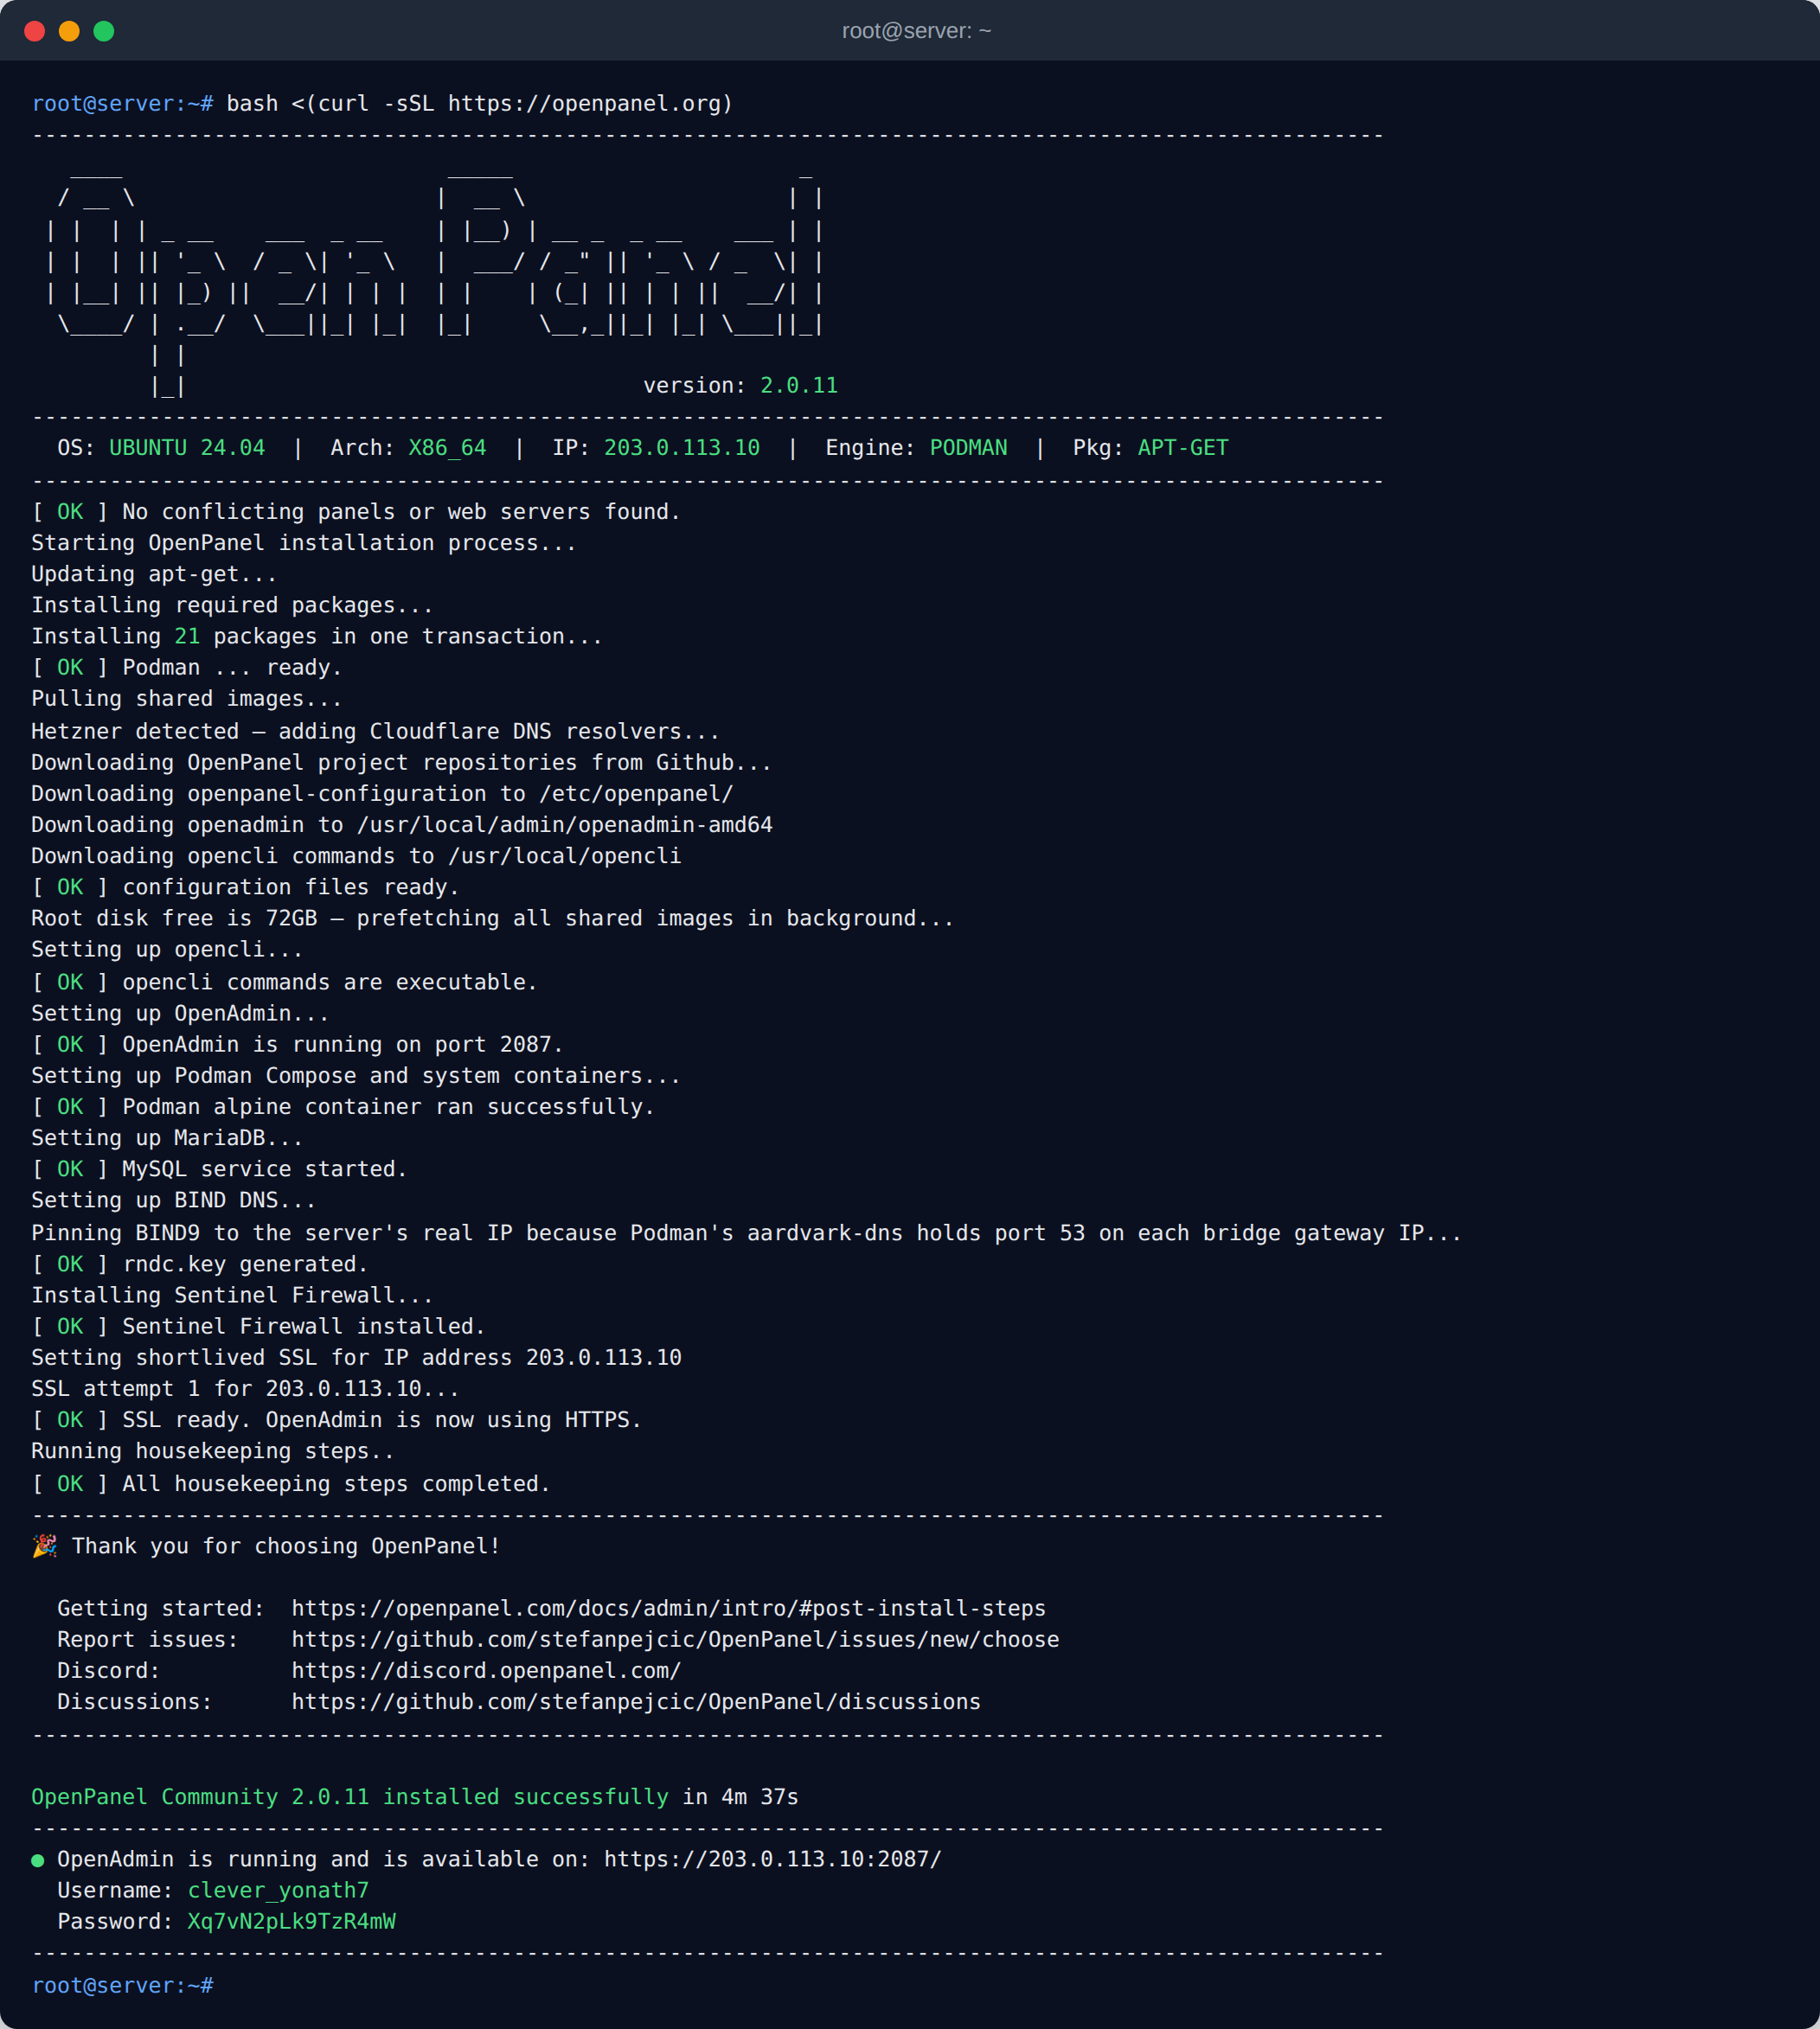
bash <(curl -sSL https://openpanel.org)
The installer takes about 5 minutes. To set a domain, admin username, or other options up front, use the install command generator.
When it finishes, the installer prints the OpenAdmin URL, username, and password.
Step 4: Log in to OpenAdmin
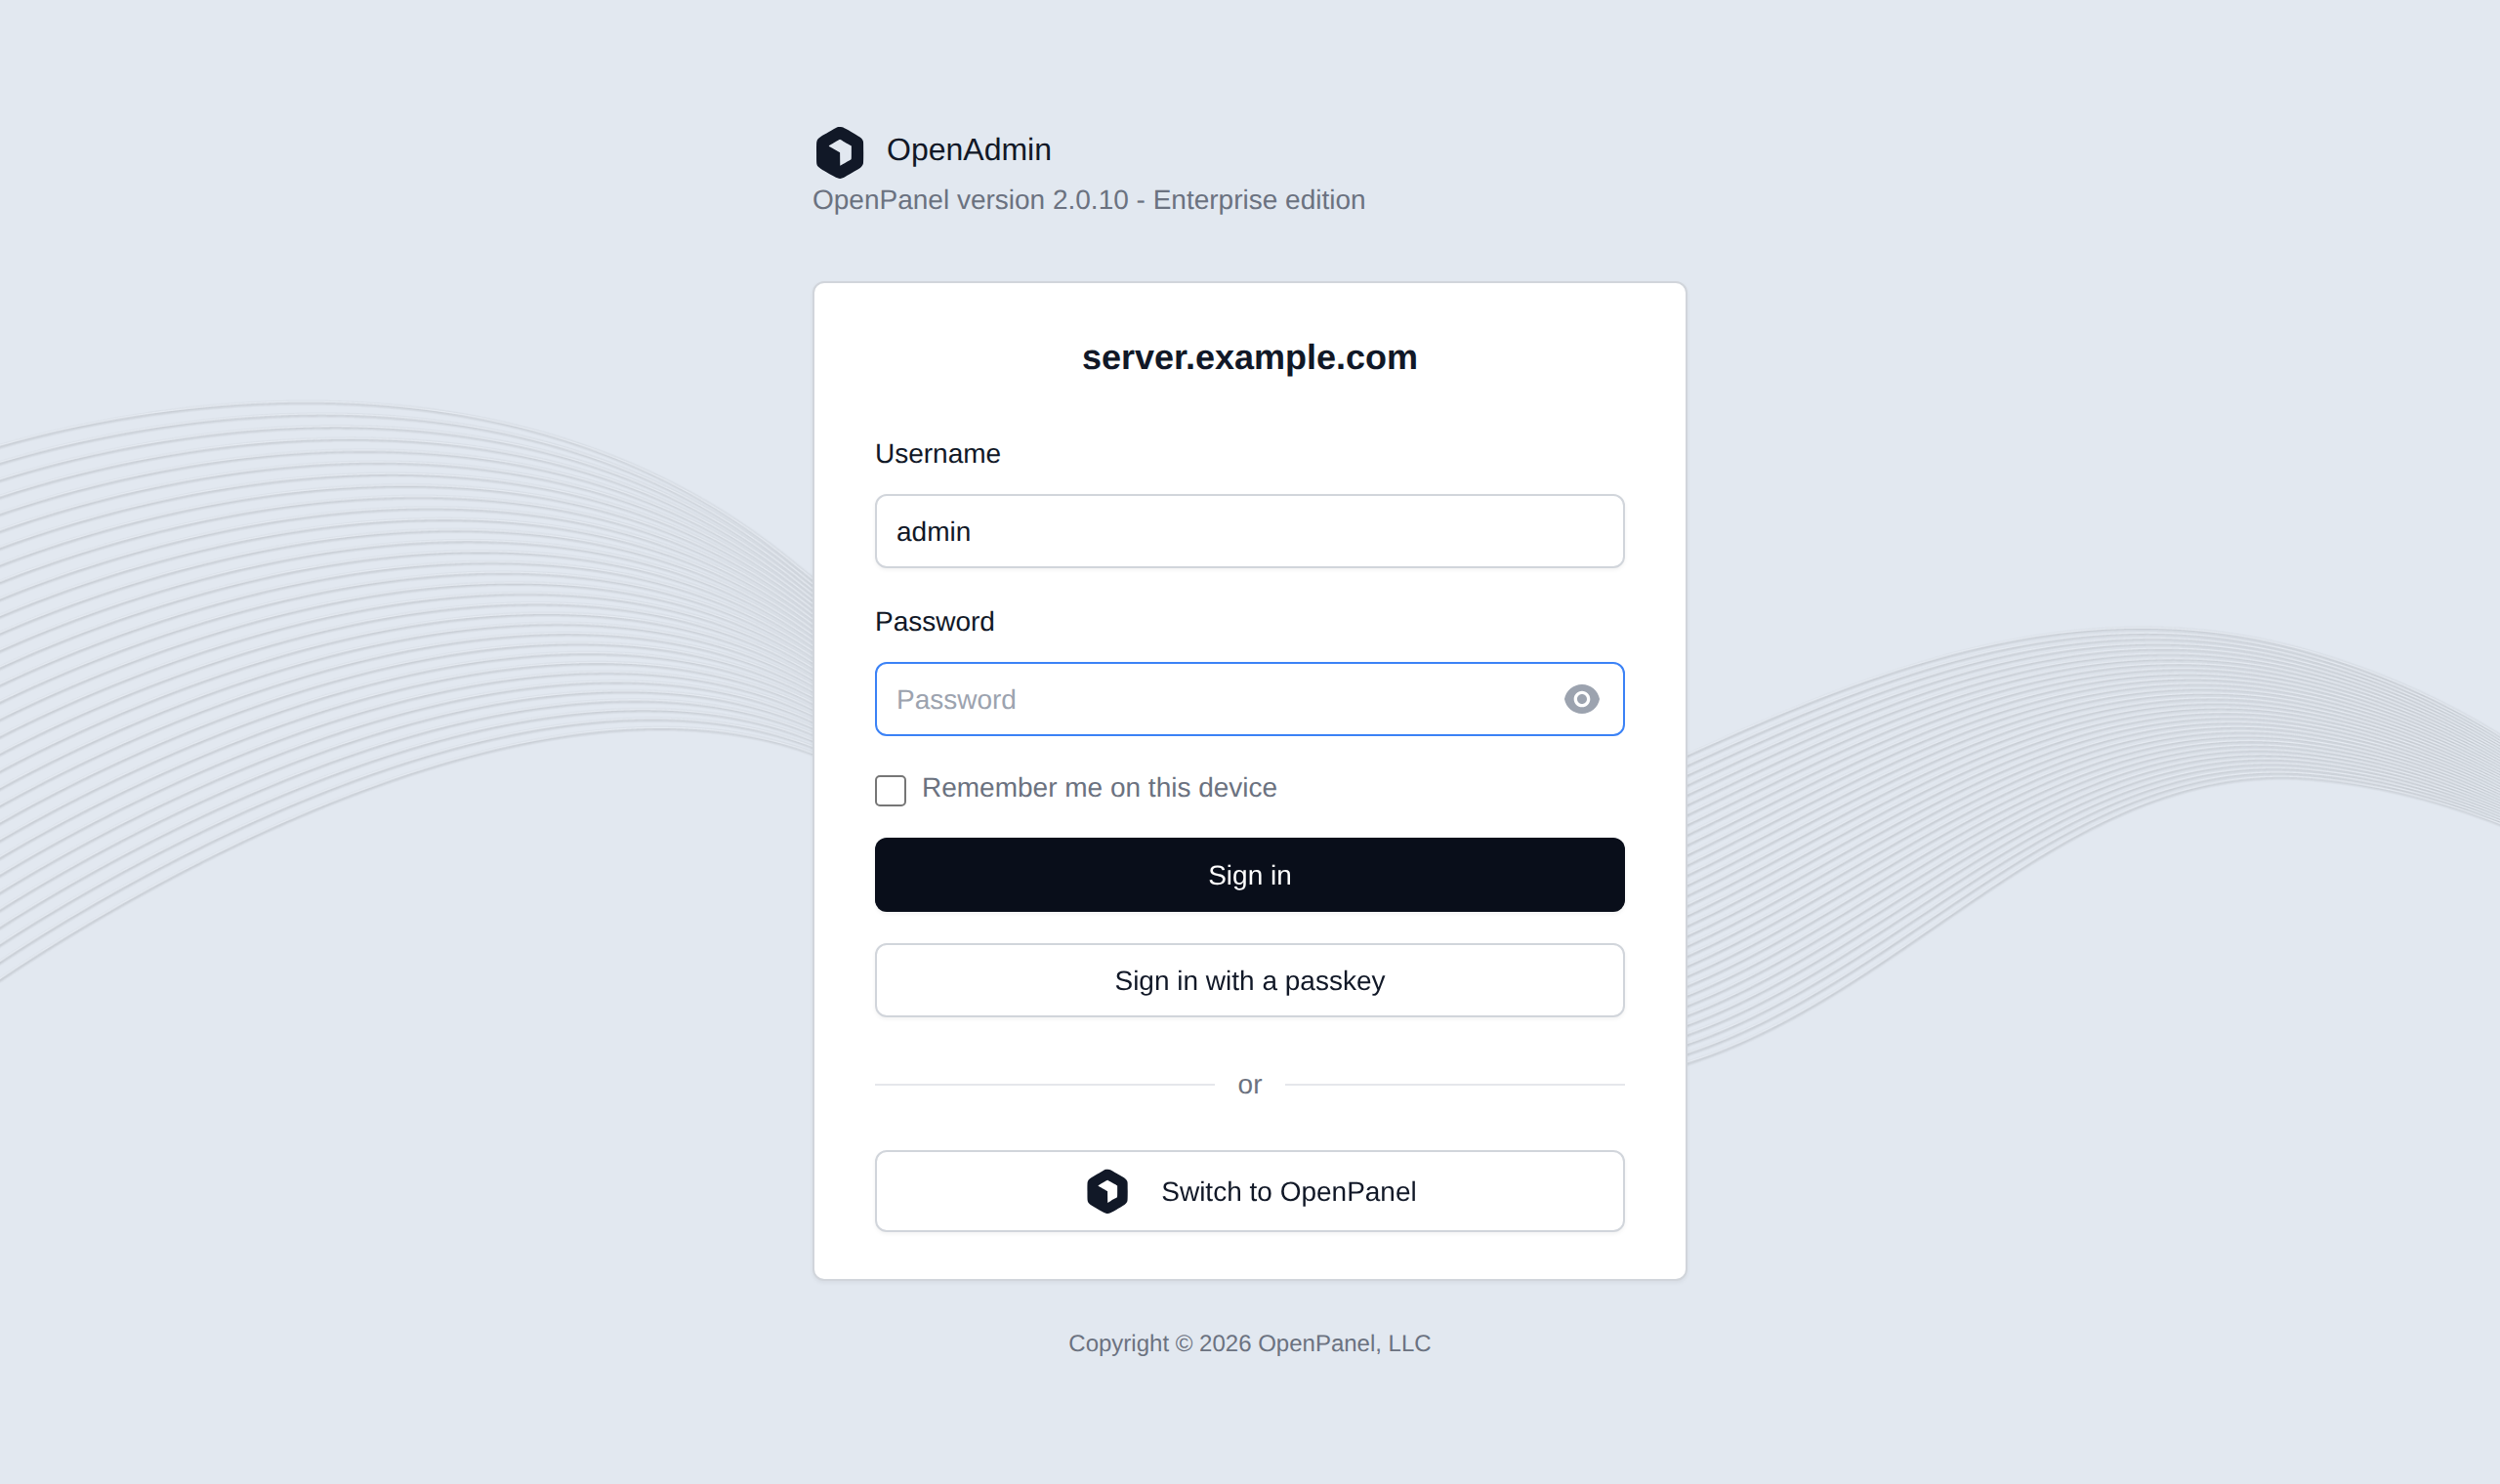
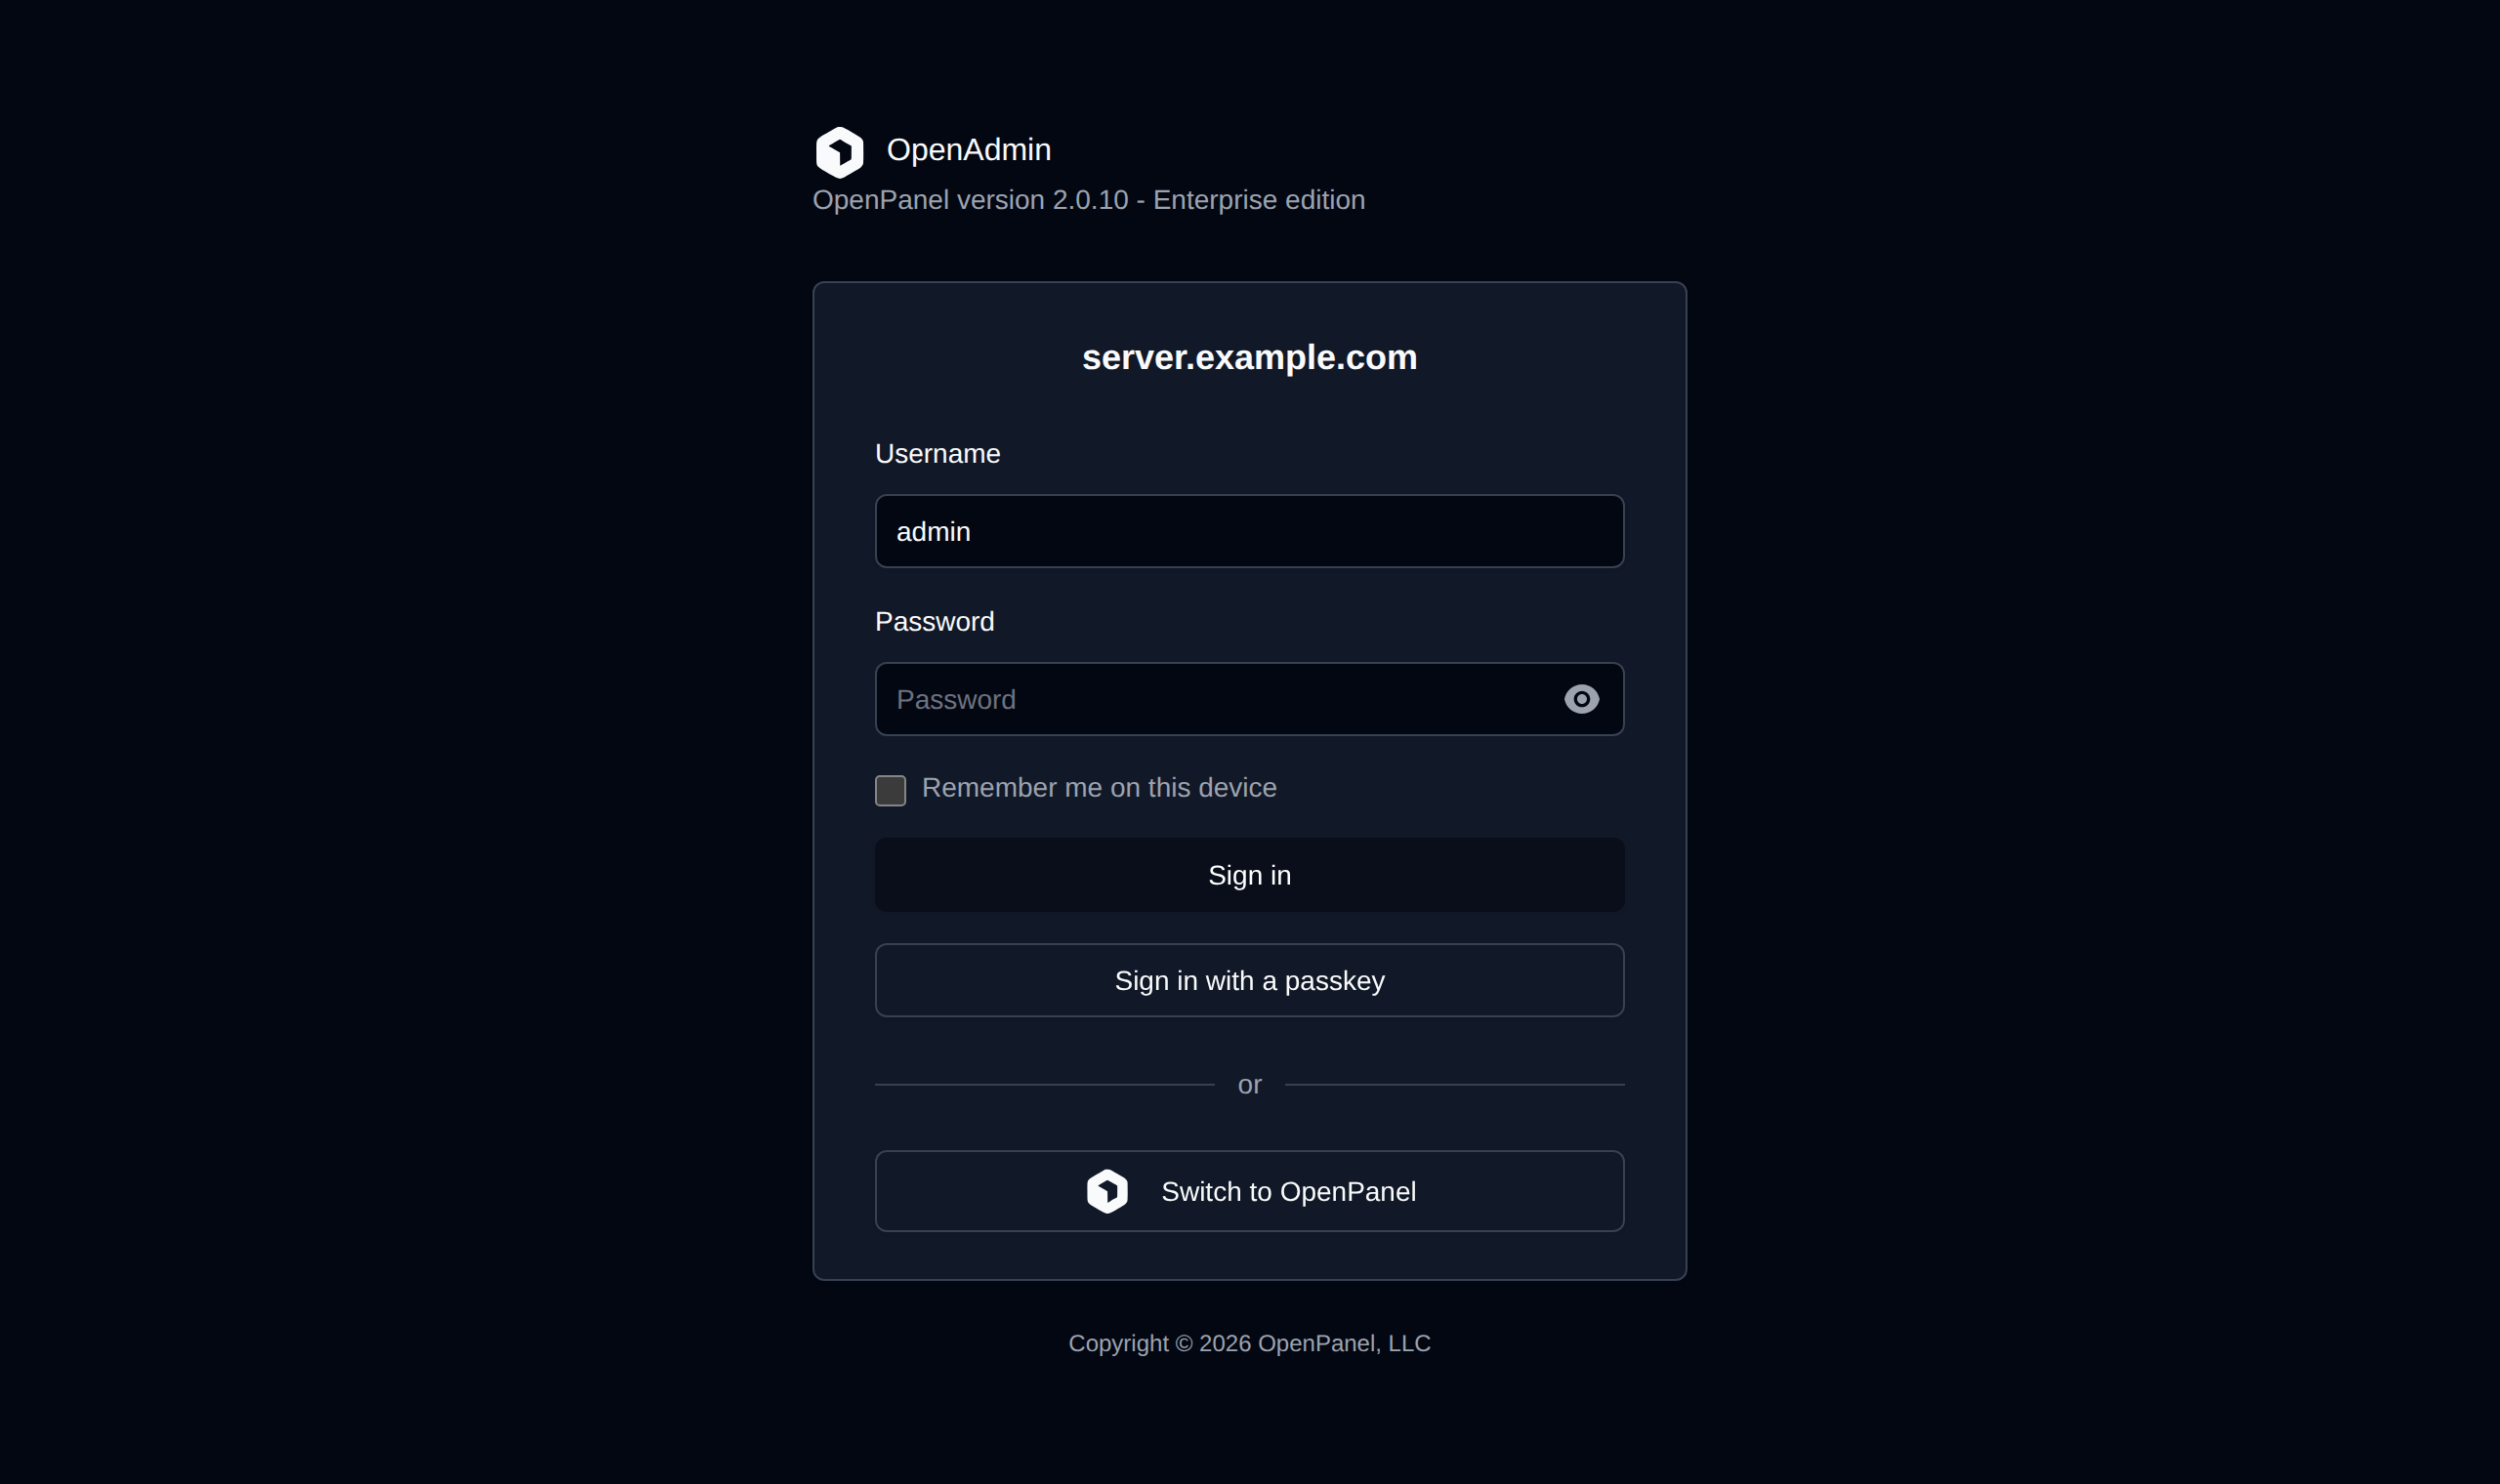
Open the URL printed by the installer in your browser:
https://your-server-ip:2087
Log in with the credentials from the previous step. Then follow the post-install steps.
Hetzner-Specific Settings
DNS Resolvers
Hetzner servers use Hetzner's own DNS resolvers by default, which can cause problems pulling container images (for example issue #471). We recommend using Cloudflare's public resolvers instead.
The OpenPanel installer does this automatically when it detects a Hetzner image (/etc/hetzner-build) - you'll see Hetzner detected — adding Cloudflare DNS resolvers... in the install output.
If your server wasn't detected (for example a custom image or a dedicated Robot server), or image downloads fail during installation, set the resolvers manually:
mv /etc/resolv.conf /etc/resolv.conf.bak
printf "nameserver 1.1.1.1\nnameserver 1.0.0.1\n" > /etc/resolv.conf
Google's resolvers (8.8.8.8 and 8.8.4.4) work too. To undo the change, restore the backup: mv /etc/resolv.conf.bak /etc/resolv.conf.
Hetzner Cloud Firewall
OpenPanel installs its own firewall (Sentinel Firewall / CSF), so a Hetzner Cloud Firewall is optional. If you attach one, allow these inbound ports:
| Service | Ports |
|---|---|
| Websites | 80, 443 (TCP and UDP for HTTP/3) |
| OpenPanel / OpenAdmin | 2083, 2087 |
| DNS | 53 (TCP and UDP) |
| Email (Enterprise) | 25, 143, 465, 587, 993 |
| FTP (Enterprise) | 21, 21000-21010 |
| phpMyAdmin | 2053, 8888 |
| SSH | 22 |
| User services | 32768-60999 |
Outgoing Email (Port 25)
Hetzner blocks outgoing traffic on ports 25 and 465 for new Cloud accounts to prevent spam. Websites and the panel work normally, but the server cannot deliver email to other mail servers until the block is lifted.
- Once your account has been active for a while and has a paid invoice, you can request unblocking from the Cloud Console (Limits / support request).
- Or send email through an external relay - see Port 25 Blocked: How to Use an SMTP Relay.
Reverse DNS (PTR)
If the server will send email, set the reverse DNS of the IPv4 address to the server hostname:
- In the Cloud Console, open the server and go to Networking.
- Click the ... menu next to the IPv4 address and choose Edit Reverse DNS.
- Enter the server hostname, e.g.
server.example.com.
More details: How to Set Up Reverse DNS (PTR).