How to Create a Simple Photo Gallery Website
TinyPhotoGallery turns a folder of images into a clean photo gallery website. There's no database, no admin panel and nothing to configure - upload photos and they appear.
Install TinyPhotoGallery
- Add a domain or subdomain in OpenPanel → Domains, e.g.
photos.example.com. - Go to OpenPanel → Websites → Install App and click Install TinyPhotoGallery.
- Select the domain (and optional subfolder) and start the installation.

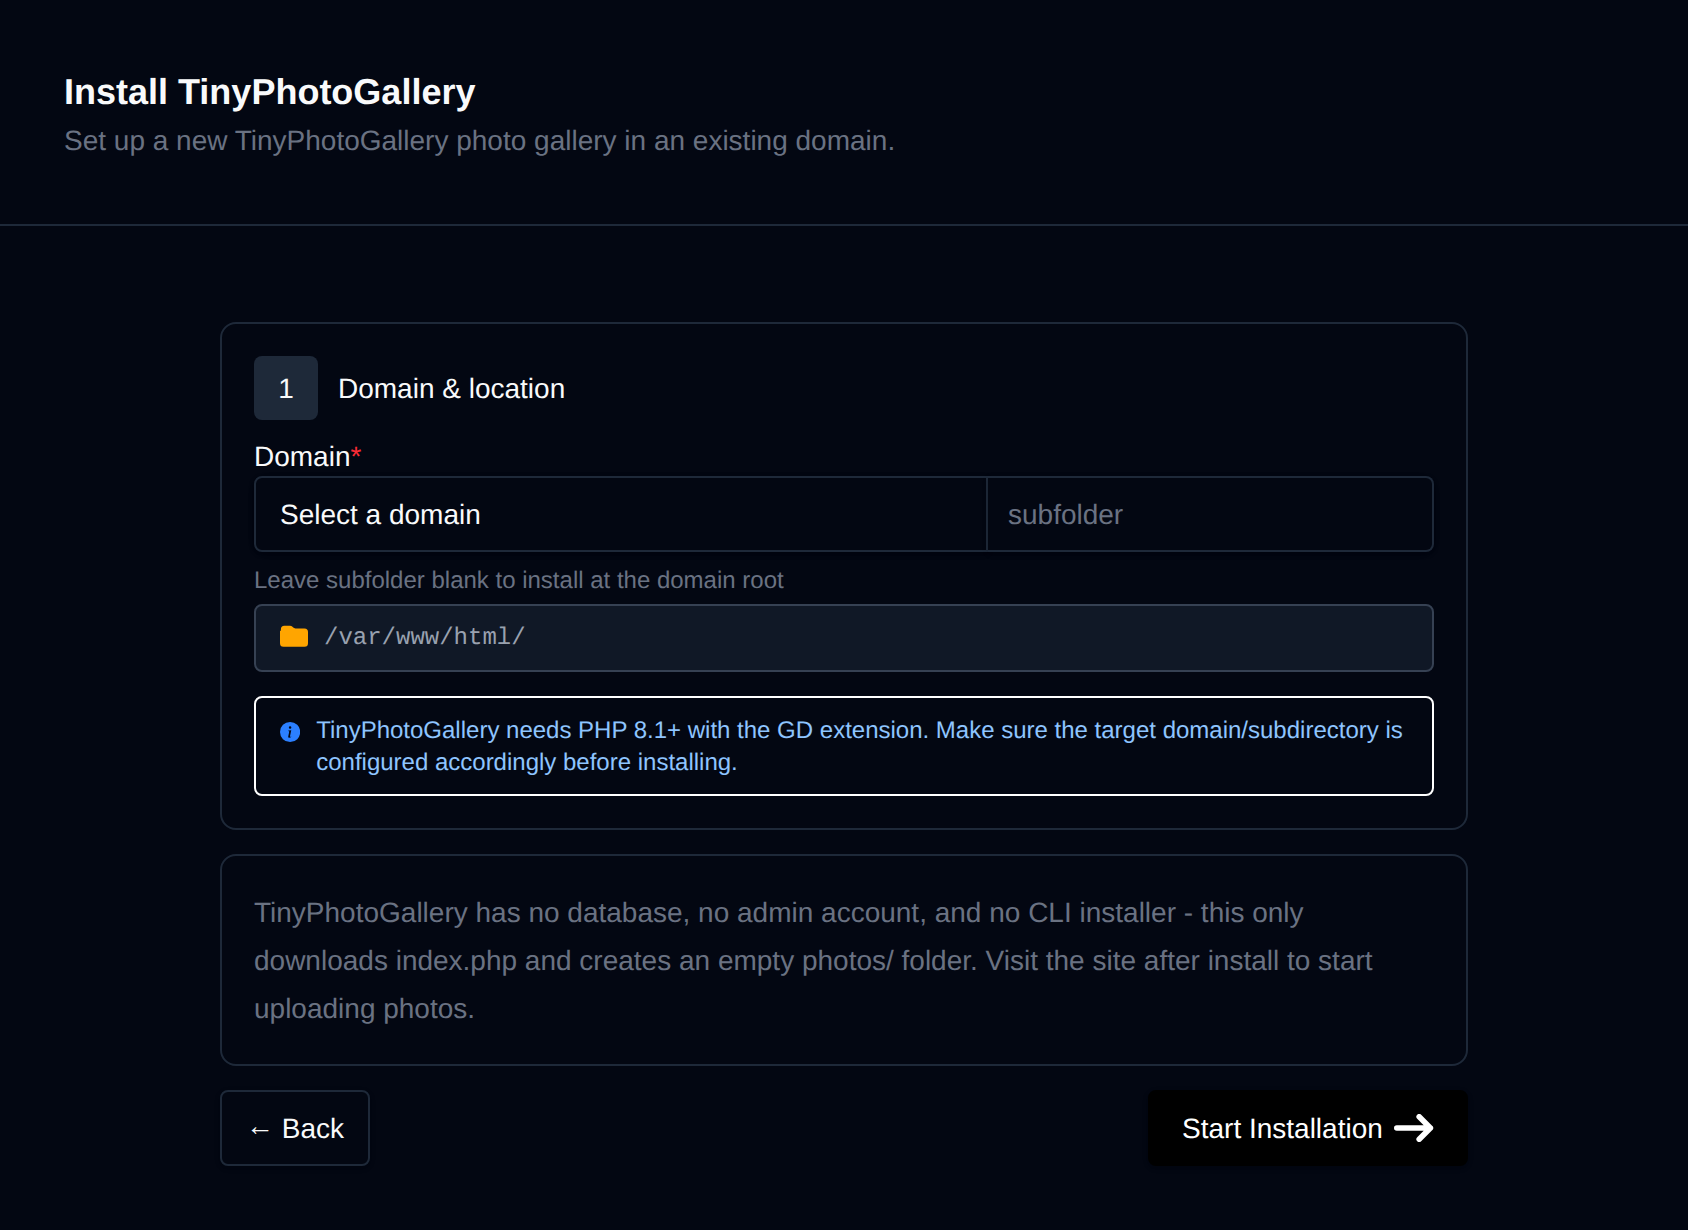
OpenPanel downloads the gallery's index.php and creates an empty photos/ folder.
Add Photos
Upload images into the photos/ folder:
- with the File Manager (Upload button), or
- with FTP for many photos at once.
Open https://photos.example.com - the photos are shown immediately. The manage page shows a Setup hint until the first photo is uploaded.
Resize large camera photos (e.g. to 2000 px wide) before uploading - the gallery loads much faster and uses less disk space.
To make the gallery private, password-protect the directory.
Managing the Gallery
The manage page in OpenPanel → Websites → Sites has Backups (files-only, including your photos) and Remove, which deletes the gallery and the photos/ folder.
More: TinyPhotoGallery in OpenPanel.