How to Install a Hosting Control Panel on Proxmox VE
This guide shows how to run OpenPanel in a virtual machine (VM) on Proxmox VE.
OpenPanel must be installed in a KVM virtual machine, not in an LXC container. The installer stops with Running inside a container is not supported. when run inside LXC.
OpenPanel runs each user's services in their own rootless containers and relies on disk quotas, cgroups and kernel features that are not available (or not safe to enable) inside an LXC container. A VM has its own kernel and avoids all of these problems.
Prerequisites
- A Proxmox VE host with enough free resources: at least 2 vCPU, 4 GB RAM and 40 GB disk for the VM is recommended. Use the resource calculator to size it for your number of websites.
- A public IPv4 address for the VM, or a way to forward ports to it (see Networking).
Step 1: Upload the Ubuntu ISO
- Download the Ubuntu Server 24.04 LTS ISO from ubuntu.com.
- In the Proxmox web UI, select your storage (e.g. local) → ISO Images → Upload, or use Download from URL and paste the ISO link.
Debian 12/13, AlmaLinux and Rocky Linux ISOs also work.
Step 2: Create the Virtual Machine
Click Create VM and use these settings:
| Tab | Setting | Value |
|---|---|---|
| General | Name | e.g. openpanel |
| OS | ISO image | Ubuntu Server 24.04 |
| System | Qemu Agent | ✅ enabled |
| Disks | Bus / Device | VirtIO SCSI single |
| Disks | Disk size | 40 GB or more |
| Disks | Discard, IO thread | ✅ enabled (for SSD / thin storage) |
| CPU | Cores | 2 or more |
| CPU | Type | host (best performance) |
| Memory | Memory | 4096 MB or more |
| Network | Bridge | vmbr0 (or the bridge with public access) |
| Network | Model | VirtIO (paravirtualized) |
Finish the wizard and start the VM.
Step 3: Install Ubuntu
Open the VM's Console and install Ubuntu Server:
- Use the entire disk (LVM is fine).
- Set a static IP address in the network step - OpenPanel expects the server IP to stay the same.
- Enable Install OpenSSH server.
- Do not select any extra snaps (such as Docker) - OpenPanel needs a clean system.
After the installation, reboot, then install the guest agent:
sudo apt install -y qemu-guest-agent
sudo systemctl enable --now qemu-guest-agent
Step 4: Install OpenPanel
Connect via SSH, switch to root, and run the installer:
ssh your-user@vm-ip
sudo -i
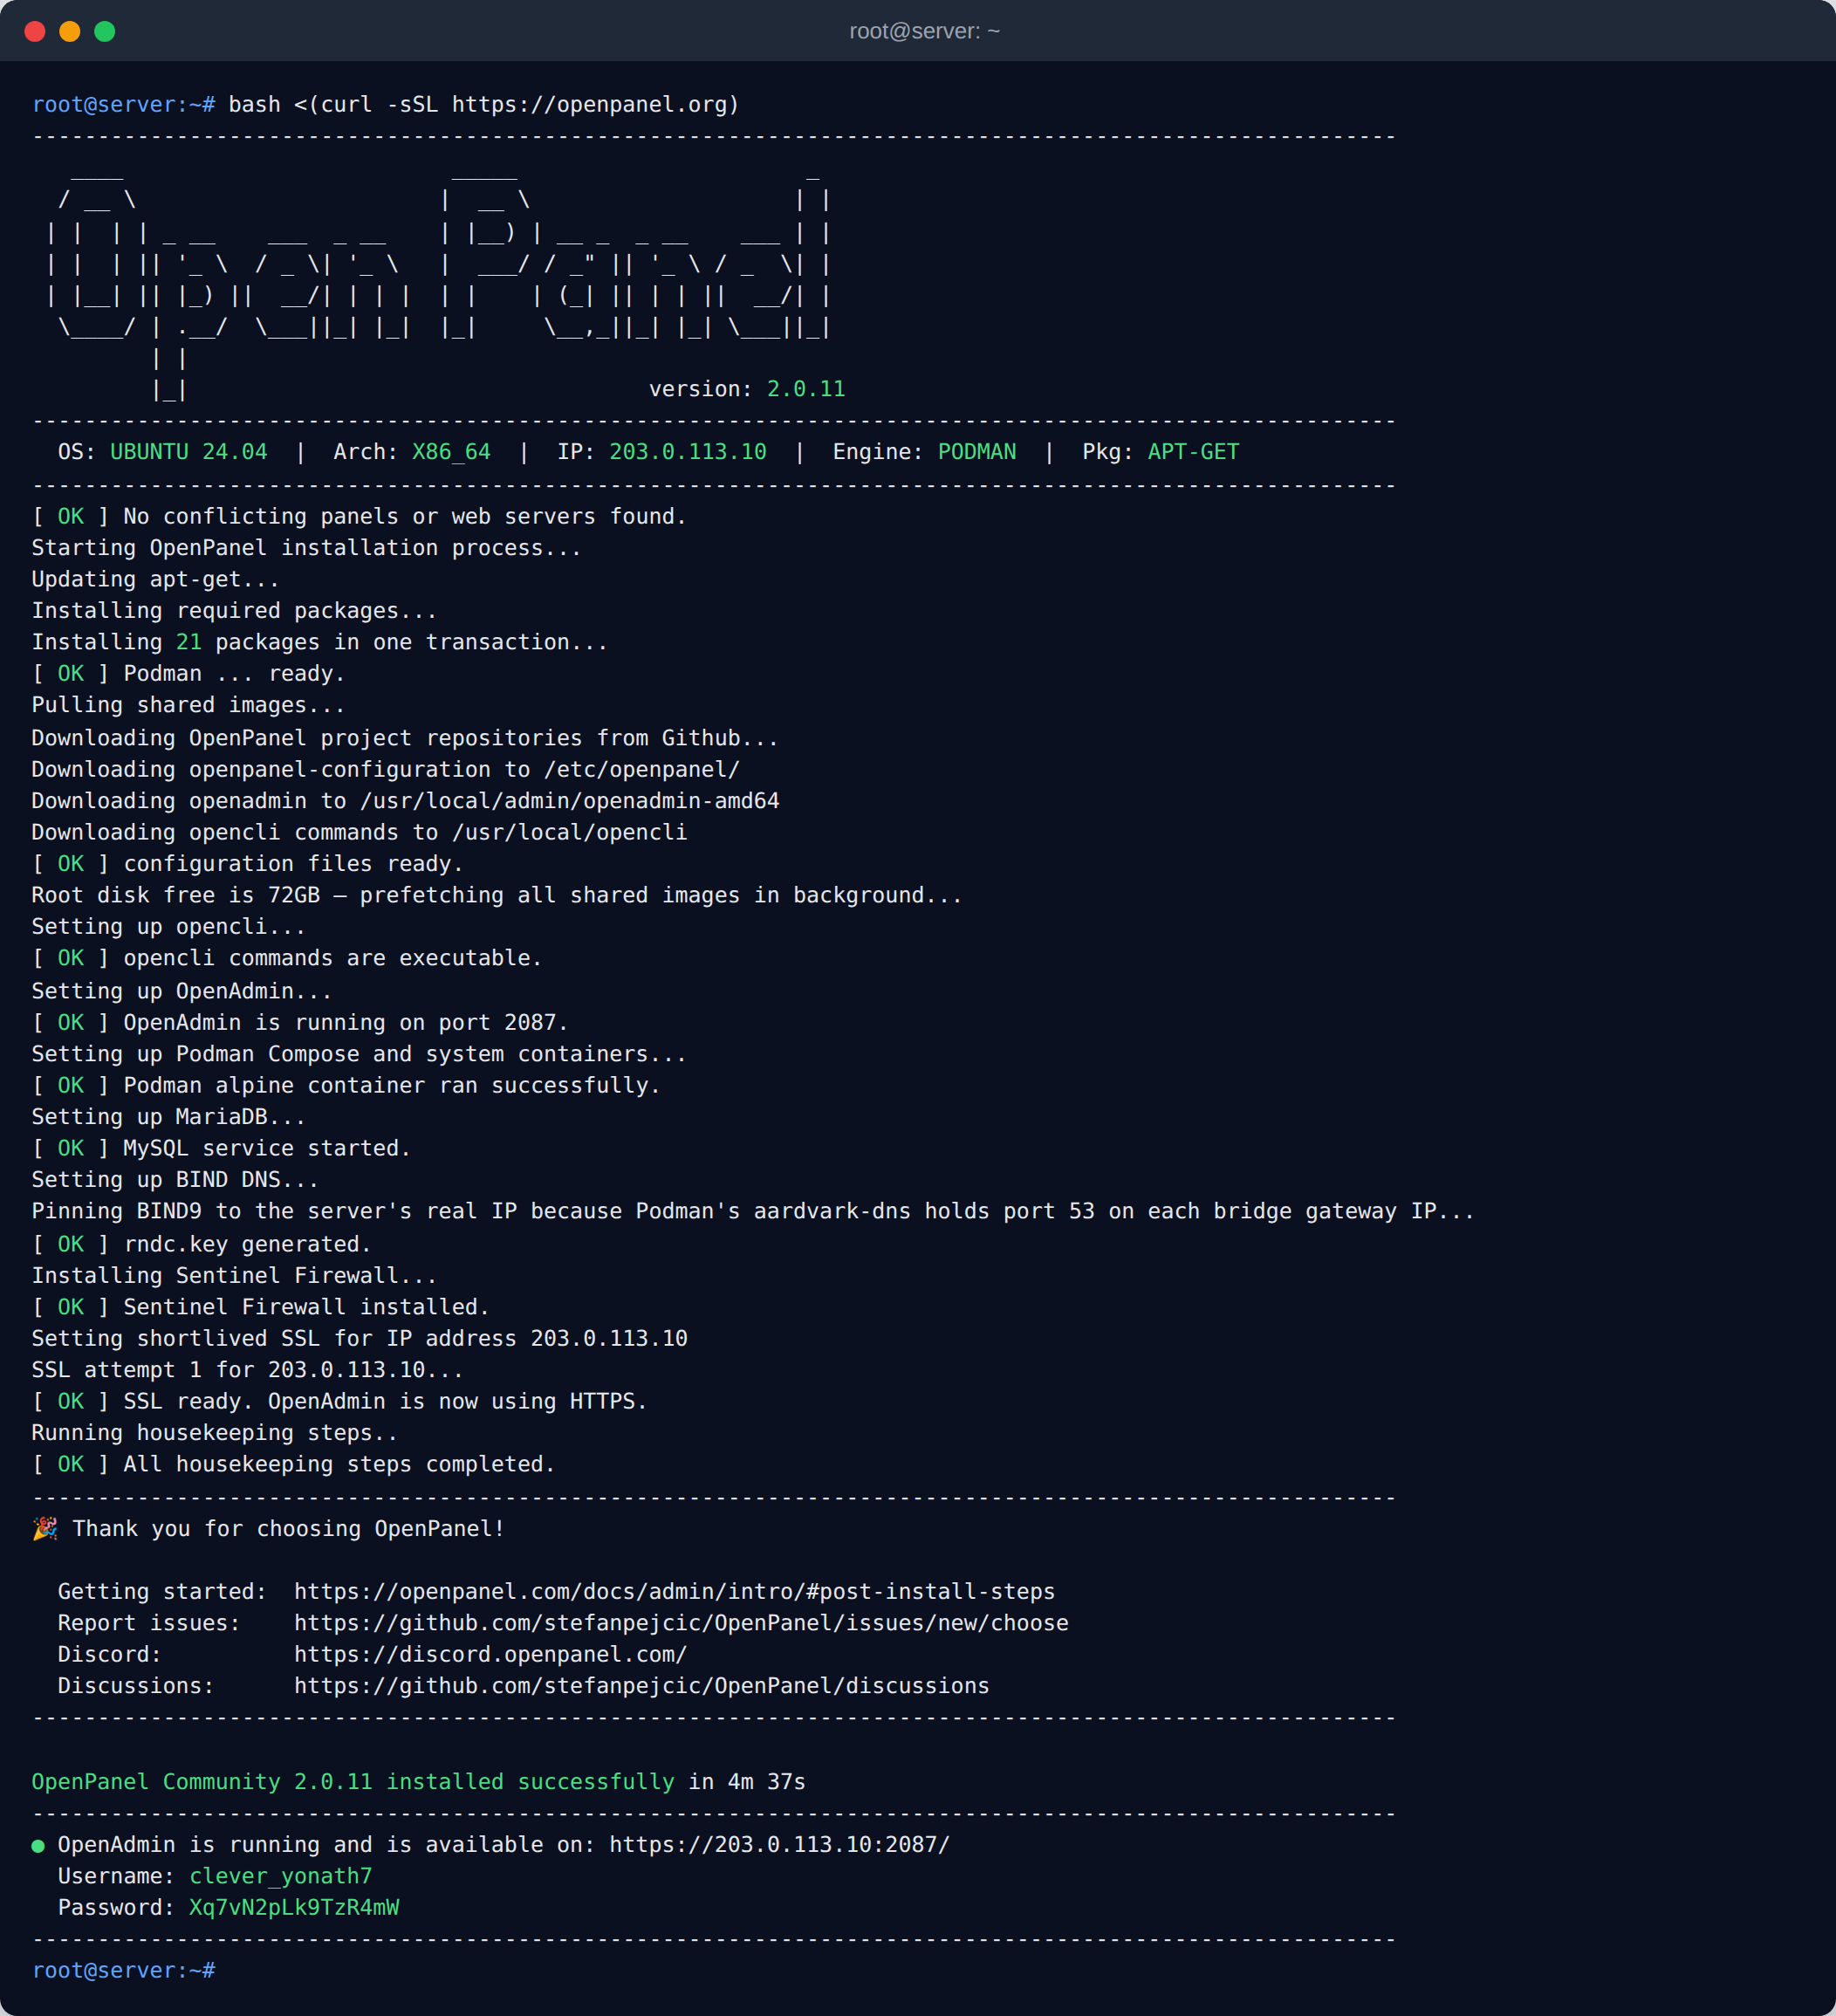
bash <(curl -sSL https://openpanel.org)
Installation takes about 5 minutes. When it finishes, it prints the OpenAdmin URL, username and password. Open https://vm-ip:2087 and log in.
Take a Proxmox snapshot of the VM right before running the installer. If anything goes wrong, you can roll back to a clean system in seconds.
Networking
How visitors reach the VM depends on your Proxmox network setup.
Option A: Public IP on the VM (recommended)
If your provider gives you additional IPs (common with Hetzner, OVHcloud and other dedicated servers), bridge the VM to the public network and assign the public IP directly inside the VM. OpenPanel then sees its real public IP, and websites, DNS and email work without any extra configuration.
Some providers require the VM's network card to use a specific virtual MAC address for additional IPs - generate it in the provider's panel and set it in Hardware → Network Device → MAC address.
Option B: Private IP with port forwarding (NAT)
If the VM only has a private IP (for example on a home network, or on a NAT bridge like vmbr1), forward these ports from the public IP to the VM:
80,443(websites) and2083,2087(panels) - required53TCP/UDP if you use OpenPanel as the DNS server25,143,465,587,993for email (Enterprise)21,21000-21010for FTP (Enterprise)
OpenPanel detects the server's public IP through an external lookup, so new DNS zones automatically point to your public IP, not the VM's private one. To check which IP it sees, run curl -4 https://ip.openpanel.com inside the VM - see Main IP in OpenPanel.
For a server without a public IP at all, see Host Websites Behind a Cloudflare Tunnel.
Tips
- Backups: Proxmox VM backups (vzdump / Proxmox Backup Server) are a good extra layer, but also configure OpenPanel backups so you can restore single accounts.
- Memory ballooning: if you enable ballooning, set the minimum memory to at least 2 GB so the VM is never squeezed below what OpenPanel needs.
- Running on a home server? See Install OpenPanel on a Home Server.