How to Install a Hosting Control Panel on Contabo
This guide shows how to install OpenPanel on a Contabo Cloud VPS or VDS.
Contabo servers come with a lot of RAM and disk for the price, which makes them a good fit for hosting many small websites with OpenPanel.
Prerequisites
- A Contabo Cloud VPS or Cloud VDS (KVM virtualization - supported by OpenPanel).
- The root password or SSH key you set when ordering.
- Optional: a domain name for the panel, e.g.
server.example.com.
Step 1: Order or Reinstall the Server
When ordering a new server:
- Pick a region close to your visitors.
- Under Image, choose Ubuntu 24.04 (recommended). Debian, AlmaLinux and Rocky Linux also work.
- Set a strong root password and, if you have one, add your SSH key.
If you already have a Contabo server with another OS or panel on it, reinstall it first - OpenPanel requires a clean server:
- Log in to the Contabo Customer Control Panel.
- Go to Your services, click Manage next to the server, and choose Reinstall.
- Select Ubuntu 24.04 under Standard images (not an image with a panel or apps preinstalled) and confirm.
Any Contabo plan meets the minimum requirements. Use the resource calculator to check how many websites the plan can comfortably host.
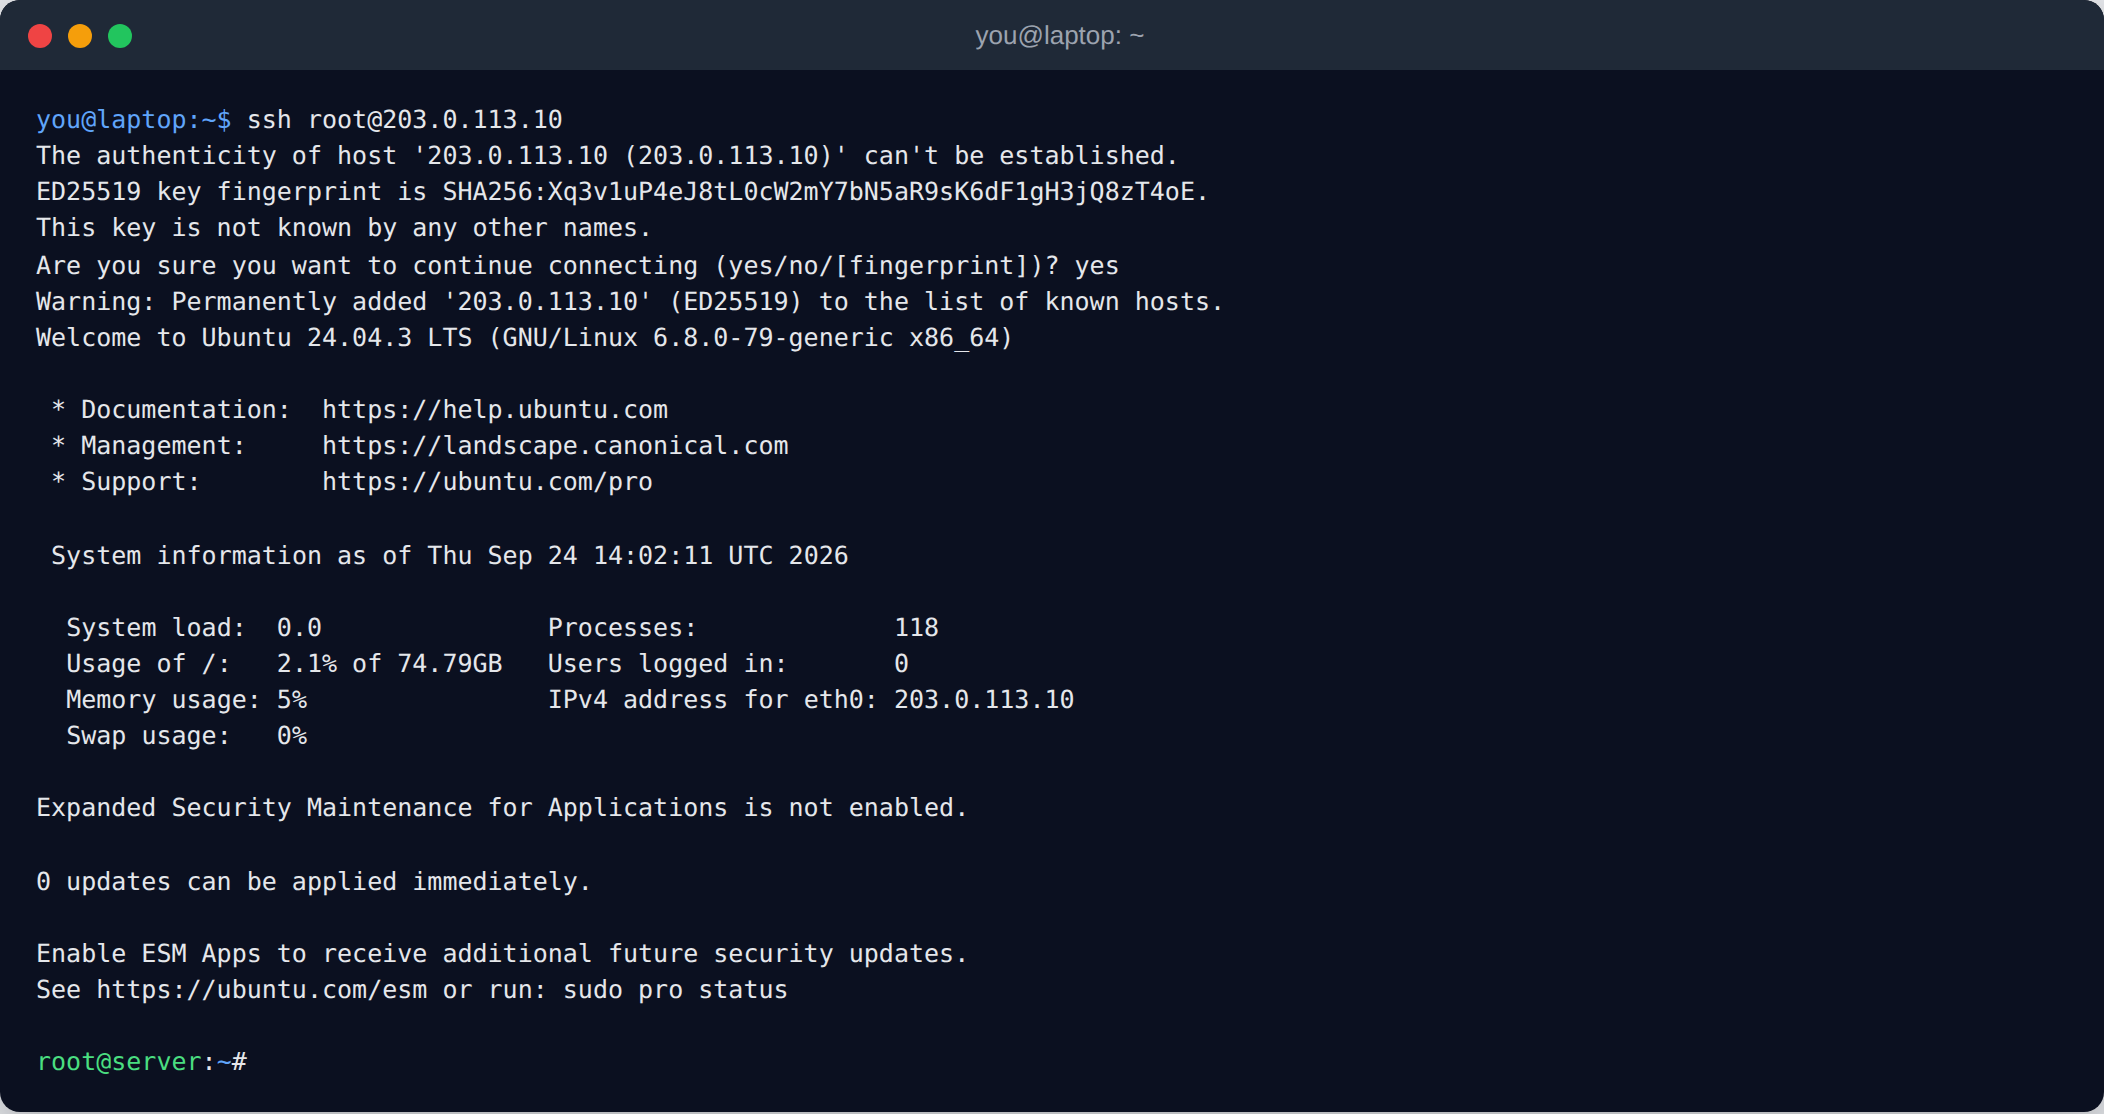
Step 2: Connect via SSH
The IP address and login details are in the email Contabo sends once the server is ready.
ssh root@your-server-ip
Step 3: Run the OpenPanel Installer
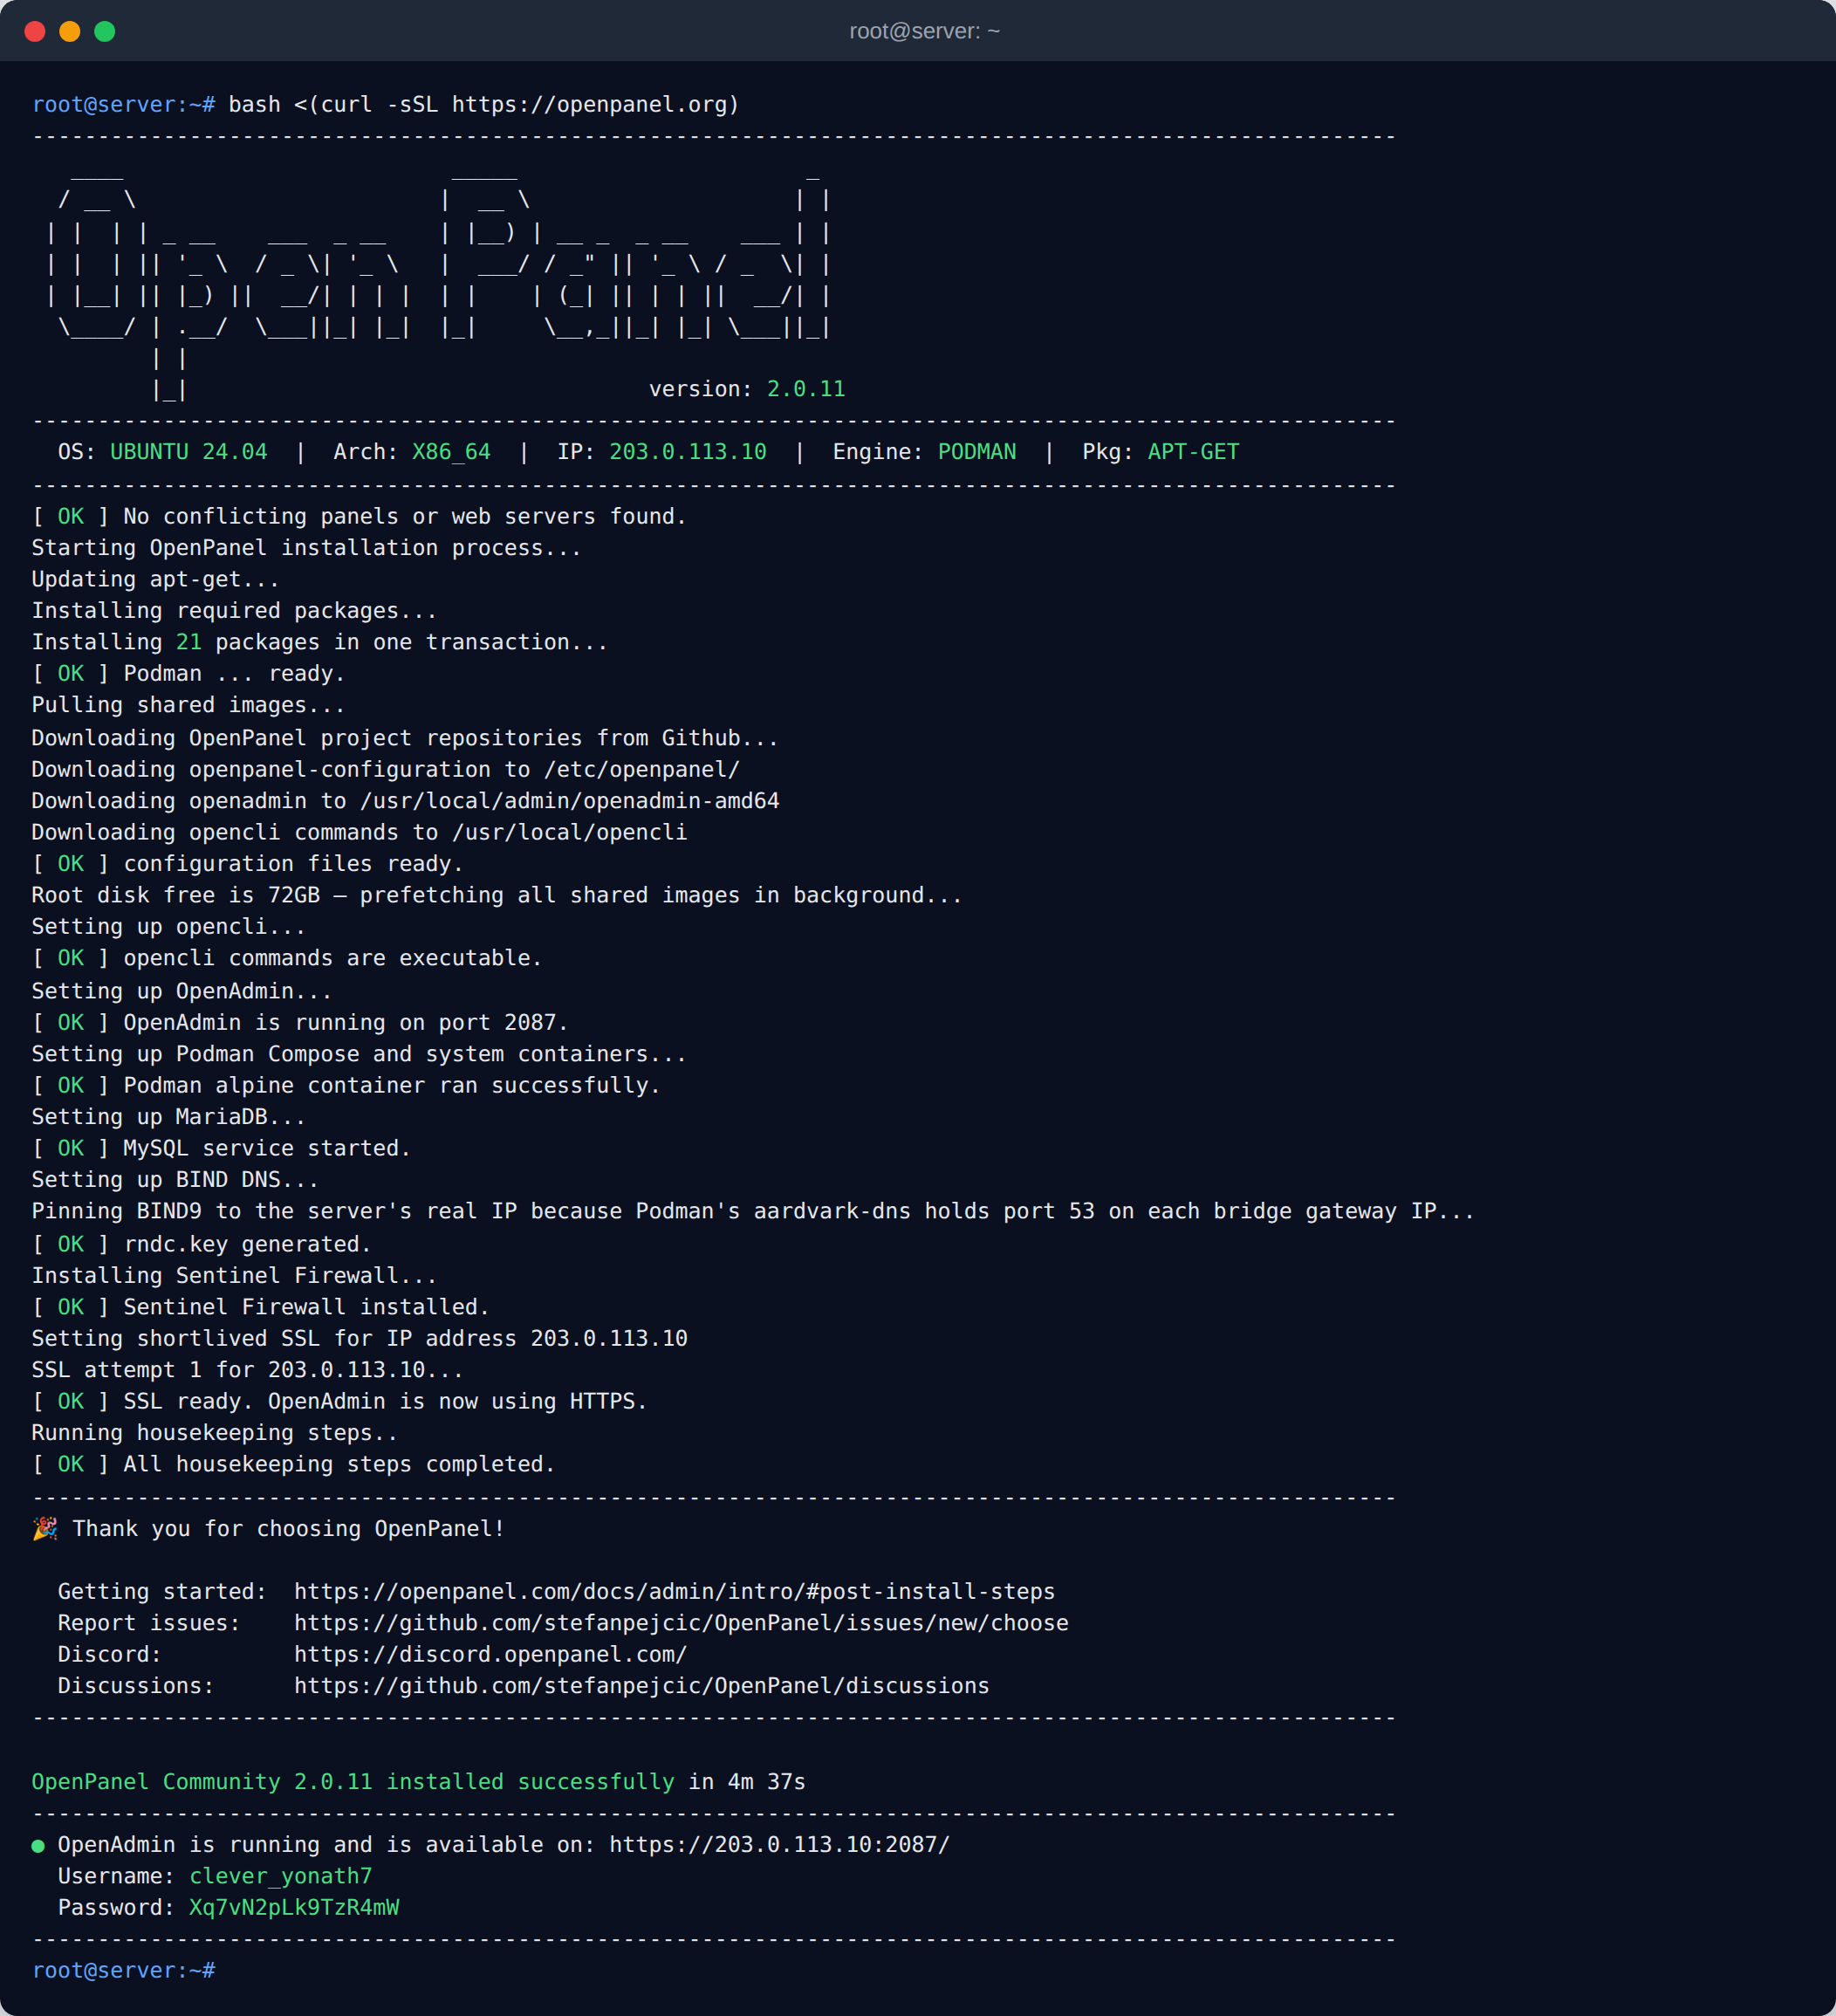
bash <(curl -sSL https://openpanel.org)
The installation takes about 5 minutes. For optional flags (domain, admin username, ports, swap size), use the install command generator.
When it finishes, the installer prints the OpenAdmin URL, username and password.
Step 4: Log in to OpenAdmin
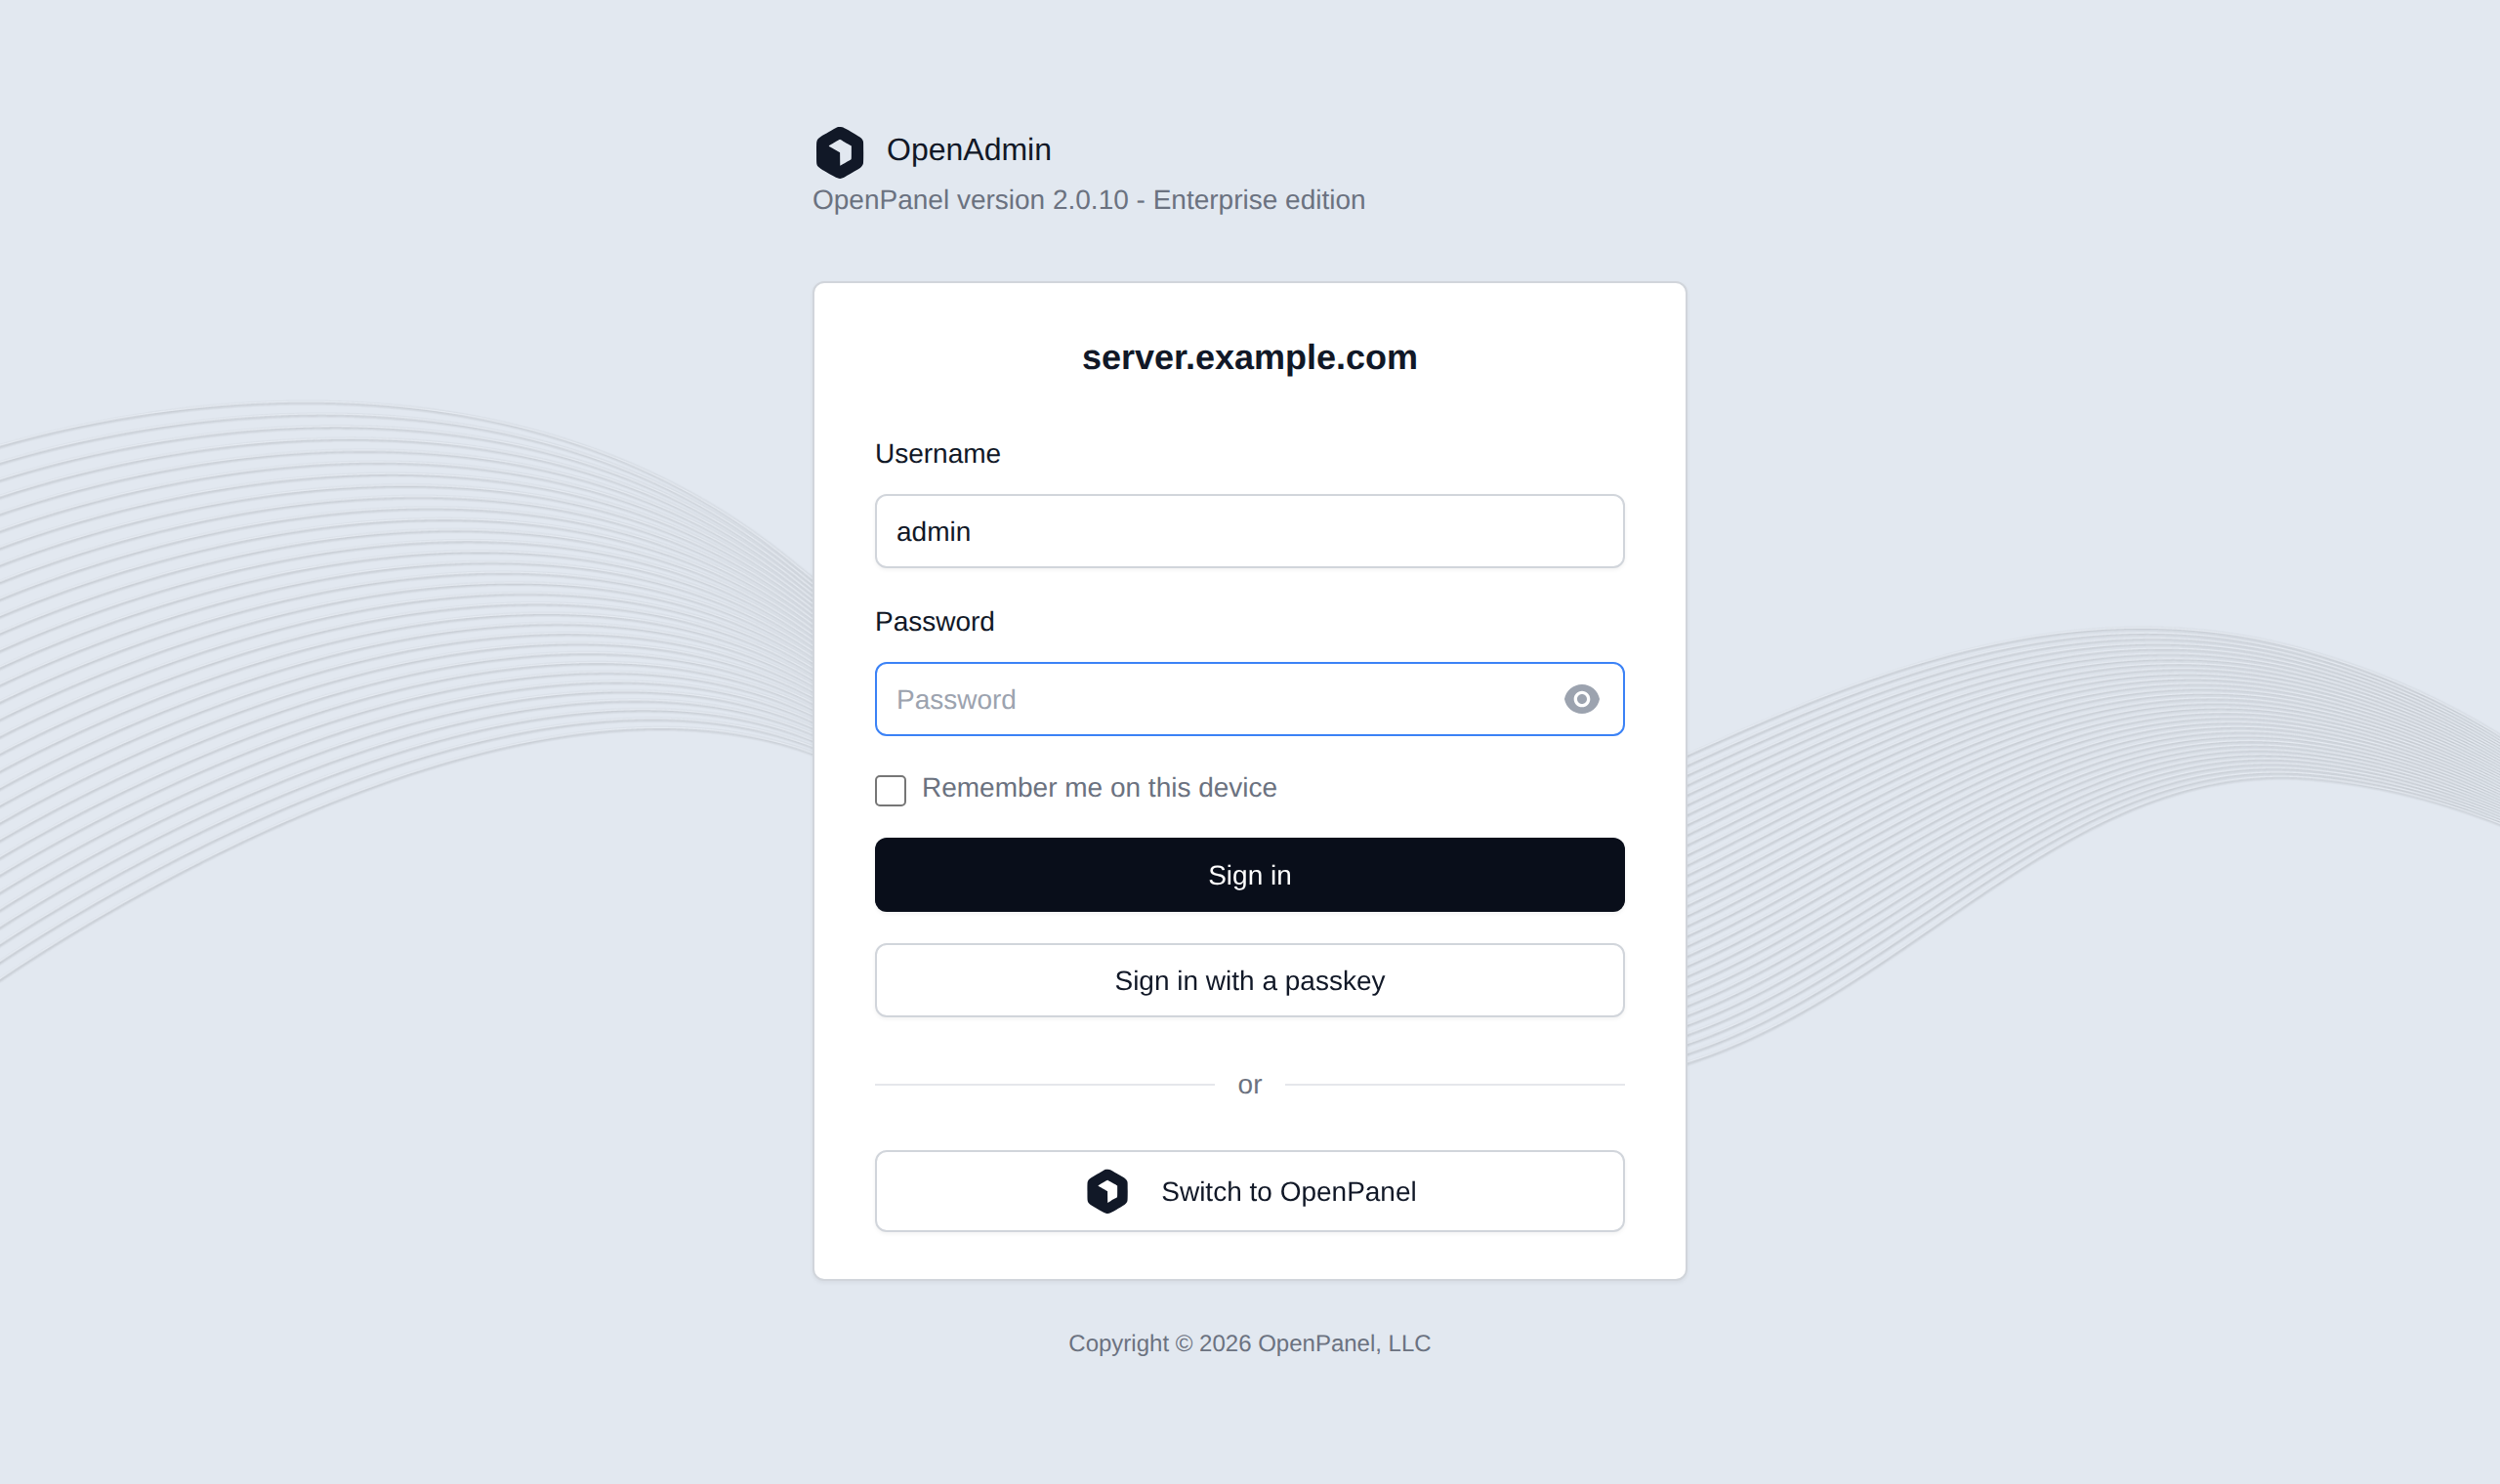
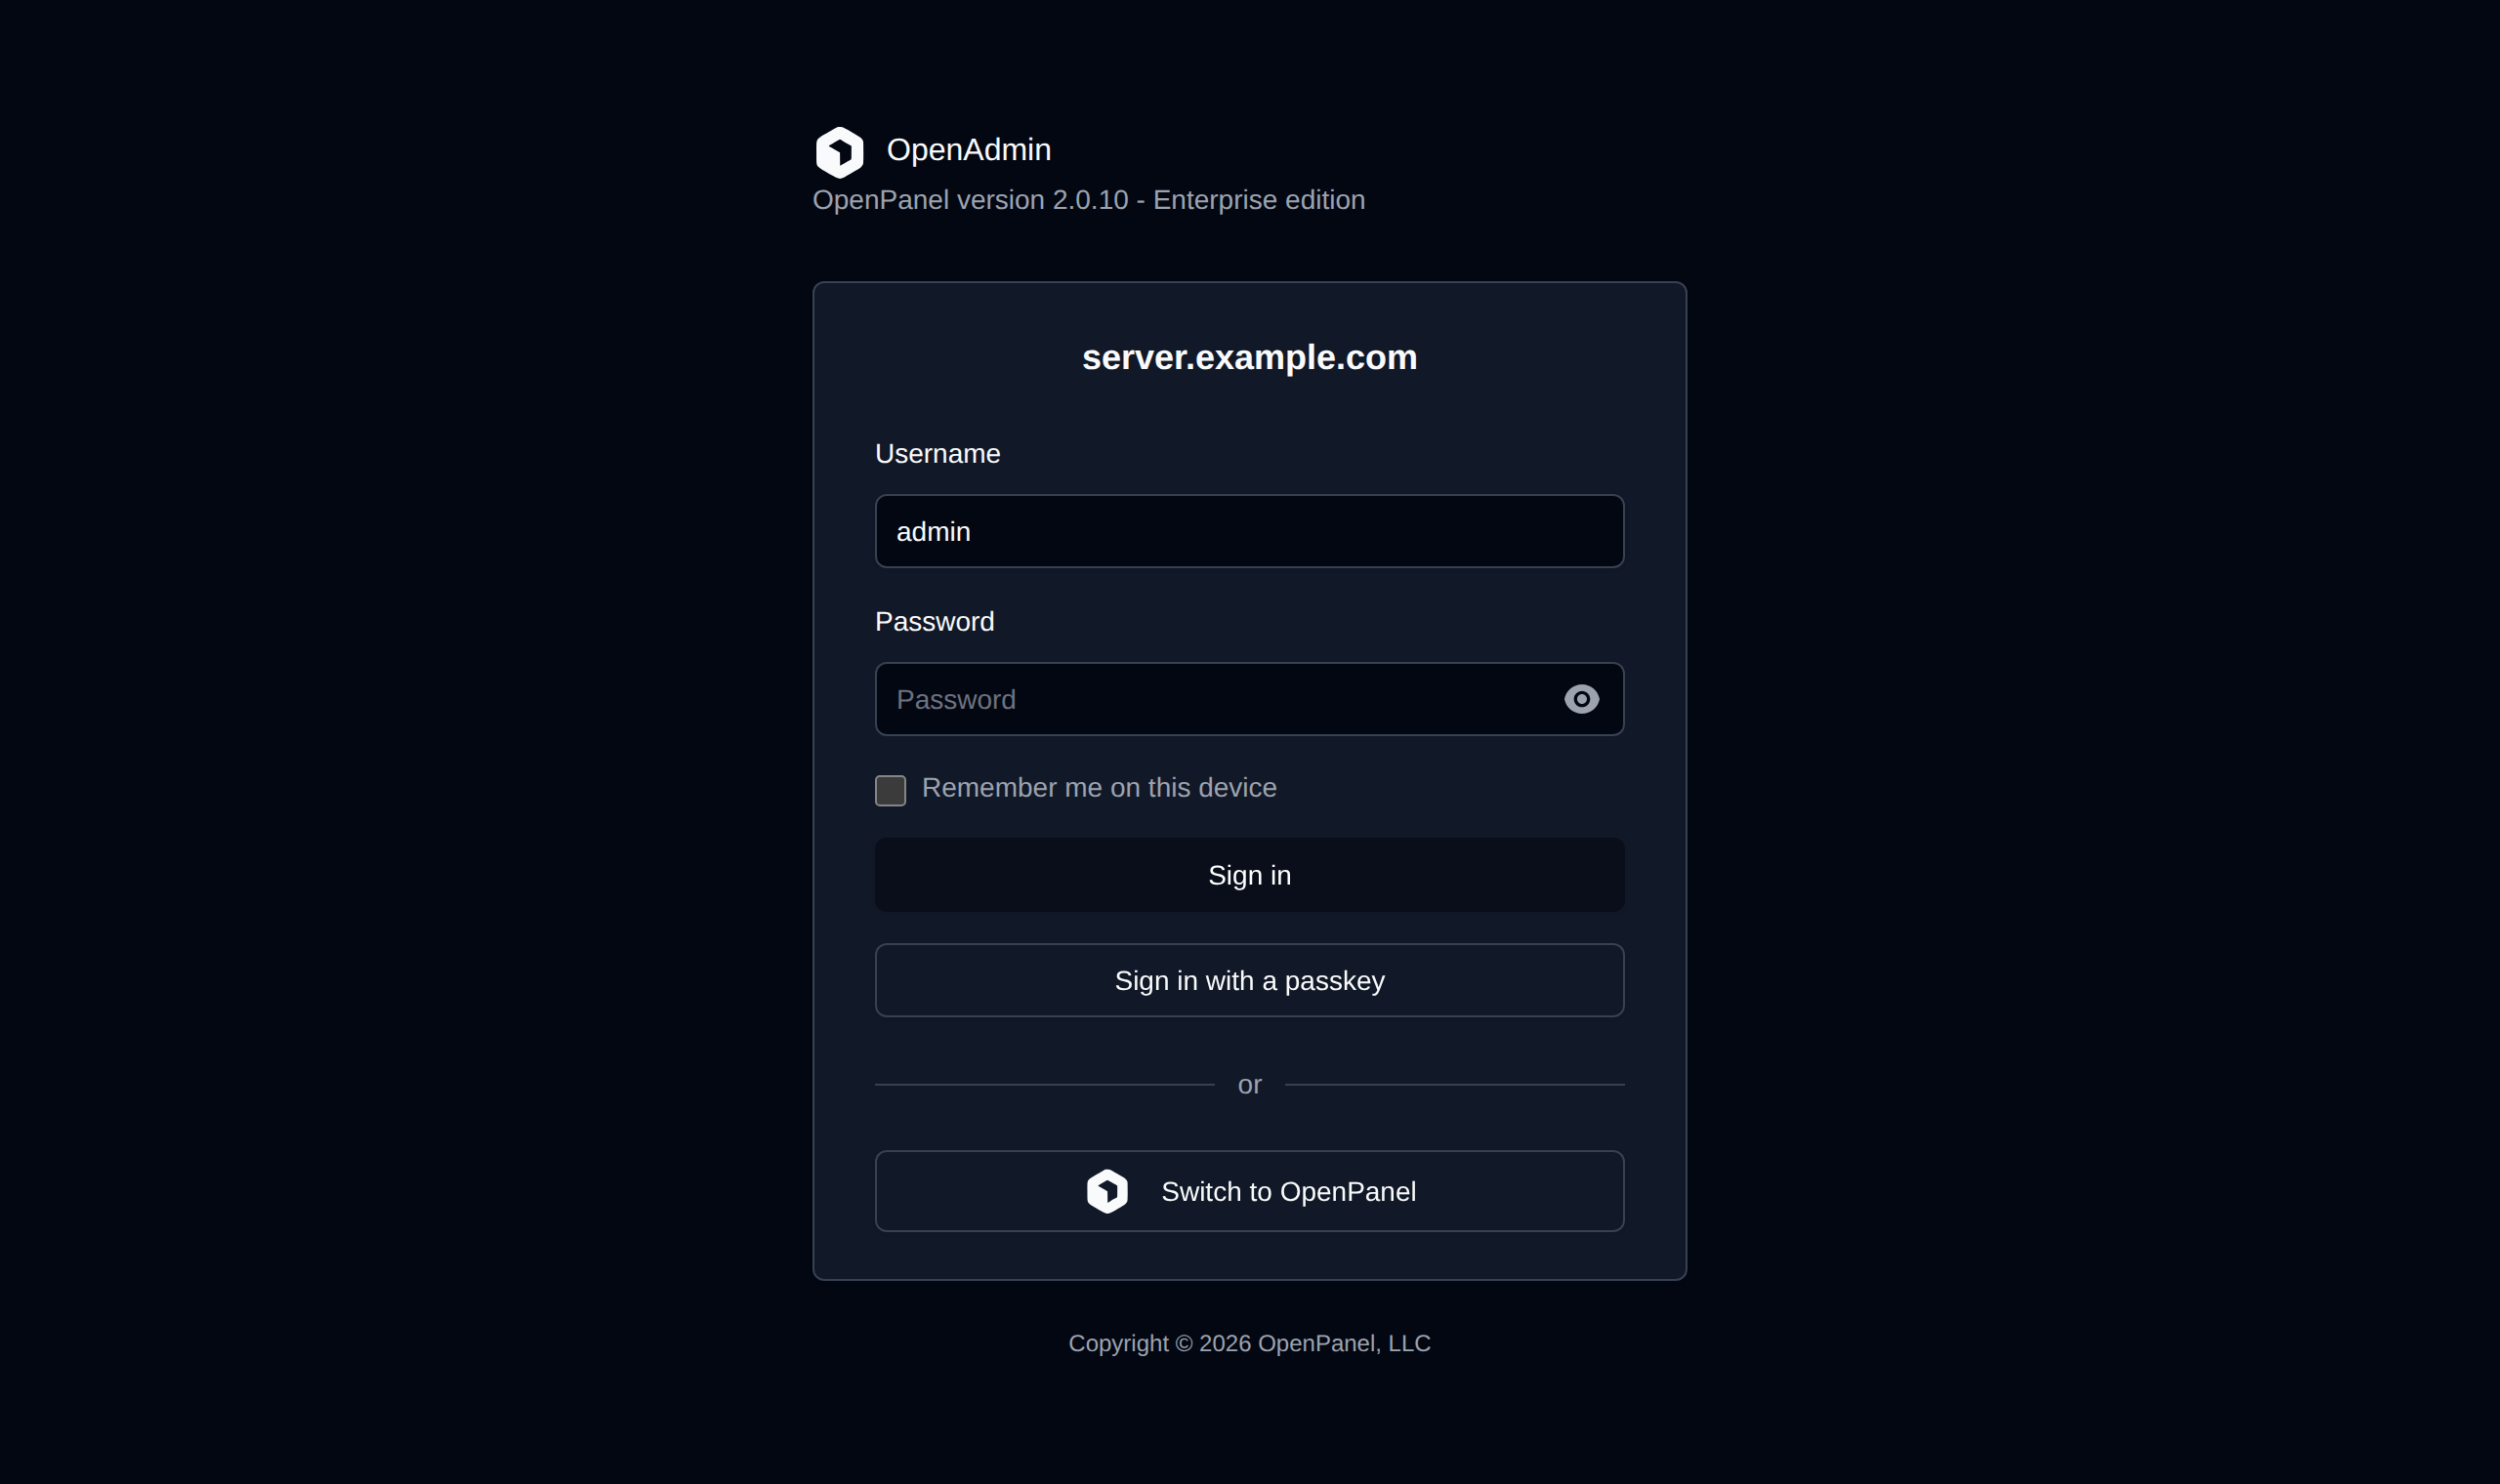
Open the URL from the installer output in your browser:
https://your-server-ip:2087
Log in with the printed credentials and continue with the post-install steps.
Contabo-Specific Settings
Reverse DNS (PTR)
For email to be delivered reliably, the server IP needs a reverse DNS record that matches the server hostname:
- In the Contabo Customer Control Panel, open Reverse DNS management.
- Find your server IP, click the edit icon, and enter the hostname, e.g.
server.example.com.
See How to Set Up Reverse DNS (PTR) for how to check it.
Sending Email
Contabo IP ranges are often listed on email blocklists, so mail sent directly from the server can land in spam even with SPF, DKIM and DMARC set up. If that happens:
- Check the IP on a blocklist checker and request delisting.
- Or route outgoing email through an SMTP relay - see Port 25 Blocked: How to Use an SMTP Relay.
Firewall
OpenPanel installs Sentinel Firewall (CSF) automatically. If you also use a firewall in the Contabo panel, allow at least ports 22, 53, 80, 443, 2083 and 2087 inbound - the full list is in the requirements.