How to Install a Hosting Control Panel on OVHcloud
This guide shows how to install OpenPanel on an OVHcloud VPS or dedicated server (including Kimsufi and So you Start servers).
Prerequisites
- An OVHcloud VPS, Public Cloud instance, or dedicated server.
- An SSH key (recommended) or the password OVHcloud emails you after installation.
- Optional: a domain name for the panel, e.g.
server.example.com.
Step 1: Install a Clean Operating System
OpenPanel needs a clean server with no other control panel or web server installed.
- Log in to the OVHcloud Control Panel.
- Open Bare Metal Cloud and select your VPS or dedicated server.
- Click Reinstall my VPS (or Install for dedicated servers).
- Choose Ubuntu 24.04 (recommended). Debian 12/13, AlmaLinux and Rocky Linux also work.
- Pick the plain Distribution only image, not one with a panel or application preinstalled.
- Add your SSH key and confirm.
The server is reinstalled in a few minutes and OVHcloud emails you the login details.
Every current OVHcloud VPS meets the minimum requirements. Use the resource calculator to see how many websites a plan can host.
Step 2: Connect via SSH and Switch to Root
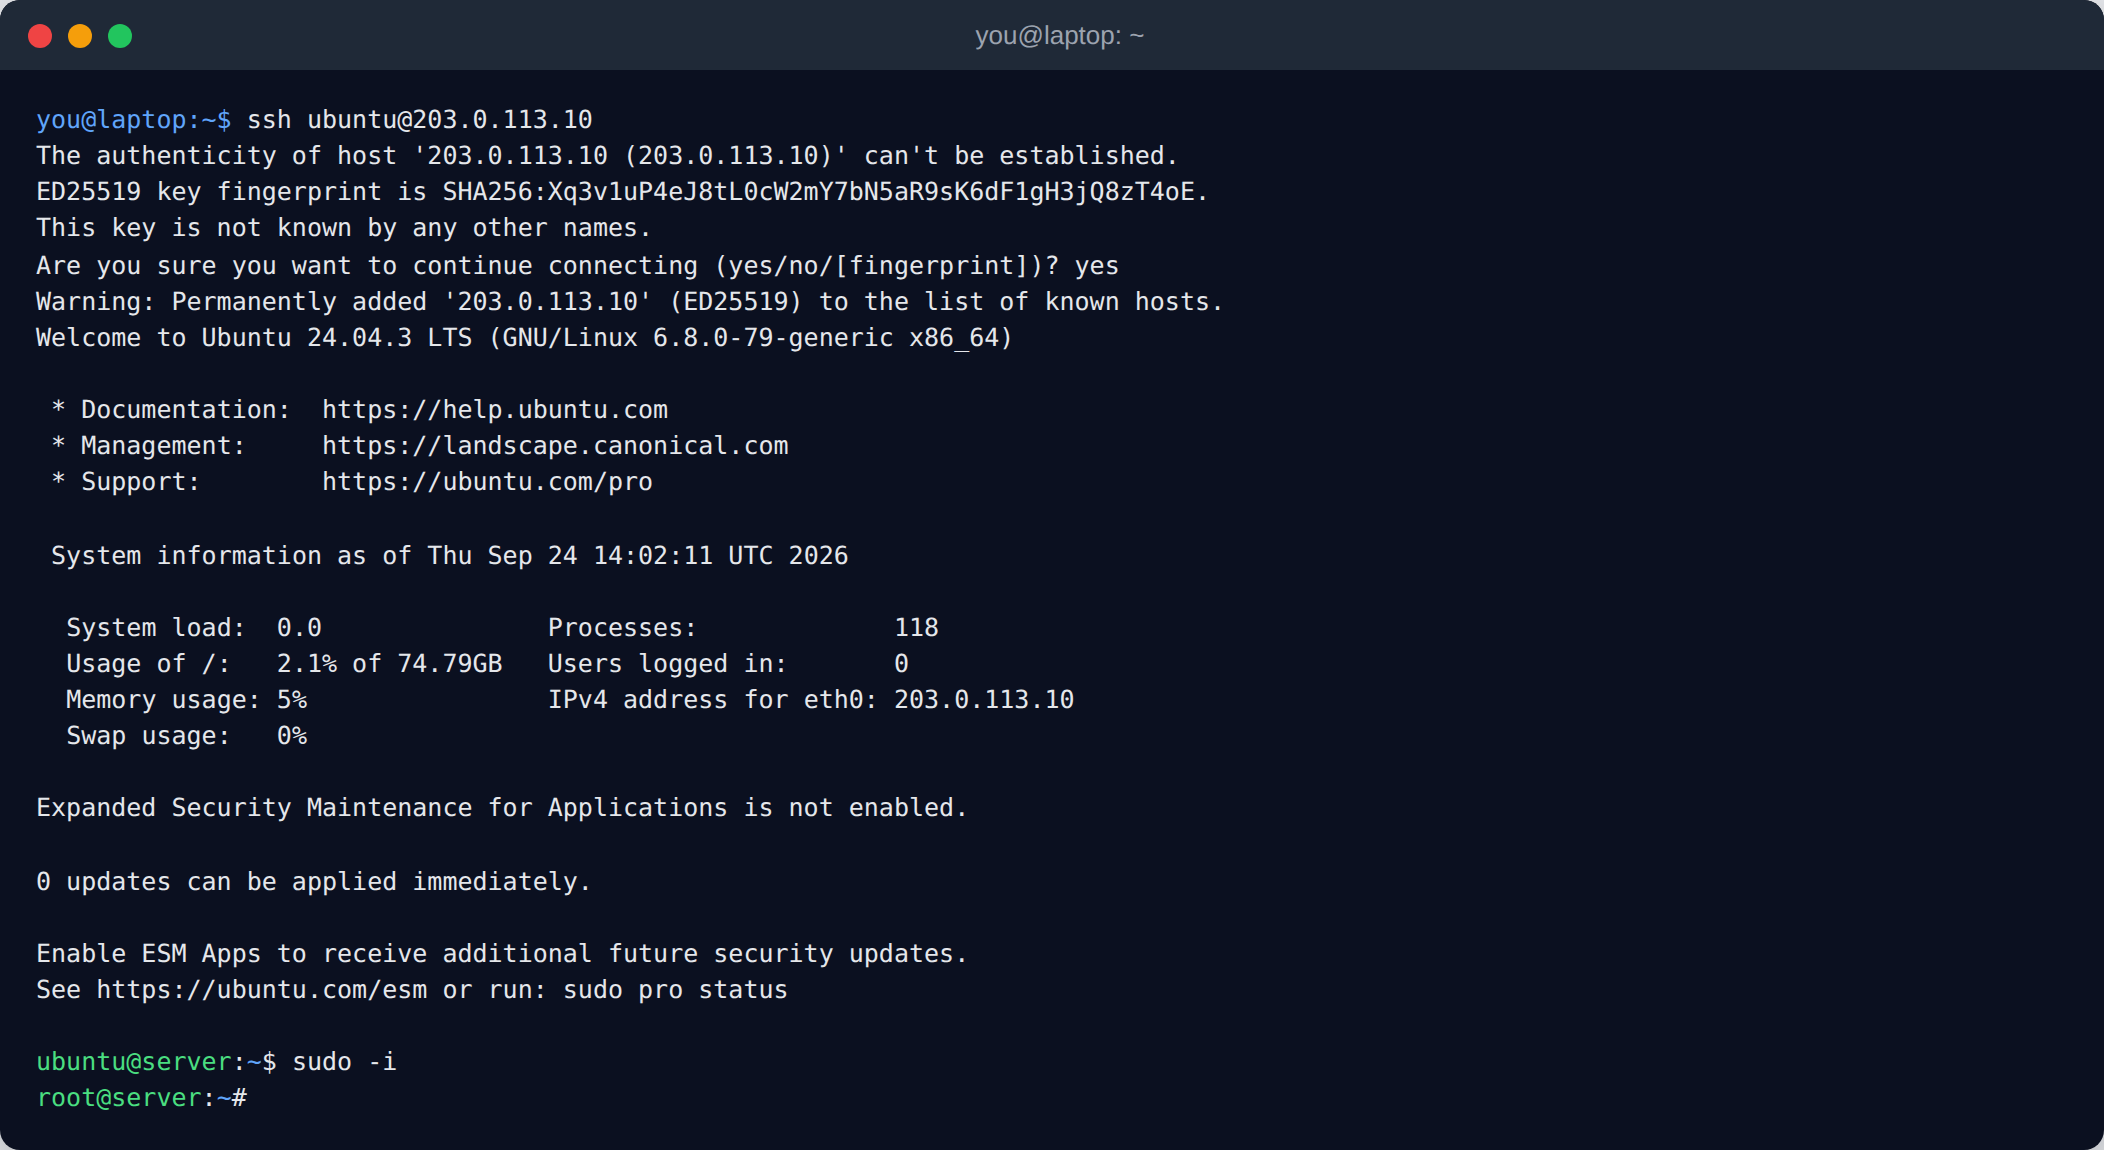
OVHcloud images log you in as a regular user (usually ubuntu on Ubuntu or debian on Debian), not root:
ssh ubuntu@your-server-ip
Then switch to the root user - the installer must run as root:
sudo -i
Step 3: Run the OpenPanel Installer
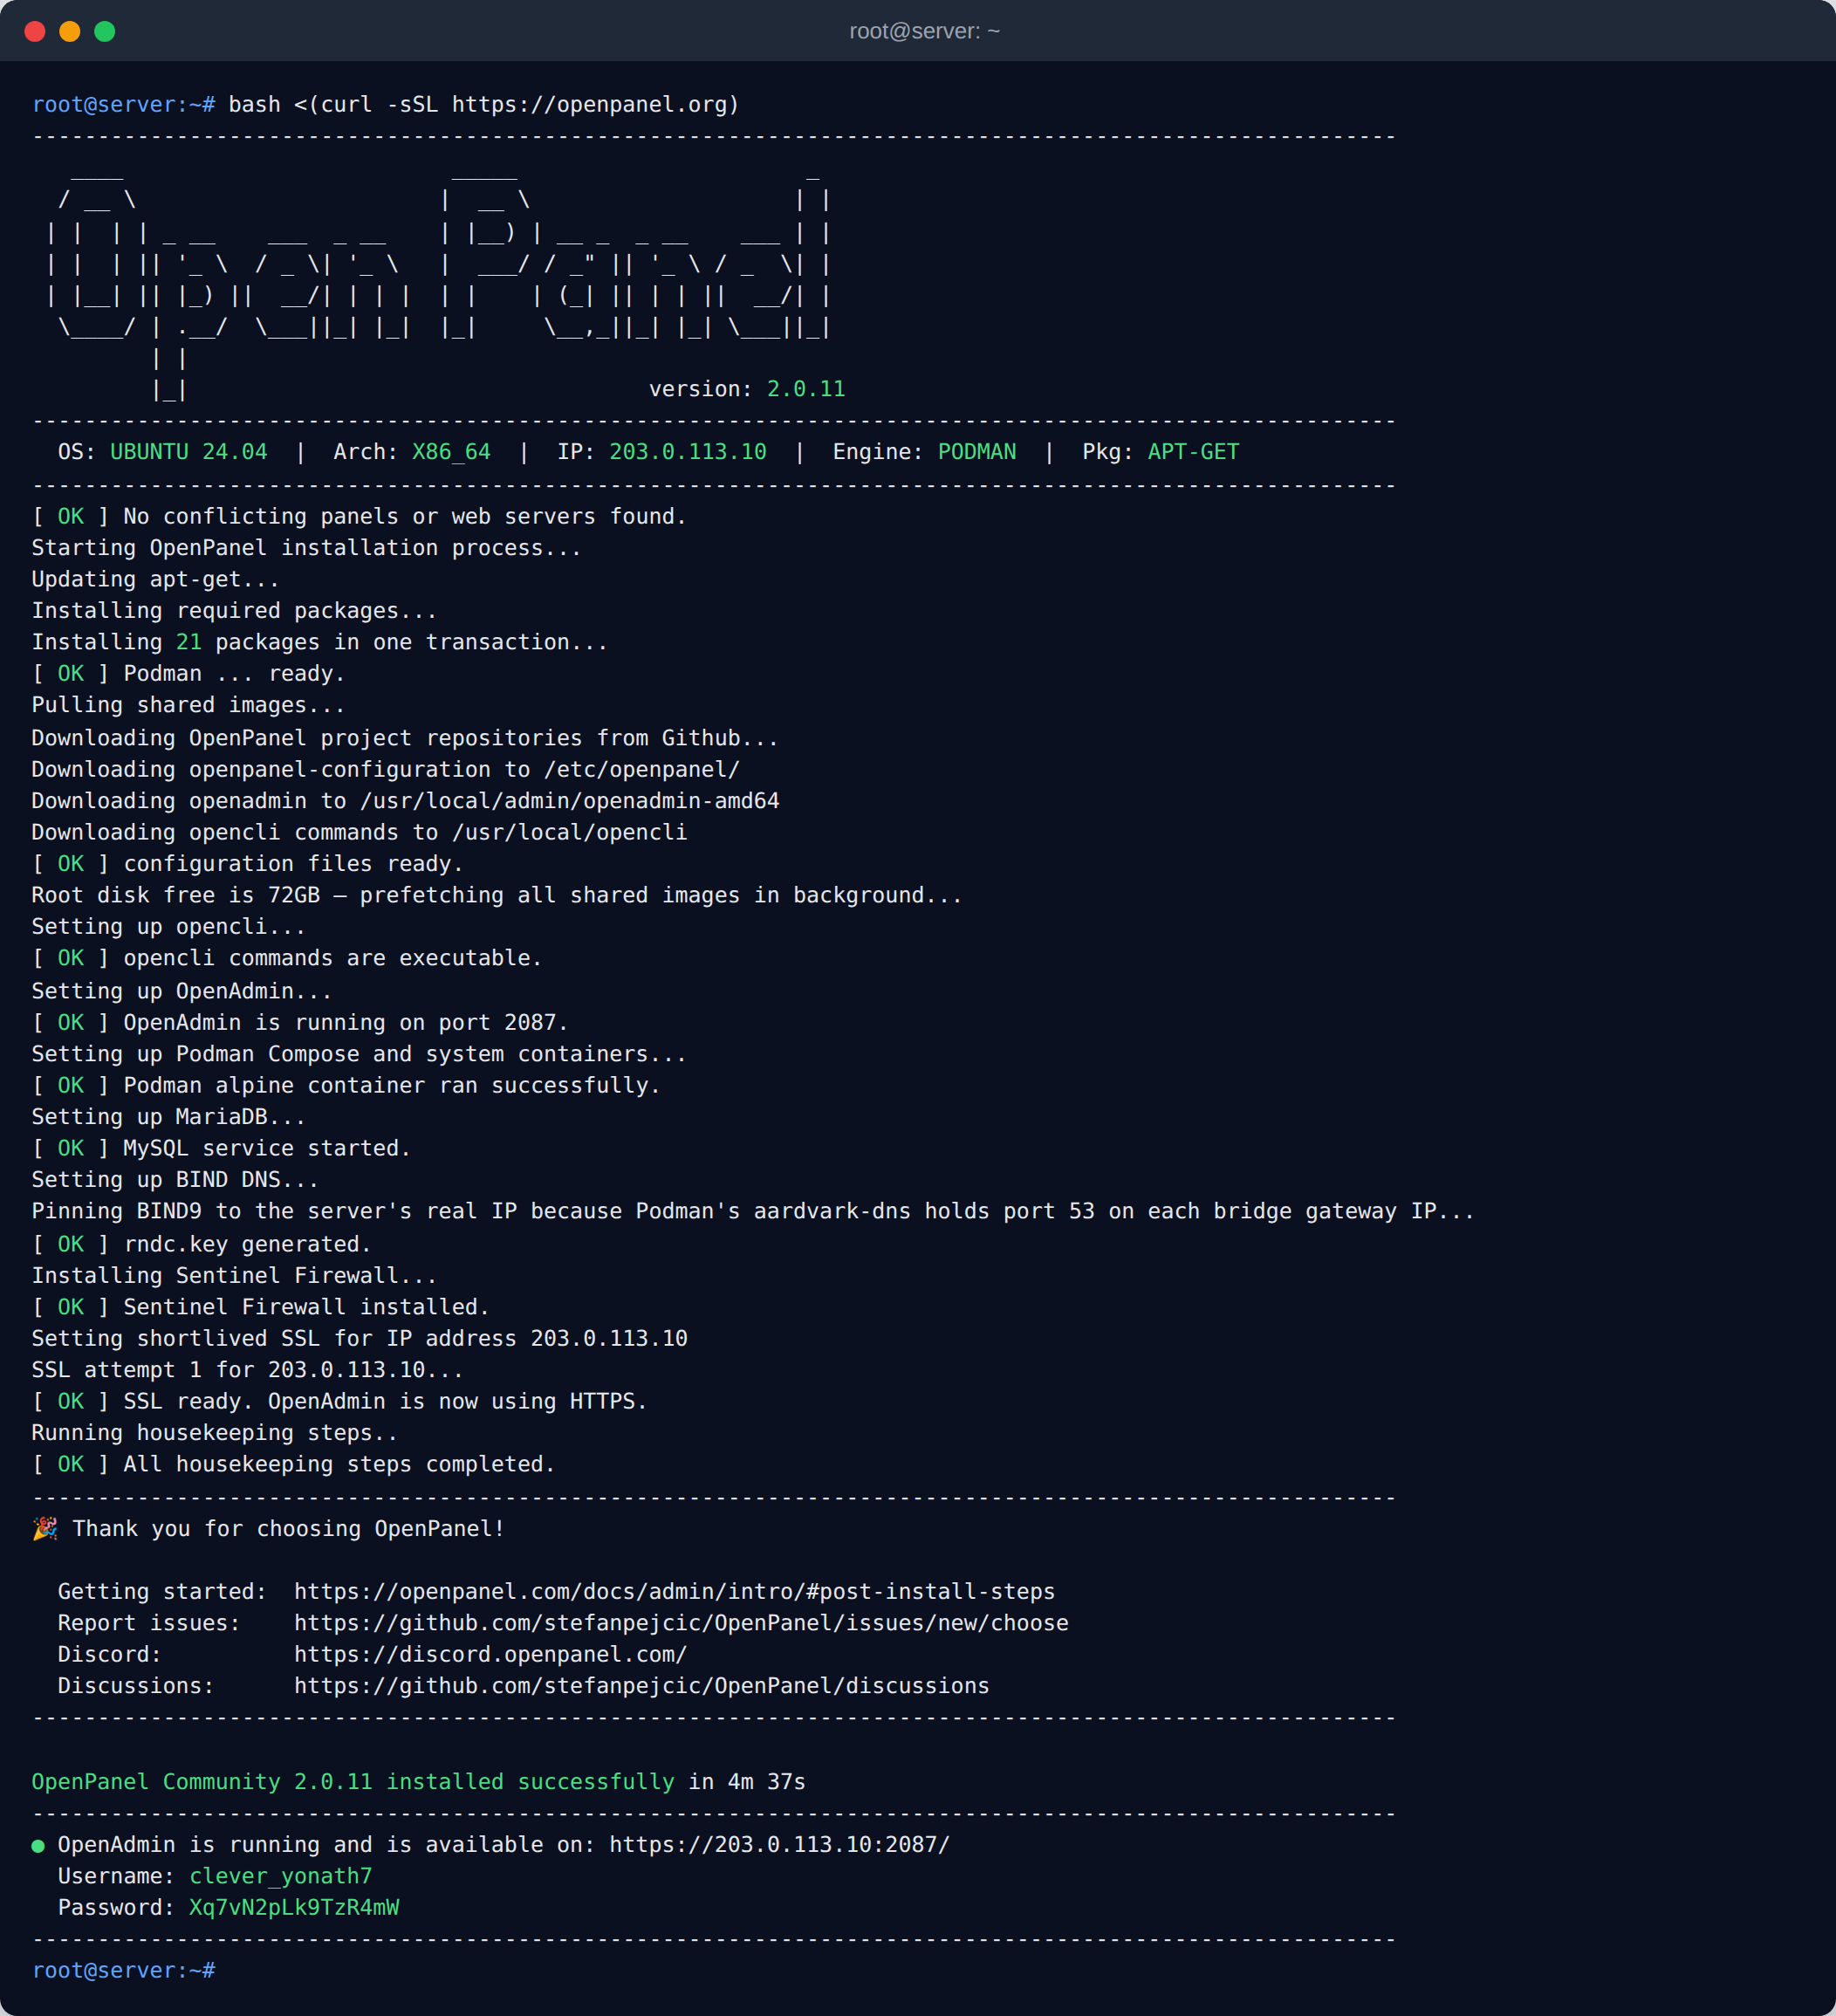
bash <(curl -sSL https://openpanel.org)
Installation takes about 5 minutes. For optional flags (domain, admin username, ports), use the install command generator.
When it finishes, the installer prints the OpenAdmin URL, username and password.
Step 4: Log in to OpenAdmin
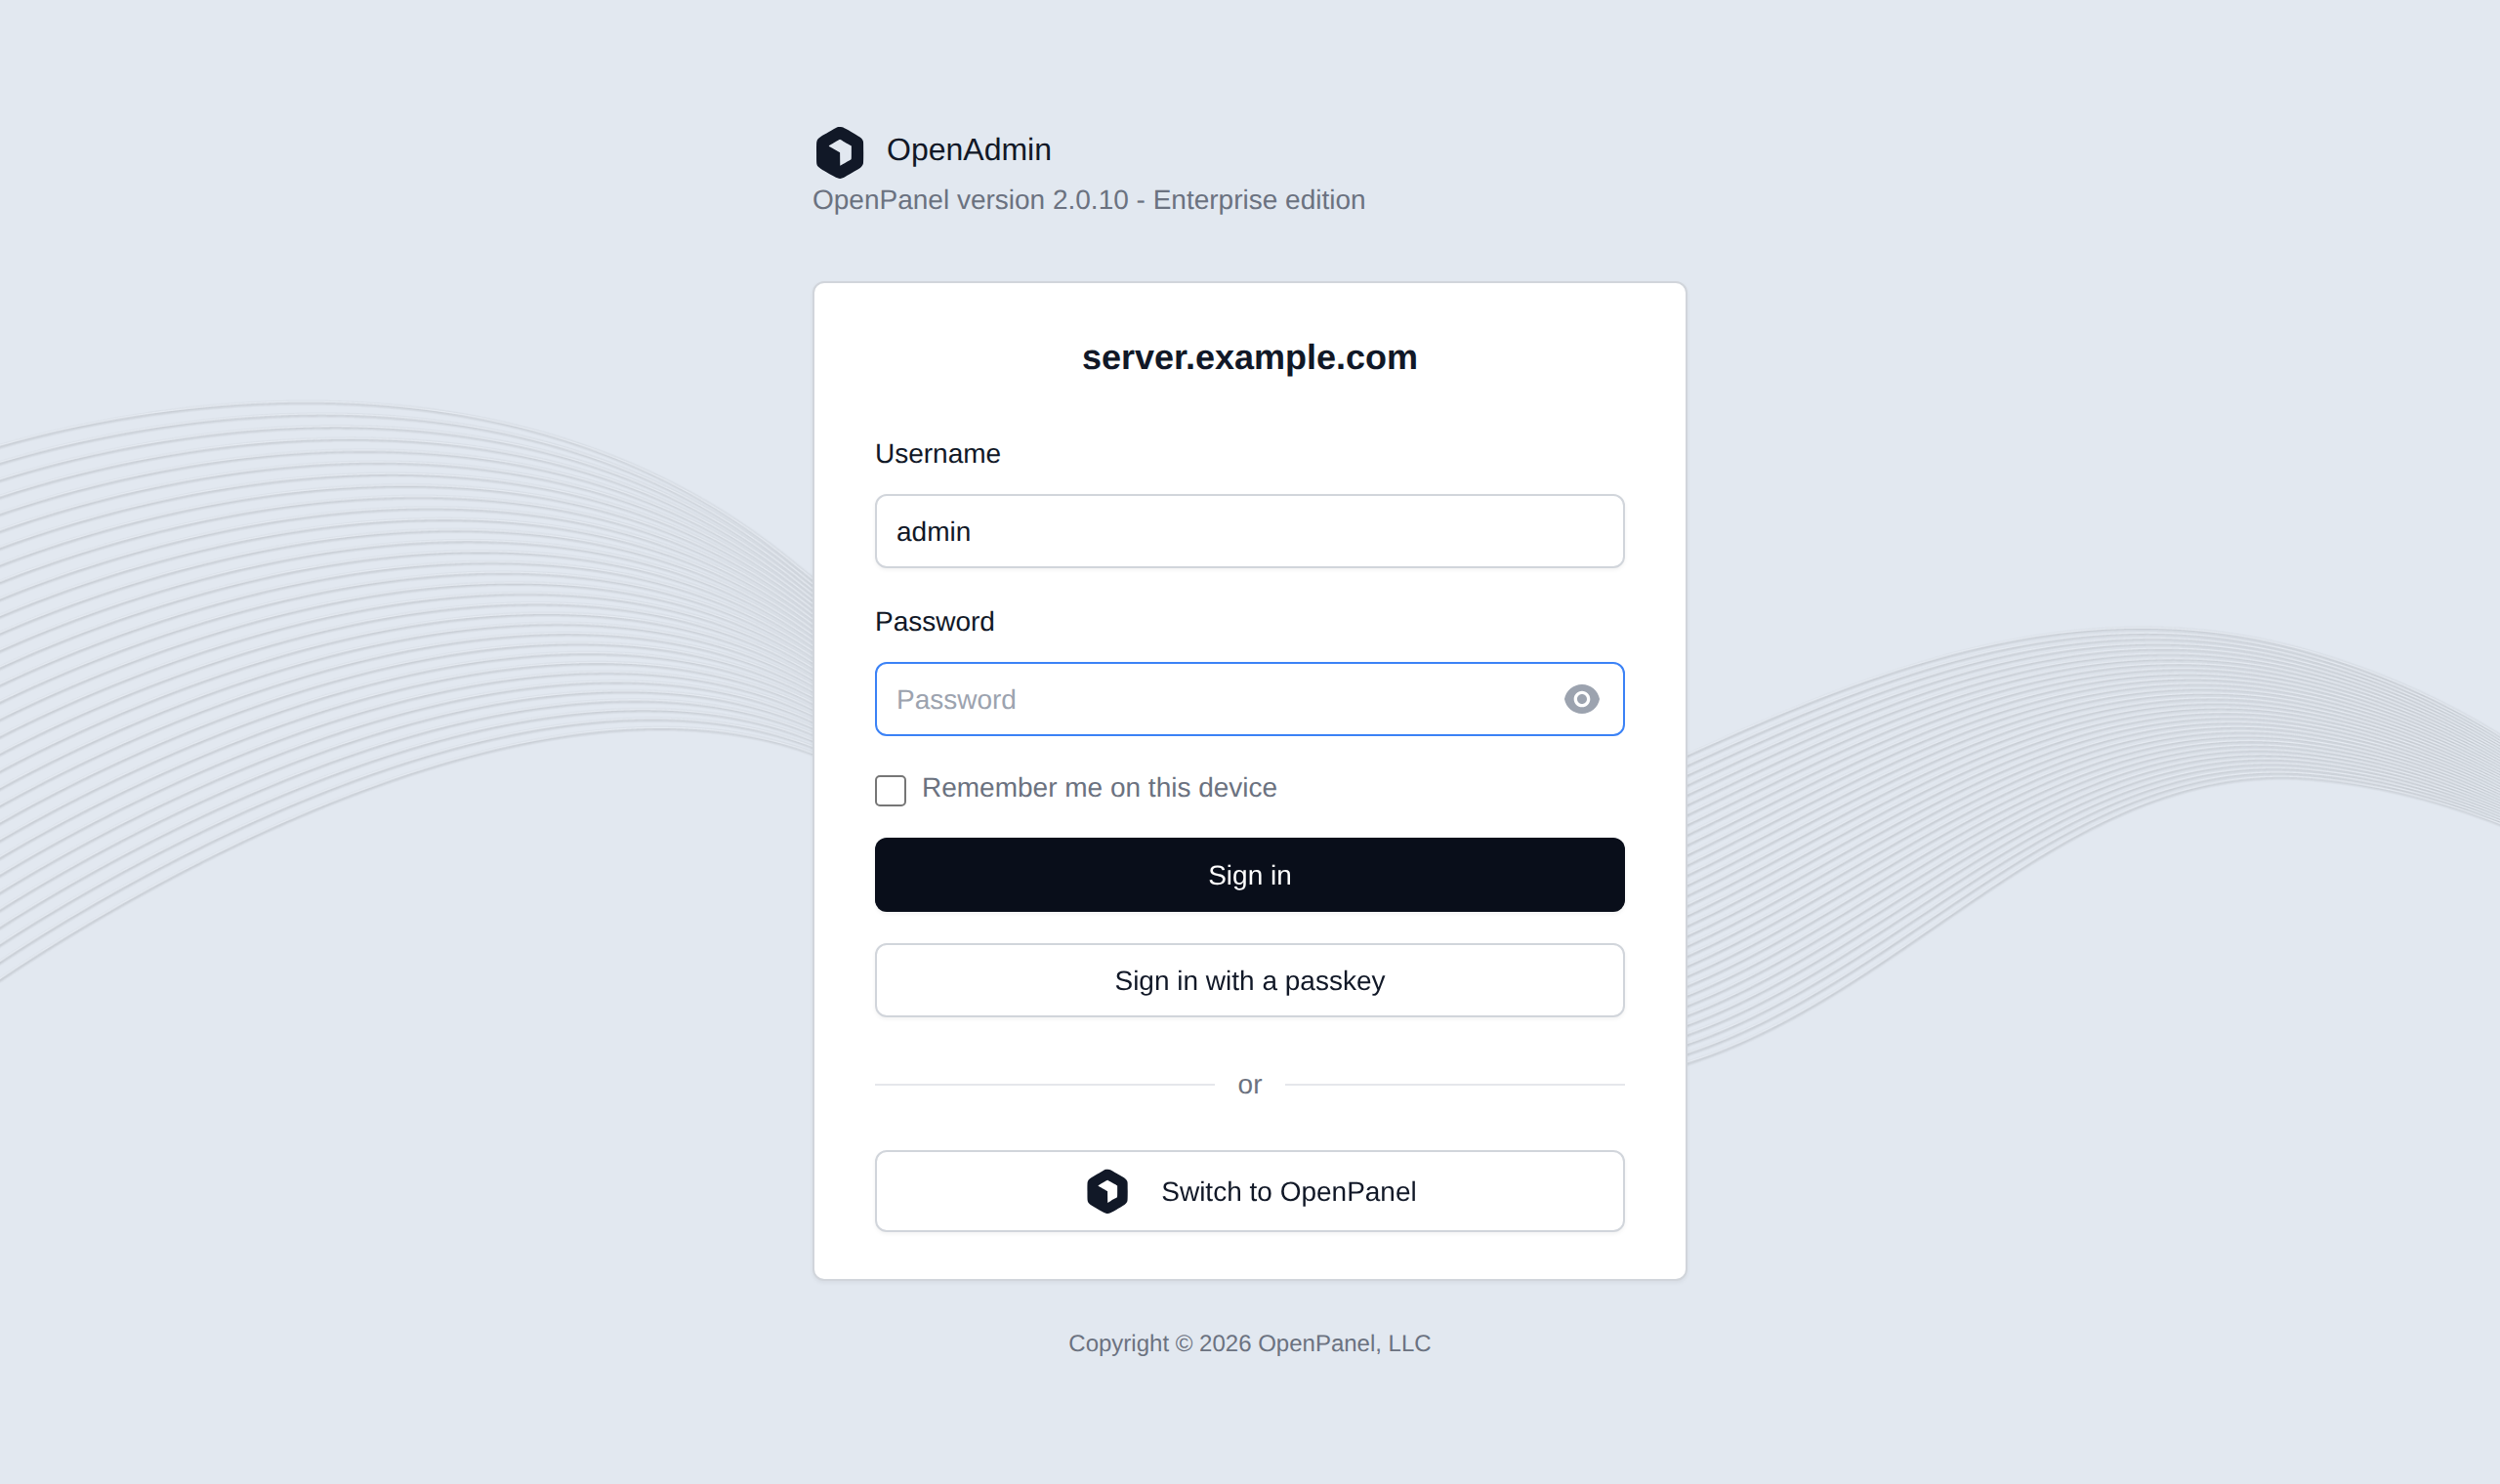
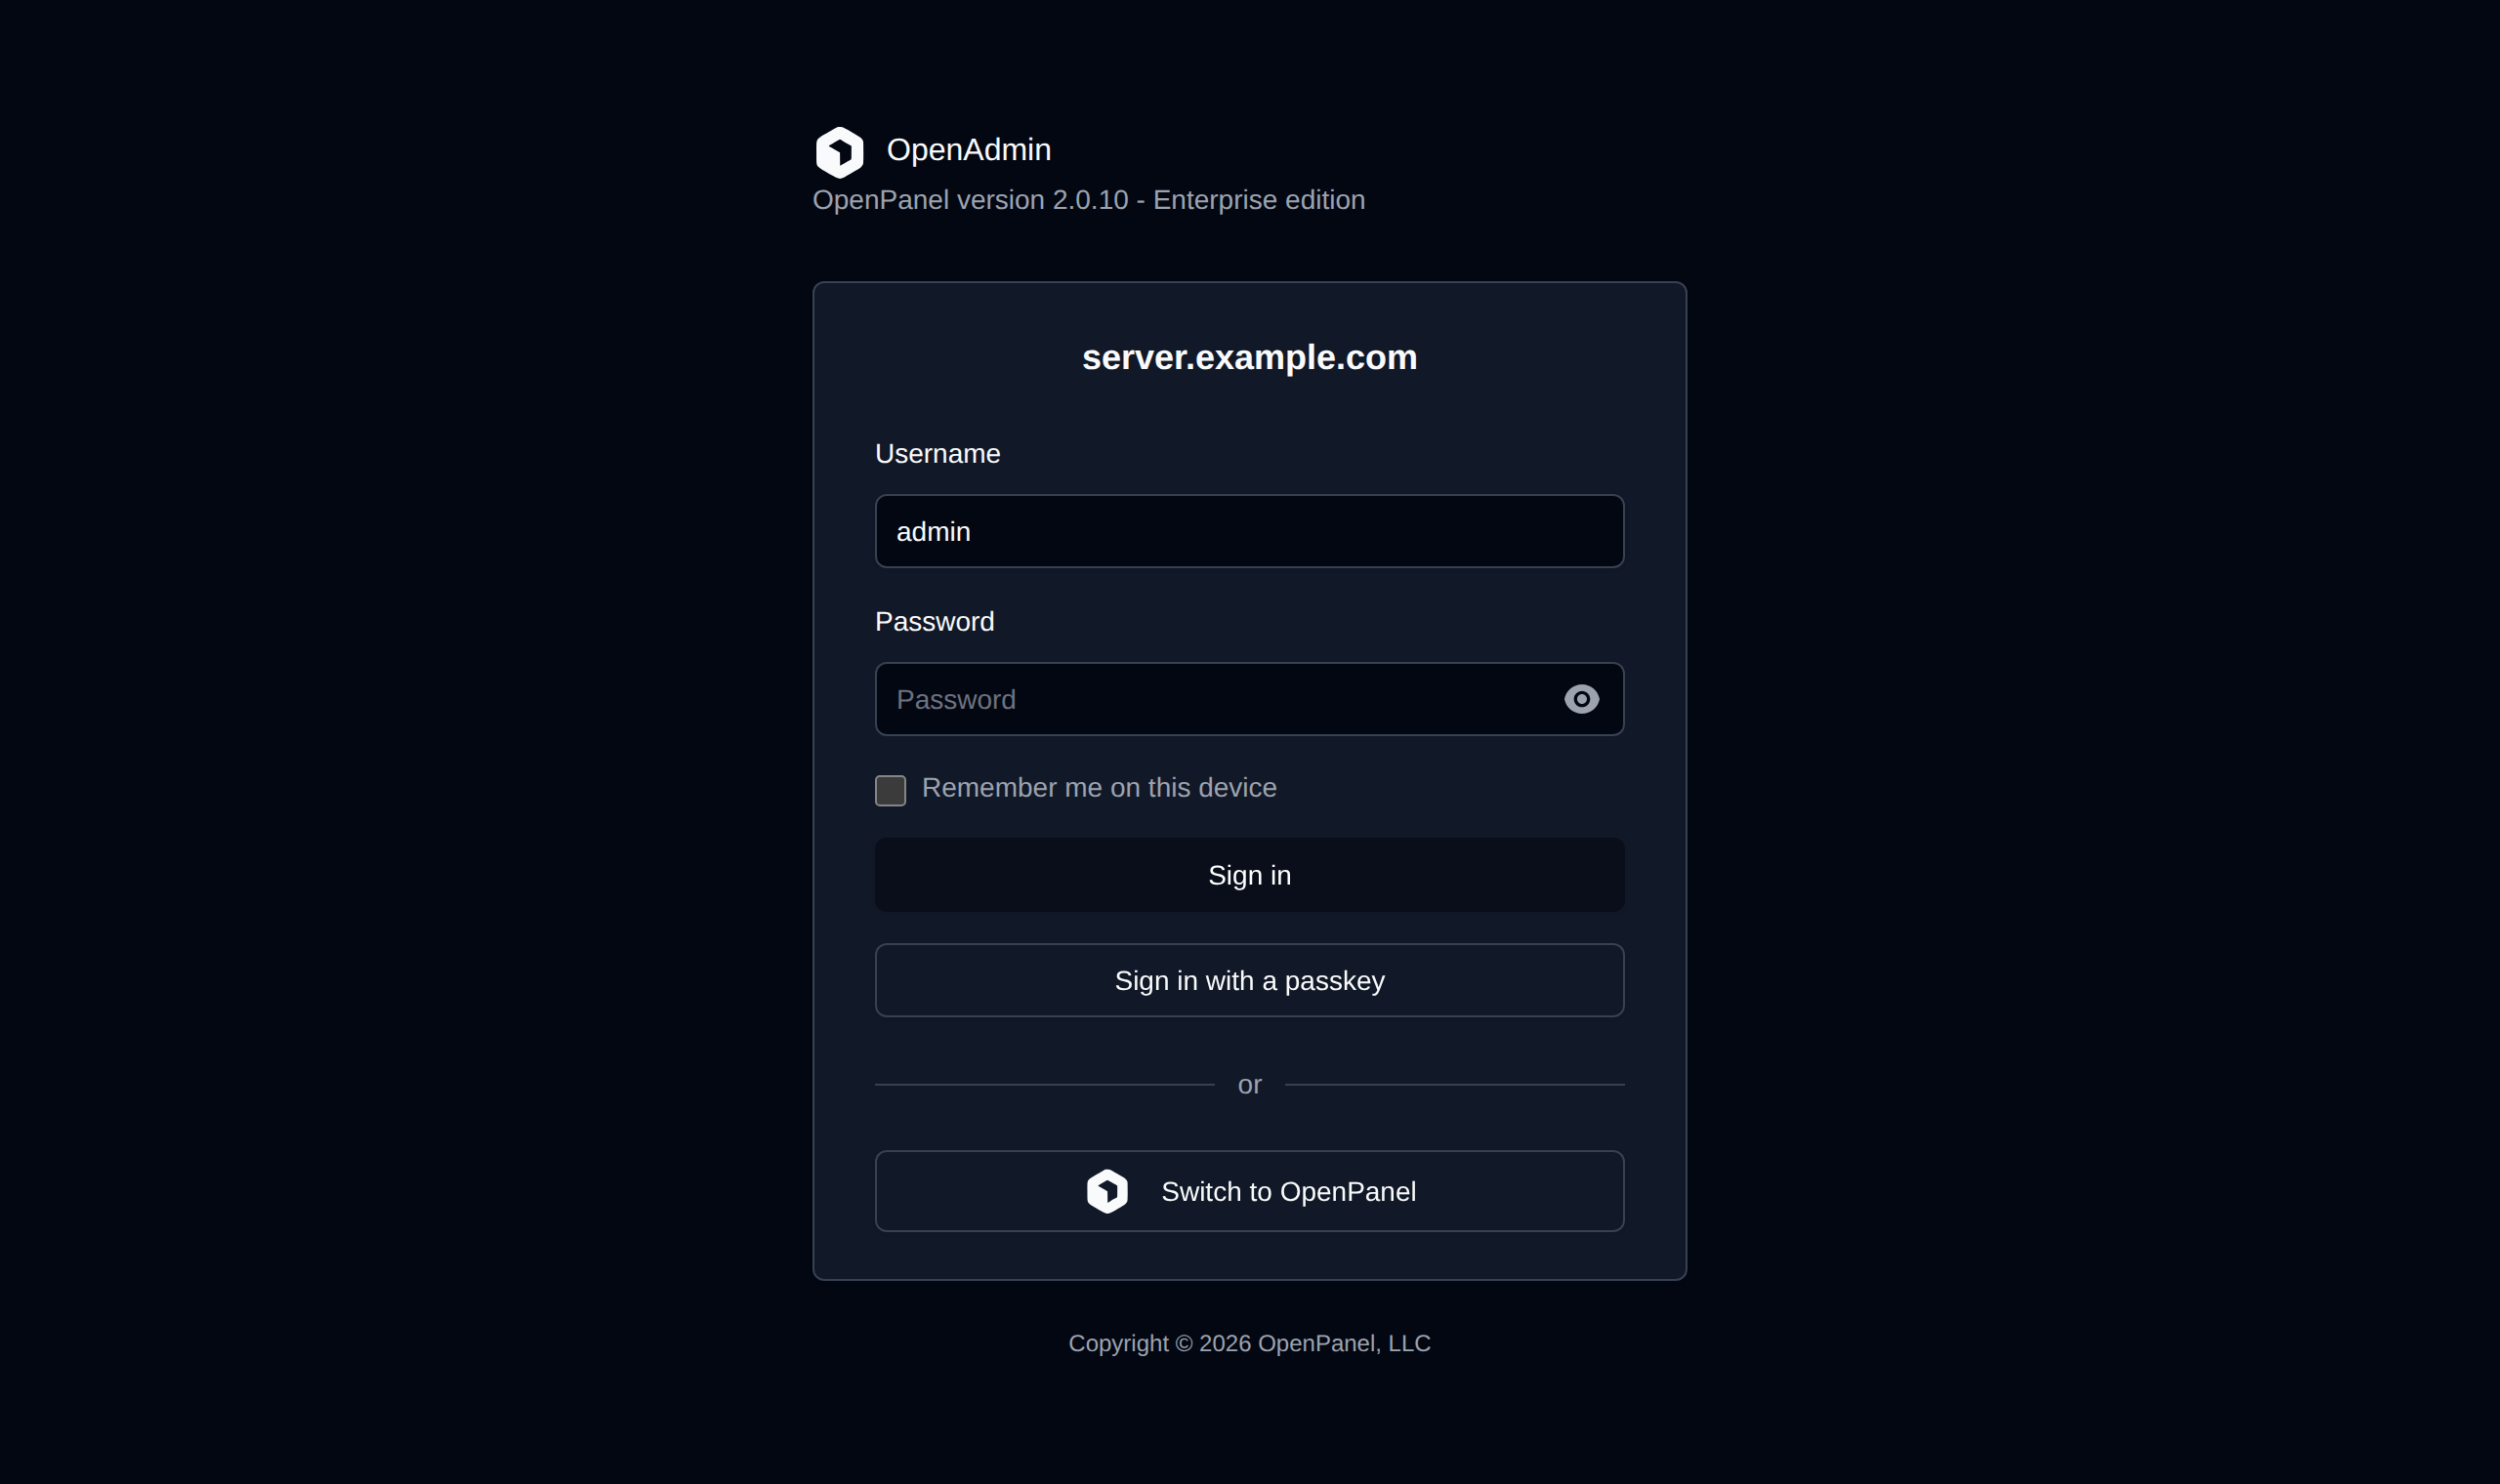
Open the printed URL in your browser:
https://your-server-ip:2087
Log in with the printed credentials and continue with the post-install steps.
OVHcloud-Specific Settings
Edge Network Firewall
OpenPanel installs Sentinel Firewall (CSF) on the server. The OVHcloud Edge Network Firewall is disabled by default - if you enable it on the IP, allow at least ports 22, 53, 80, 443, 2083 and 2087 inbound. The full list is in the requirements.
Reverse DNS (PTR)
To send email reliably, set the reverse DNS of the server IP to the server hostname:
- In the OVHcloud Control Panel, go to Bare Metal Cloud → Network → IP.
- Click the ... button next to your IP and choose Modify the reverse path.
- Enter the hostname, e.g.
server.example.com.
OVHcloud checks that the hostname resolves to the IP, so create the A record first. See How to Set Up Reverse DNS (PTR).
Sending Email
OVHcloud does not block port 25 by default, but its anti-spam system automatically blocks it if the server sends spam - for example from a hacked website. If outgoing mail suddenly stops, check for an anti-spam notice in the Control Panel and clean up the account before unblocking.