How to Create a WordPress Staging Site
A staging site is a private copy of your live WordPress site where you can test plugin updates, a new theme or code changes without risking the real site. OpenPanel's WP Manager can clone a site in one click - files, database and URLs included.
Step 1: Add a Staging Subdomain
- Go to OpenPanel → Domains → Add Domain.
- Enter a subdomain such as
staging.example.comand click Add Domain.
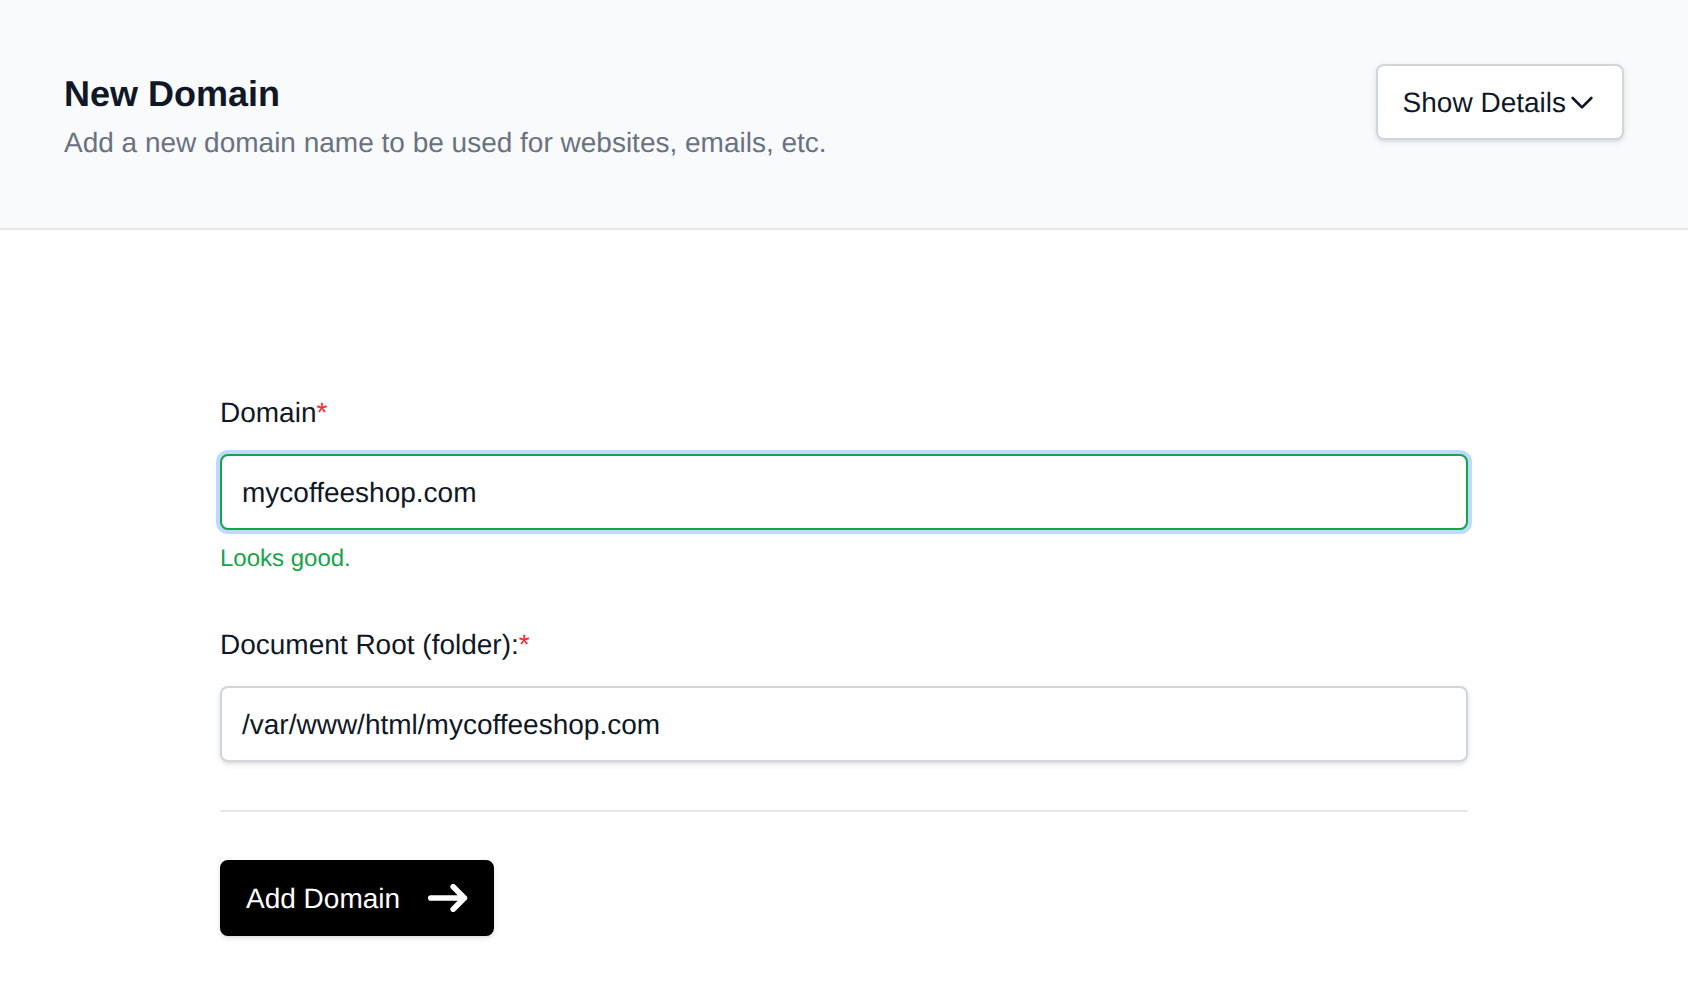
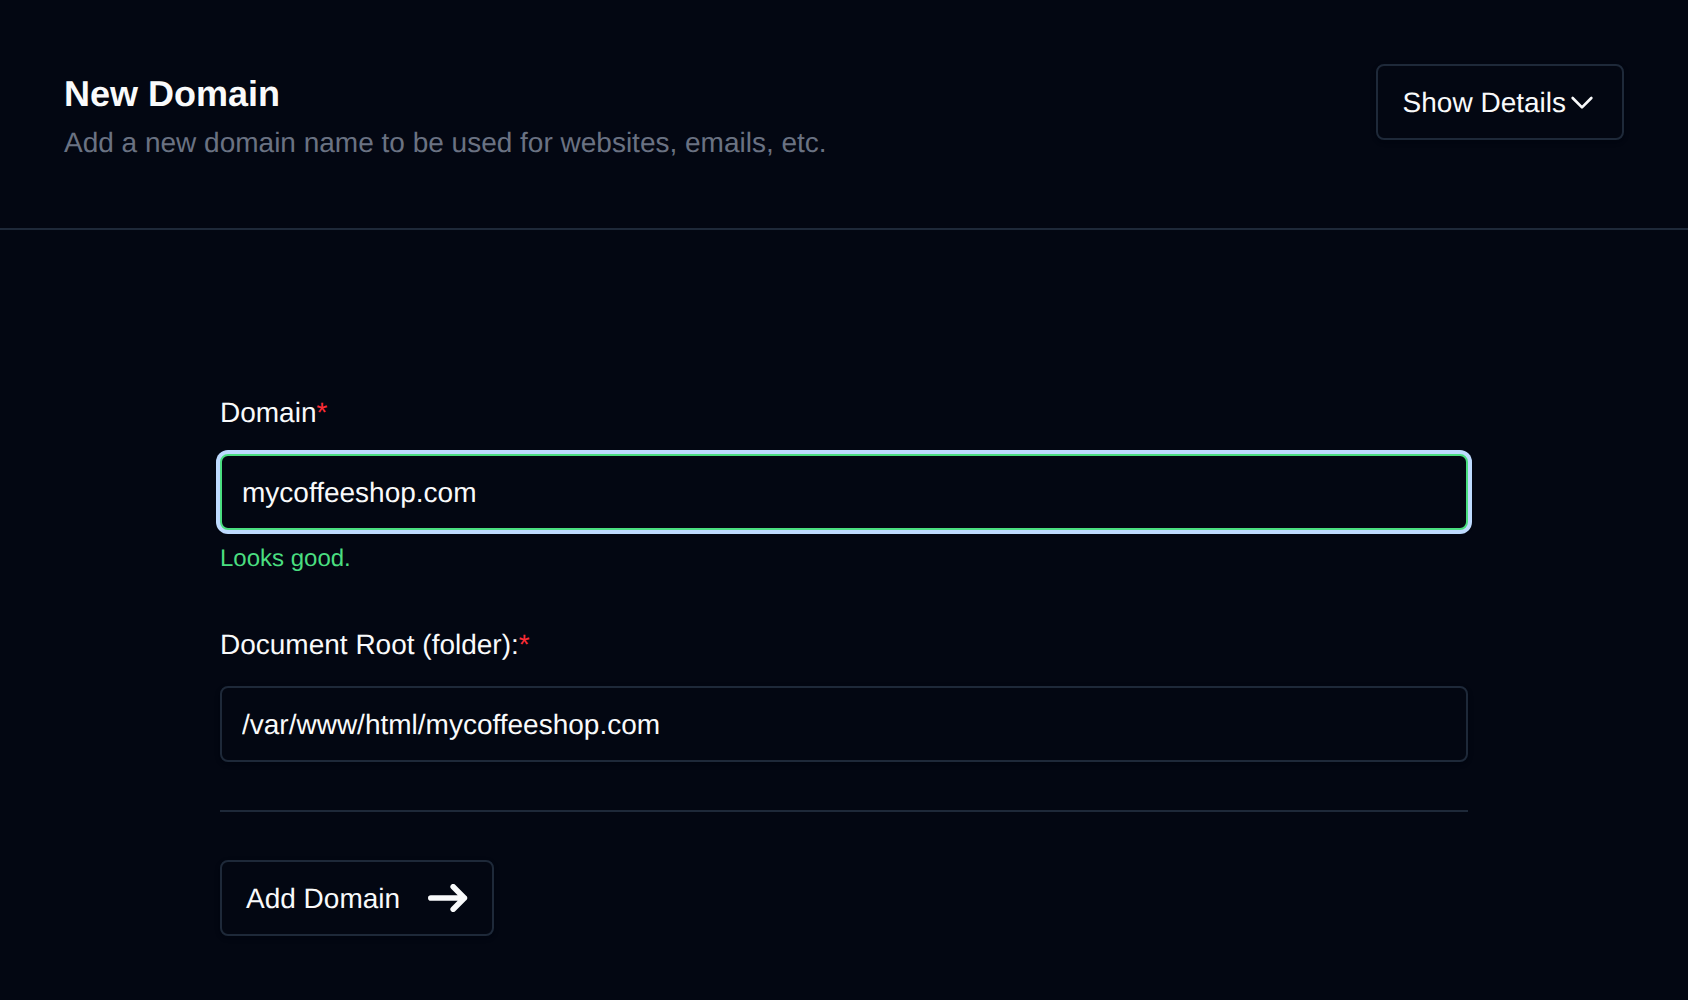
If example.com is already in your account, the DNS record is created automatically and the subdomain doesn't count toward your domain limit. See Add a subdomain.
Step 2: Clone the Live Site
- Open OpenPanel → WordPress, and click Manage on the live site.
- Go to the Clone tab.
- Under Target, select
staging.example.com. Optionally choose the Database name for the copy. - Click Clone Website.
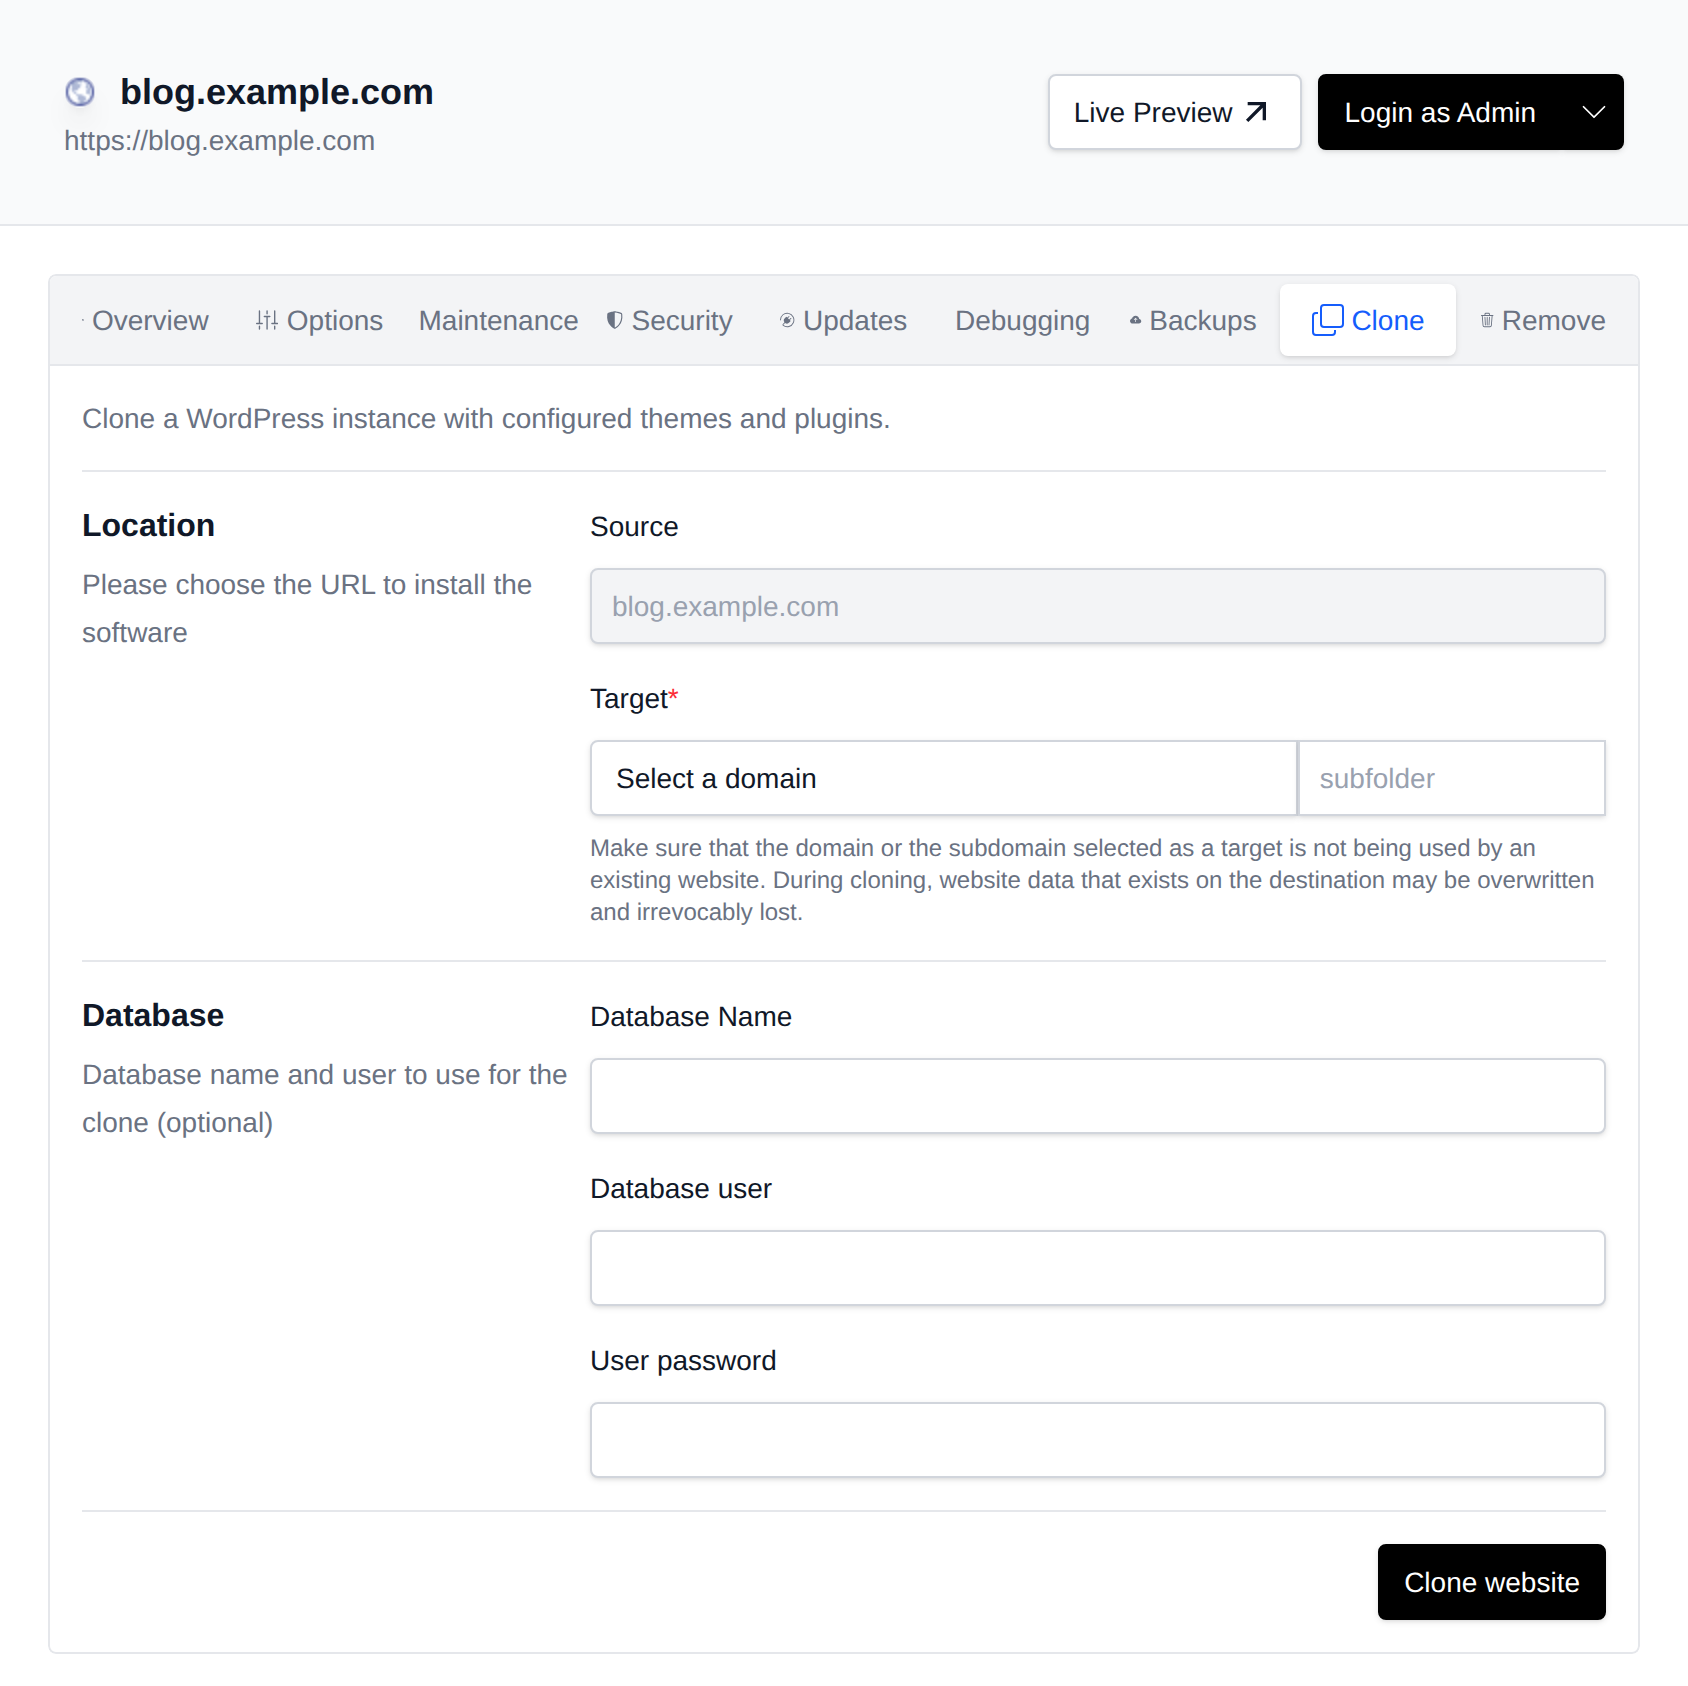
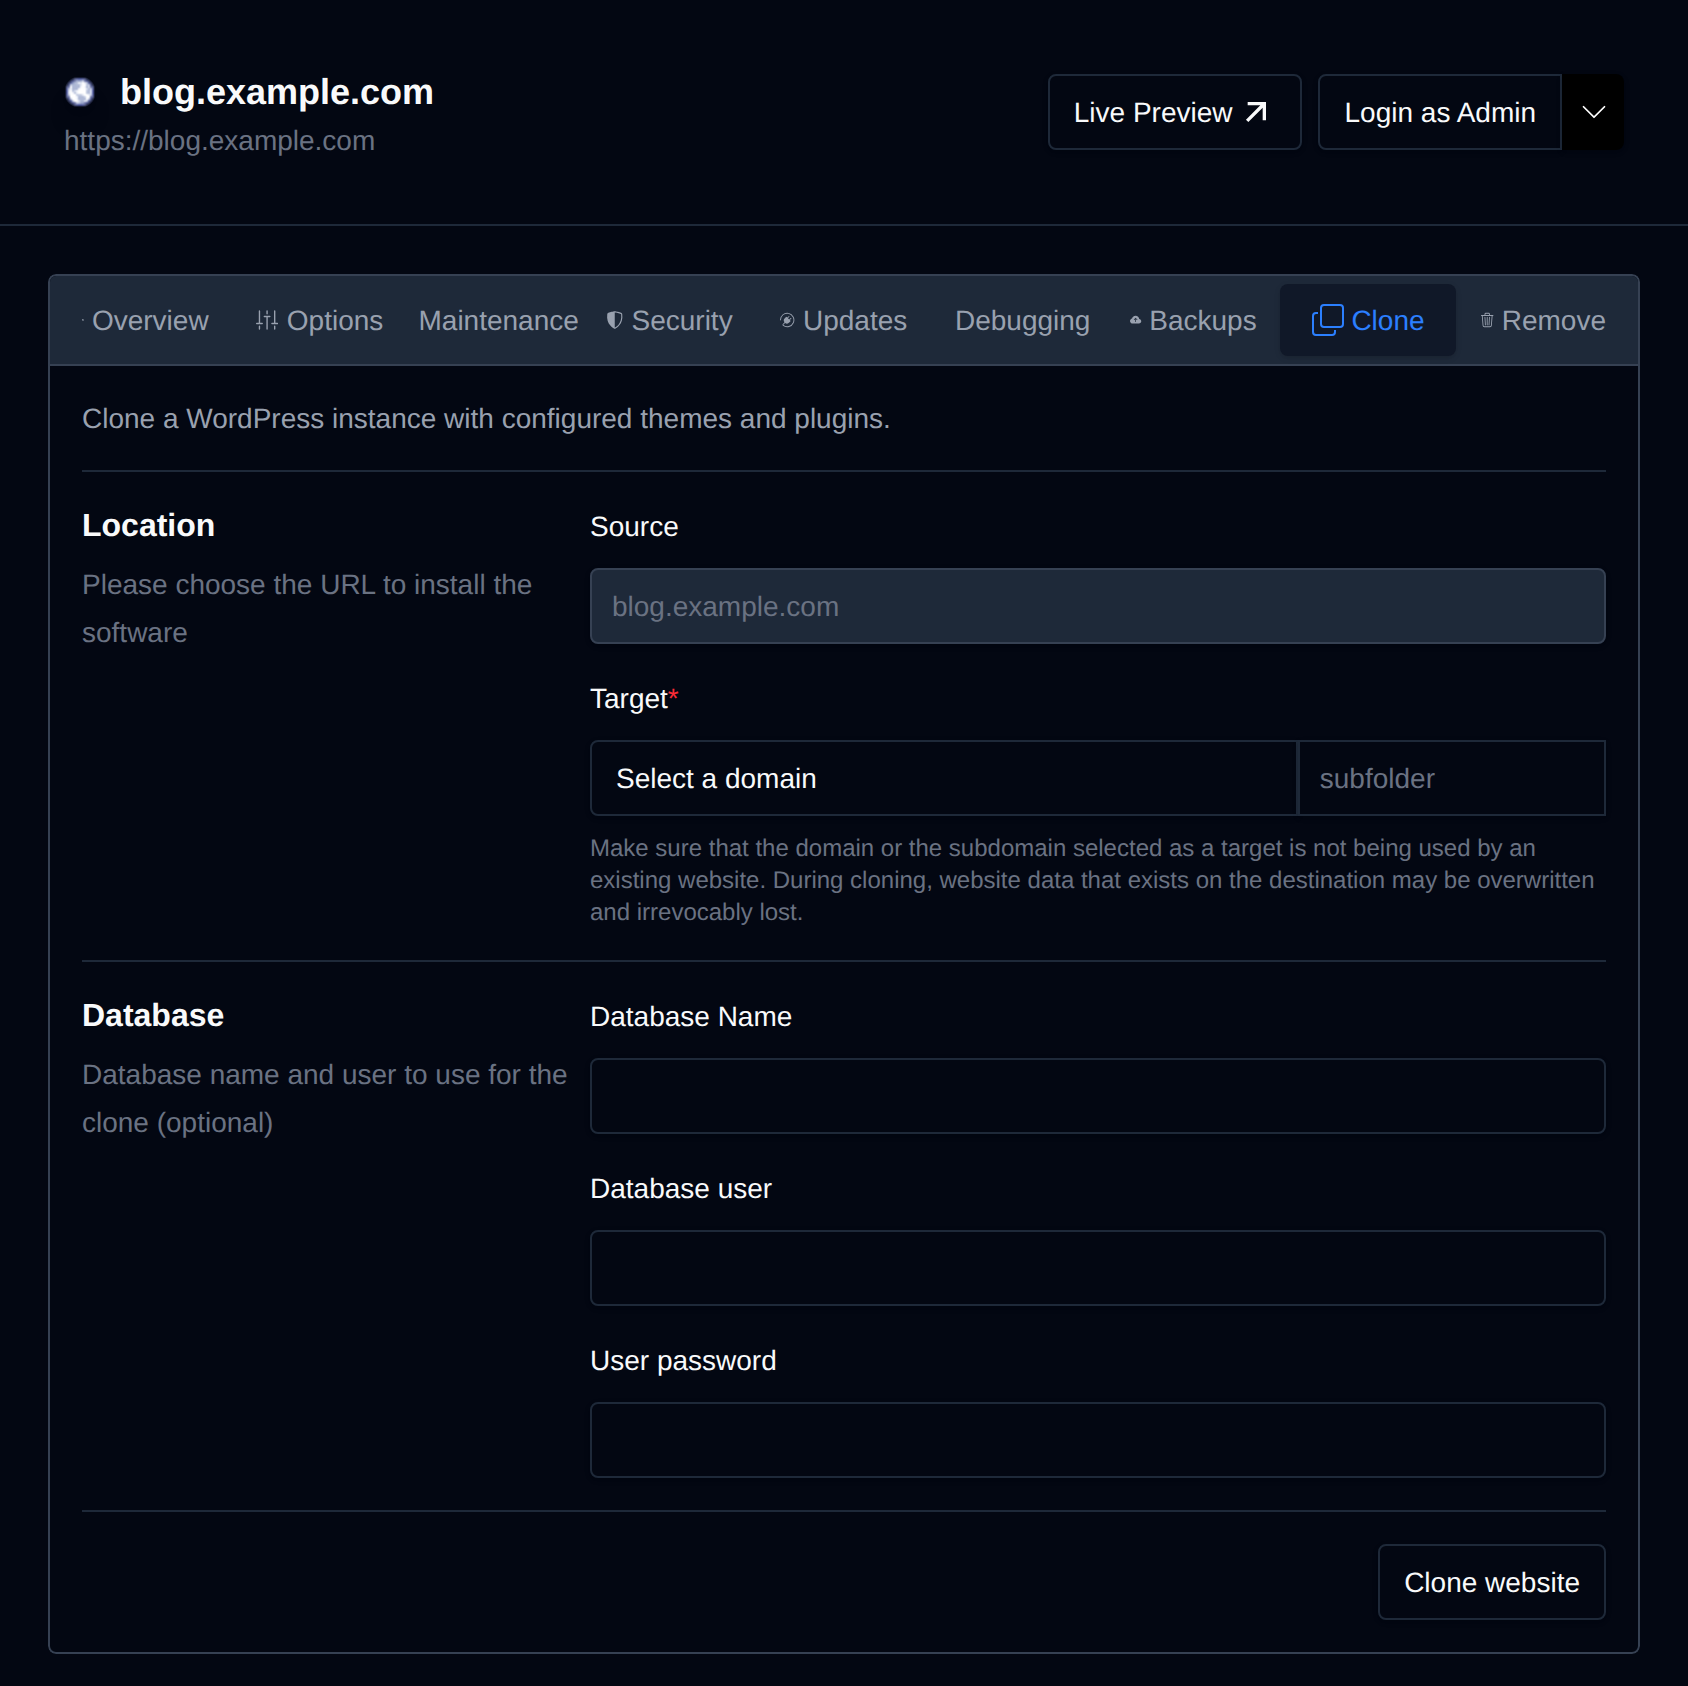
OpenPanel copies all files and database tables, replaces https://example.com with https://staging.example.com in the database, and flushes the cache and rewrite rules. The staging site appears in WP Manager as a separate site, with its own Auto Login, backups and settings.
More: WP Manager - Clone.
Step 3: Keep the Staging Site Private
A staging site shouldn't be visible to visitors or search engines.
- Hide it from search engines: on the staging site's Options tab in WP Manager, turn off Enable SEO Visibility (the same as Settings → Reading → Discourage search engines in WordPress).
- Require a password: add HTTP basic authentication to the staging domain - see Password-protect a directory.
- Or show a maintenance page to everyone except logged-in admins with the Maintenance mode tab.
Stop emails from staging
A clone can still send real emails (WooCommerce orders, newsletters, cron notifications). Install a plugin such as Disable Emails on staging, or deactivate your SMTP and email plugins there.
Step 4: Test Your Changes
Work on staging.example.com as usual - update plugins, switch themes, edit code. Useful tools in WP Manager for the staging site:
- Debugging - turn on
WP_DEBUGandWP_DEBUG_LOGto see errors. See Fix the WordPress white screen / critical error. - Backups - take a backup before each big test, so you can roll back the staging site in seconds.
- Updates - update core, plugins and themes and check that everything still works.
Step 5: Push Changes to the Live Site
There are two ways to bring tested changes to production:
Option A: Repeat the changes on live (safest)
If you tested updates or a few settings, simply apply the same updates on the live site. Its orders, comments and new posts are never touched.
Option B: Replace live with the staging copy
For big changes (a redesign, many plugins), you can clone the staging site back over the live domain:
- On the live site, create a full backup in the Backups tab.
- On the staging site, open Clone, select
example.comas the Target and choose a new database. - Click Clone Website.
This replaces the live site with the staging copy. Anything that happened on live since you created the staging site - new orders, comments, form entries, user accounts - is lost. Don't use this for active stores; use Option A instead.
Refreshing or Removing Staging
- To start fresh from the current live site, clone live to the staging subdomain again.
- To remove staging, open it in WP Manager → Remove, then delete the subdomain on the Domains page.
Related
- Step 1: Add a Staging Subdomain
- Step 2: Clone the Live Site
- Step 3: Keep the Staging Site Private
- Stop emails from staging
- Step 4: Test Your Changes
- Step 5: Push Changes to the Live Site
- Option A: Repeat the changes on live (safest)
- Option B: Replace live with the staging copy
- Refreshing or Removing Staging
- Related