How to Install a Free Hosting Control Panel on Oracle Cloud (Always Free Tier)
Oracle Cloud's Always Free tier includes an Ampere A1 ARM instance with up to 4 CPU cores and 24 GB of RAM at no cost. OpenPanel supports ARM64, and together with the free OpenPanel Community edition you get a complete hosting control panel for free.
This guide covers creating the instance, opening the right ports (Oracle blocks almost everything by default), and installing OpenPanel.
Prerequisites
- An Oracle Cloud account (a credit card is required for verification, but Always Free resources are not charged).
- An SSH key pair.
Step 1: Create the Instance
- In the Oracle Cloud Console, go to Compute → Instances → Create instance.
- Image: click Change image and select Canonical Ubuntu 24.04 (recommended) or Oracle Linux 9.
- Shape: click Change shape → Ampere → VM.Standard.A1.Flex.
- Set OCPUs and memory - the Always Free limit is 4 OCPUs and 24 GB RAM in total. For a single OpenPanel server, use all of it (4 OCPU / 24 GB), or at least 2 OCPU / 12 GB.
- Networking: keep Assign a public IPv4 address enabled.
- SSH keys: upload or paste your public key.
- Boot volume: optionally increase the size - the Always Free tier includes 200 GB of block storage in total.
- Click Create.
Free Ampere capacity is often exhausted in popular regions and you may see "Out of capacity for shape VM.Standard.A1.Flex". Try a different availability domain, try again later, or upgrade the account to Pay As You Go - Always Free resources stay free, but PAYG accounts get priority for capacity.
The Always Free VM.Standard.E2.1.Micro (AMD) instance has only 1 GB of RAM. It passes the installer's minimum check, but it is too small for real use - use the Ampere A1 shape instead.
Step 2: Open Ports in the Security List
Oracle Cloud blocks all inbound traffic except SSH (port 22) at the network level. You must open the ports OpenPanel uses:
- Open the instance, click the Subnet link, then open the subnet's Security List (usually Default Security List for vcn-...).
- Click Add Ingress Rules and add a rule for each port with Source CIDR
0.0.0.0/0:
| Service | Protocol | Destination port |
|---|---|---|
| Websites | TCP | 80, 443 |
| Websites (HTTP/3) | UDP | 443 |
| OpenPanel / OpenAdmin | TCP | 2083, 2087 |
| DNS | TCP and UDP | 53 |
| phpMyAdmin | TCP | 2053, 8888 |
| Email (Enterprise) | TCP | 25, 143, 465, 587, 993 |
| FTP (Enterprise) | TCP | 21, 21000-21010 |
| User services | TCP | 32768-60999 |
You can enter a range like 2083,2087 or 21000-21010 in a single rule.
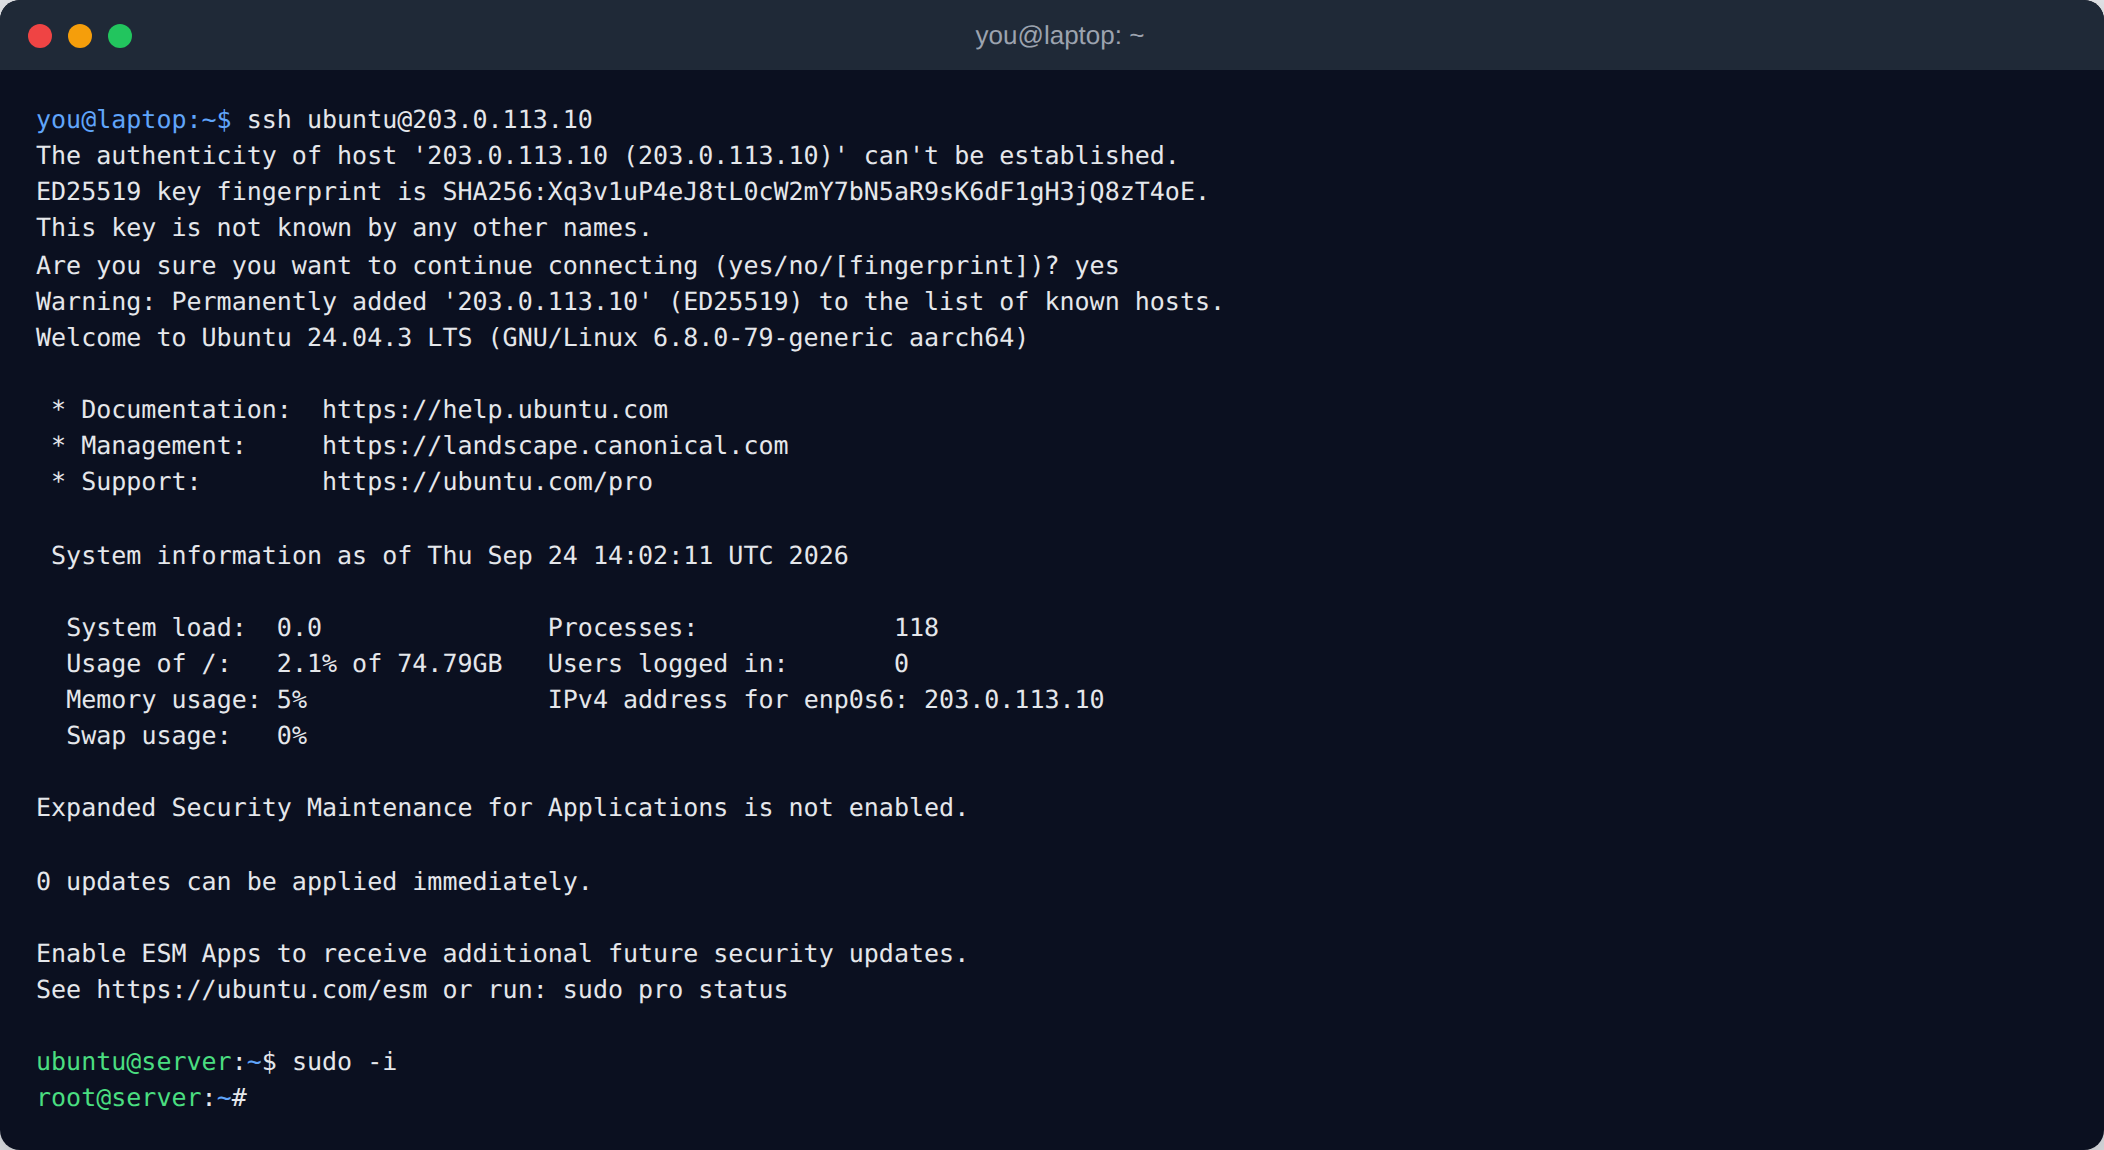
Step 3: Connect via SSH
Oracle images log you in as a regular user: ubuntu on Ubuntu, opc on Oracle Linux.
ssh ubuntu@your-instance-ip
sudo -i
Step 4: Remove Oracle's Default Firewall Rules
Besides the security list, Oracle images come with their own host firewall that rejects everything except SSH. OpenPanel installs Sentinel Firewall (CSF) to manage the firewall, so remove the default rules first.
On Ubuntu:
iptables -P INPUT ACCEPT
iptables -P FORWARD ACCEPT
iptables -F
netfilter-persistent save
On Oracle Linux:
systemctl disable --now firewalld
Only do this right before installing OpenPanel. Until CSF is installed, the only protection is the Oracle security list from Step 2.
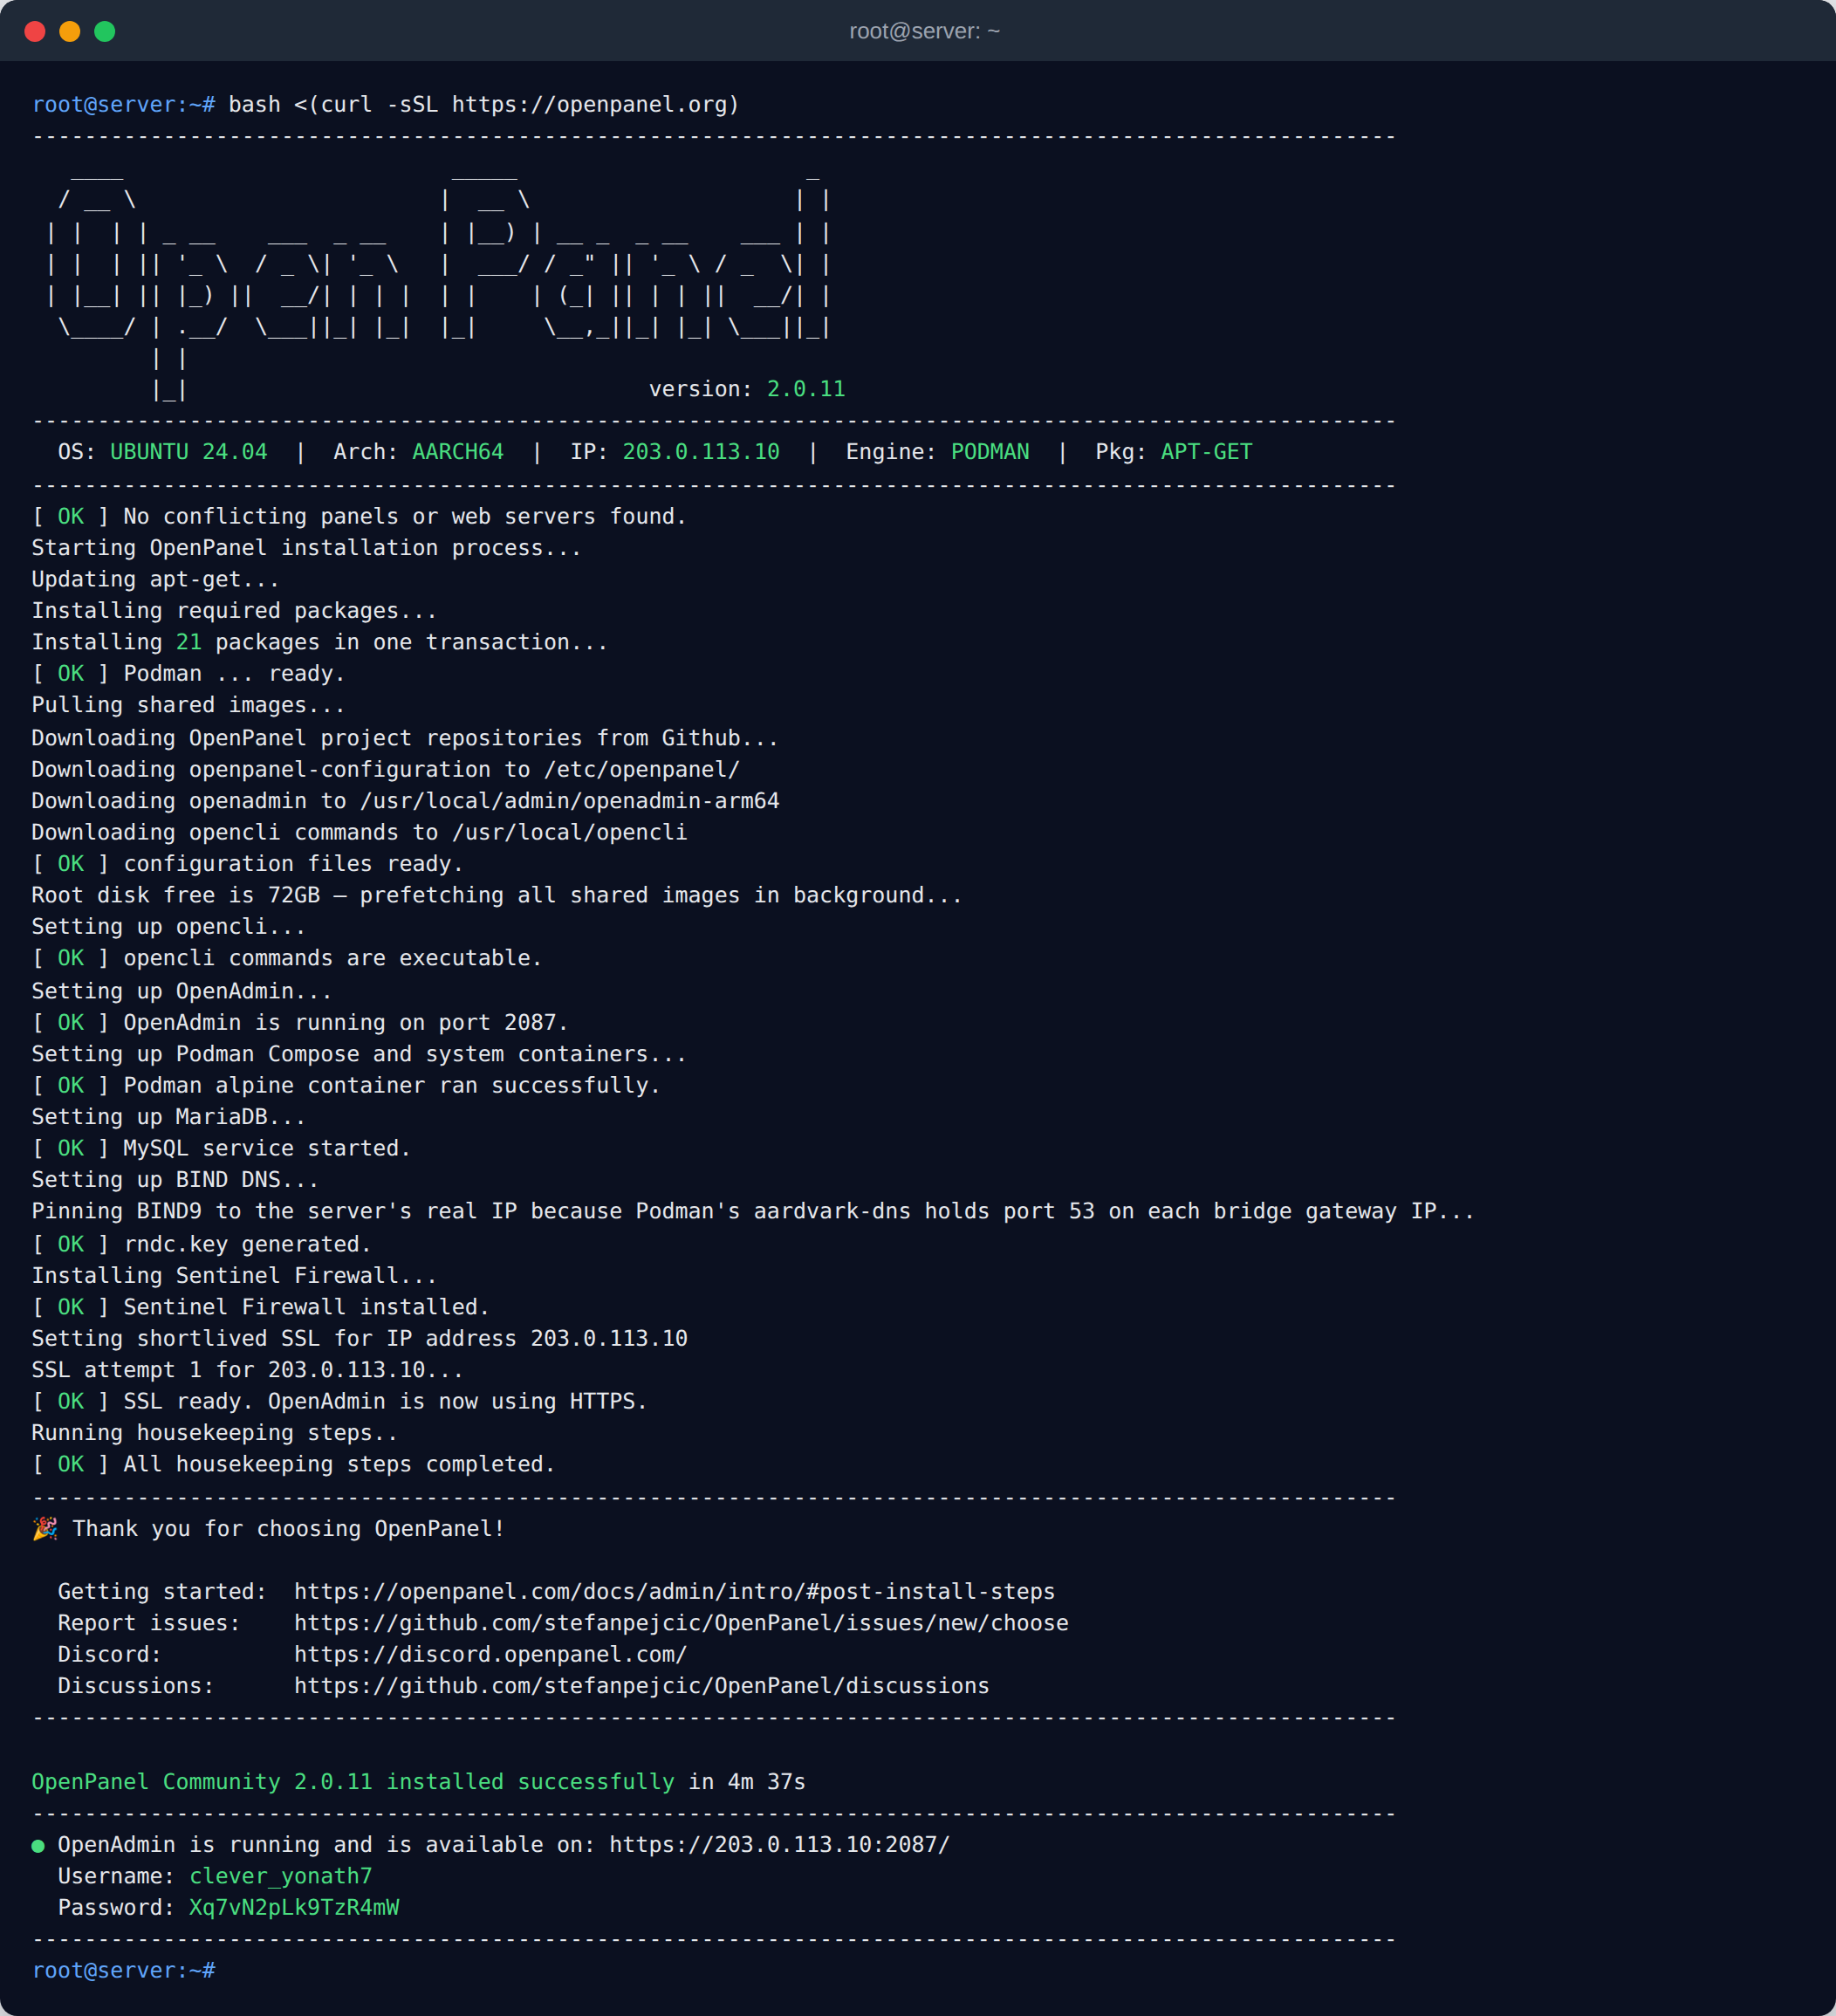
Step 5: Run the OpenPanel Installer
bash <(curl -sSL https://openpanel.org)
The installer detects the ARM64 (AArch64) CPU automatically. Installation takes about 5 minutes; when it finishes, it prints the OpenAdmin URL, username and password.
For optional flags (domain, admin username, ports), use the install command generator.
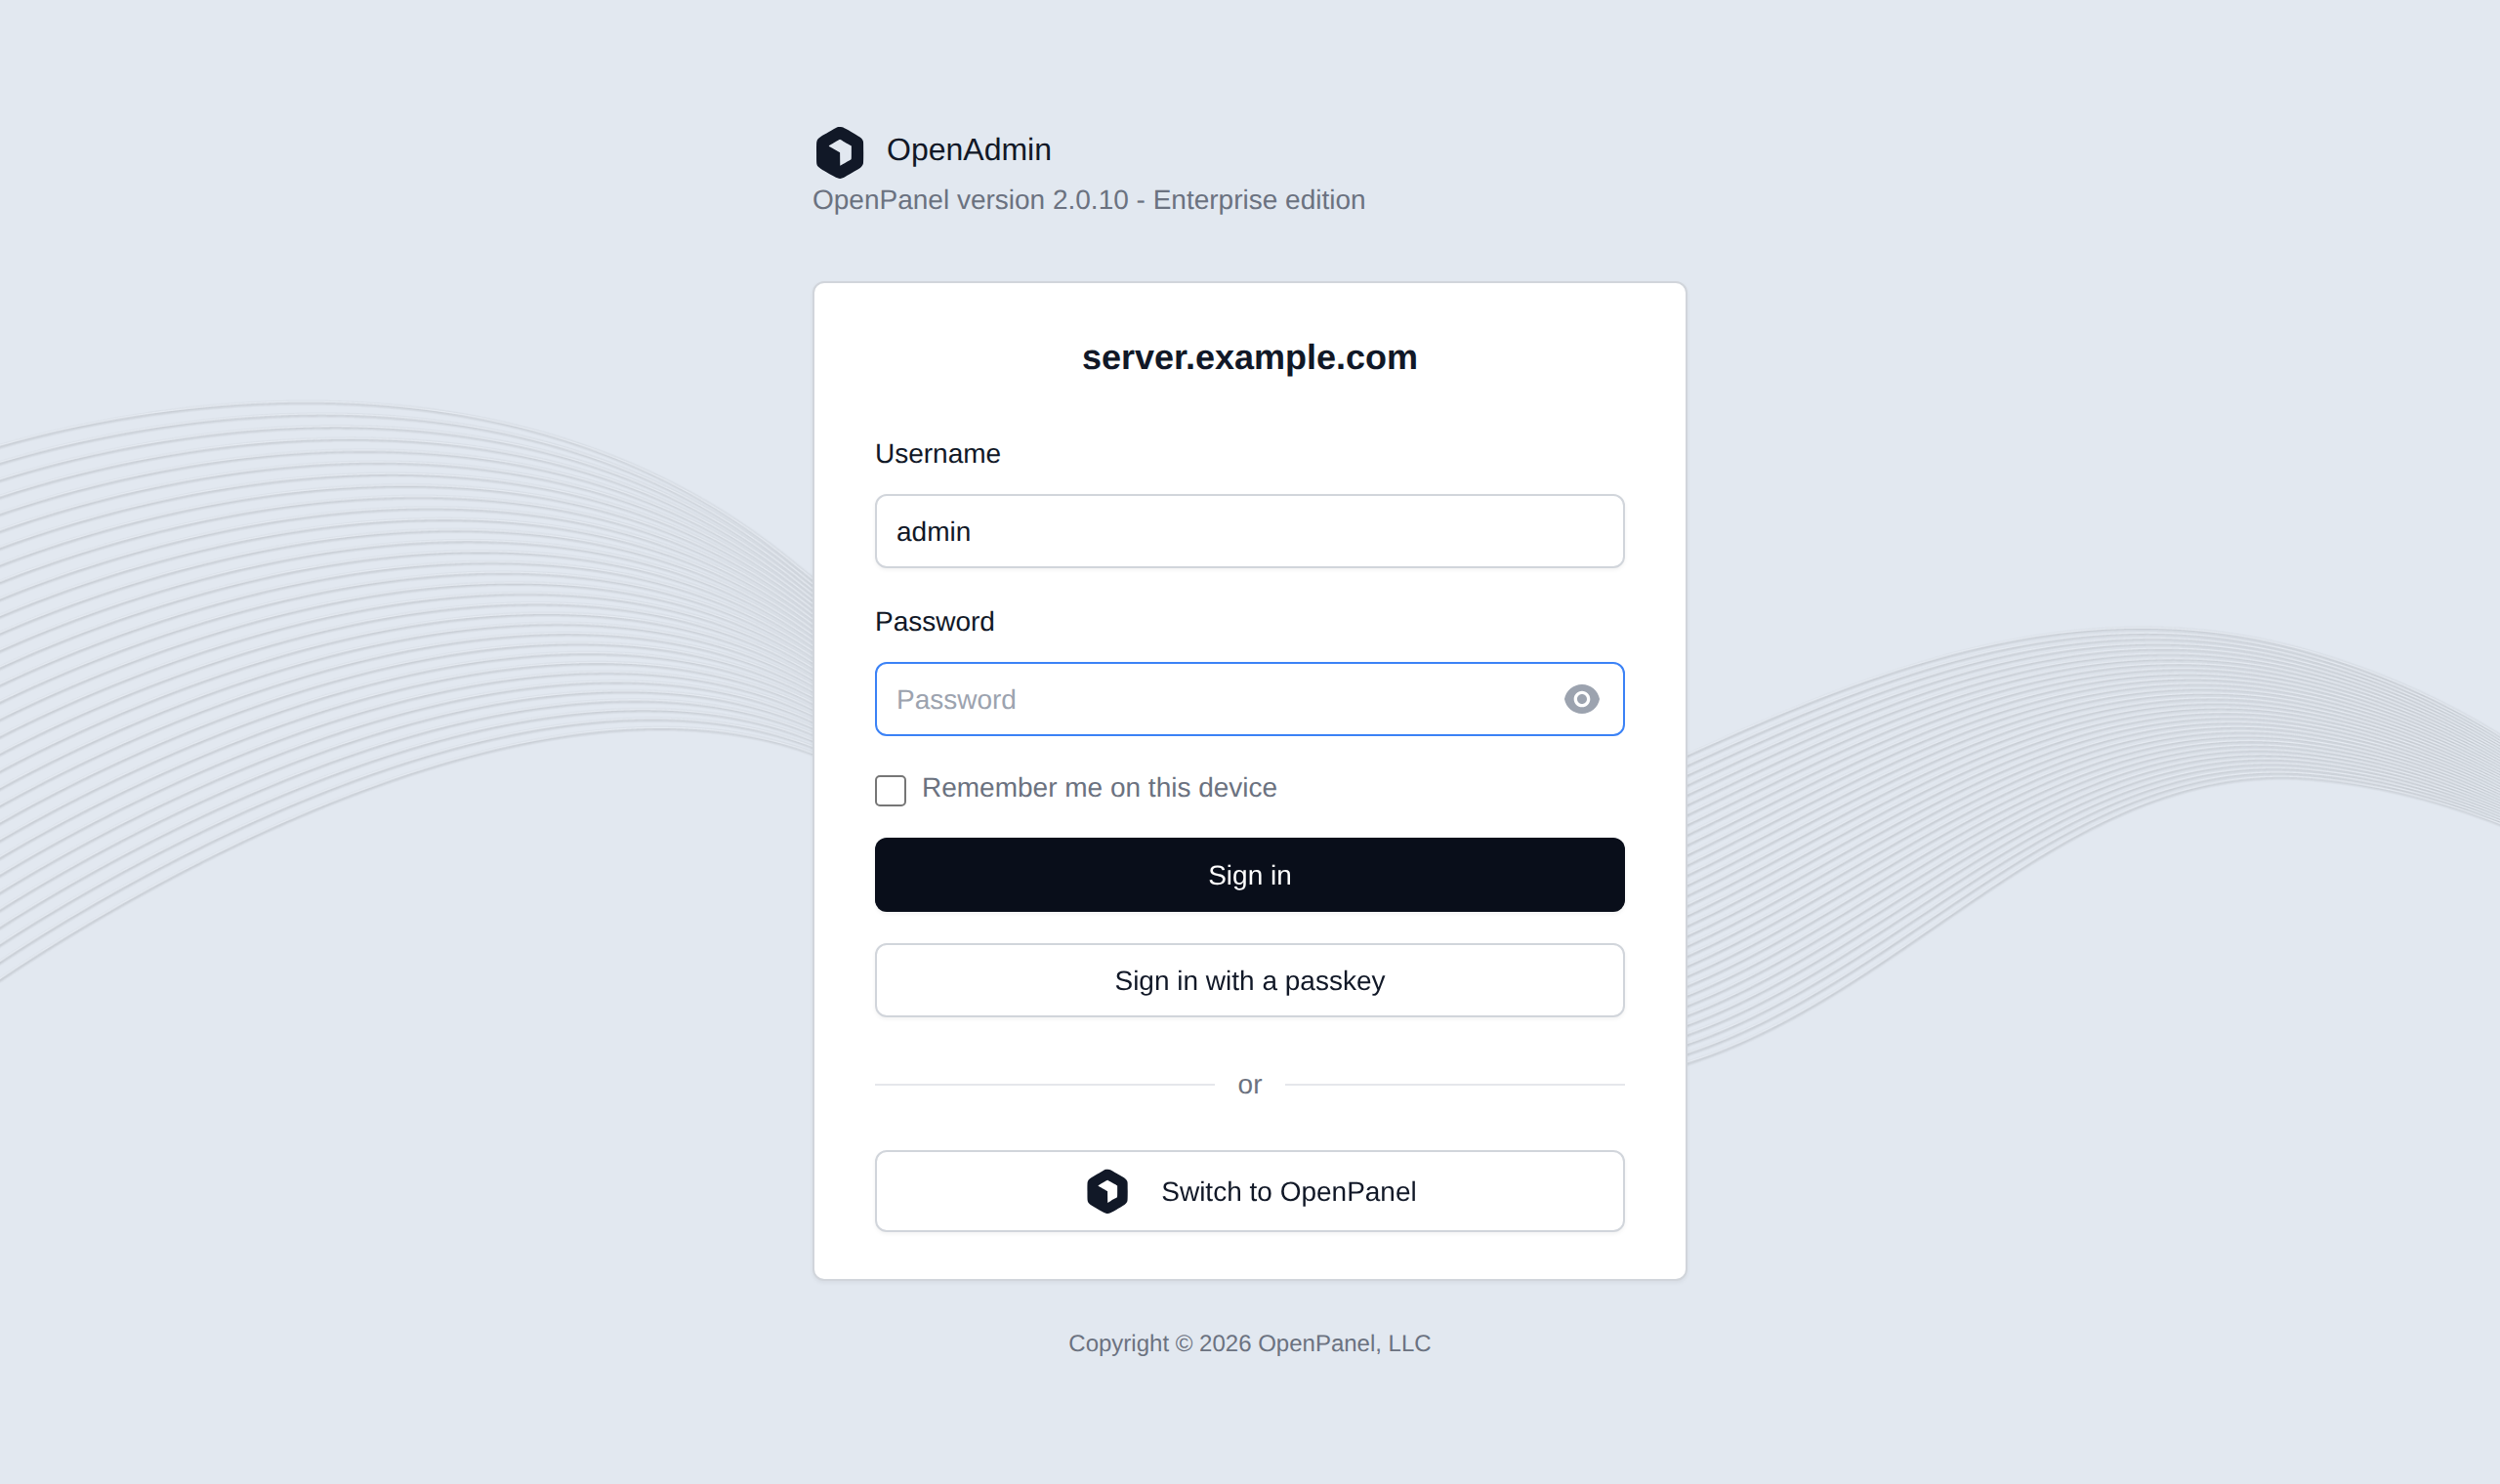
Step 6: Log in to OpenAdmin
https://your-instance-ip:2087
Log in with the printed credentials and continue with the post-install steps.
Oracle Cloud Limitations
Outgoing Email Is Blocked
Oracle Cloud blocks outgoing traffic on port 25 by default, and custom reverse DNS is not self-service. Sending email directly from the instance is therefore not practical. Websites can still send email through an external SMTP relay - see Port 25 Blocked: How to Use an SMTP Relay.
Idle Instances Can Be Reclaimed
Oracle may reclaim Always Free instances that stay idle for 7 days (very low CPU, network and memory usage). A server hosting real websites is usually busy enough, but a test server may be stopped. Upgrading to Pay As You Go removes this policy, and Always Free resources remain free.
Keep the Same Public IP
The default public IP is ephemeral and is lost if the instance is terminated. For a production server, attach a reserved public IP (Networking → IP Management) so your DNS records don't break.
Next Steps
- Prerequisites
- Step 1: Create the Instance
- Step 2: Open Ports in the Security List
- Step 3: Connect via SSH
- Step 4: Remove Oracle's Default Firewall Rules
- Step 5: Run the OpenPanel Installer
- Step 6: Log in to OpenAdmin
- Oracle Cloud Limitations
- Outgoing Email Is Blocked
- Idle Instances Can Be Reclaimed
- Keep the Same Public IP
- Next Steps