How to Self-Host Nextcloud on Your Own Server
Nextcloud is an open-source alternative to Google Drive, Dropbox and OneDrive - file sync and sharing, calendars, contacts and more, on your own server. OpenPanel installs it in one click and handles the domain, database and SSL for you.
Requirements
- OpenPanel Community or Enterprise - the Nextcloud module must be enabled for your hosting plan.
- A domain or subdomain, e.g.
cloud.example.com, pointed to the server. - A PHP version supported by the Nextcloud release you install (PHP 8.2 or 8.3 for current releases).
- Enough disk space for your files - check your plan's disk quota.
Step 1: Add the Domain
Add cloud.example.com in OpenPanel → Domains (Add a new domain) and make sure it resolves to the server so SSL is issued.
Step 2: Install Nextcloud
- Go to OpenPanel → Websites → Install App and click Install Nextcloud.
- Select the domain and leave the subfolder empty to install at the root.
- Choose the Nextcloud version - Latest is recommended.
- Enter the admin username, password (leave empty to generate one) and email.
- Start the installation.
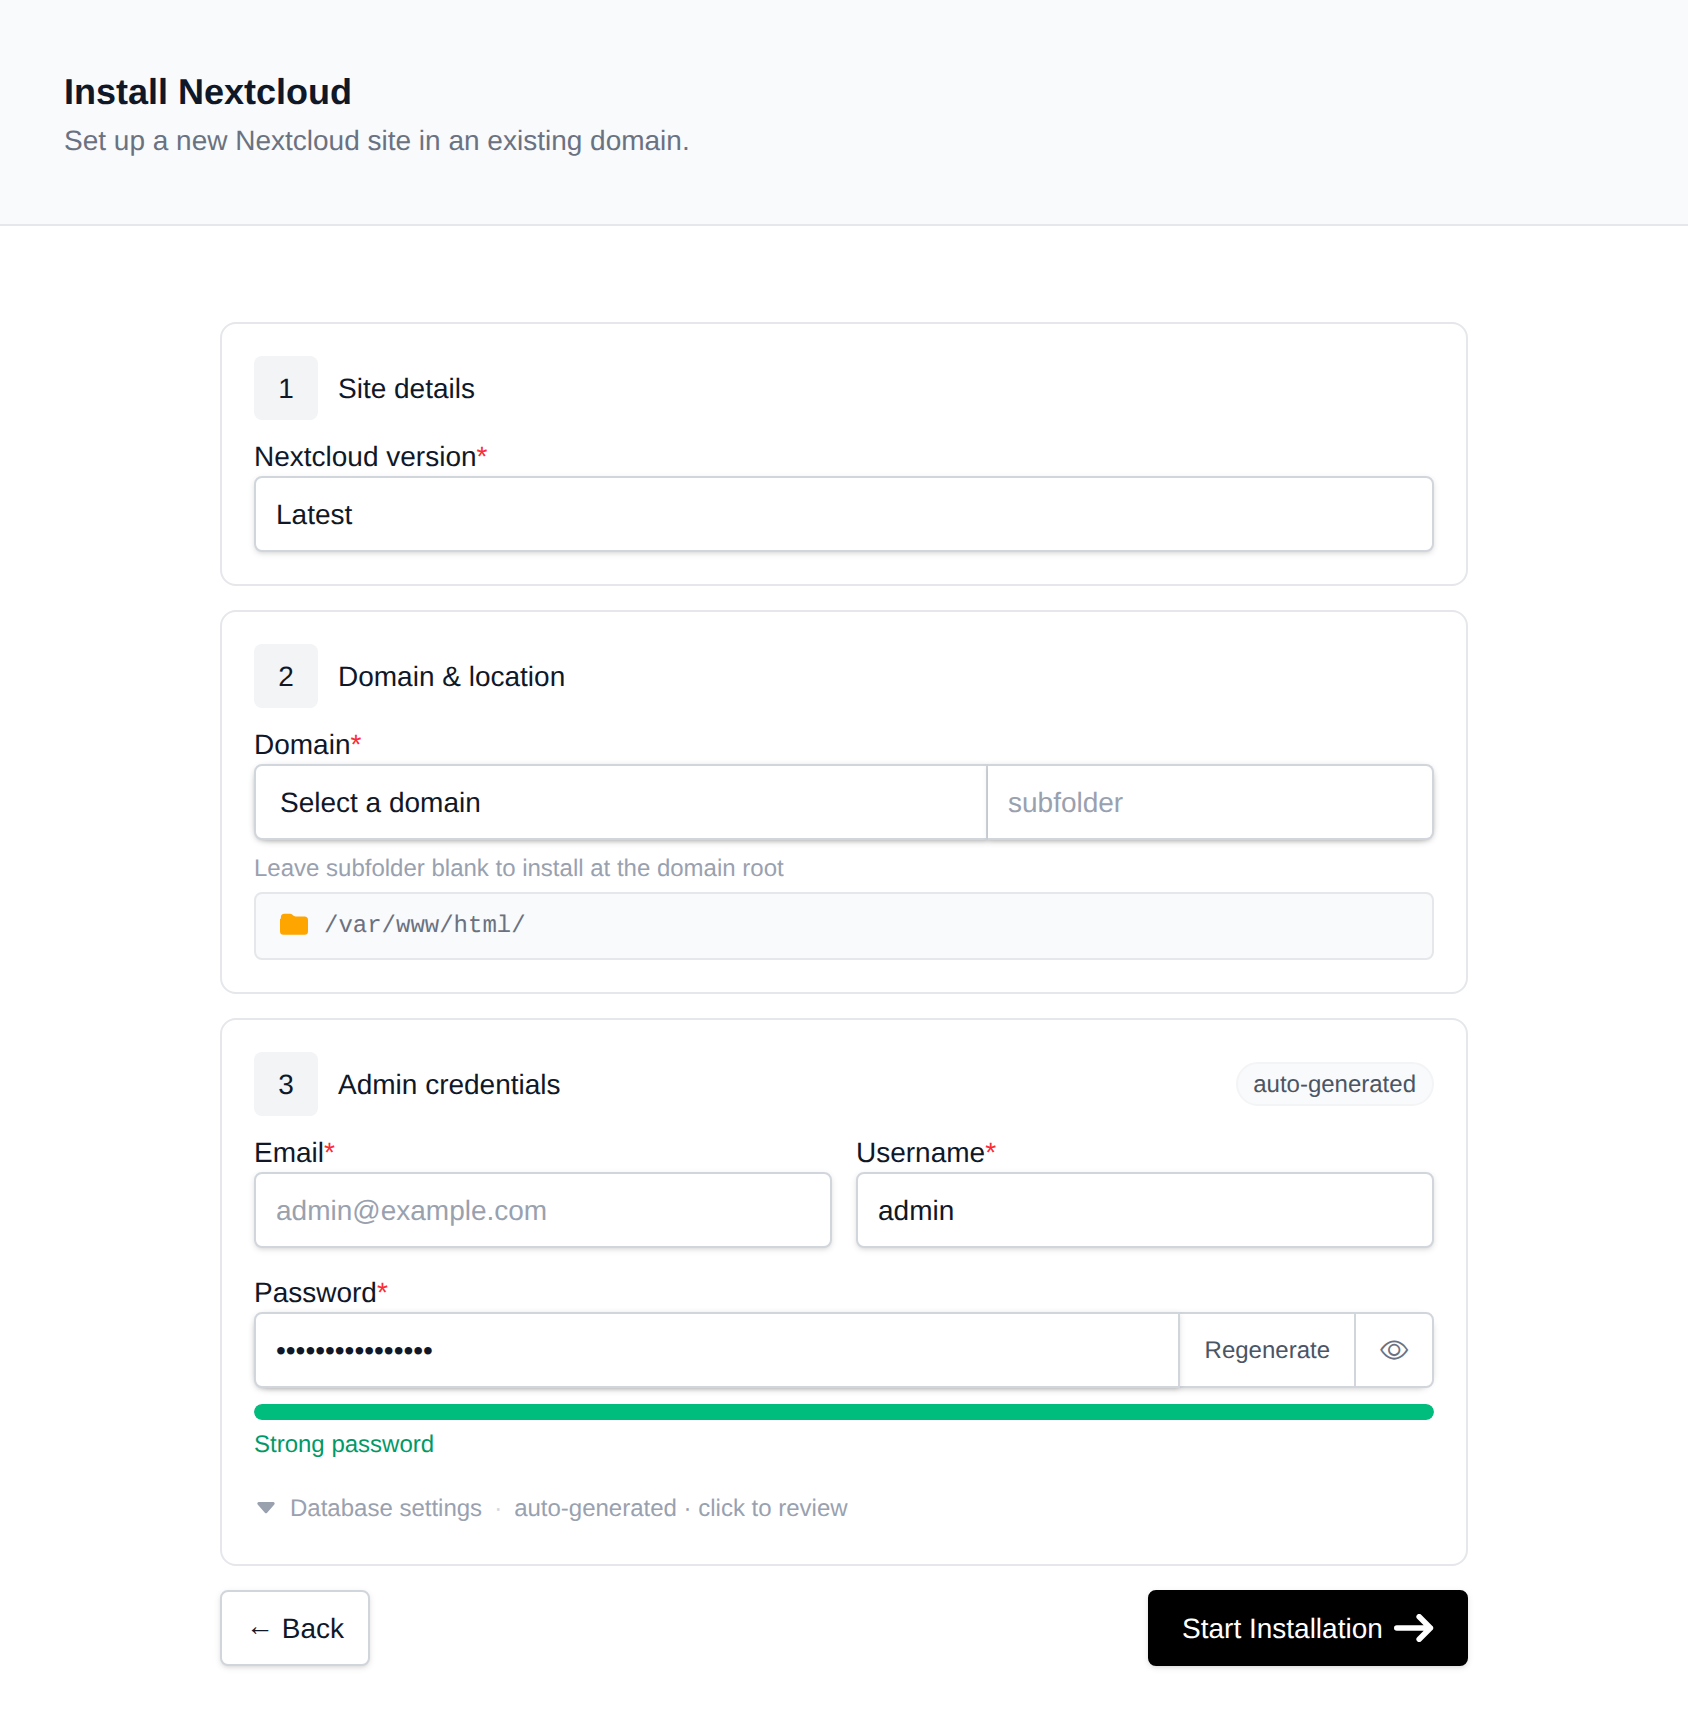
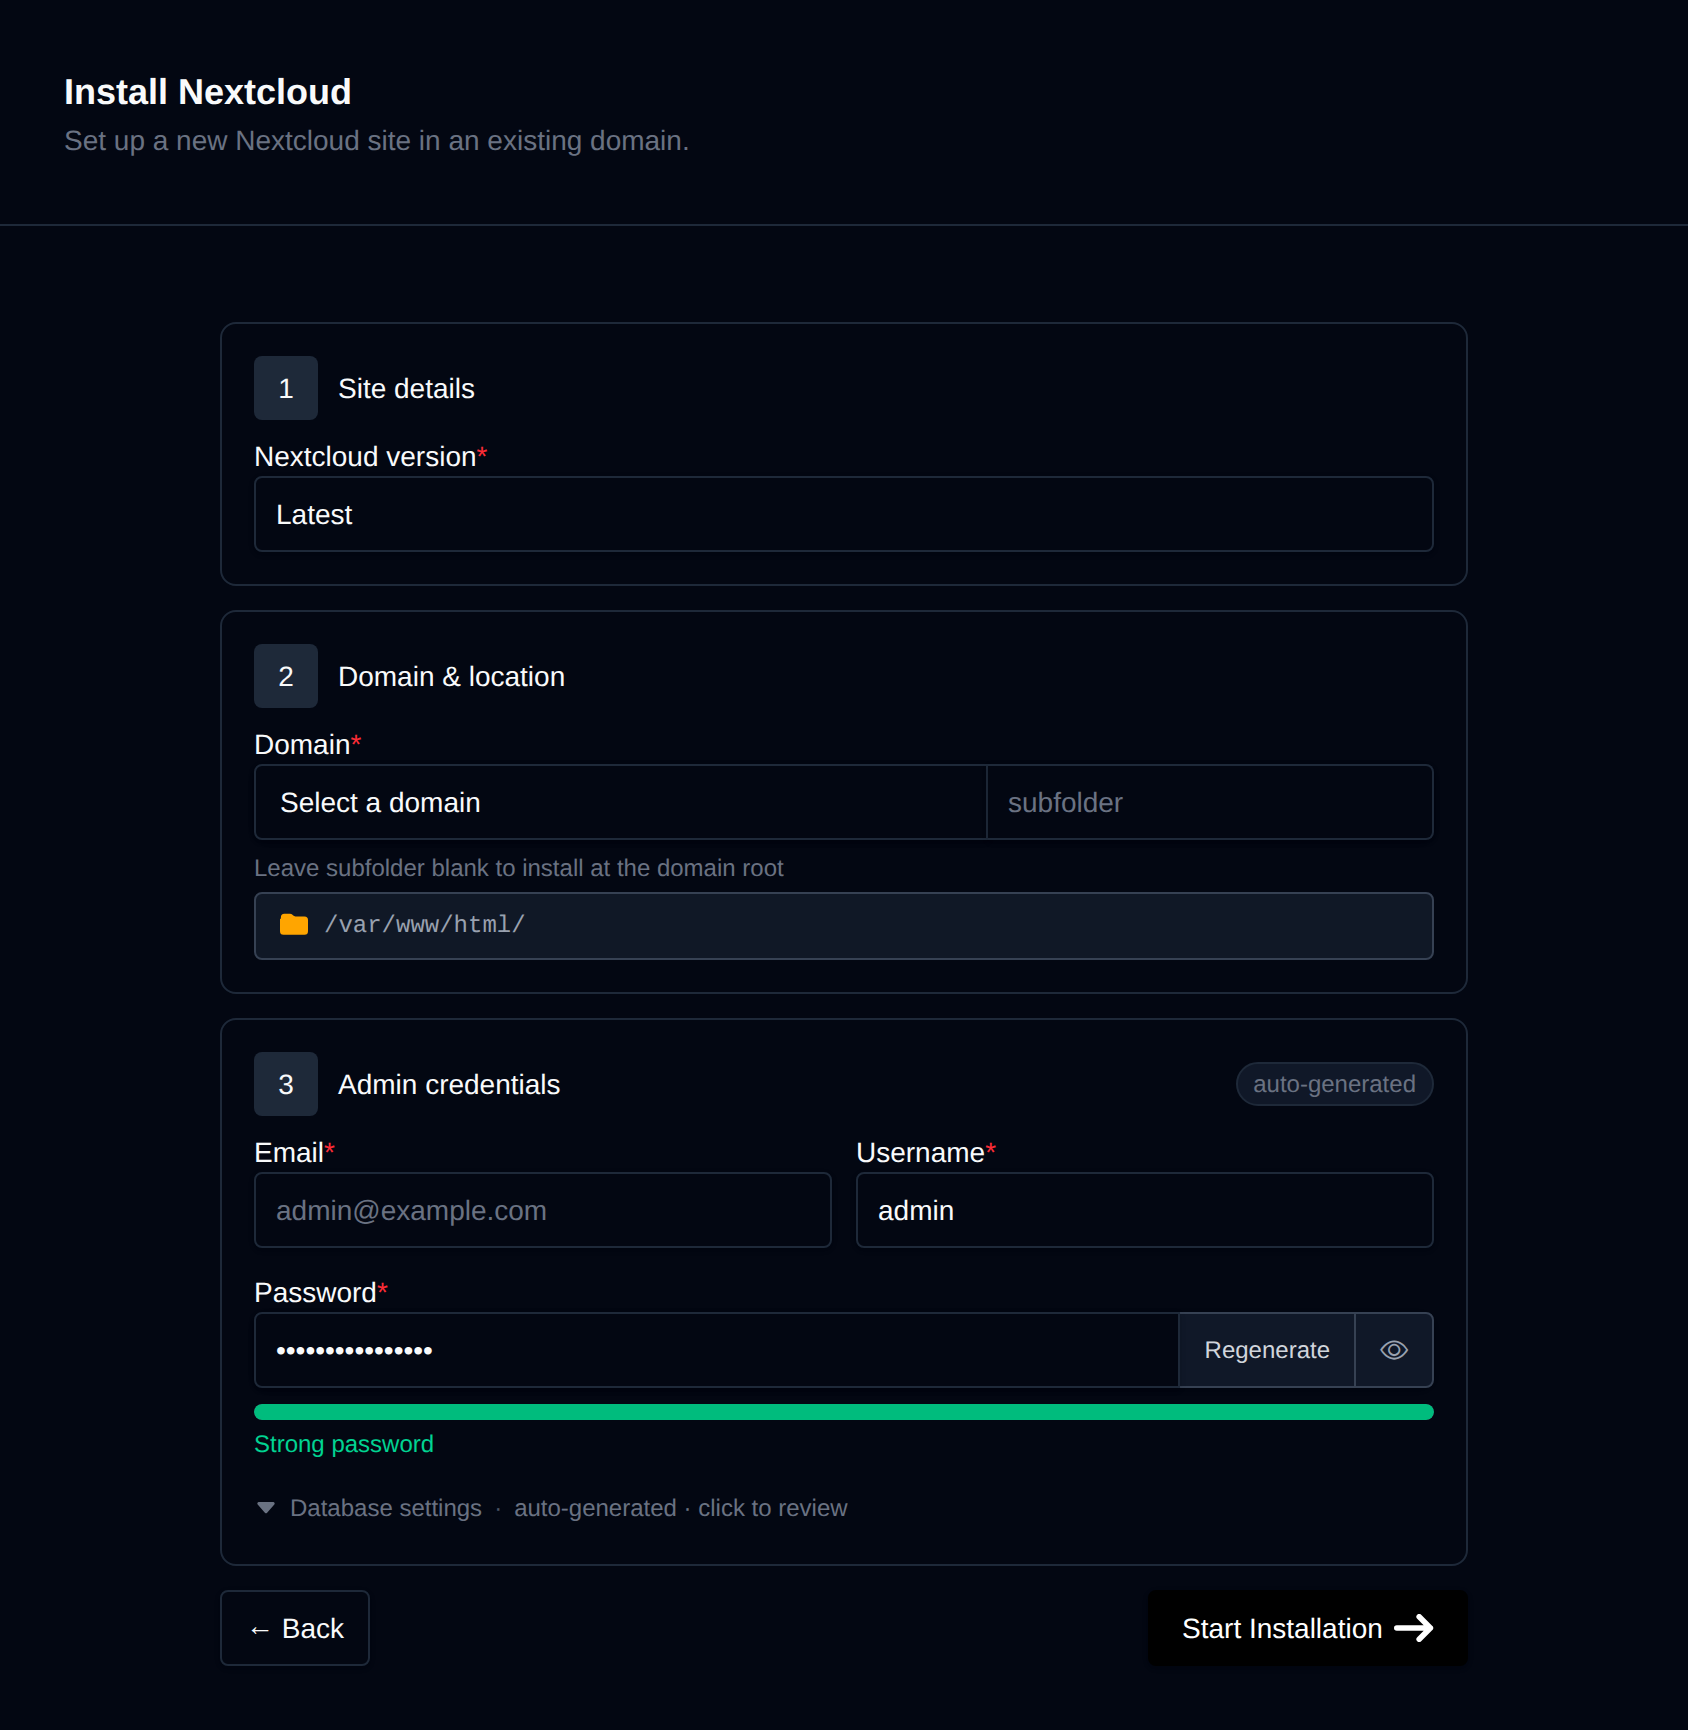
OpenPanel downloads the official release, creates a dedicated MySQL/MariaDB database, runs Nextcloud's installer, and sets trusted_domains and overwrite.cli.url to your domain.
Open https://cloud.example.com and log in - or use Login as Admin on the app's manage page.
Step 3: Recommended Settings
After installing, open Administration settings → Overview in Nextcloud. It lists any warnings; the fixes below cover the common ones.
Background jobs (cron)
Nextcloud should run its background jobs every 5 minutes with cron instead of on page loads (AJAX).
- In Nextcloud, go to Administration settings → Basic settings and select Cron (Recommended).
- In OpenPanel → Cron Jobs, create a job:
- Container: the domain's PHP container, e.g.
php-fpm-8.3 - Schedule: Every 5 Minutes
- Command:
php -f /var/www/html/cloud.example.com/cron.php
- Container: the domain's PHP container, e.g.
See Cron Jobs.
PHP memory and upload limits
Nextcloud recommends at least 512 MB of PHP memory. For large uploads, raise the upload limits too. In OpenPanel → PHP → PHP.INI Editor, set for the domain's PHP version:
memory_limit = 512M
upload_max_filesize = 2G
post_max_size = 2G
max_execution_time = 3600
See How to increase PHP limits. The desktop and mobile apps upload large files in chunks, so these limits mostly affect uploads through the browser.
Redis caching
Enable the Redis service in OpenPanel → Cache → Redis, then add this to config/config.php:
'memcache.local' => '\OC\Memcache\APCu',
'memcache.distributed' => '\OC\Memcache\Redis',
'memcache.locking' => '\OC\Memcache\Redis',
'redis' => [
  'host' => 'redis',
  'port' => 6379,
],
Use redis as the host, not localhost - see Redis. If APCu isn't available, remove the memcache.local line and use Redis for it instead.
Connecting Clients
- Desktop: install the Nextcloud desktop client and log in with
https://cloud.example.com. - Mobile: install the Nextcloud app for Android or iOS.
- Calendar and contacts: use the CalDAV/CardDAV URL
https://cloud.example.com/remote.php/dav.
Managing Nextcloud
Nextcloud appears in OpenPanel → Websites → Sites. Its manage page shows the version, PHP version, database details and folder size, and has:
- Login as Admin - one-click login without the password.
- Cache - clears the preview/thumbnail cache.
- Logs - the tail of
data/nextcloud.log. - Remove - uninstalls Nextcloud, including its database and files.
Update Nextcloud from Administration settings → Overview using the built-in updater, one major version at a time.
More: Nextcloud in OpenPanel.
Troubleshooting
| Problem | Fix |
|---|---|
| "Access through untrusted domain" | Add the domain to trusted_domains in config/config.php. |
| Uploads fail above a certain size | Raise upload_max_filesize and post_max_size, or use the desktop app. |
| "Last background job execution ran ... ago" | Create the cron job above and select Cron in Basic settings. |
| Slow file listing | Enable Redis caching. |