Cron Jobs
A cron job is a Linux command used to schedule tasks for future execution. It allows you to automate repetitive tasks, such as sending notifications or running scripts at specific intervals.
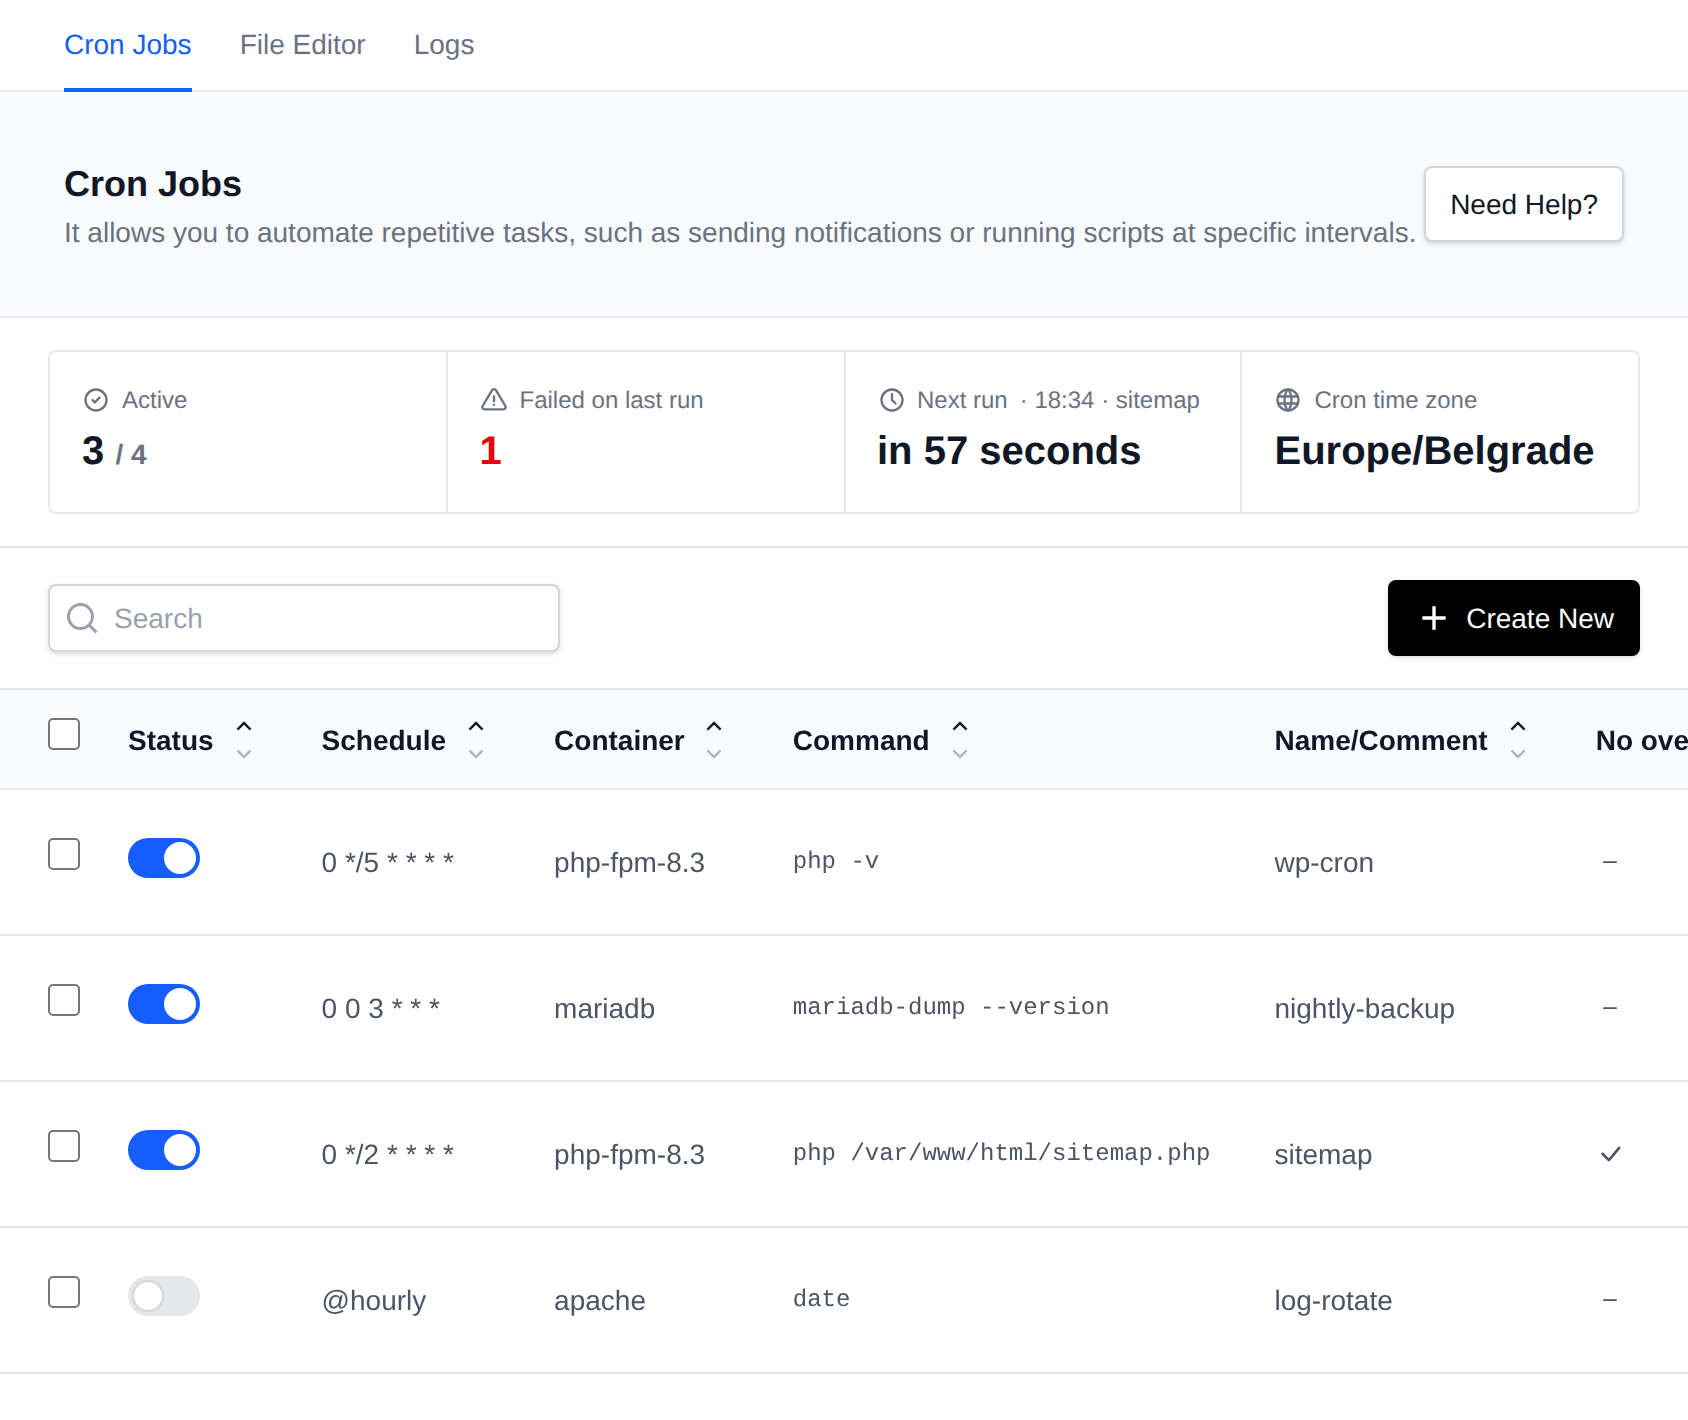
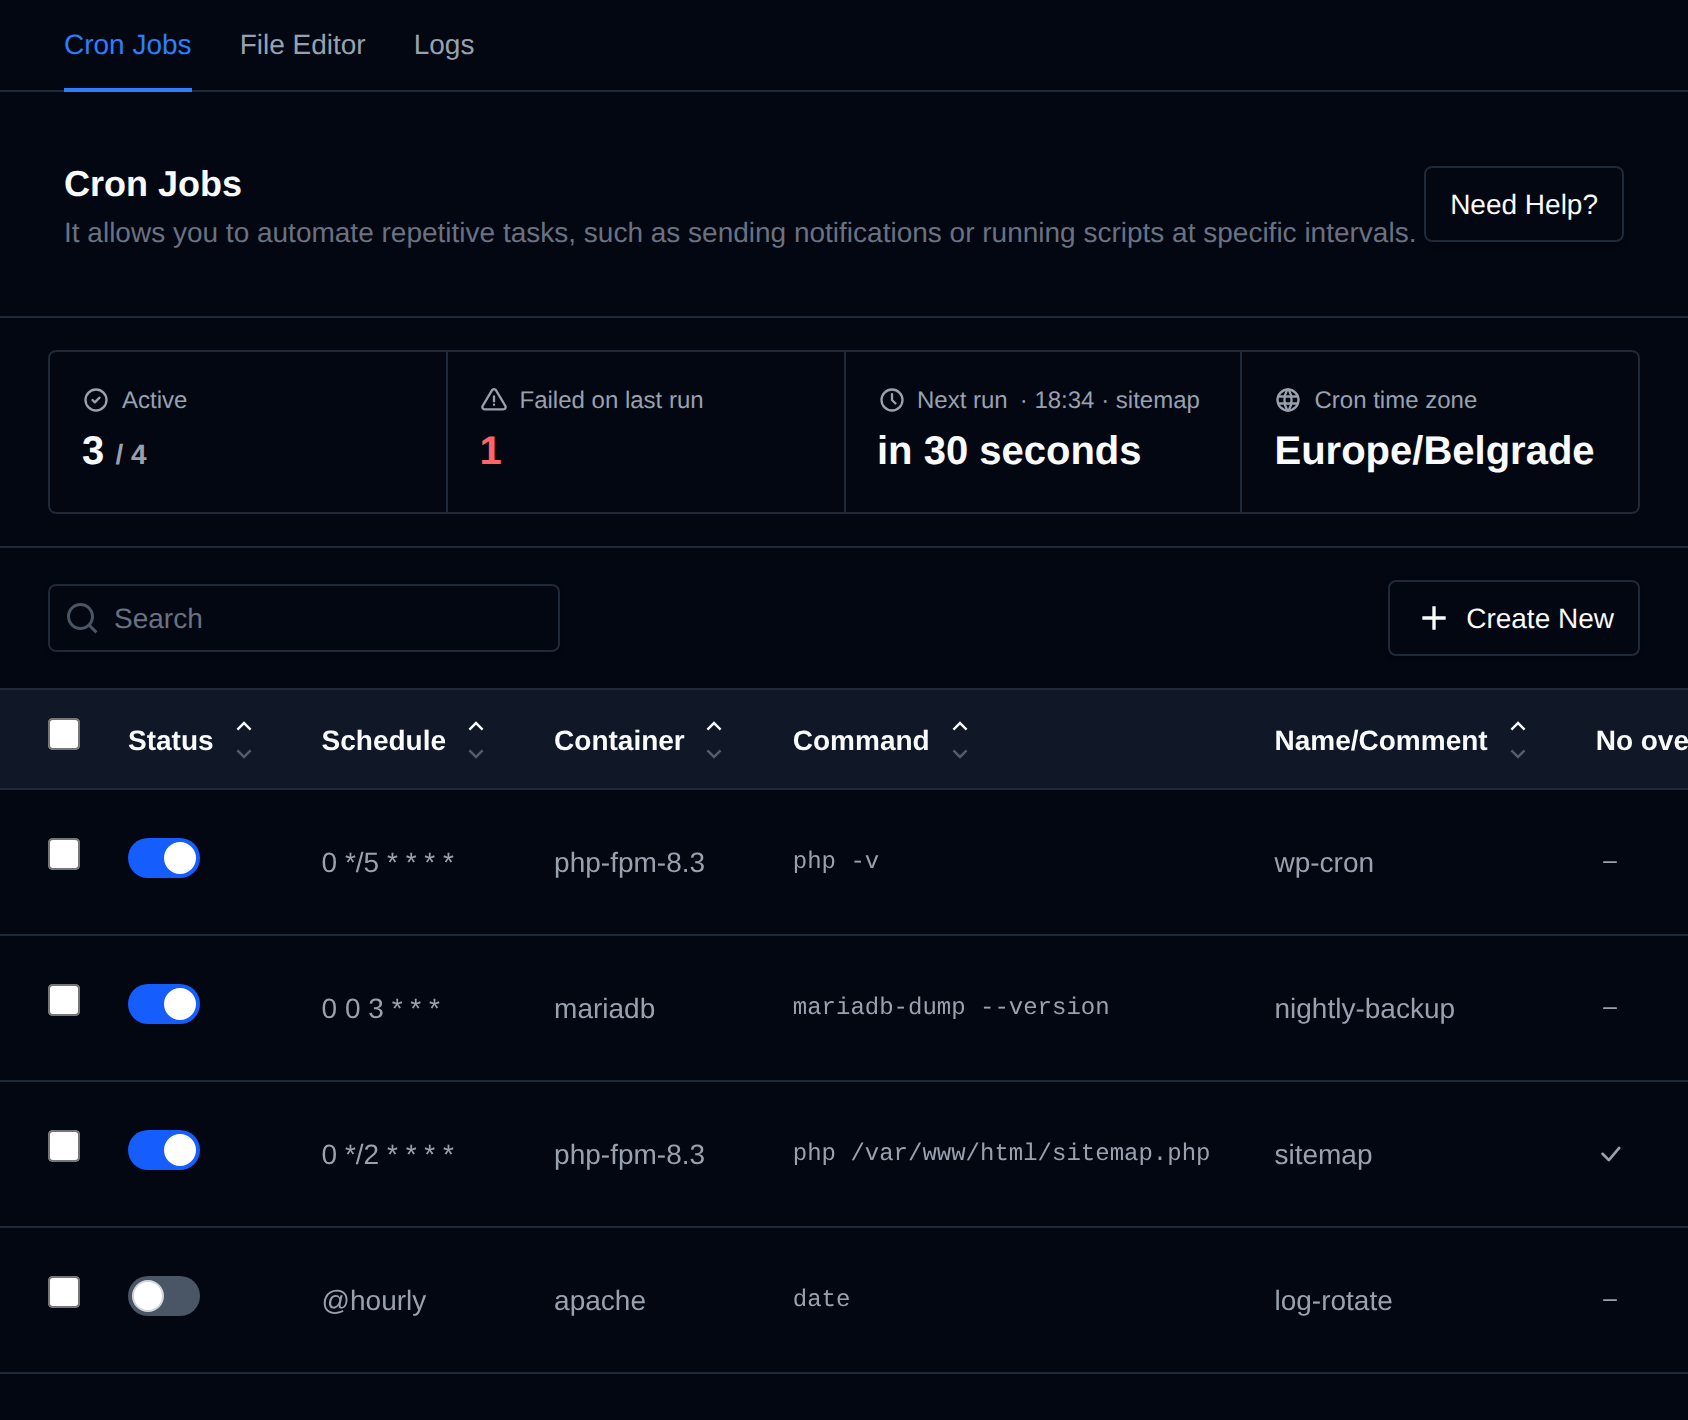
The Cron Jobs page has three tabs:
- Cron Jobs: the table of scheduled jobs, where you can create new jobs and edit, run, view the logs of or delete existing ones with the icons in the Actions column.
- File Editor: edit the file the jobs are stored in directly, see File Editor.
- Logs: the output of your cron jobs, see Logs.
Summary
Above the table, a summary shows at a glance how your cron jobs are doing:


- Active: how many jobs are enabled, out of all jobs.
- Failed on last run: how many enabled jobs ended with an error the last time they ran, read from the cron logs. It turns red when it's above zero.
- Next run: how long until the next job runs, with its time and name next to the label.
- Cron time zone: the time zone the schedules run in, see below.
Cron time zone
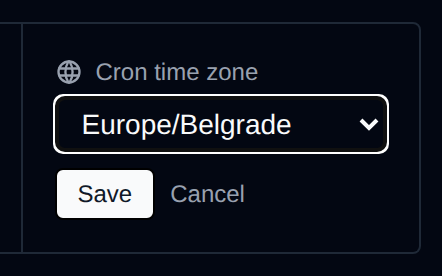
Schedules run in the time zone of the cron service, UTC by default. To change it, hover over Cron time zone and click the pencil icon, pick a time zone from the list and click Save.
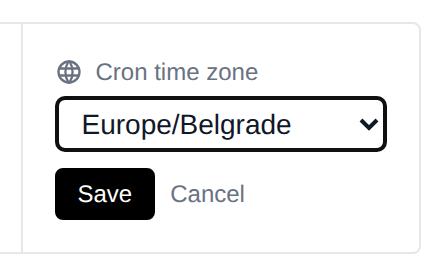
OpenPanel sets TZ on the cron service in your docker-compose.yml and restarts it, so from then on 0 0 3 * * * means 03:00 in that time zone. The next run in the summary is shown in the same zone. The same setting is available through the API: GET /api/crons/timezone returns the current zone and PUT /api/crons/timezone with {"timezone": "Europe/Belgrade"} changes it.
Enable / Disable
The Status column has a switch for each job: on means the job runs on its schedule, off means it's disabled. Click the switch to turn the job off or on.
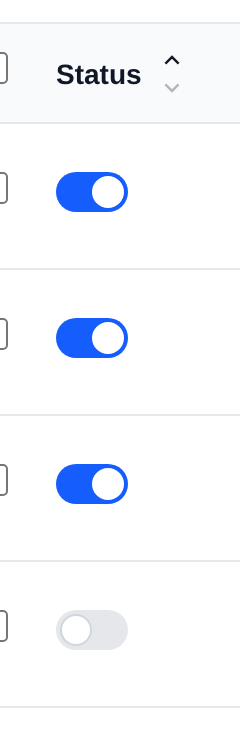
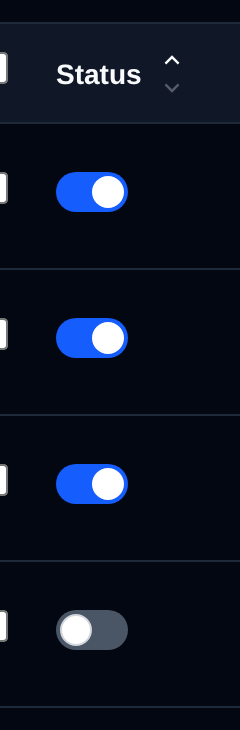
A disabled job stays in the list with its schedule, command and comment, it just doesn't run. In the File Editor its lines are commented out with #:
#[job-exec "log-rotate"]
#schedule = @hourly
#container = apache
#command = date
Editing a disabled job keeps it disabled. When no job is enabled, the cron service is stopped until you enable or add one.
Add
To create a new cron job click the Create New button and fill in the form:
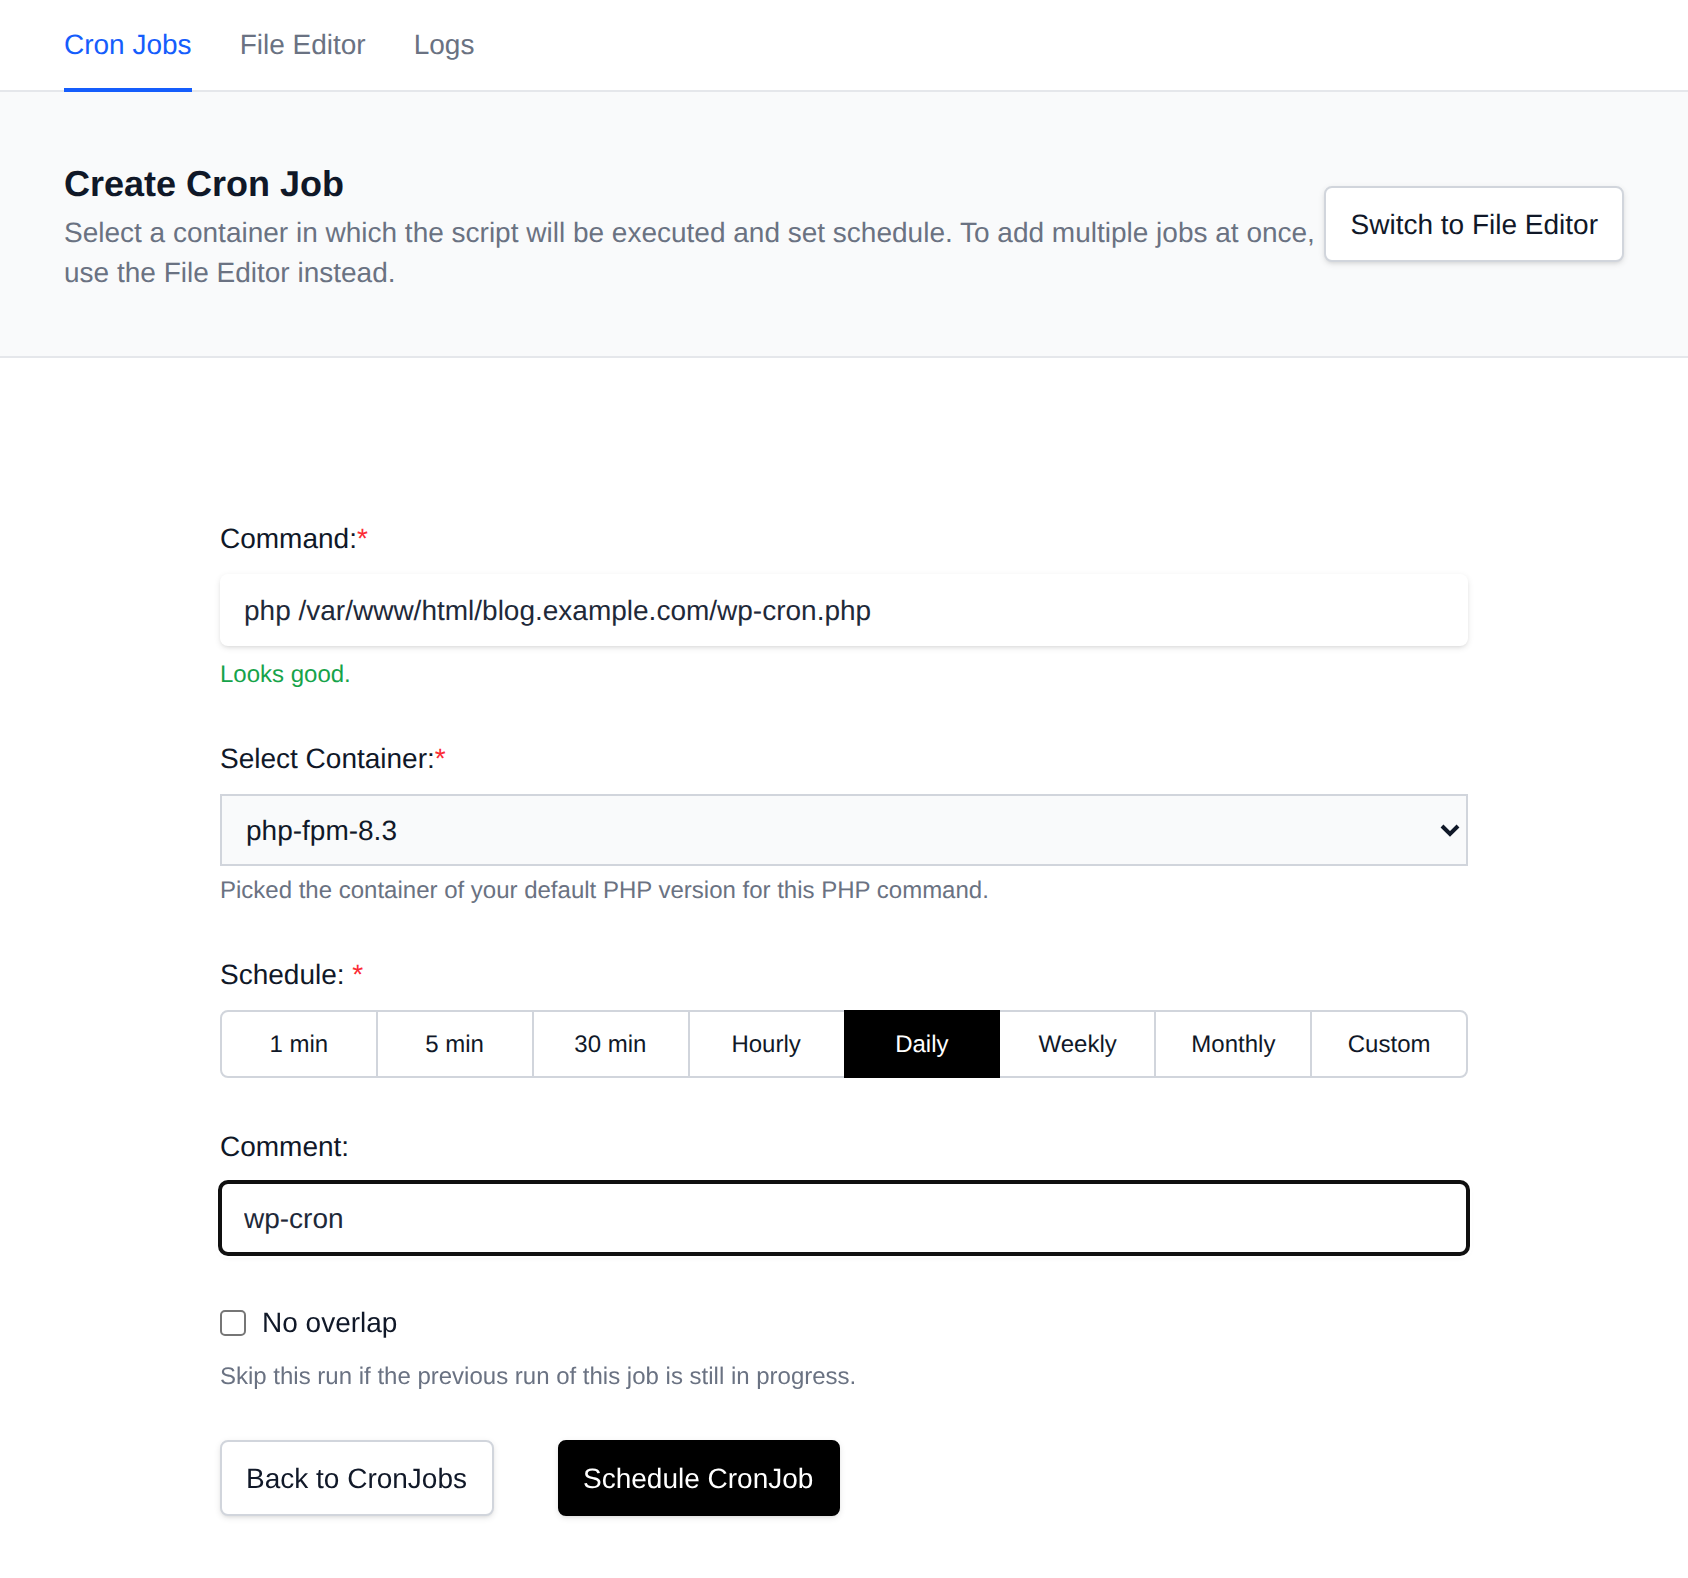
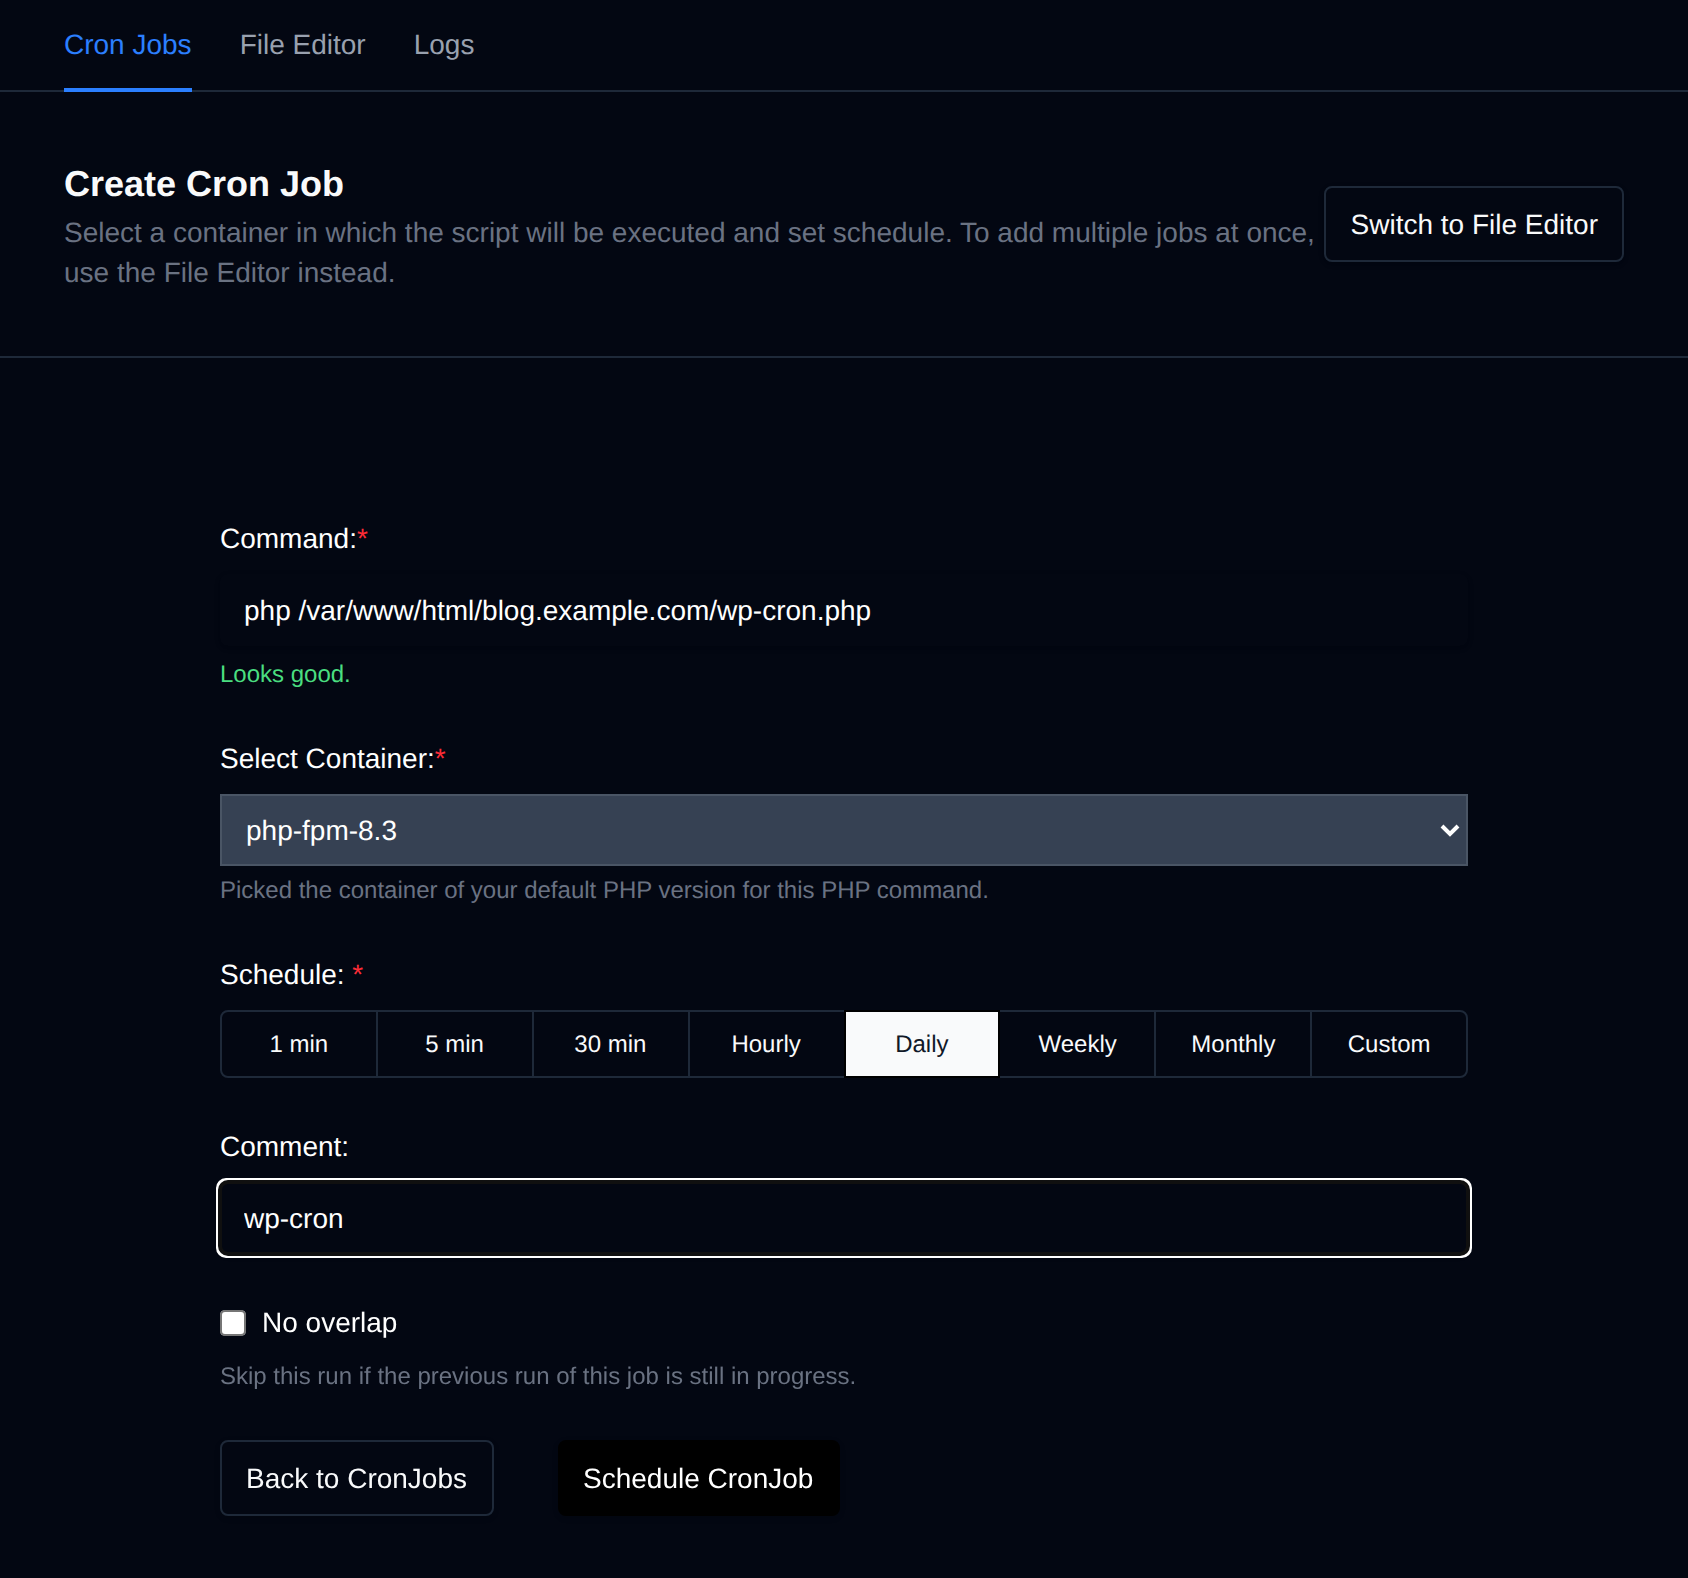
- Command: the script or command to run, for example
php /var/www/html/blog.example.com/wp-cron.php. - Select Container: the container the command runs in. Only the web server and database type you currently use are listed. When the command starts with
php,wp,composerorartisan, the container of your default PHP version is picked for you, and formysql,mysqldumpormariadb-dumpyour database container. You can still pick another one. - Schedule: pick how often it runs: 1 min, 5 min, 30 min, Hourly, Daily (the default), Weekly or Monthly. Pick Custom to enter your own cron expression.
- Comment: an optional name for the job, shown in the table and used to filter its logs.
- No overlap: skip a run while the previous run of this job is still going.
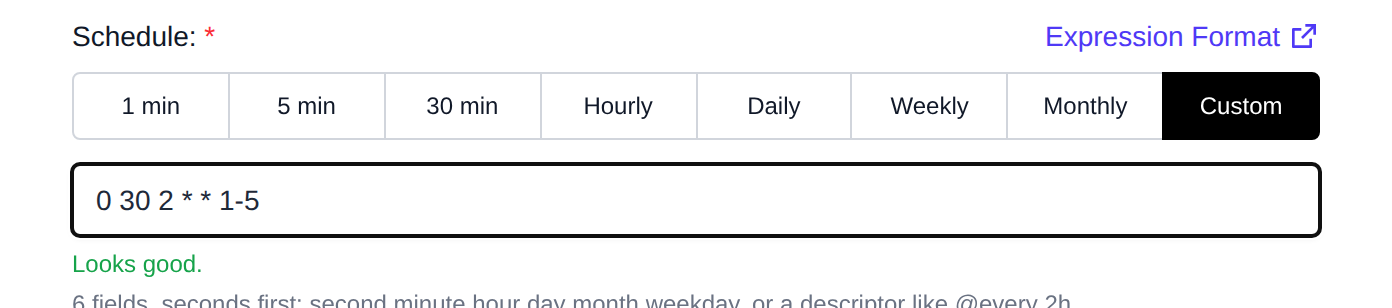
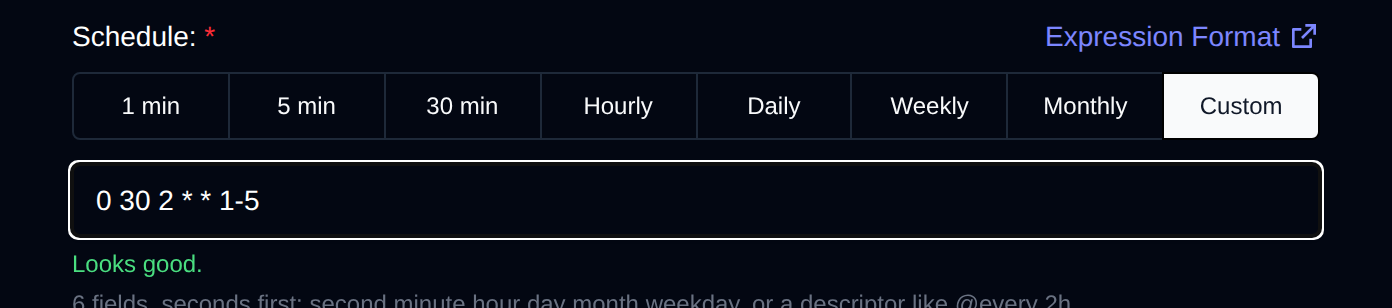
With Custom, you can set a standard cron expression representing set of times, using 6 space-separated fields:
| Field name | Mandatory? | Allowed values | Allowed special characters |
|---|---|---|---|
| Seconds | Yes | 0-59 | * / , - |
| Minutes | Yes | 0-59 | * / , - |
| Hours | Yes | 0-23 | * / , - |
| Day of month | Yes | 1-31 | * / , - ? |
| Month | Yes | 1-12 or JAN-DEC | * / , - |
| Day of week | Yes | 0-6 or SUN-SAT | * / , - ? |
There are 6 fields instead of the usual 5 found in standard Unix cron. This is because OpenPanel cron jobs also support scheduling by seconds.
An expression that isn't valid, like a minute of 99, is refused when you save. For more information, check CRON_Expression_Format
Edit
To edit an existing cron job, click the pencil icon in its Actions column. The row turns into editable fields.


To modify the schedule for when the script is executed you can use a tool such as https://crontab.guru/.
When you're done click the check mark icon to save your changes to the crons file.
Delete
To delete a cron job, click the trash icon in its Actions column. The icon turns red with a 5 second countdown: click it again within that time to remove the job. If you don't, it goes back to normal and nothing is removed.


Run Now
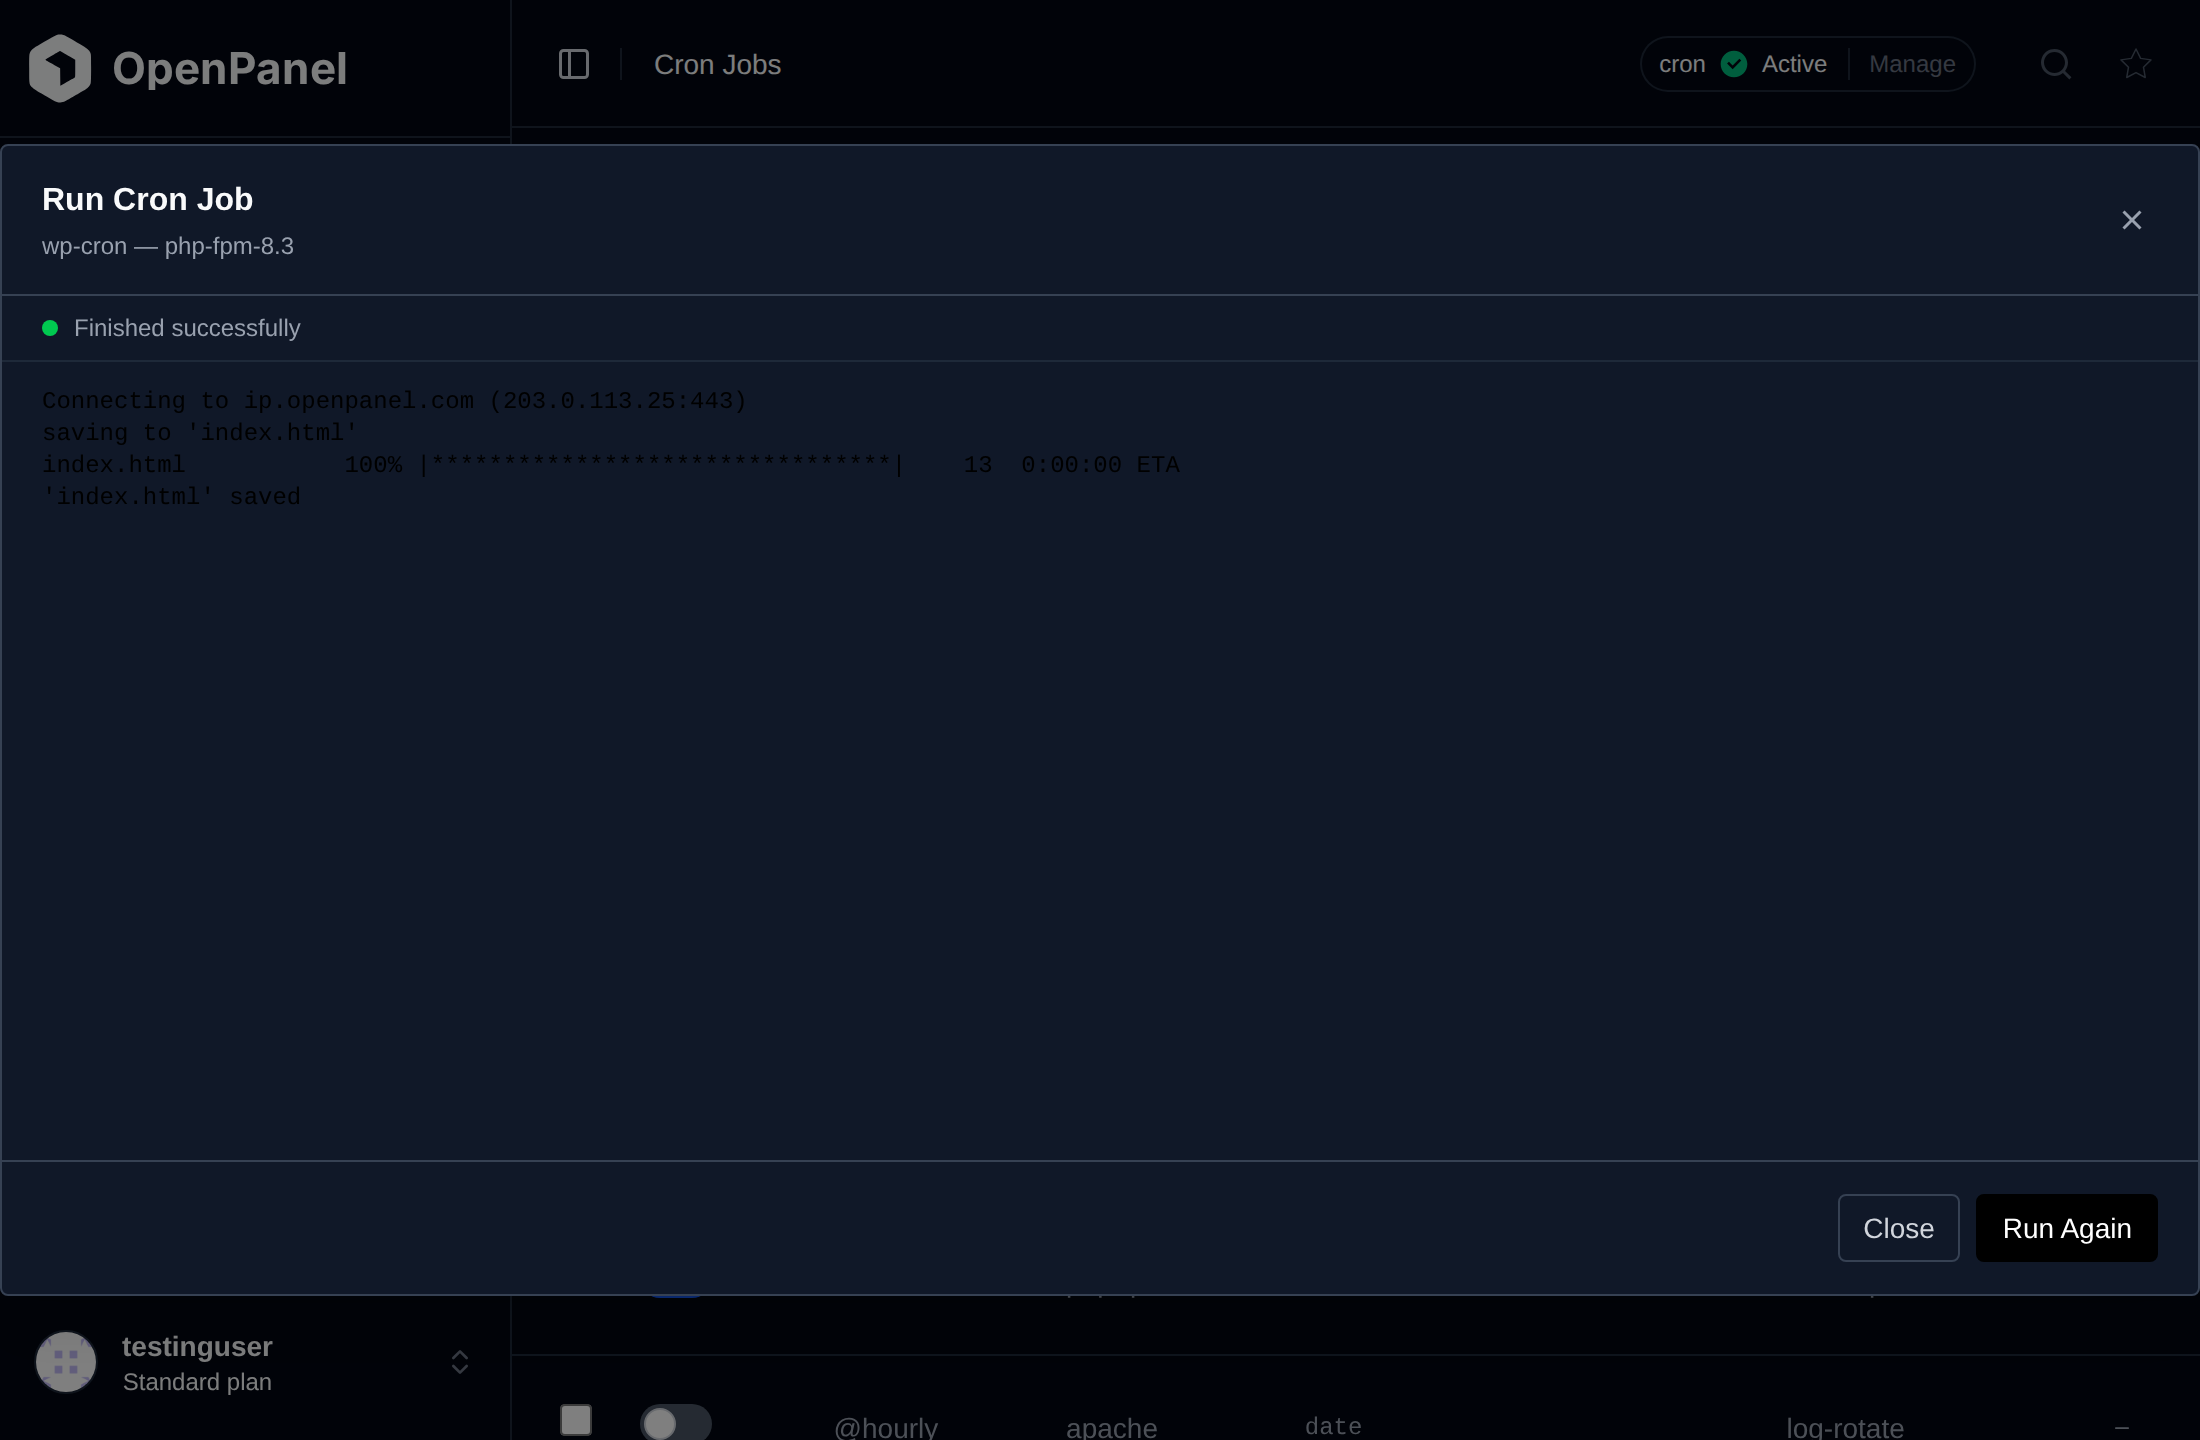
To test a cron job without waiting for its schedule, click the play icon in its Actions column. This opens a modal that executes the job's command inside its configured container right away and streams the output live as it runs, followed by the exit code once it finishes.
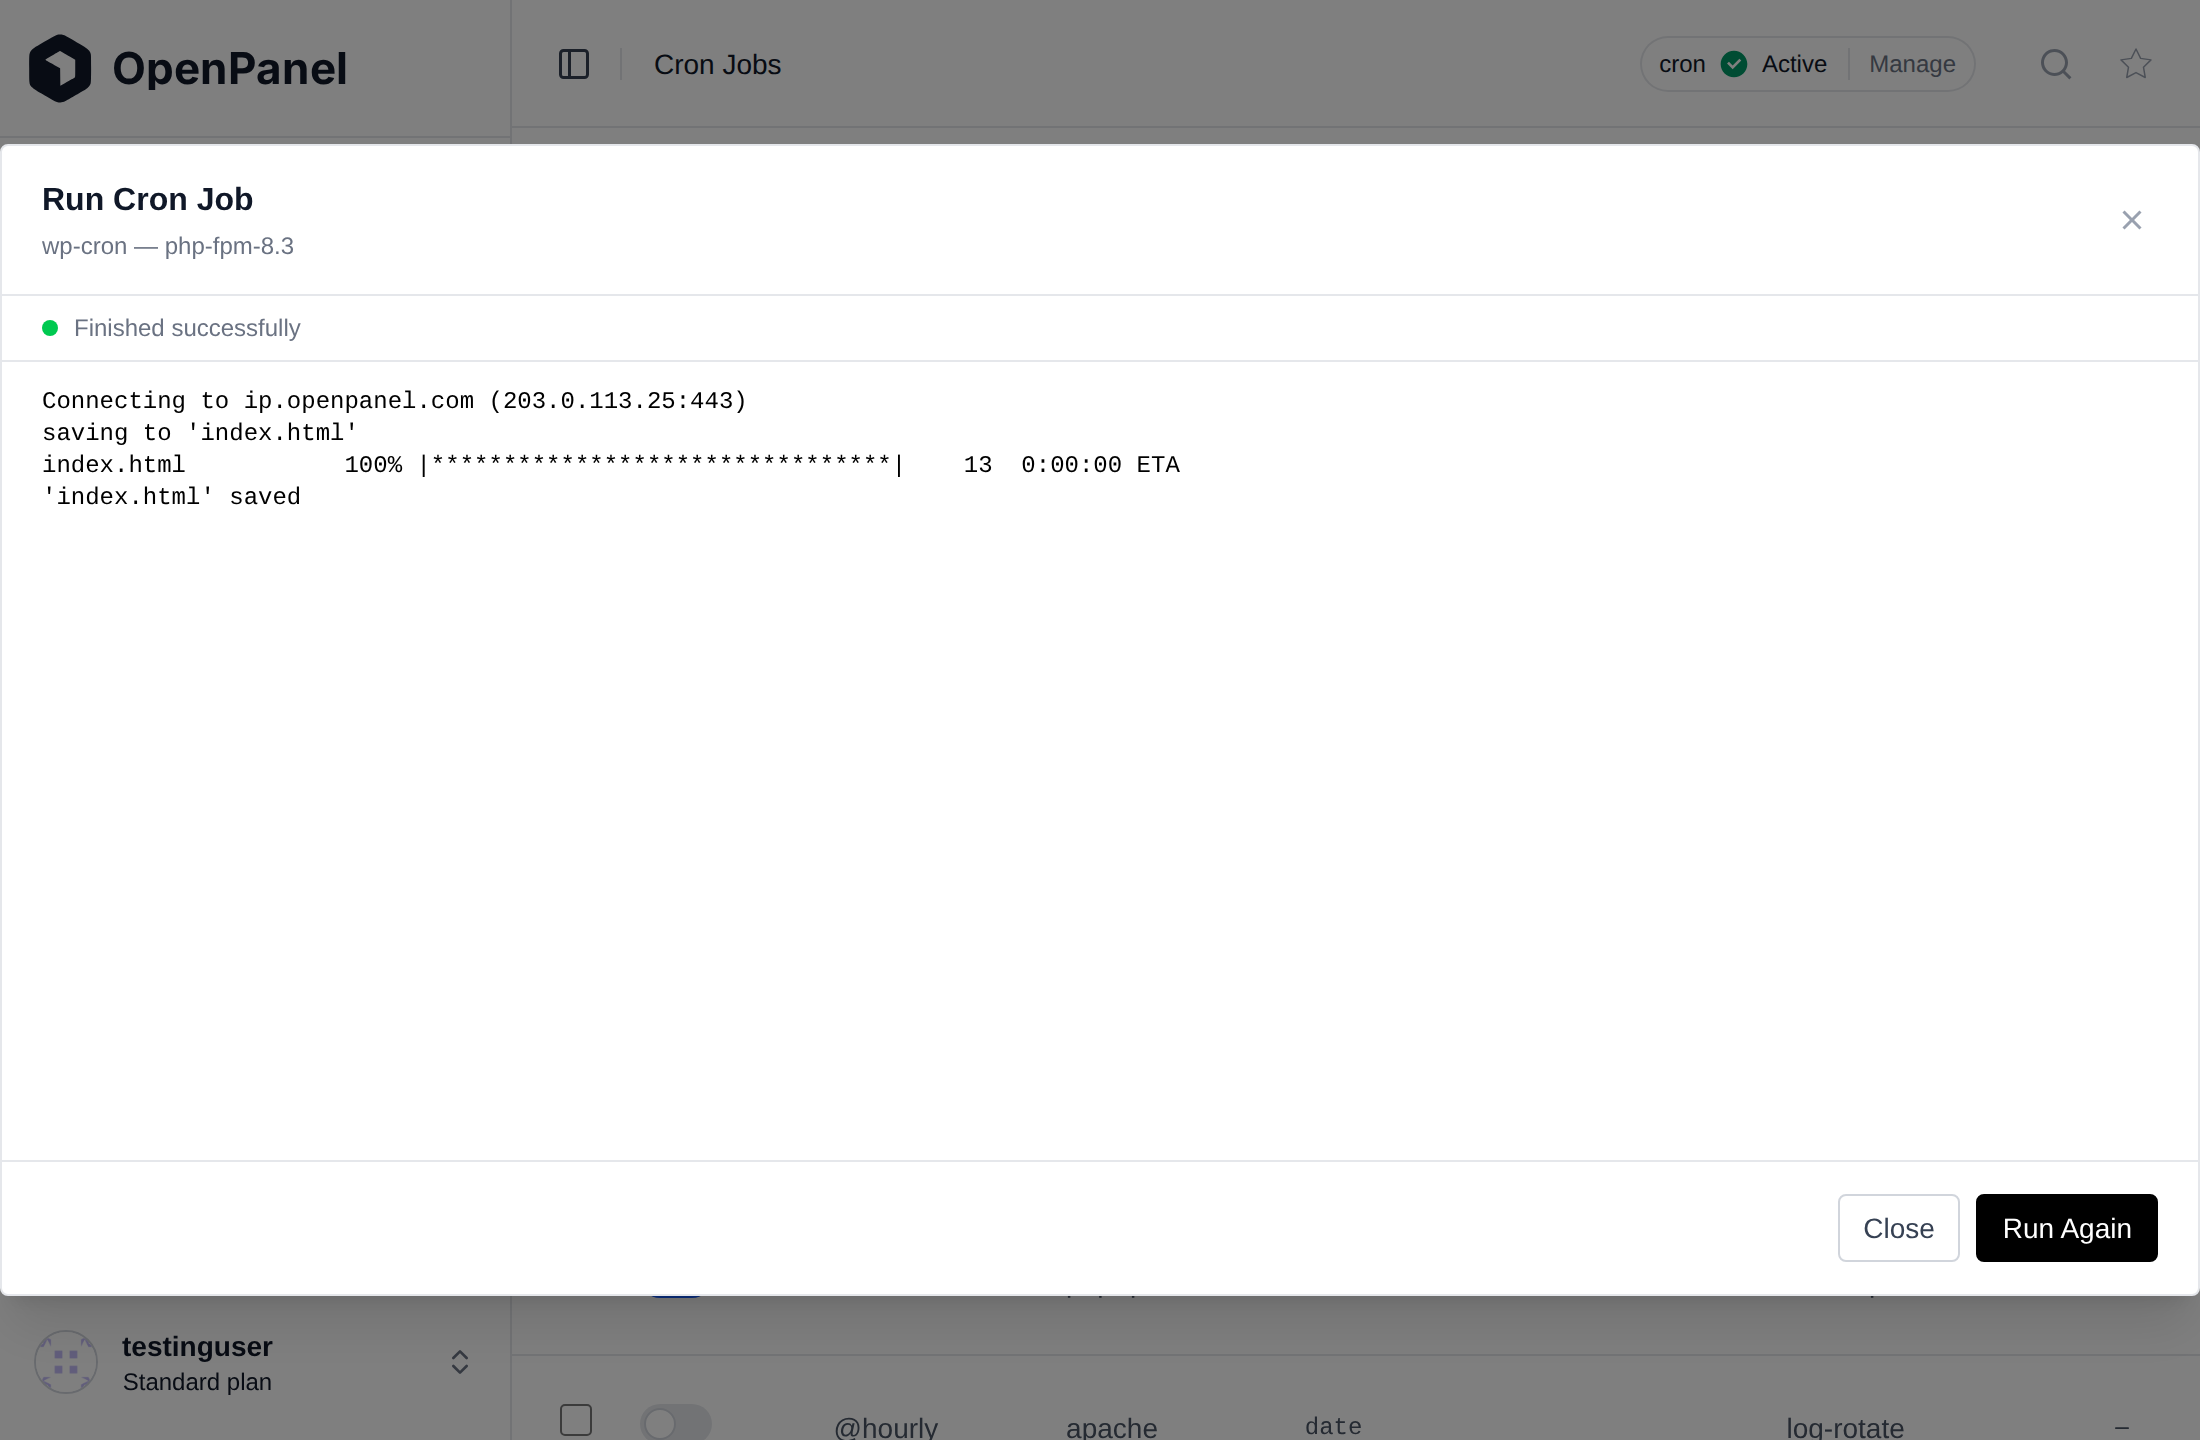
This is useful for quickly checking that a job is configured correctly before relying on its schedule. Closing the modal disconnects the stream and stops the command if it's still running.
Logs
Each cron job execution is recorded in JSON format.
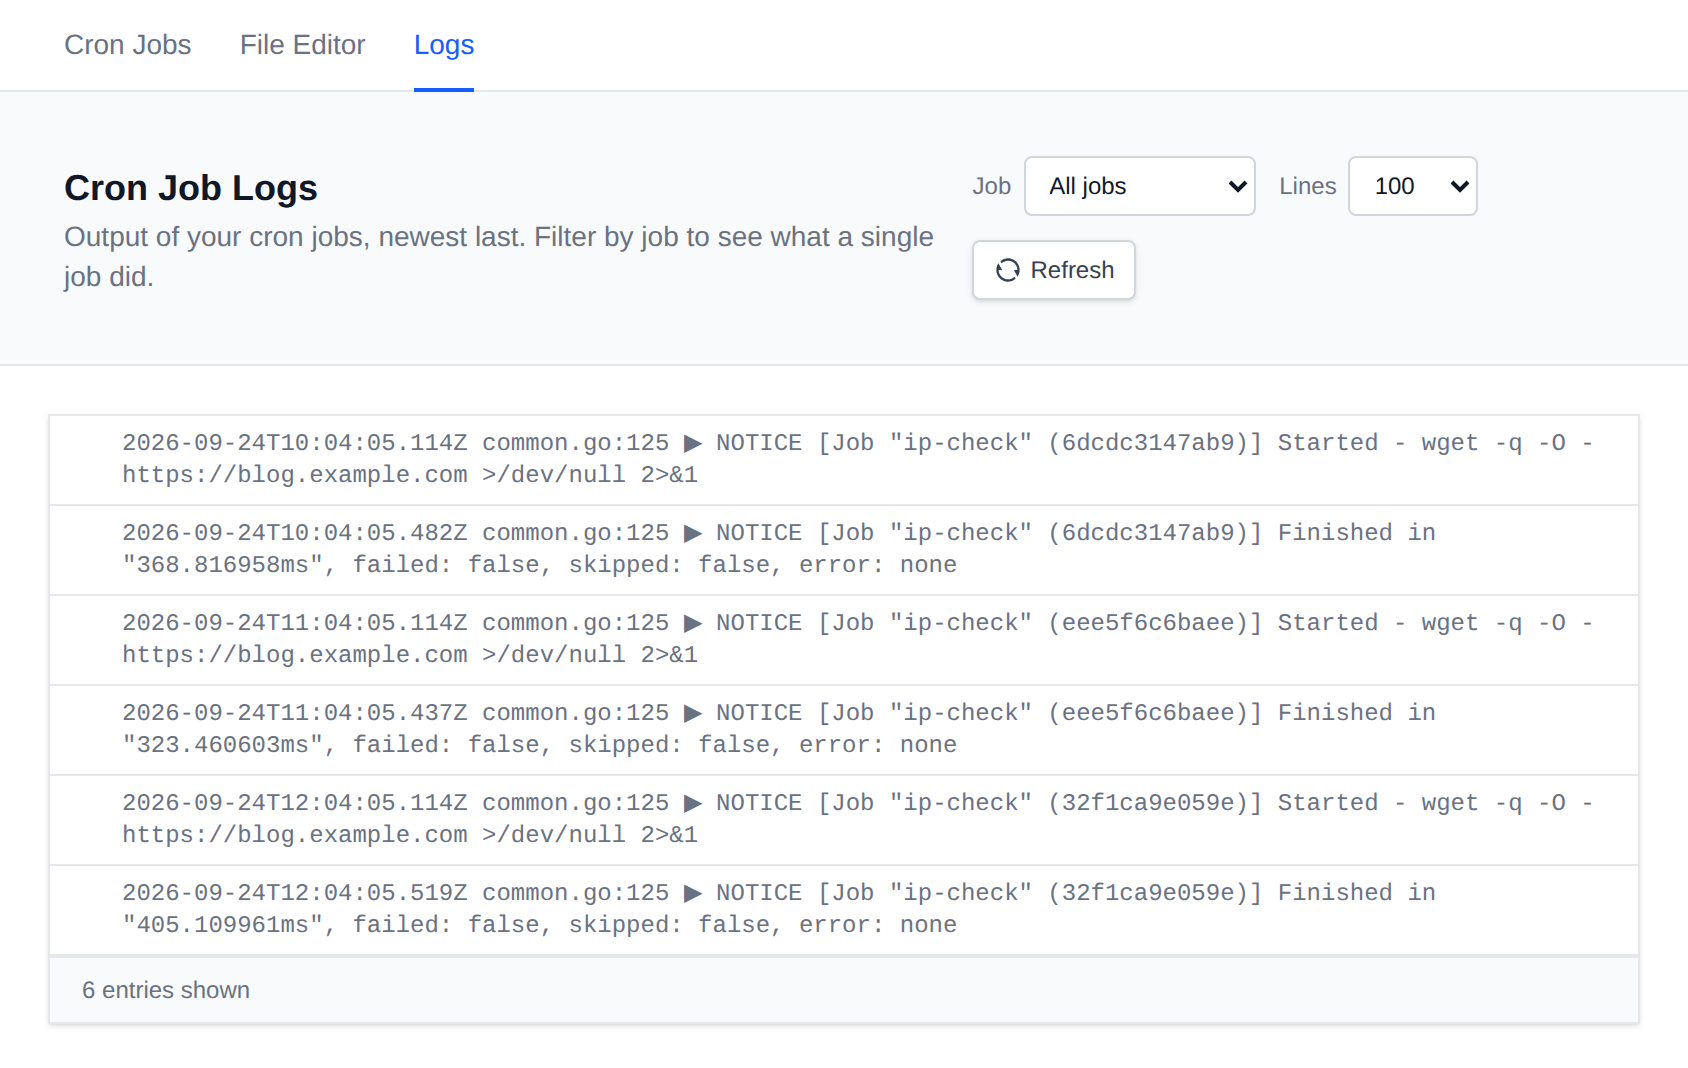
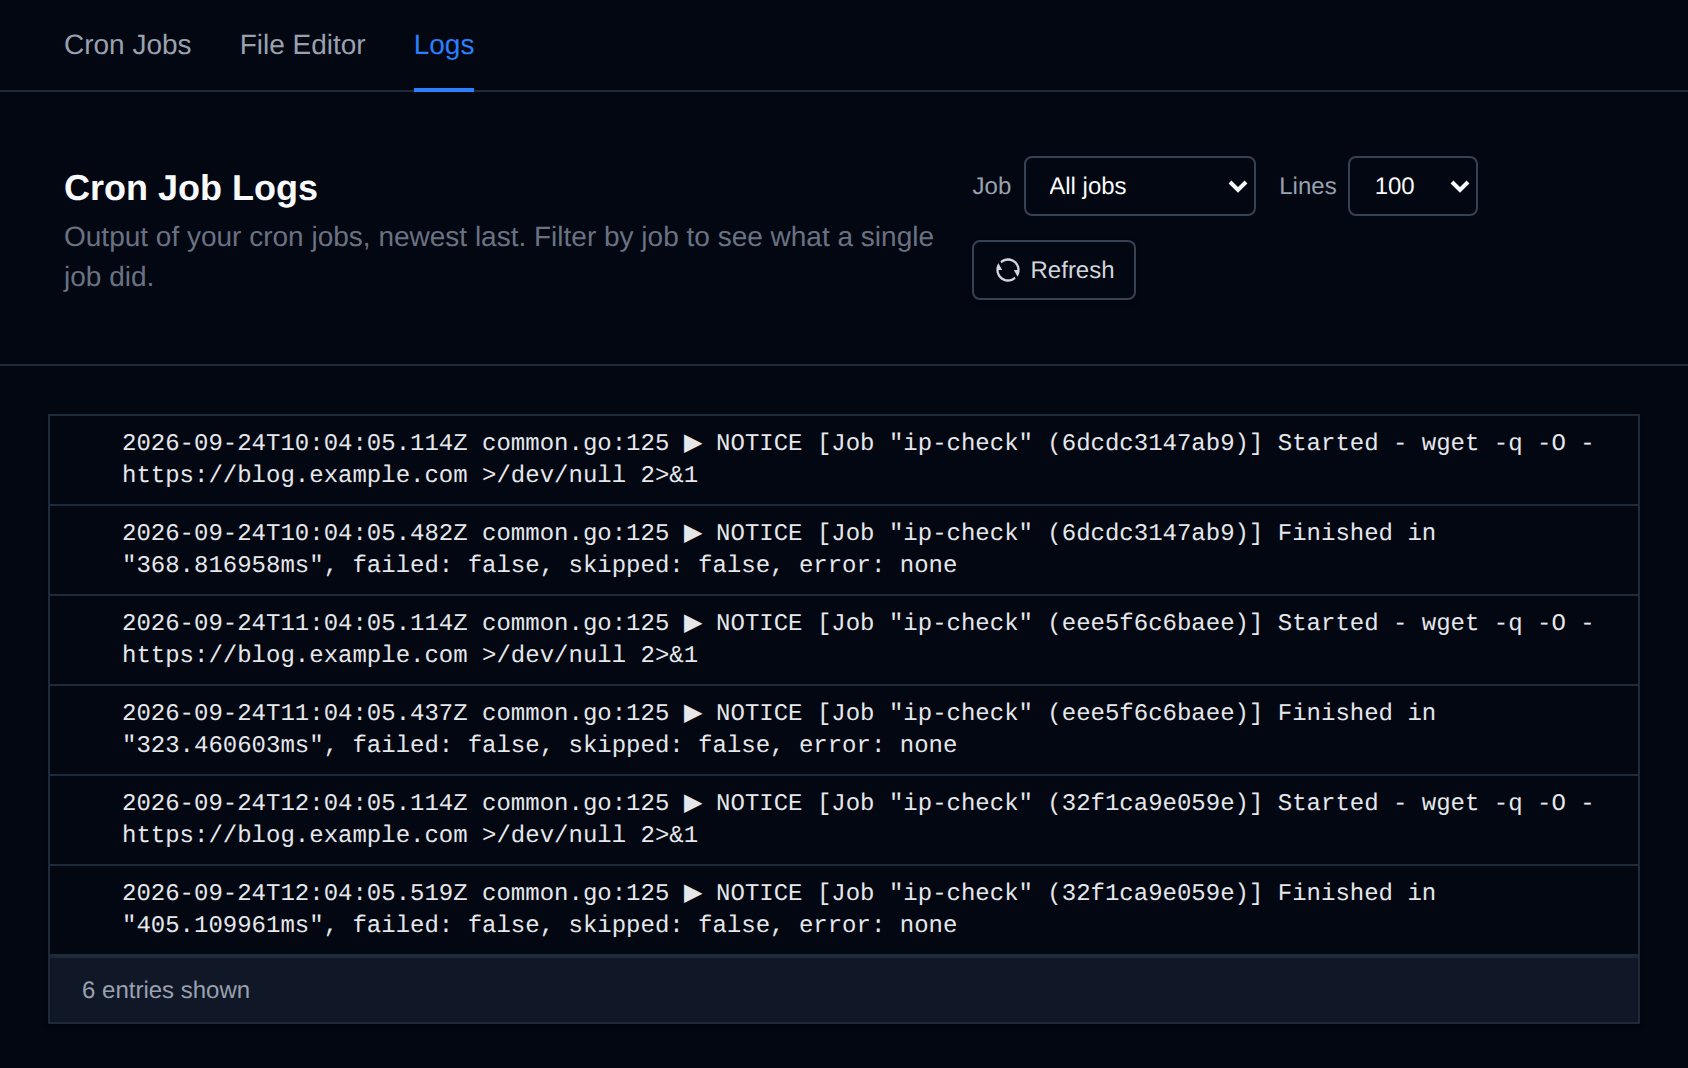
To view the logs, open the Logs tab, or click the logs icon in a job's row to open it already filtered to that job. The Job and Lines filters and the Refresh button are in the page header: filter by job name, choose how many lines to display and refresh the results. A job's logs can also be linked directly, for example /cronjobs/logs?job=whmcs-cron.
To filter logs by a specific job name (comment) directly through the API endpoint, append the following parameter to the URL:
?job= followed by the job name. Example: /cronjobs/log?job=whmcs-cron
File Editor
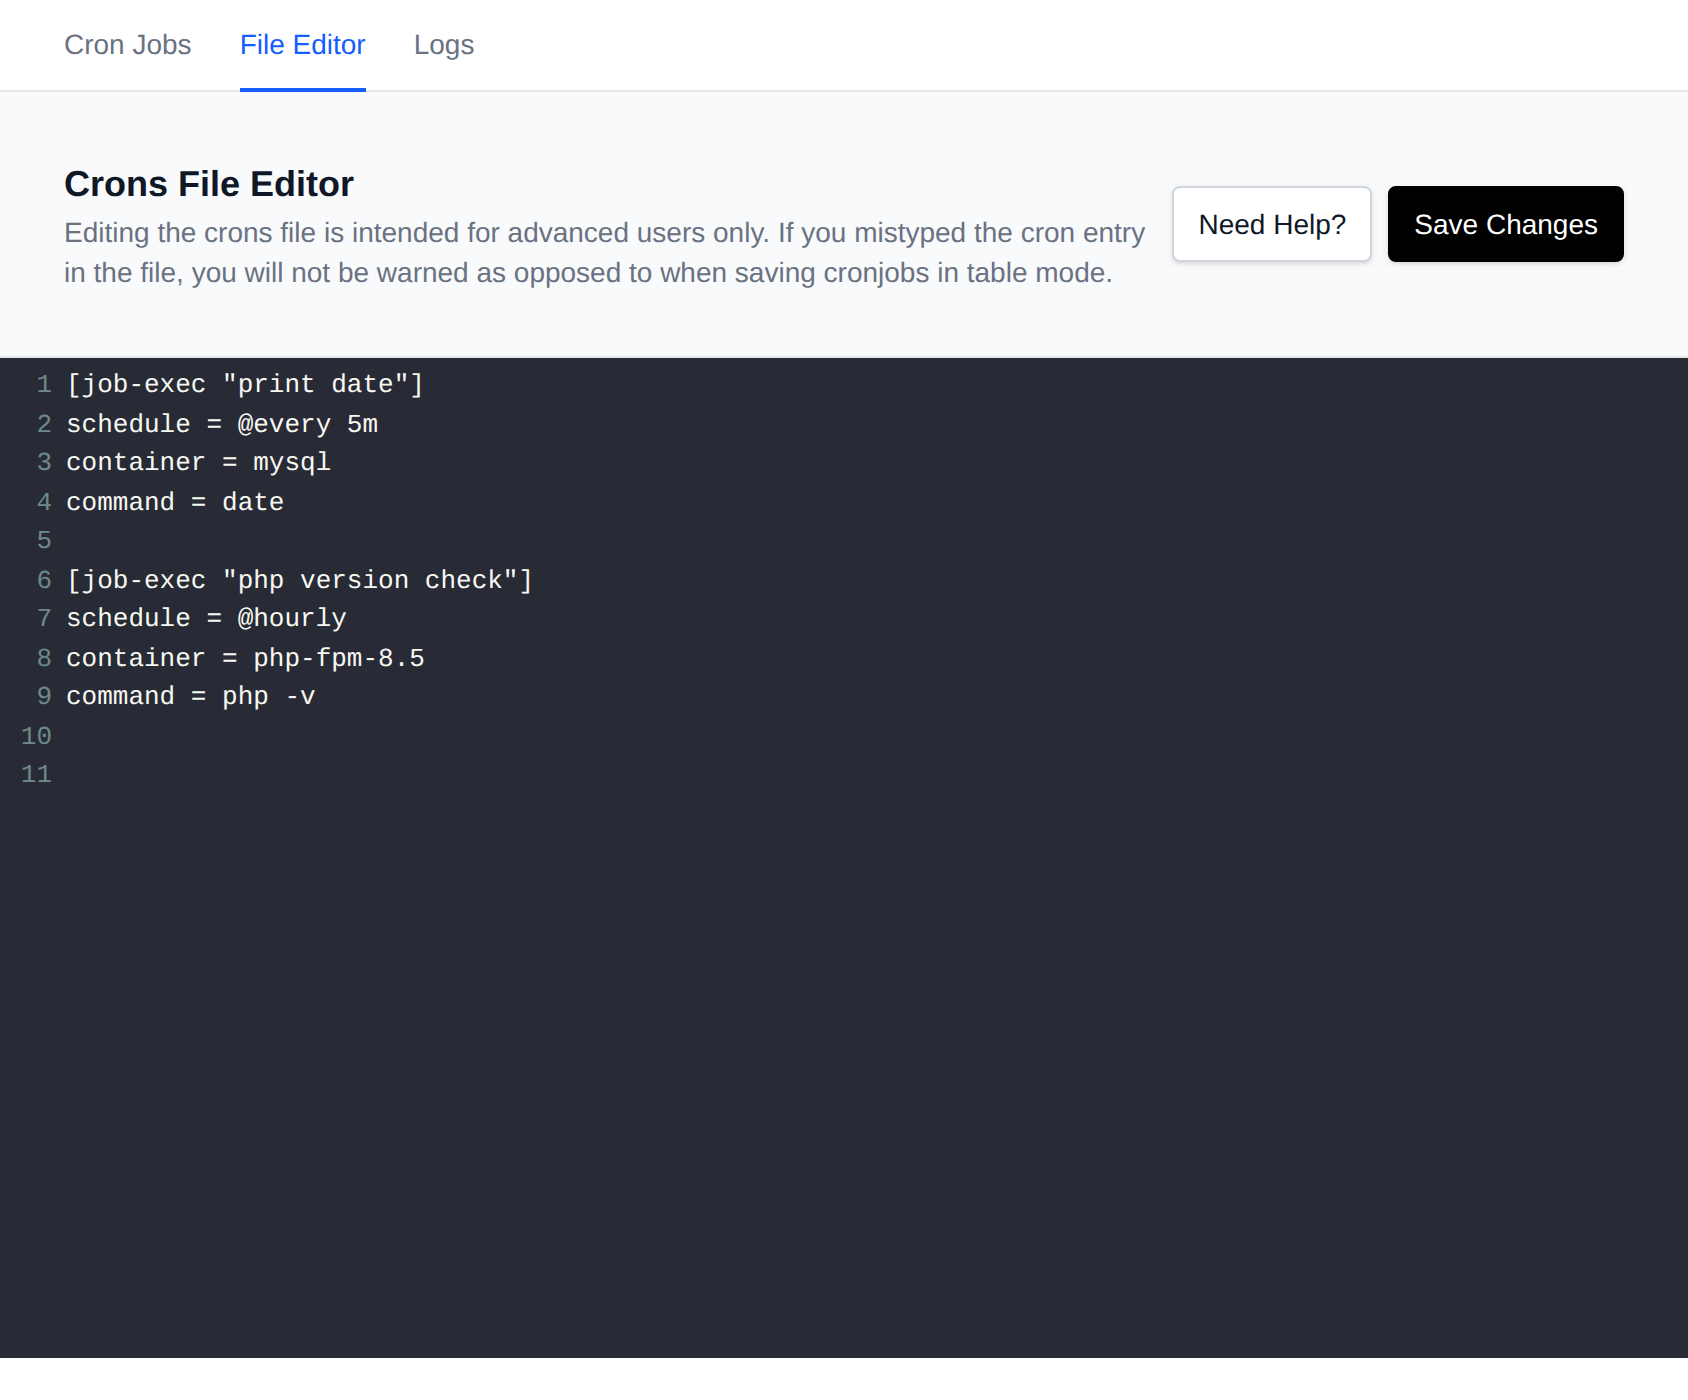
The File Editor tab allows you to edit the file where crons are stored. File format is:
[job-exec "JOB_NAME"]
schedule =
container =
command =
Example:
[job-exec "example"]
schedule = @daily
container = nginx
command = curl https://ip.openpanel.com
Another Example:
[job-exec "whmcs-cron"]
schedule = @every 5m
container = php-fpm-8.4
command = php -q /var/www/html/whmcs-paths/crons/cron.php
You can also set no-overlap for a cronjob, to avoid running the job multiple times in parallel if the previous execution did not finish.
Import / Export
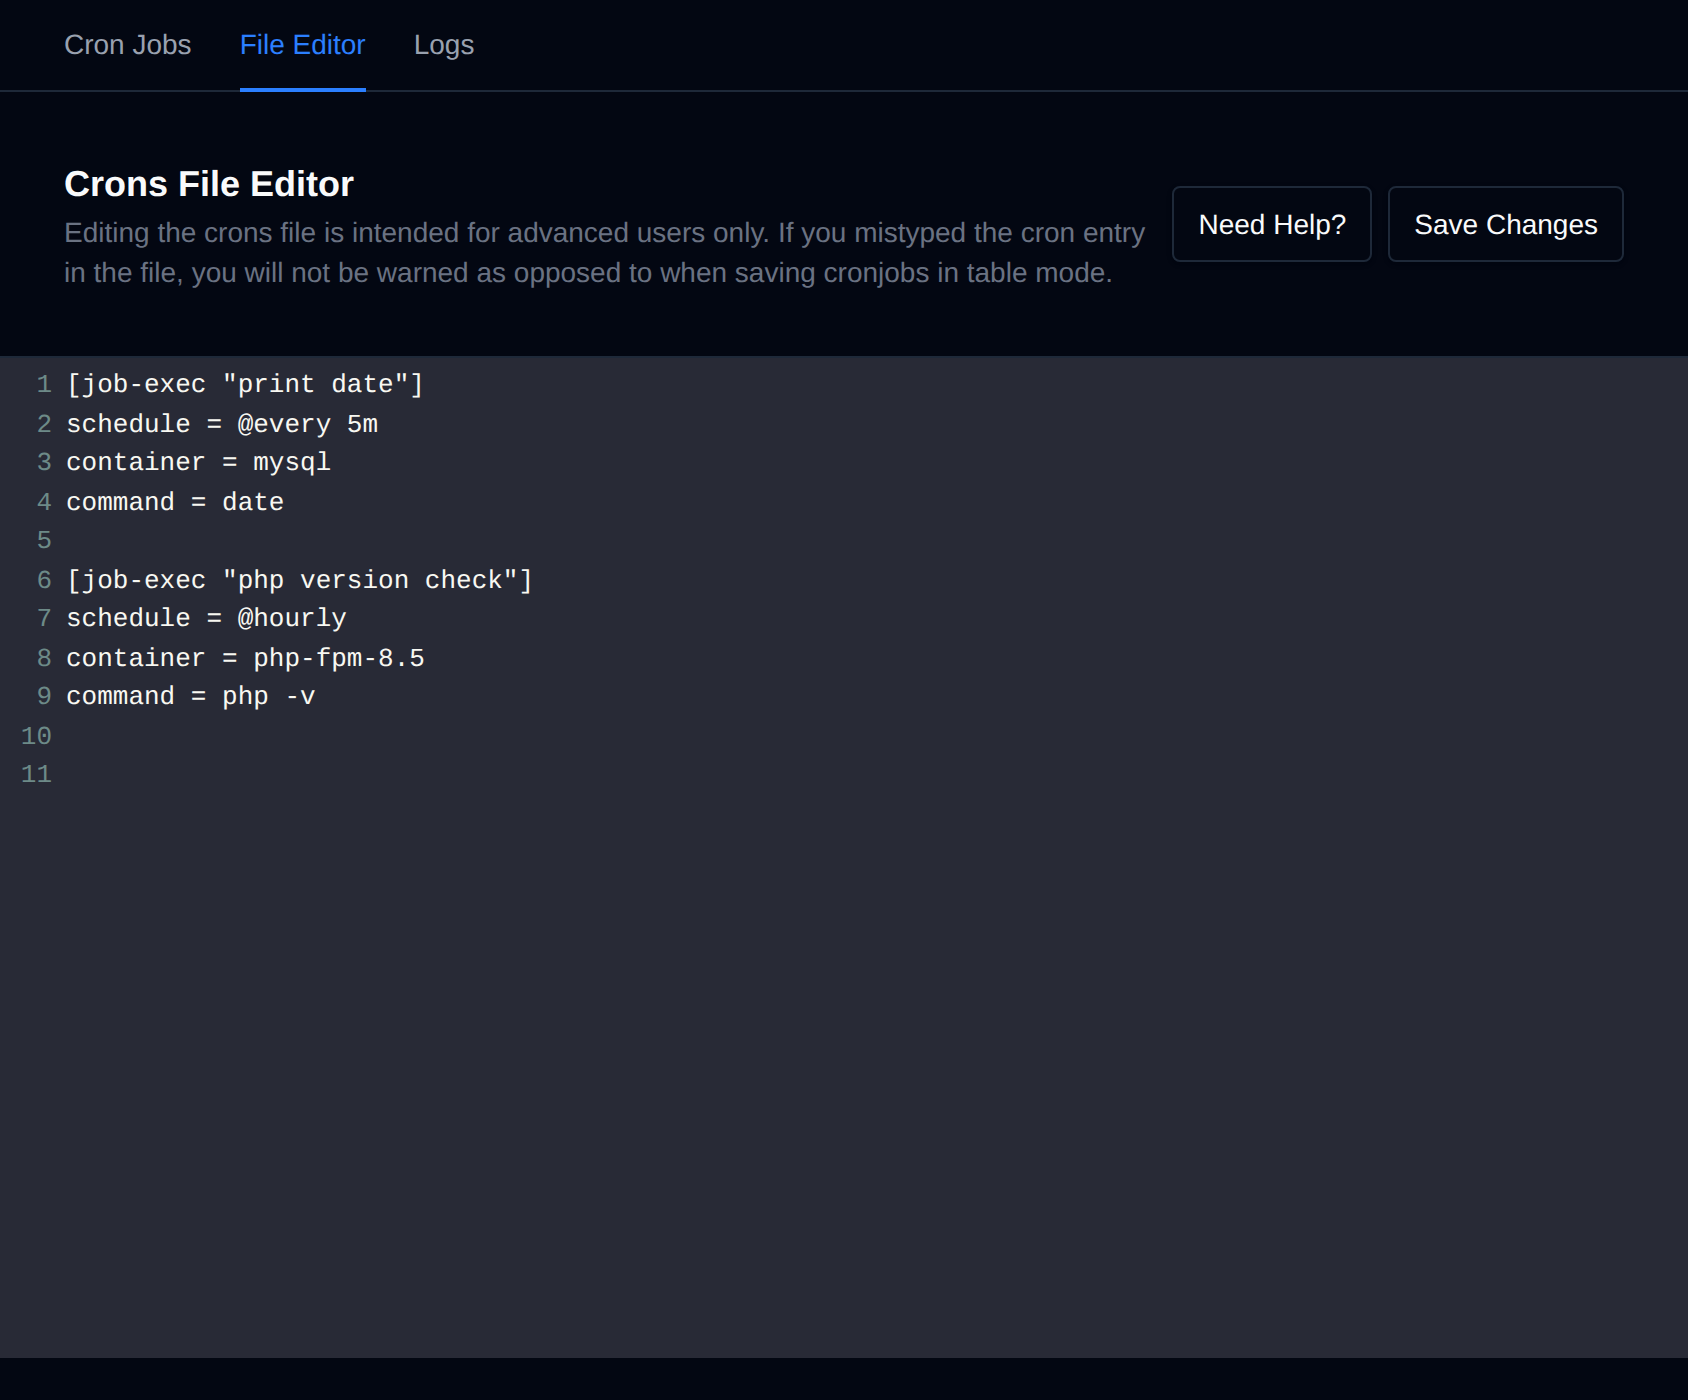
Cronjobs can be bulk-edited through a file, making it easy to edit multiple jobs at once or transfer them between servers. Open the File Editor tab, edit the jobs and click Save Changes.
See also: Restart a service automatically with a cron job
Bulk Actions
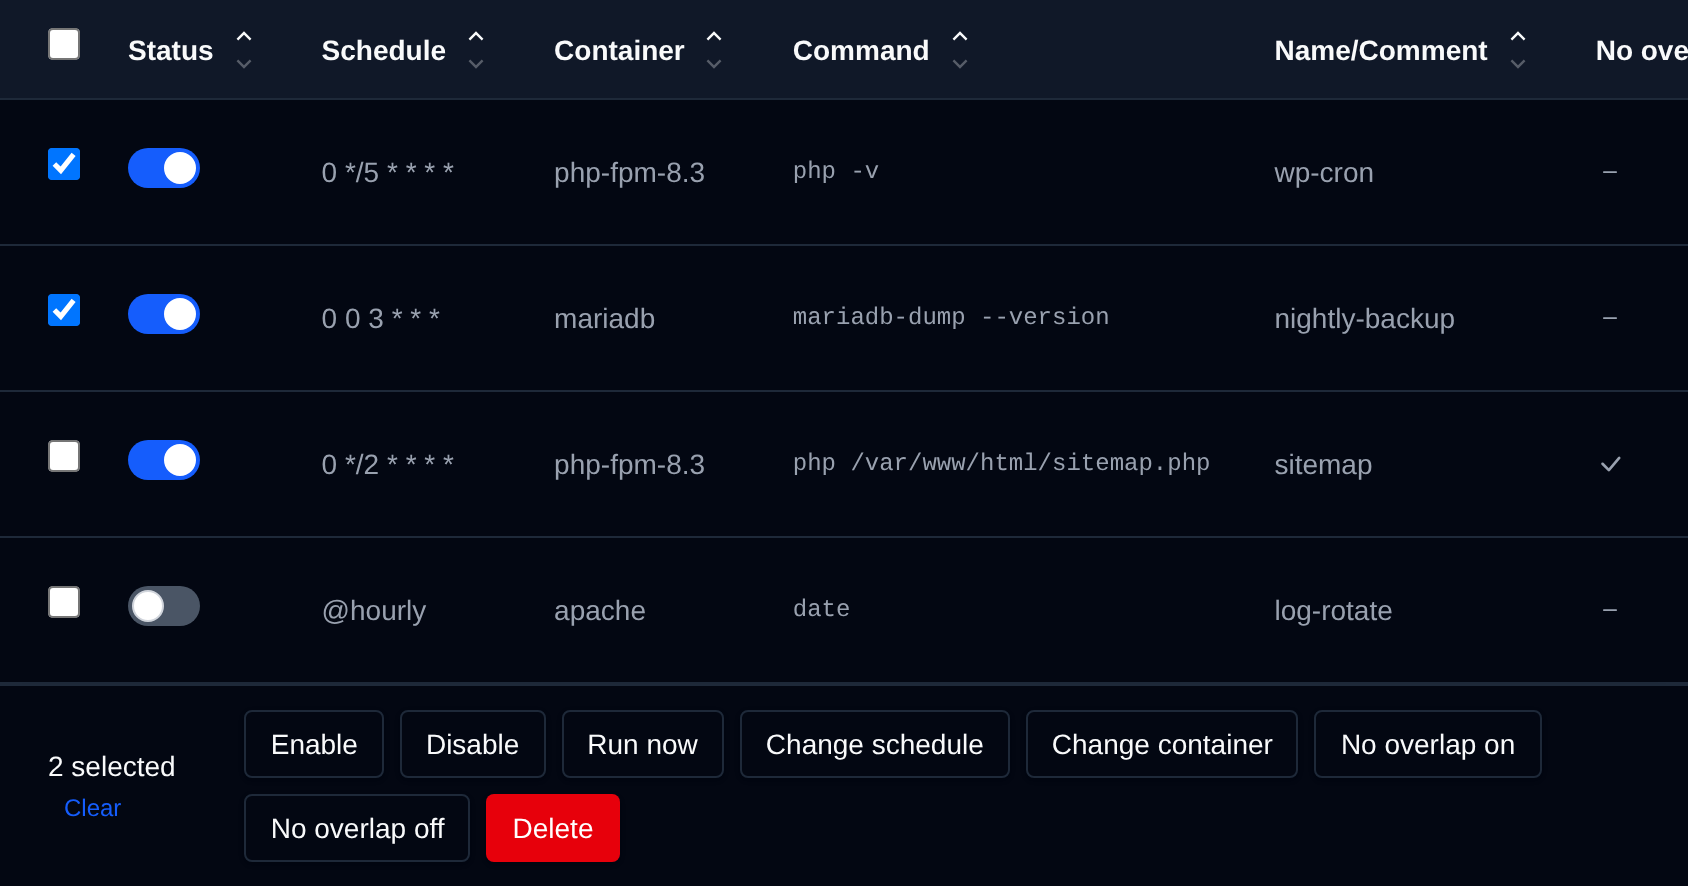
Tick the checkbox of one or more cron jobs, or the checkbox in the table header to select all cron jobs shown by the current search. A bar appears at the bottom of the page with the number selected, a Clear link and these actions:
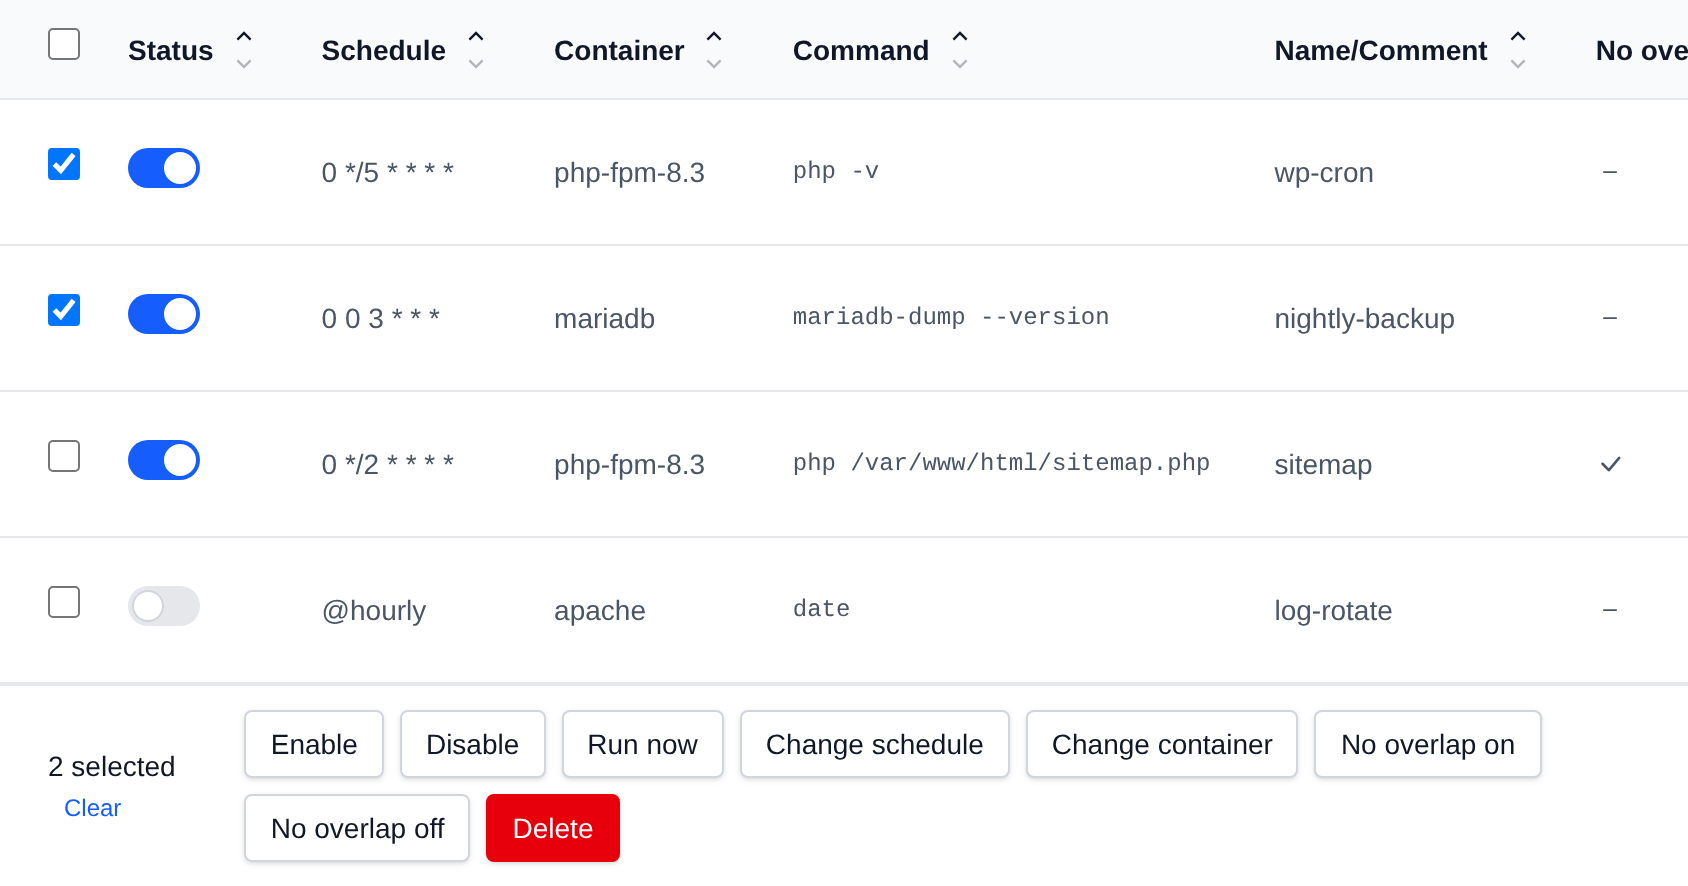
| Action | What it does |
|---|---|
| Enable | Turns the selected jobs on, enabled jobs are skipped. |
| Disable | Turns the selected jobs off without deleting them, disabled jobs are skipped. |
| Run now | Runs the selected jobs one after another and reports each exit code. |
| Change schedule | Sets the schedule you enter, with 6 fields (seconds first) or a descriptor like @hourly. |
| Change container | Runs the selected jobs in the container you pick. |
| No overlap on | Skips a run while the previous run of the same job is still going. |
| No overlap off | Lets a job run even while its previous run is still going. |
| Delete | Deletes the selected jobs. |
Click an action, confirm it, and it runs on the selected cron jobs one after another. When it's done the page reloads with a notice listing the cron jobs it worked for, or which ones failed and why.