Moodle
Install and manage Moodle — an open-source learning management system (LMS) — in an existing domain, via Moodle's own CLI installer. Install, a read-only overview with live status, cache clearing, error logs, maintenance mode, a dedicated backup/restore system, cloning, self-update, and uninstall.
Install Moodle
Navigate to OpenPanel > Websites > Install App and click Install Moodle.

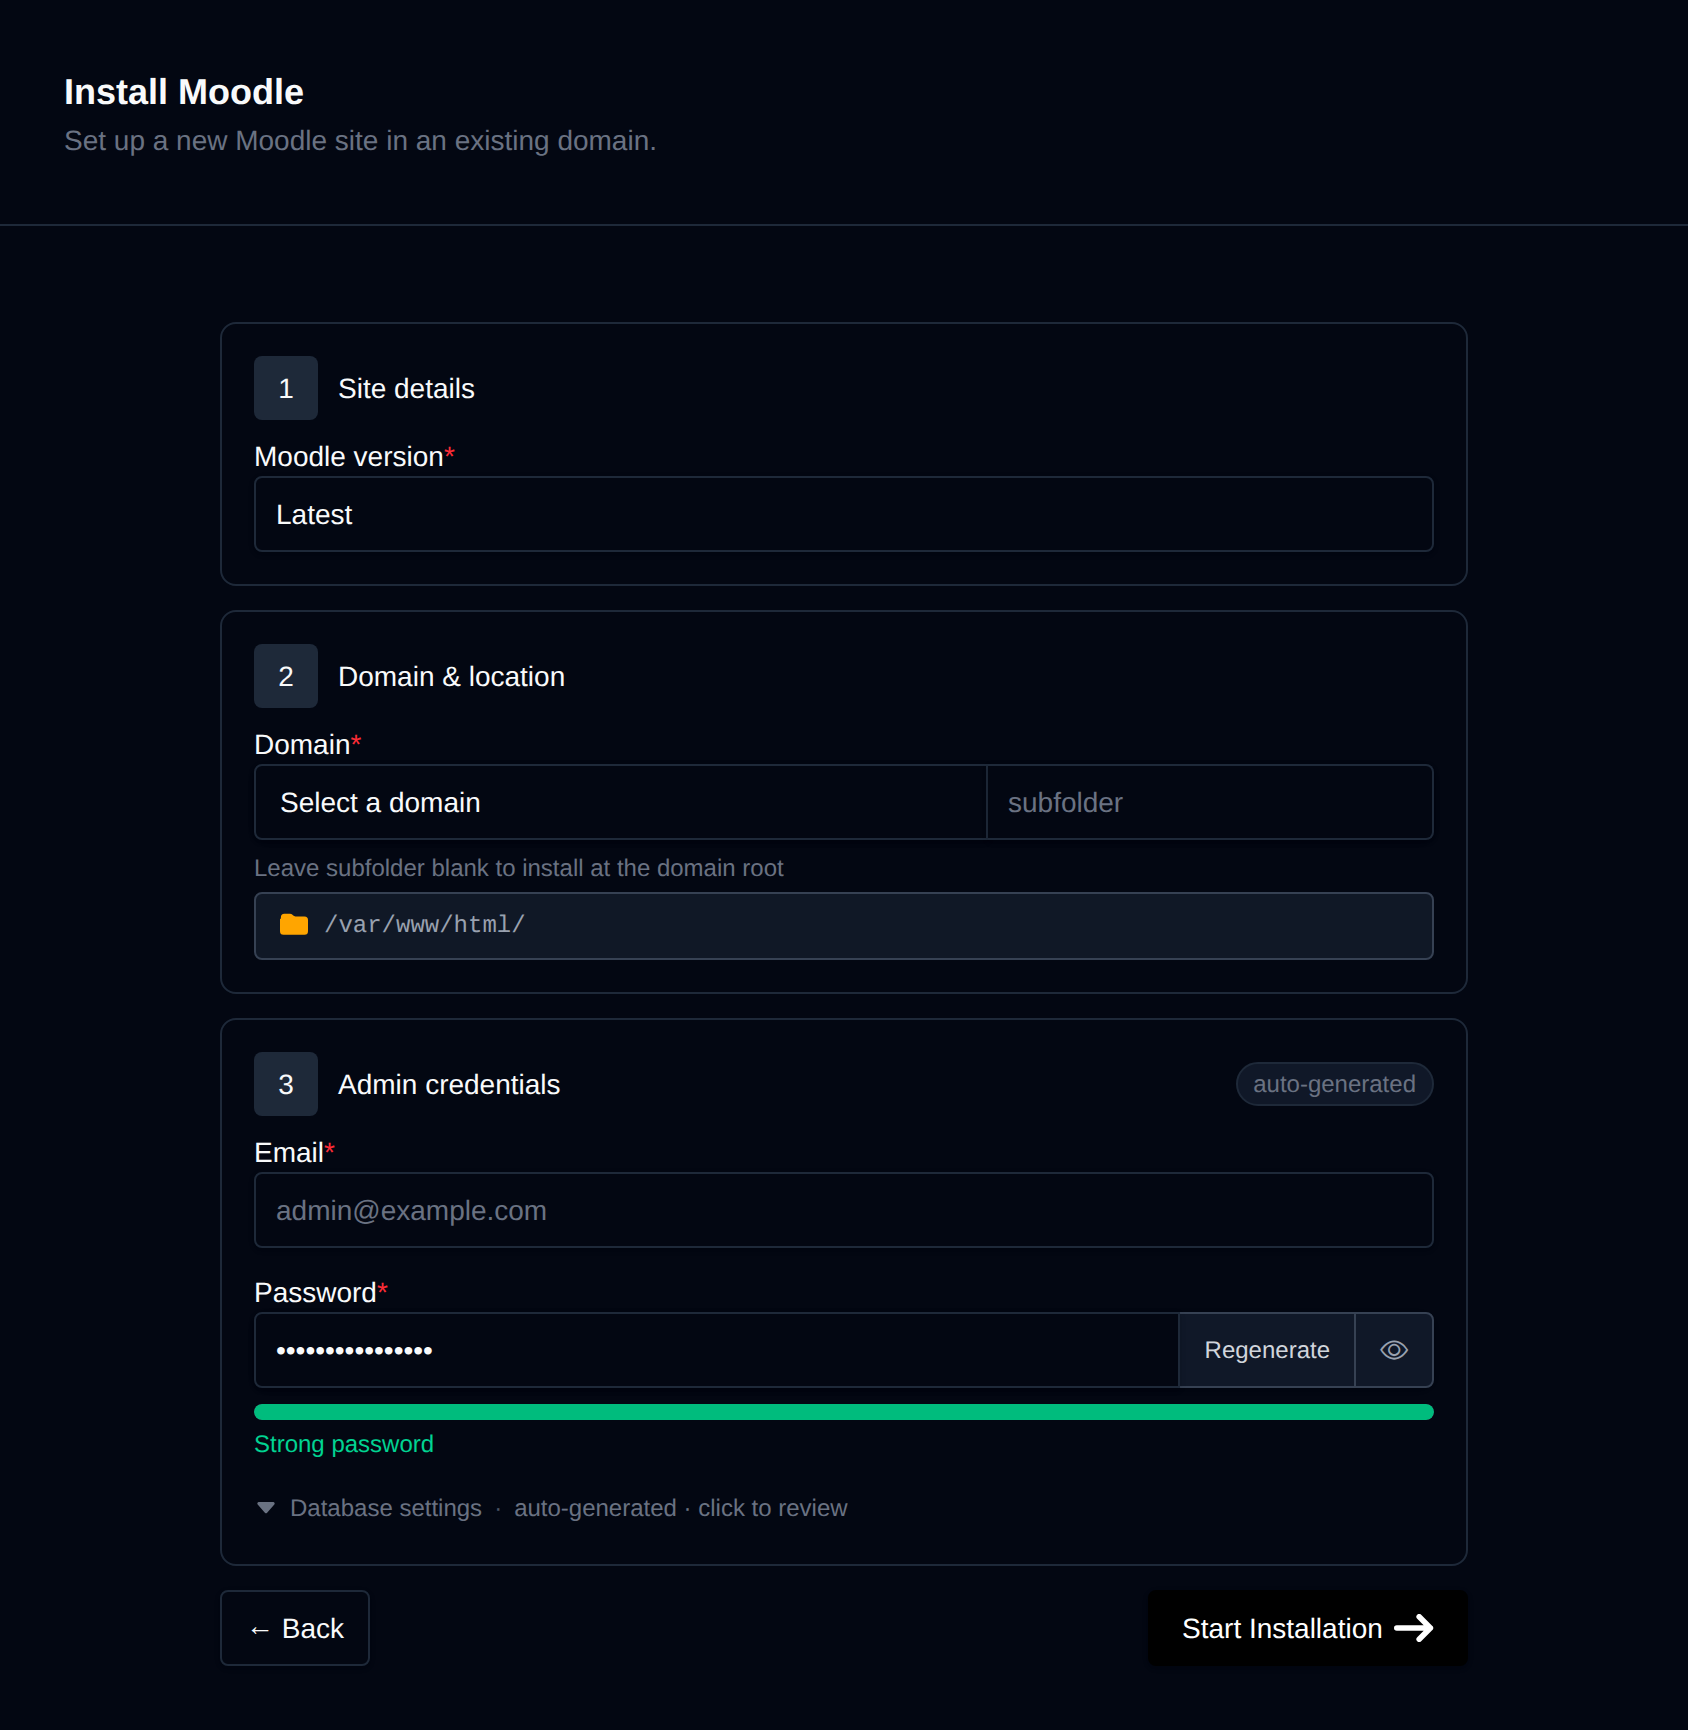
On the install page, configure:
- Domain – The domain (and optional subfolder) to install into. Leave the subfolder blank to install at the domain root.
- Site name / Site short name – Moodle's full site name and short name.
- Moodle version – Latest, or pin to a specific release, fetched live from Moodle's GitHub tags.
- Admin username / password / email – The initial administrator account Moodle creates during install. Leave the password blank to generate one.
Behind the scenes, this downloads the matching packaged tarball from download.moodle.org, and extracts it into a sibling "app root" directory next to the domain's docroot rather than the docroot itself — Moodle 5.x ships its web-served files under a public/ subdirectory, with config.php and the rest of the codebase one level above it (outside the web root, by design). OpenPanel replaces the (empty) docroot with a symlink to <approot>/public, so the panel/webserver ends up serving exactly Moodle's own public/ folder. It then creates a dedicated MySQL/MariaDB database and runs Moodle's own admin/cli/install.php non-interactively with the details you provided. Finally, it registers a per-minute cron job running admin/cli/cron.php — Moodle does nothing (no mail, no enrolments, no scheduled tasks) without it. Progress is streamed live as each step completes.
Manage a Moodle site
Every Moodle install shows up on the general Site Manager page (/sites) alongside your other websites. Click Manage on a Moodle site to open its overview page:
- Screenshot and Moodle / PHP / MariaDB / Created status cards, matching the other CMS managers.
- Files – The docroot is a symlink to the app root's
public/directory; a File Manager shortcut, and live folder size. - Database – Name and table prefix, read live from the app root's
config.php(not stored anywhere separately), plus a phpMyAdmin shortcut. - PHP version – Editable for root-level installs; subdirectory installs inherit the domain's PHP version.
Cache
The Cache widget runs Moodle's own bundled admin/cli/purge_caches.php, the standard documented way to purge all Moodle caches without a browser.
Logs
The Logs tab tails the newest log file under moodledata (Moodle's separate data directory — see below). Moodle logs most application events to its own database, readable only through its admin UI, rather than a flat application log file, so this surfaces PHP-level errors instead. A freshly installed, healthy site typically has none yet.
Maintenance mode
The Maintenance mode toggle enables or disables Moodle's own front-end maintenance page, via admin/cli/maintenance.php --enable / --disable — the same mechanism the Update flow uses automatically while it runs. Status is read back by checking whether Moodle's own climaintenance.html marker file exists under moodledata, rather than parsing the script's output.
Backups
Moodle sites get a dedicated backup system, separate from the account-level Backups feature. Real site content — uploads, course files, caches — lives in moodledata, not the docroot (which contains only the stock release code, identical across every install of that version), so that's what's backed up:
- Generate an on-demand backup of the database,
moodledata, or both. Backups are stored per-domain, per-timestamp (backups/<domain>/<timestamp>/database.sqland/orfiles.tar.gz) under your account'shtml_datavolume. - Restore any previous backup date. Restoring the database drops the site's existing prefixed tables first, then imports
database.sql; restoring files extractsfiles.tar.gzover the currentmoodledatadirectory.
Clone
The Clone action copies a Moodle site to a new domain (or subfolder). It copies both the app root and moodledata directories, creates a new database from a dump of the source database, rewrites the database name/user/password/wwwroot/dataroot inside the copy's config.php, symlinks the destination docroot to the copy's public/ directory, registers the copy's own cron job, and runs a generic URL search-replace across the cloned database — Moodle's CLI has no built-in equivalent of WP-CLI's search-replace, so OpenPanel handles it itself.
Update
The Update action updates an installed site to the latest release in place: it enables maintenance mode, downloads the latest packaged tarball, replaces every file under the app root except config.php, fixes file ownership, runs admin/cli/upgrade.php --non-interactive, then disables maintenance mode again. If the upgrade step itself fails, maintenance mode is turned back off automatically so the site isn't left stuck offline. Update always targets the latest available release — there's no option to pin to a specific version.
Remove
The Remove tab's Delete Application button fully uninstalls the site: removes the registered cron job, drops the database and database user, deletes the docroot symlink plus the app root and moodledata directories, and removes it from Site Manager. This cannot be undone.