Malware Scanner
The Malware Scanner feature (under Security in the sidebar) is available in your OpenPanel dashboard only if ClamAV is enabled on the server and your account has permission to use it.
Manual Scan
To perform a manual scan, enter or pick the directory you want to scan (defaults to /var/www/html/, with suggestions from your existing folders) and click the Start Scan button.
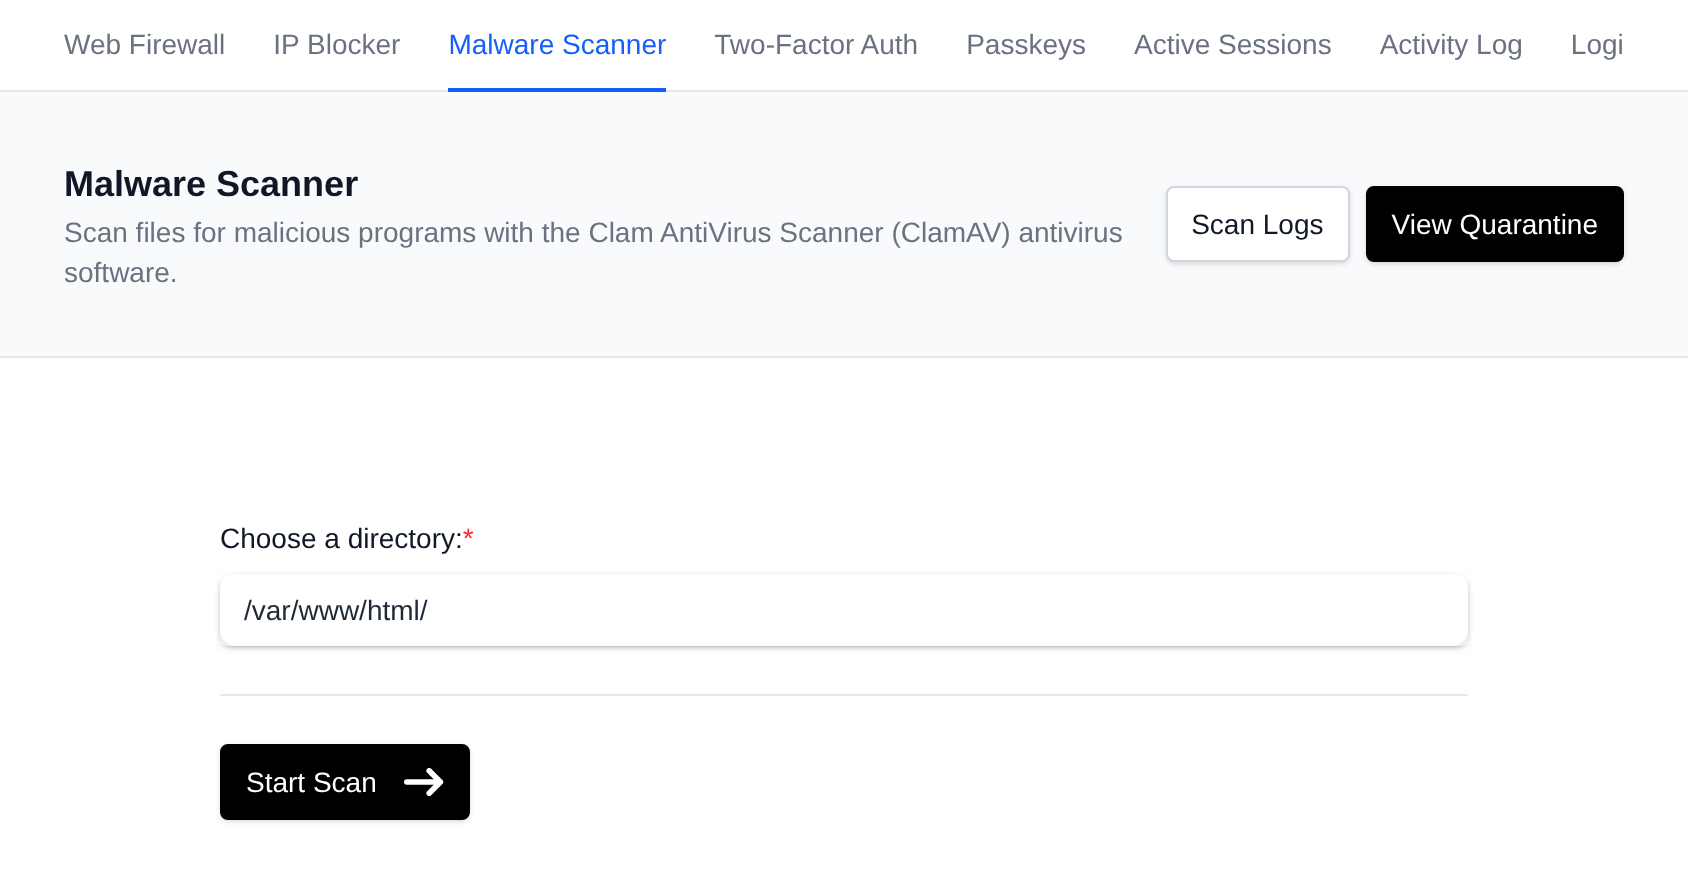
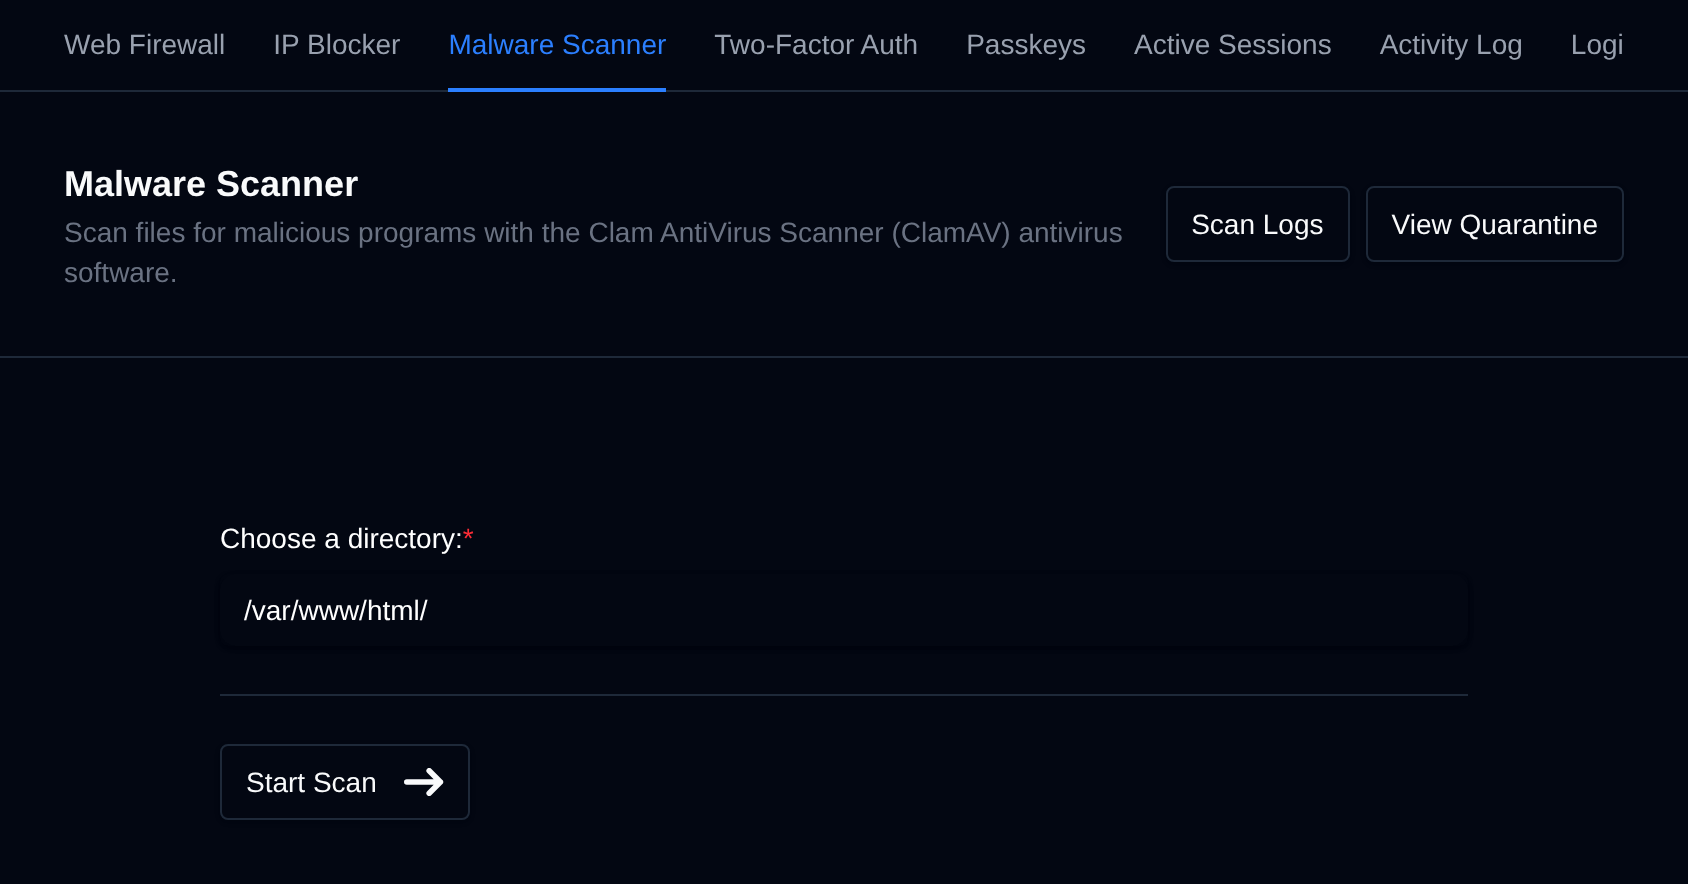
ClamAV will check the files one by one. While it runs, a spinning radar shows next to the number of files scanned so far and the file being checked. Files with malware or errors are listed under Scan Results, and a message with the total number of scanned files shows when the scan is done.


If you close the page or open another one before the scan is done, the scan stops and is saved in the scan logs as Stopped early.
Automatic Scan
Automatic scans are configured by the server administrator. They also show up in the scan logs, and any malware they find is moved to quarantine right away.
Scan Logs
Click Scan Logs to see your past scans, newest first: scans you started from this page, scans started through the API, and automatic scans run by the server.
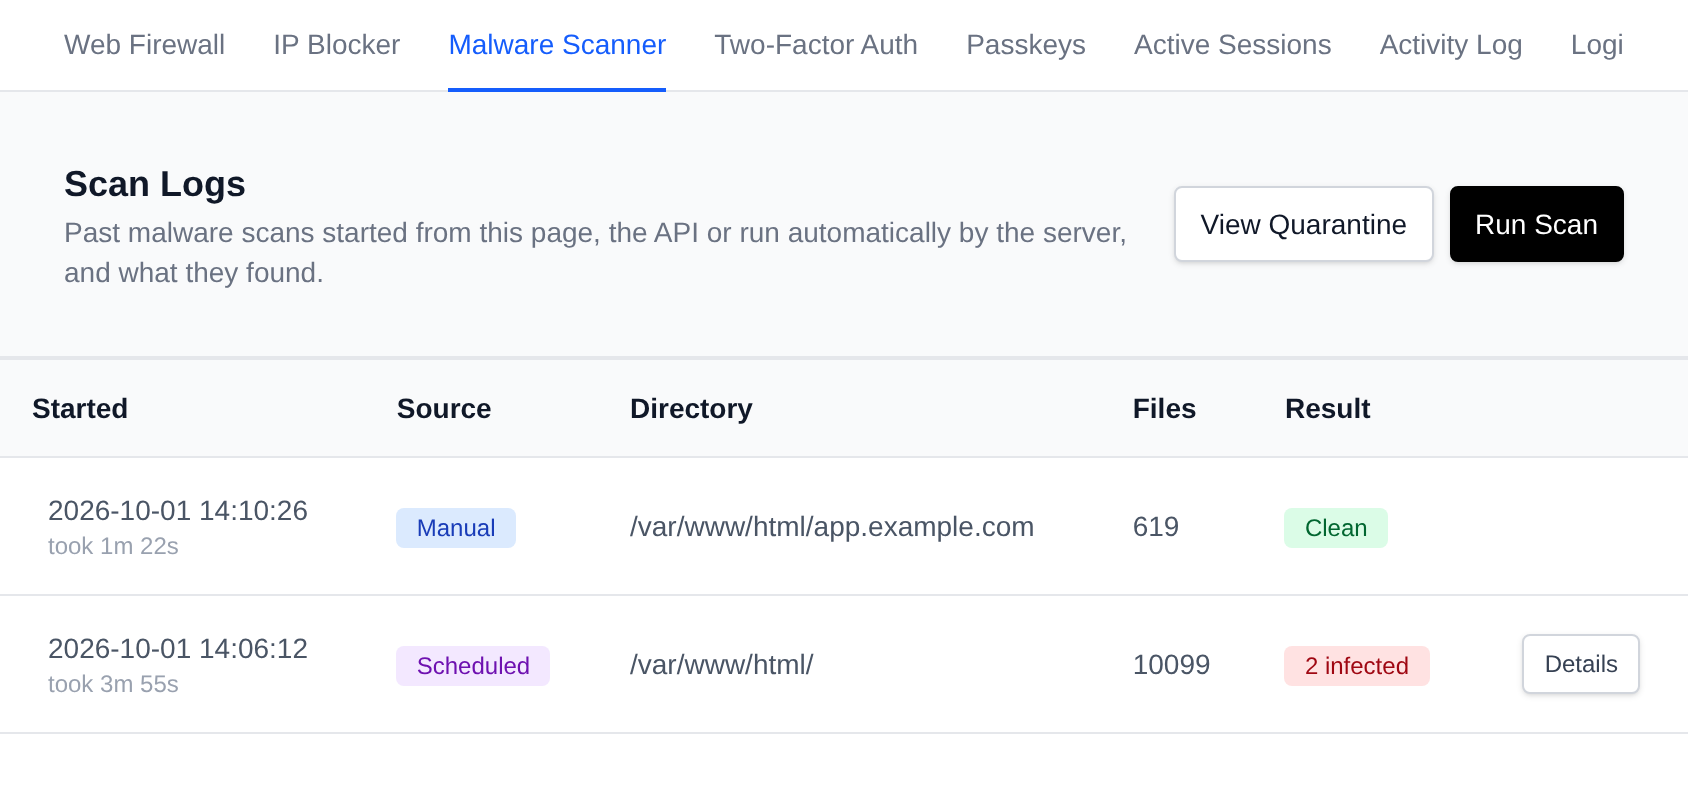
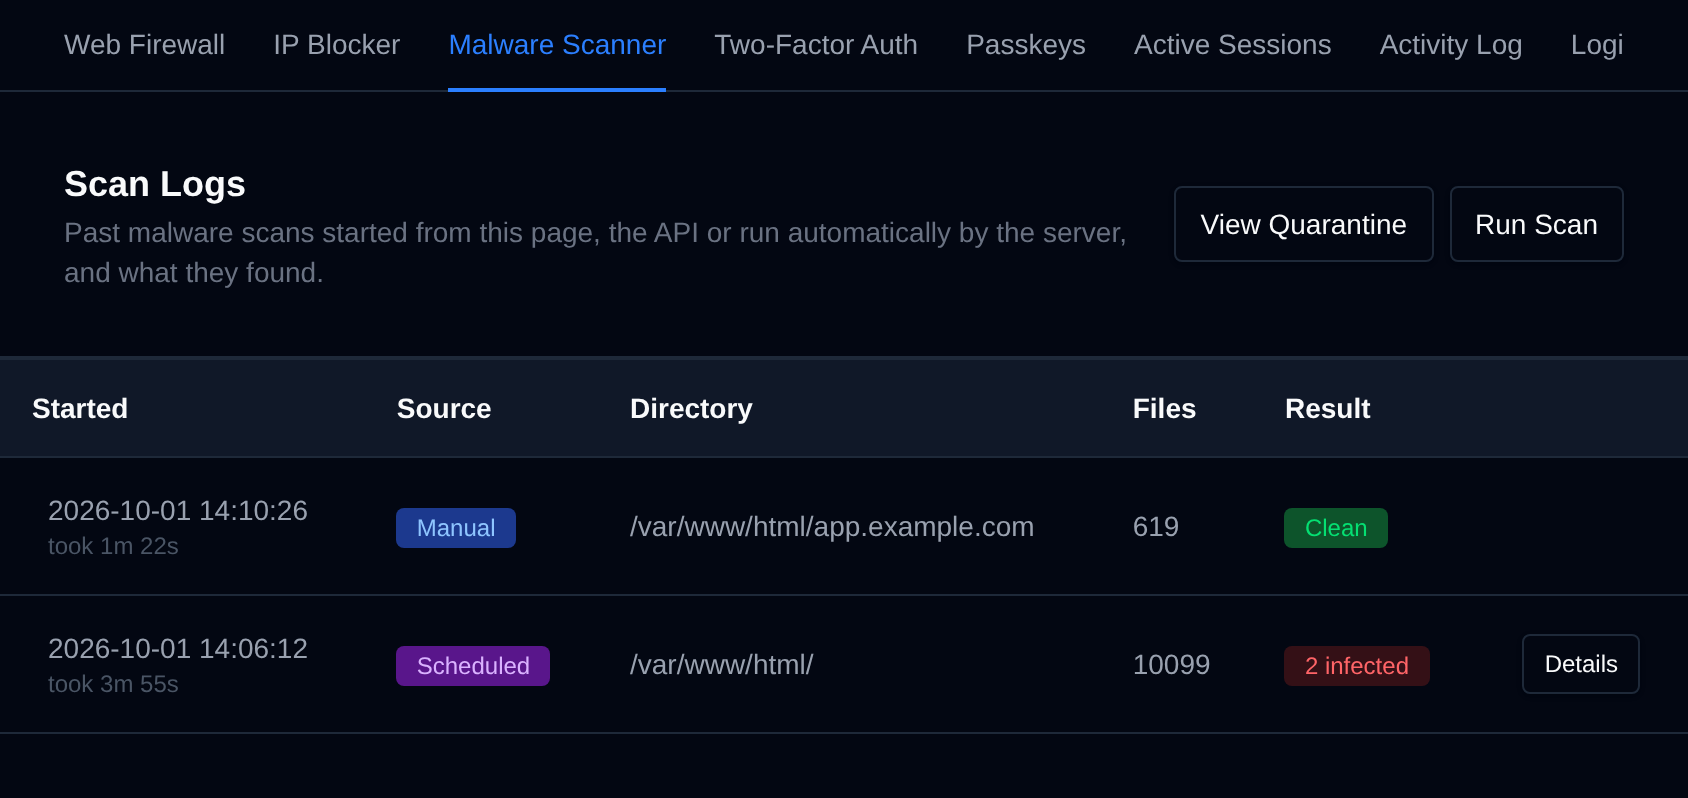
| Column | What it shows |
|---|---|
| Started | When the scan started, and below it how long it took. |
| Source | Manual for scans started from the Malware Scanner page, Scheduled for automatic scans, API for scans started through the API. |
| Directory | The directory that was scanned. |
| Files | How many files were checked. |
| Result | Clean, the number of infected files, or Failed if the scan could not run. errors shows how many files could not be checked, and Stopped early that the scan was stopped before it finished. |
Click Details next to a scan to see the files with malware or errors it found. Automatic scans also show the malware name, and that the file was moved to quarantine.
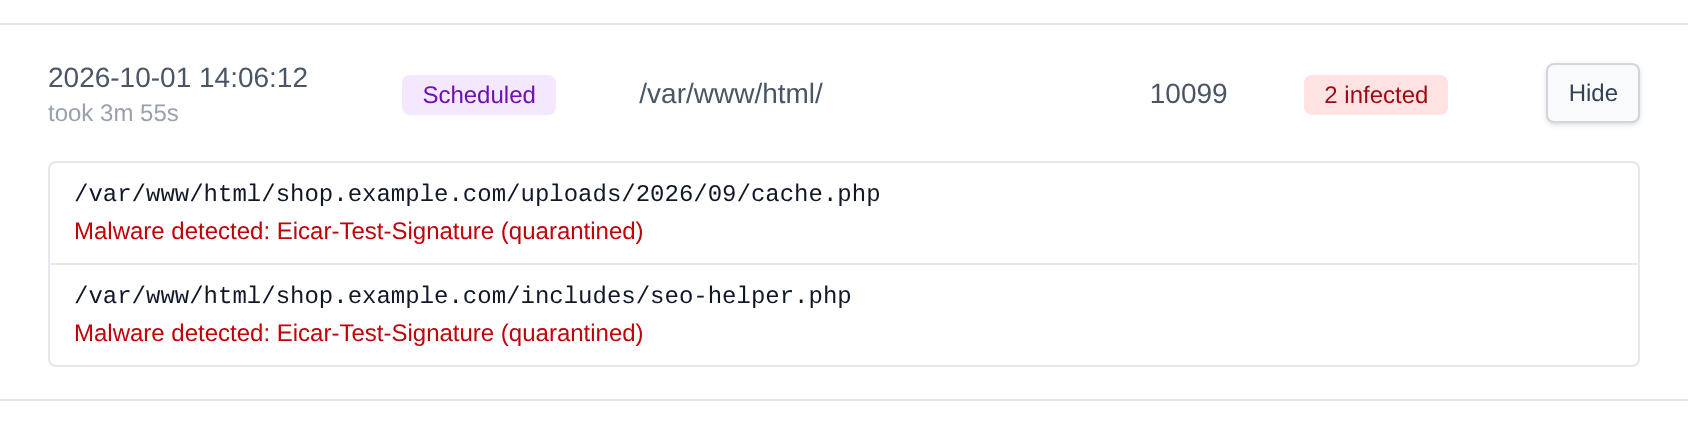
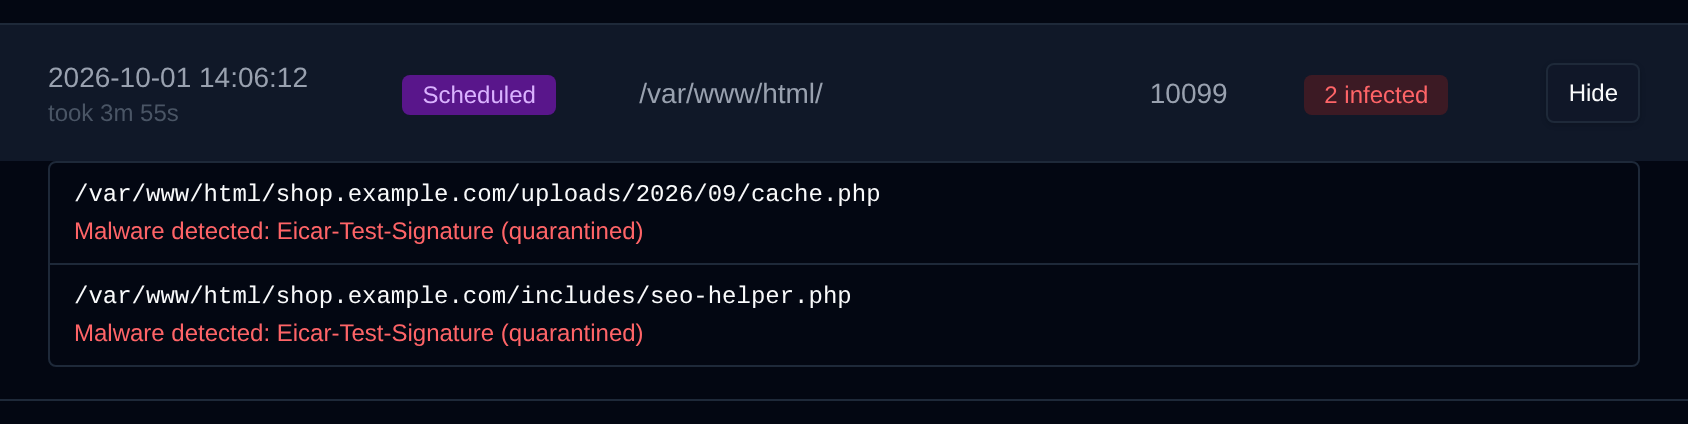
The last 50 scans are kept. Clean files are not listed, and a scan lists at most 500 files.
Quarantine
Click View Quarantine to open the Quarantine page, which lists files that ClamAV has detected as malicious and moved out of your website directory. Opening the .quarantine folder in the File Manager also takes you to this page.
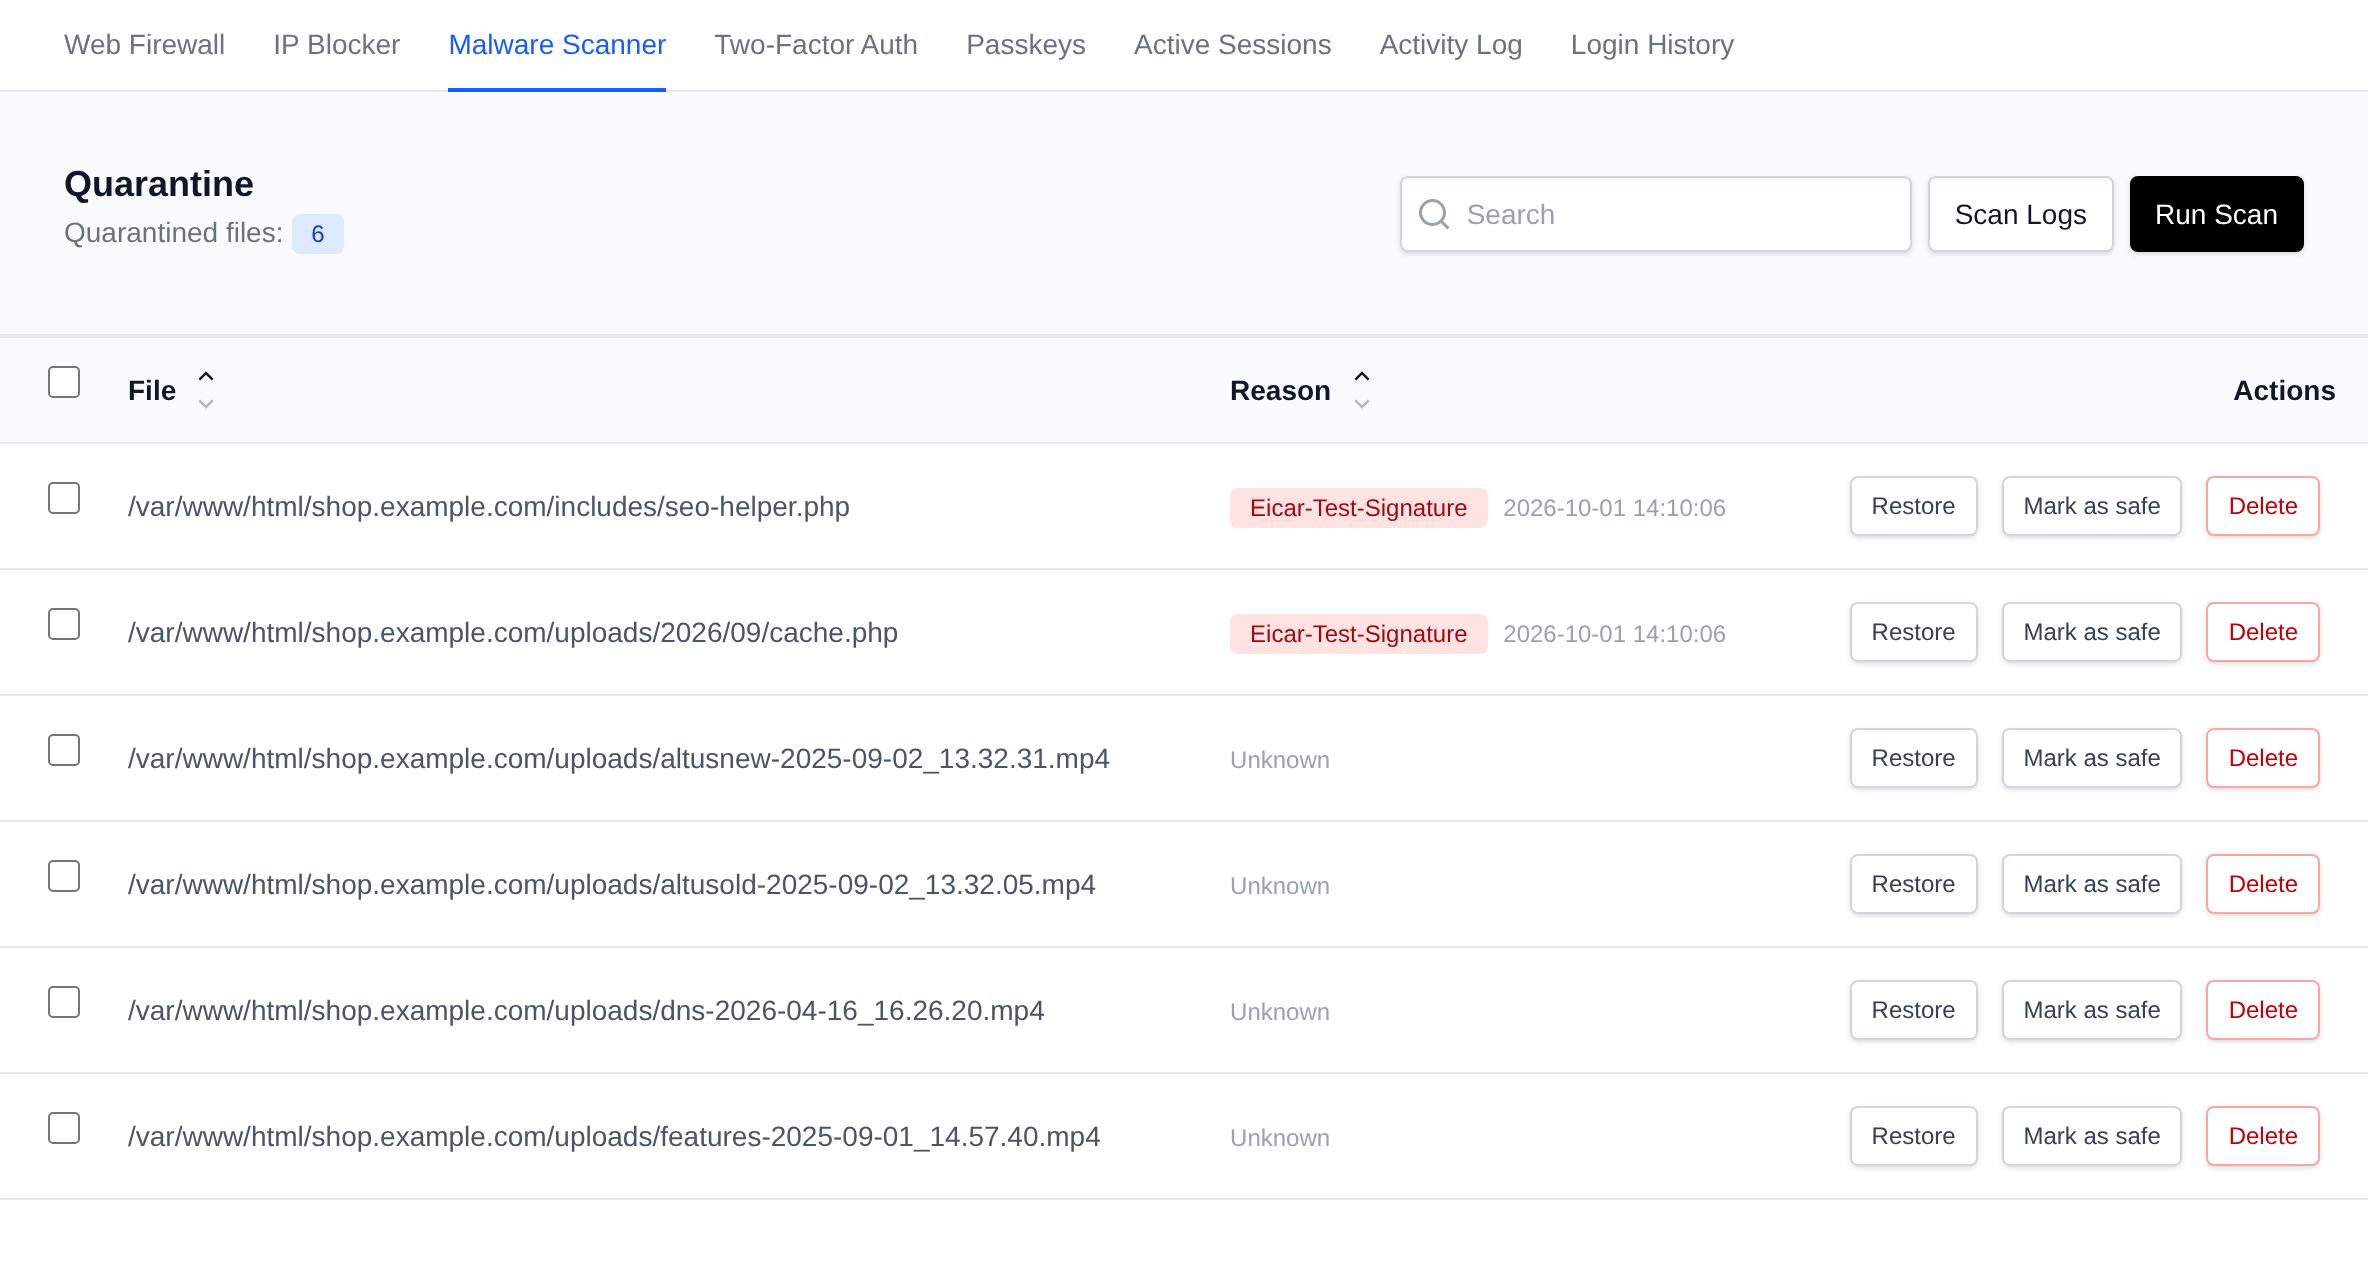
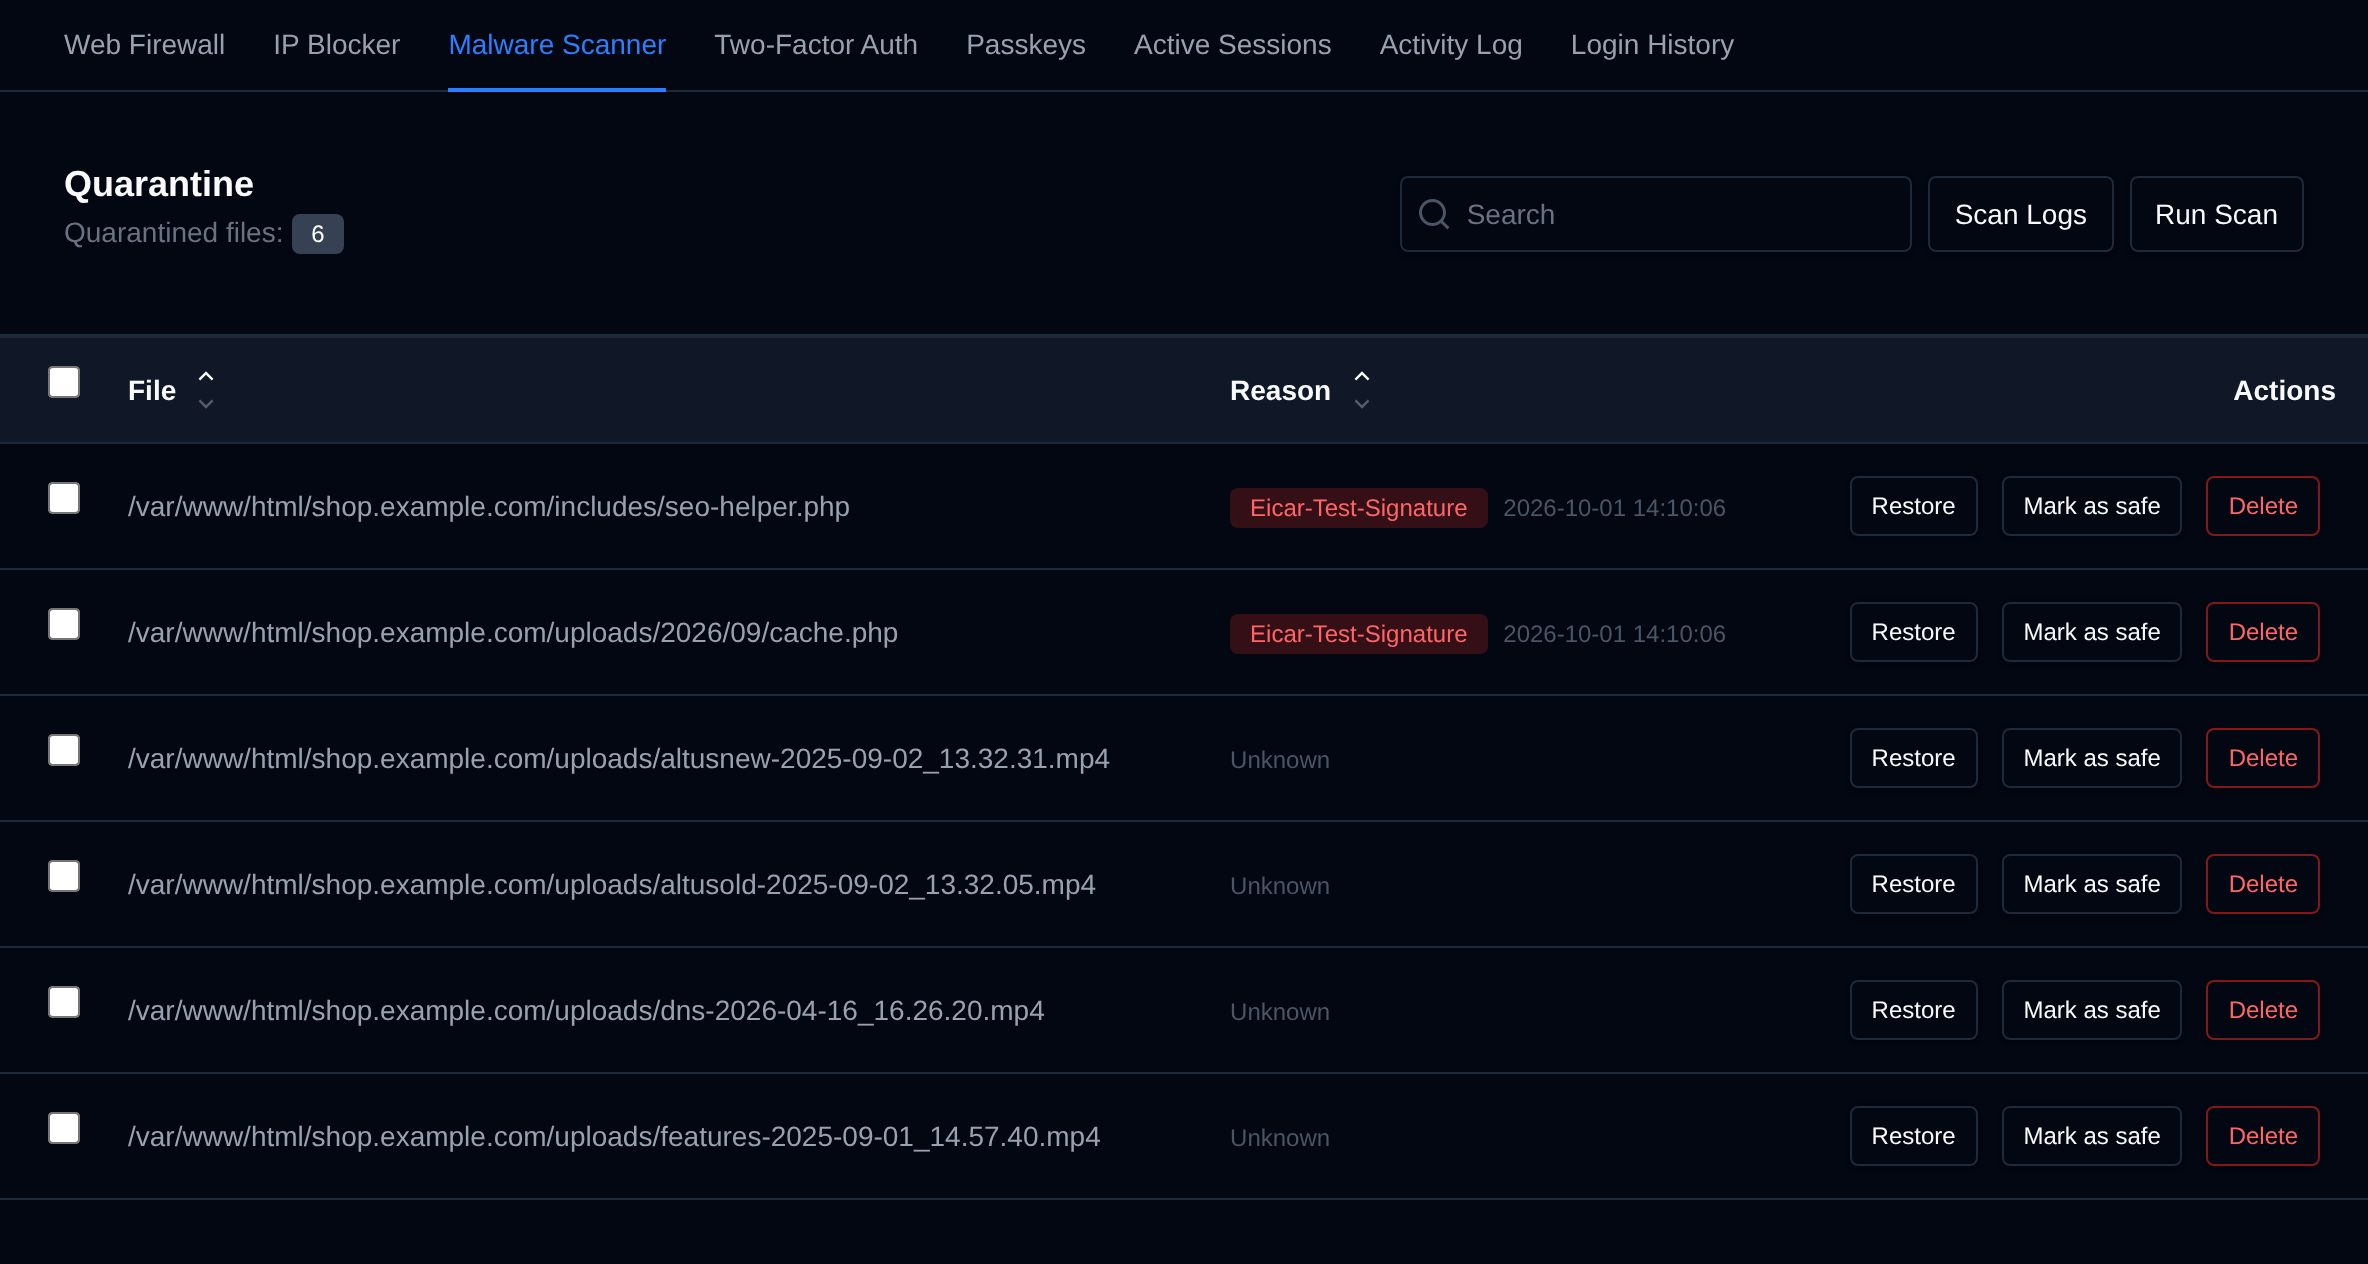
The File column shows where each file was before it was quarantined, and Reason shows the malware ClamAV found in it and when the file was moved. Click the arrows next to a column name to sort by it, or use Search to filter the list.
When you open the Malware Scanner while there are files in quarantine, a reminder shows how many are waiting for you, with a Review button that opens this page. The reminder is shown at most once a week.
The Scan for Malware section on the Security tab of each site in WP Manager and the other application managers also warns when files from that site are in quarantine. It shows how many there are, lists the first five with the malware found, and links to this page.


Restore, Mark as safe and Delete
Each file has three actions. Clicking one doesn't run it right away, the row first shows what will happen together with a confirm button and Cancel. Press Esc or click anywhere else to cancel.
| Action | What it does | Before you confirm |
|---|---|---|
| Restore | Moves the file back to its original location. | The path turns blue. |
| Mark as safe | Restores the file and skips it in future scans. | The path turns green. |
| Delete | Permanently deletes the file. | The path is crossed out in red, confirm with Delete permanently. |






Bulk Actions
Tick the checkbox of one or more files, or the checkbox in the table header to select every file shown by the current search. A bar appears at the bottom of the page with the number selected, a Clear link and these actions:
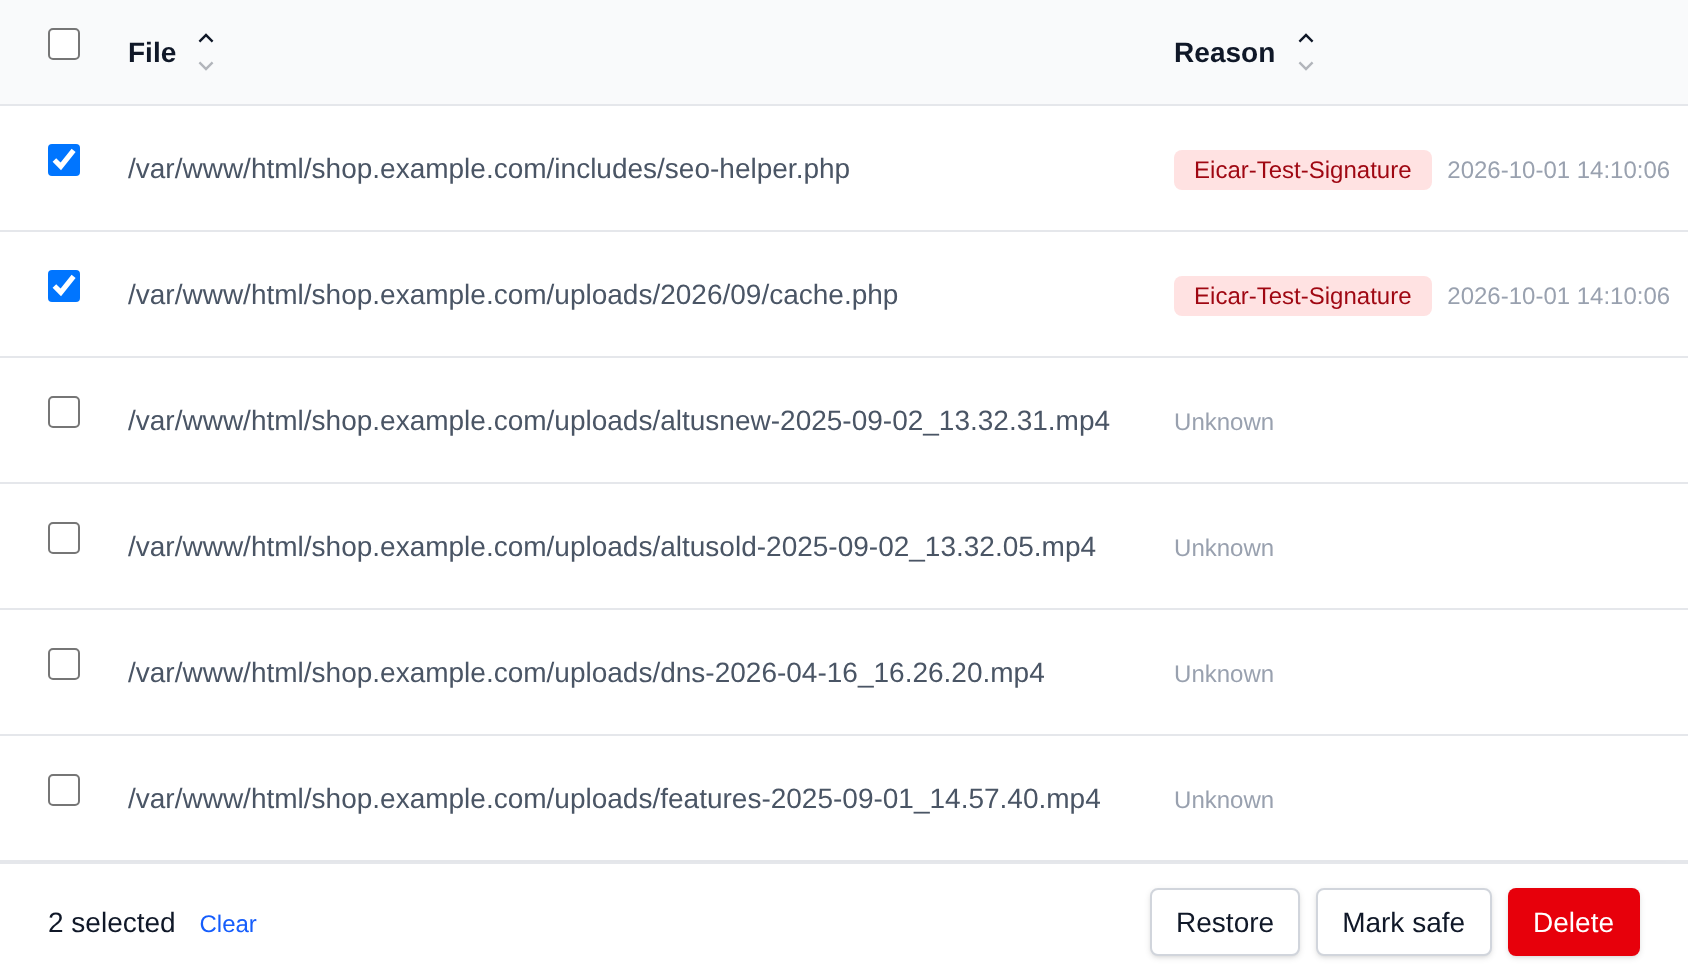
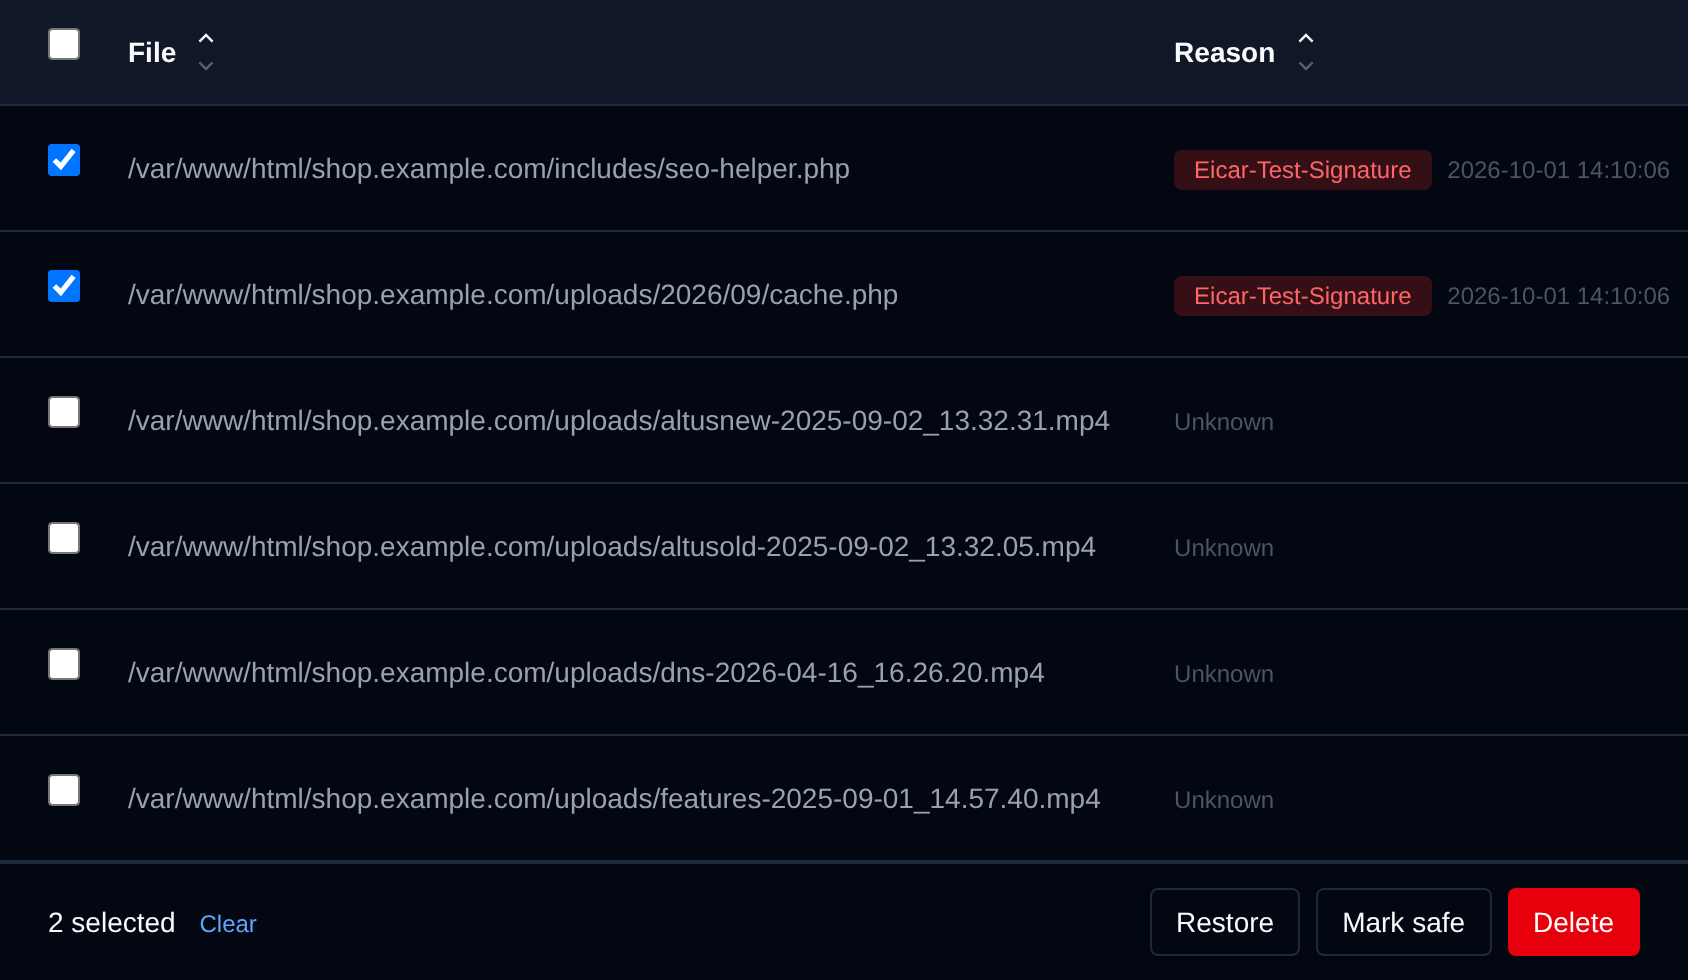
| Action | What it does |
|---|---|
| Restore | Moves the selected files back to their original location. |
| Mark safe | Restores the selected files and skips them in future scans. |
| Delete | Permanently deletes the selected files. |
Click an action, confirm it, and it runs on the selected files one after another. When it's done the page reloads with a notice listing the files it worked for, or which ones failed and why.