Java
Containerized Java applications can be created and managed in OpenPanel Enterprise Edition.
Step-by-step guide: Deploy a Java / Spring Boot app
Create an Application
To create a new Java application, navigate to OpenPanel > Websites > Install App and click Setup Java Application.
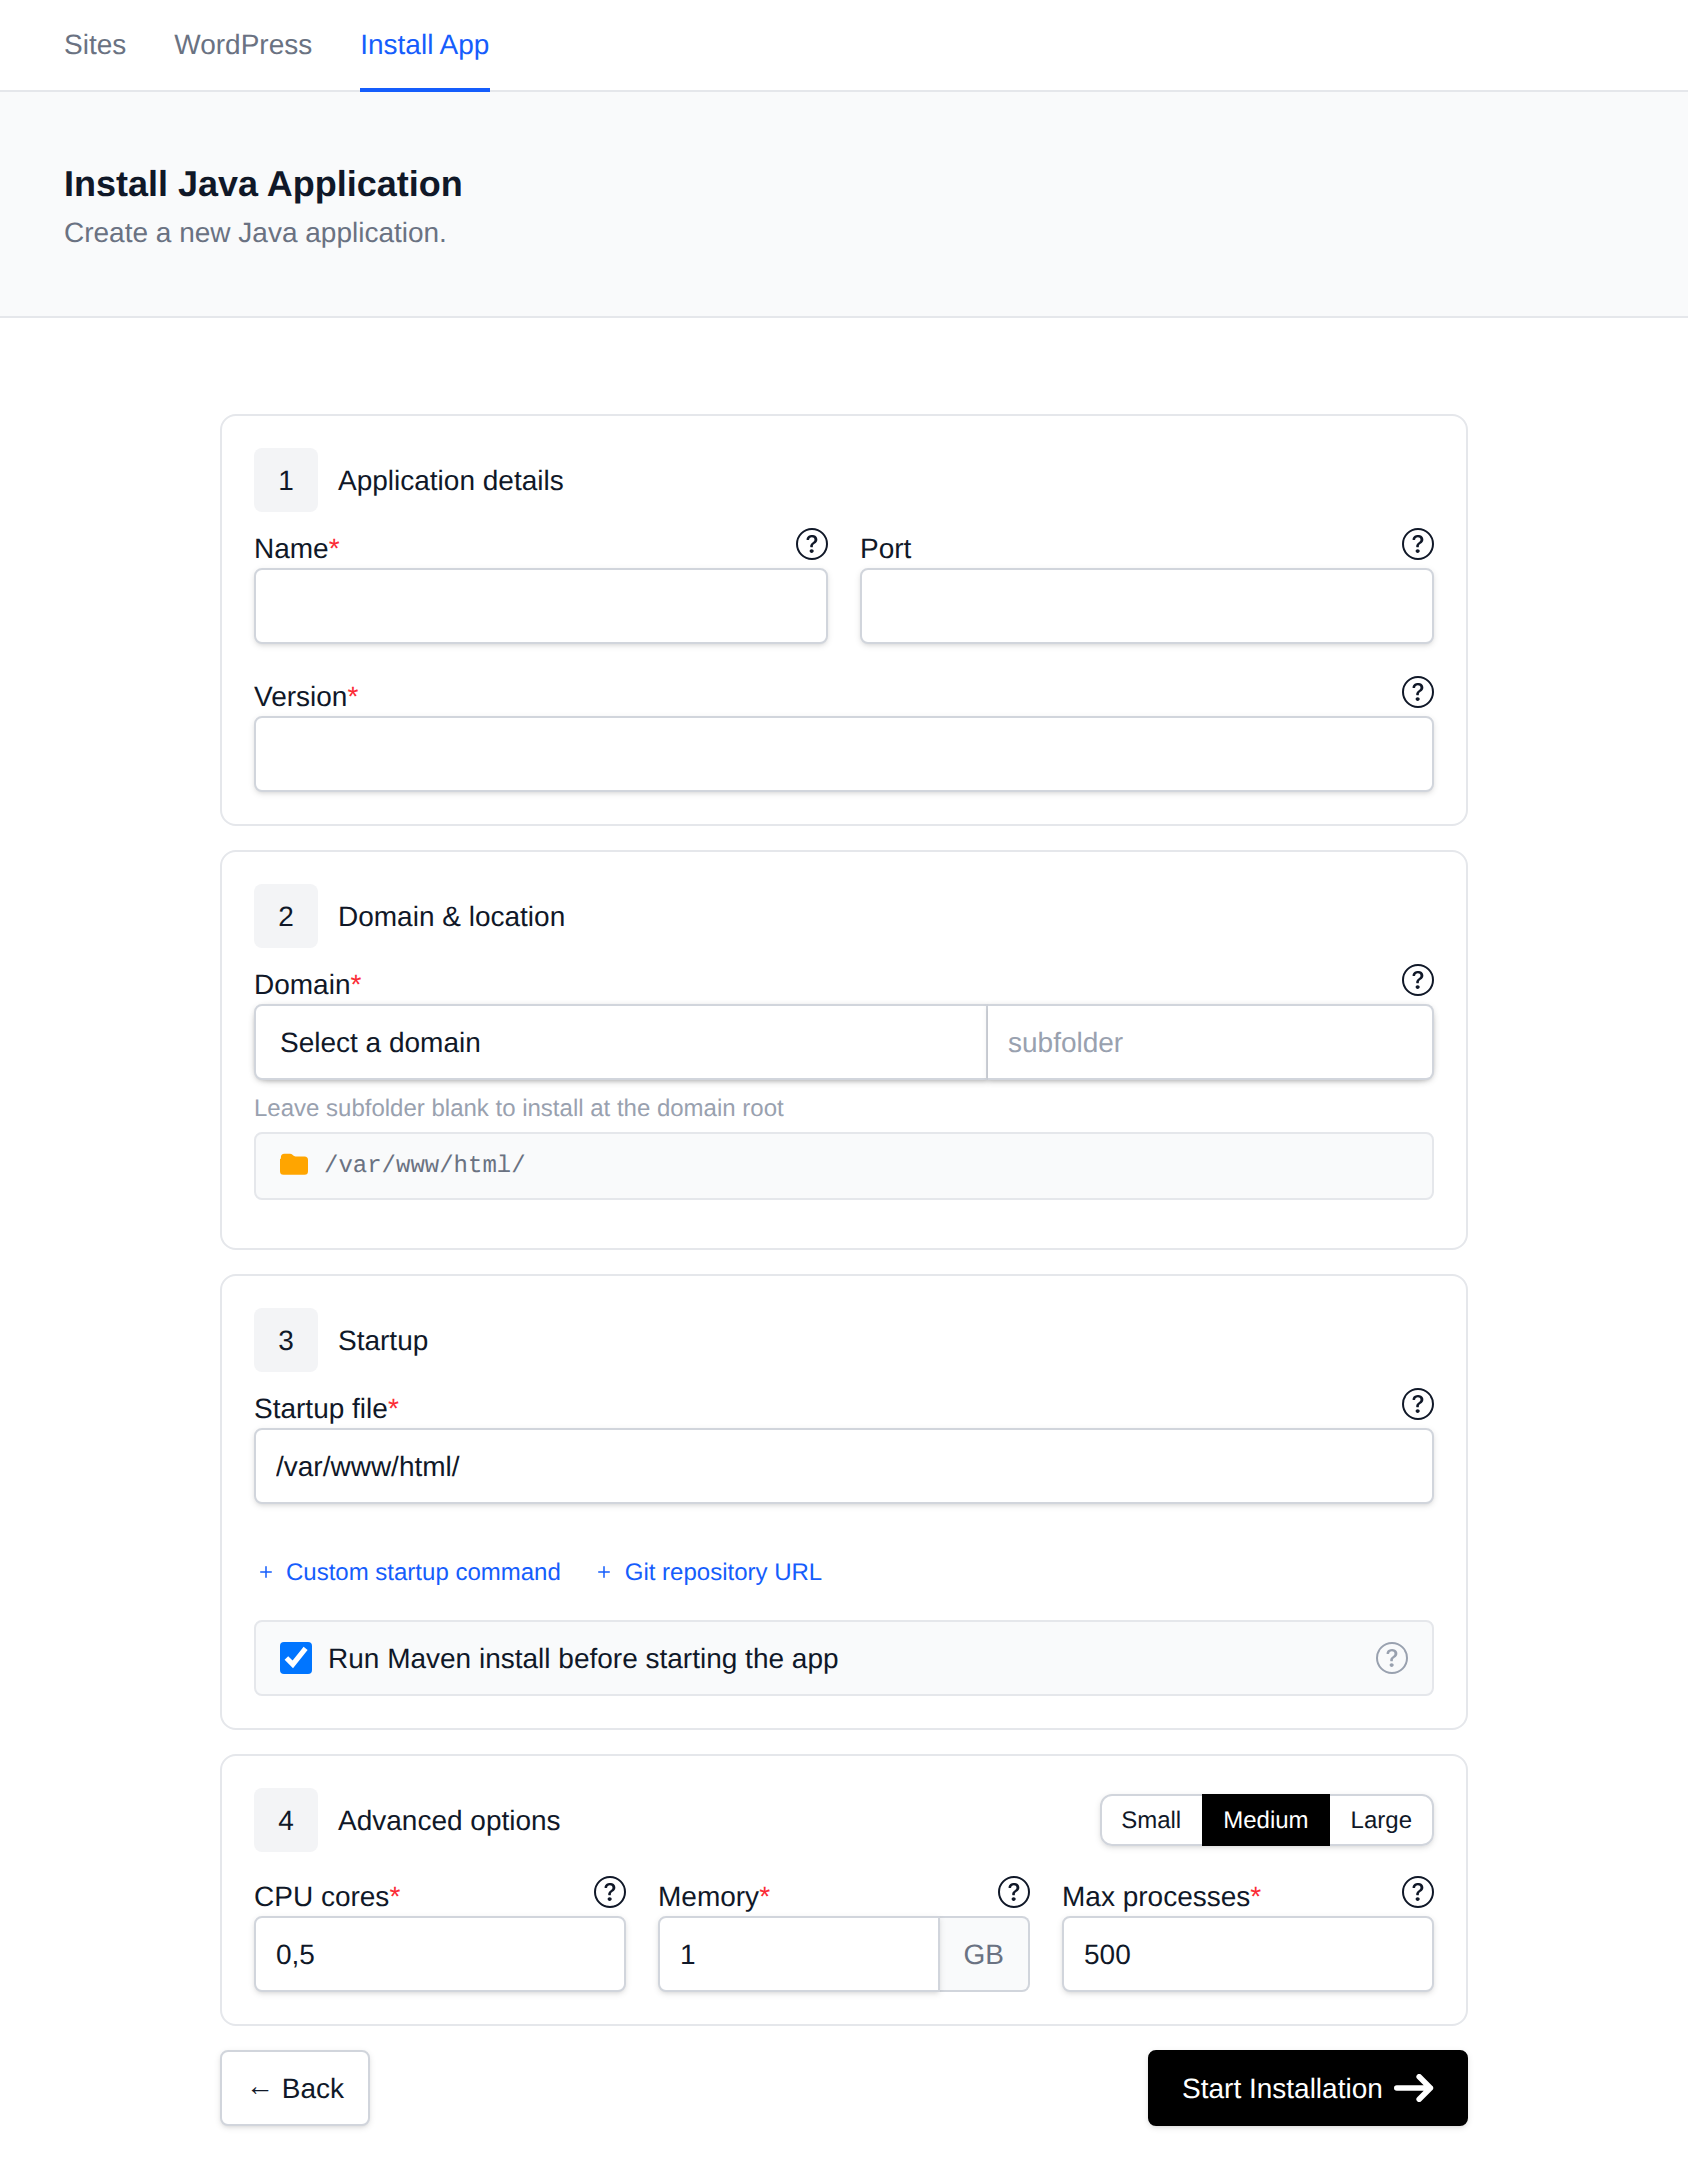
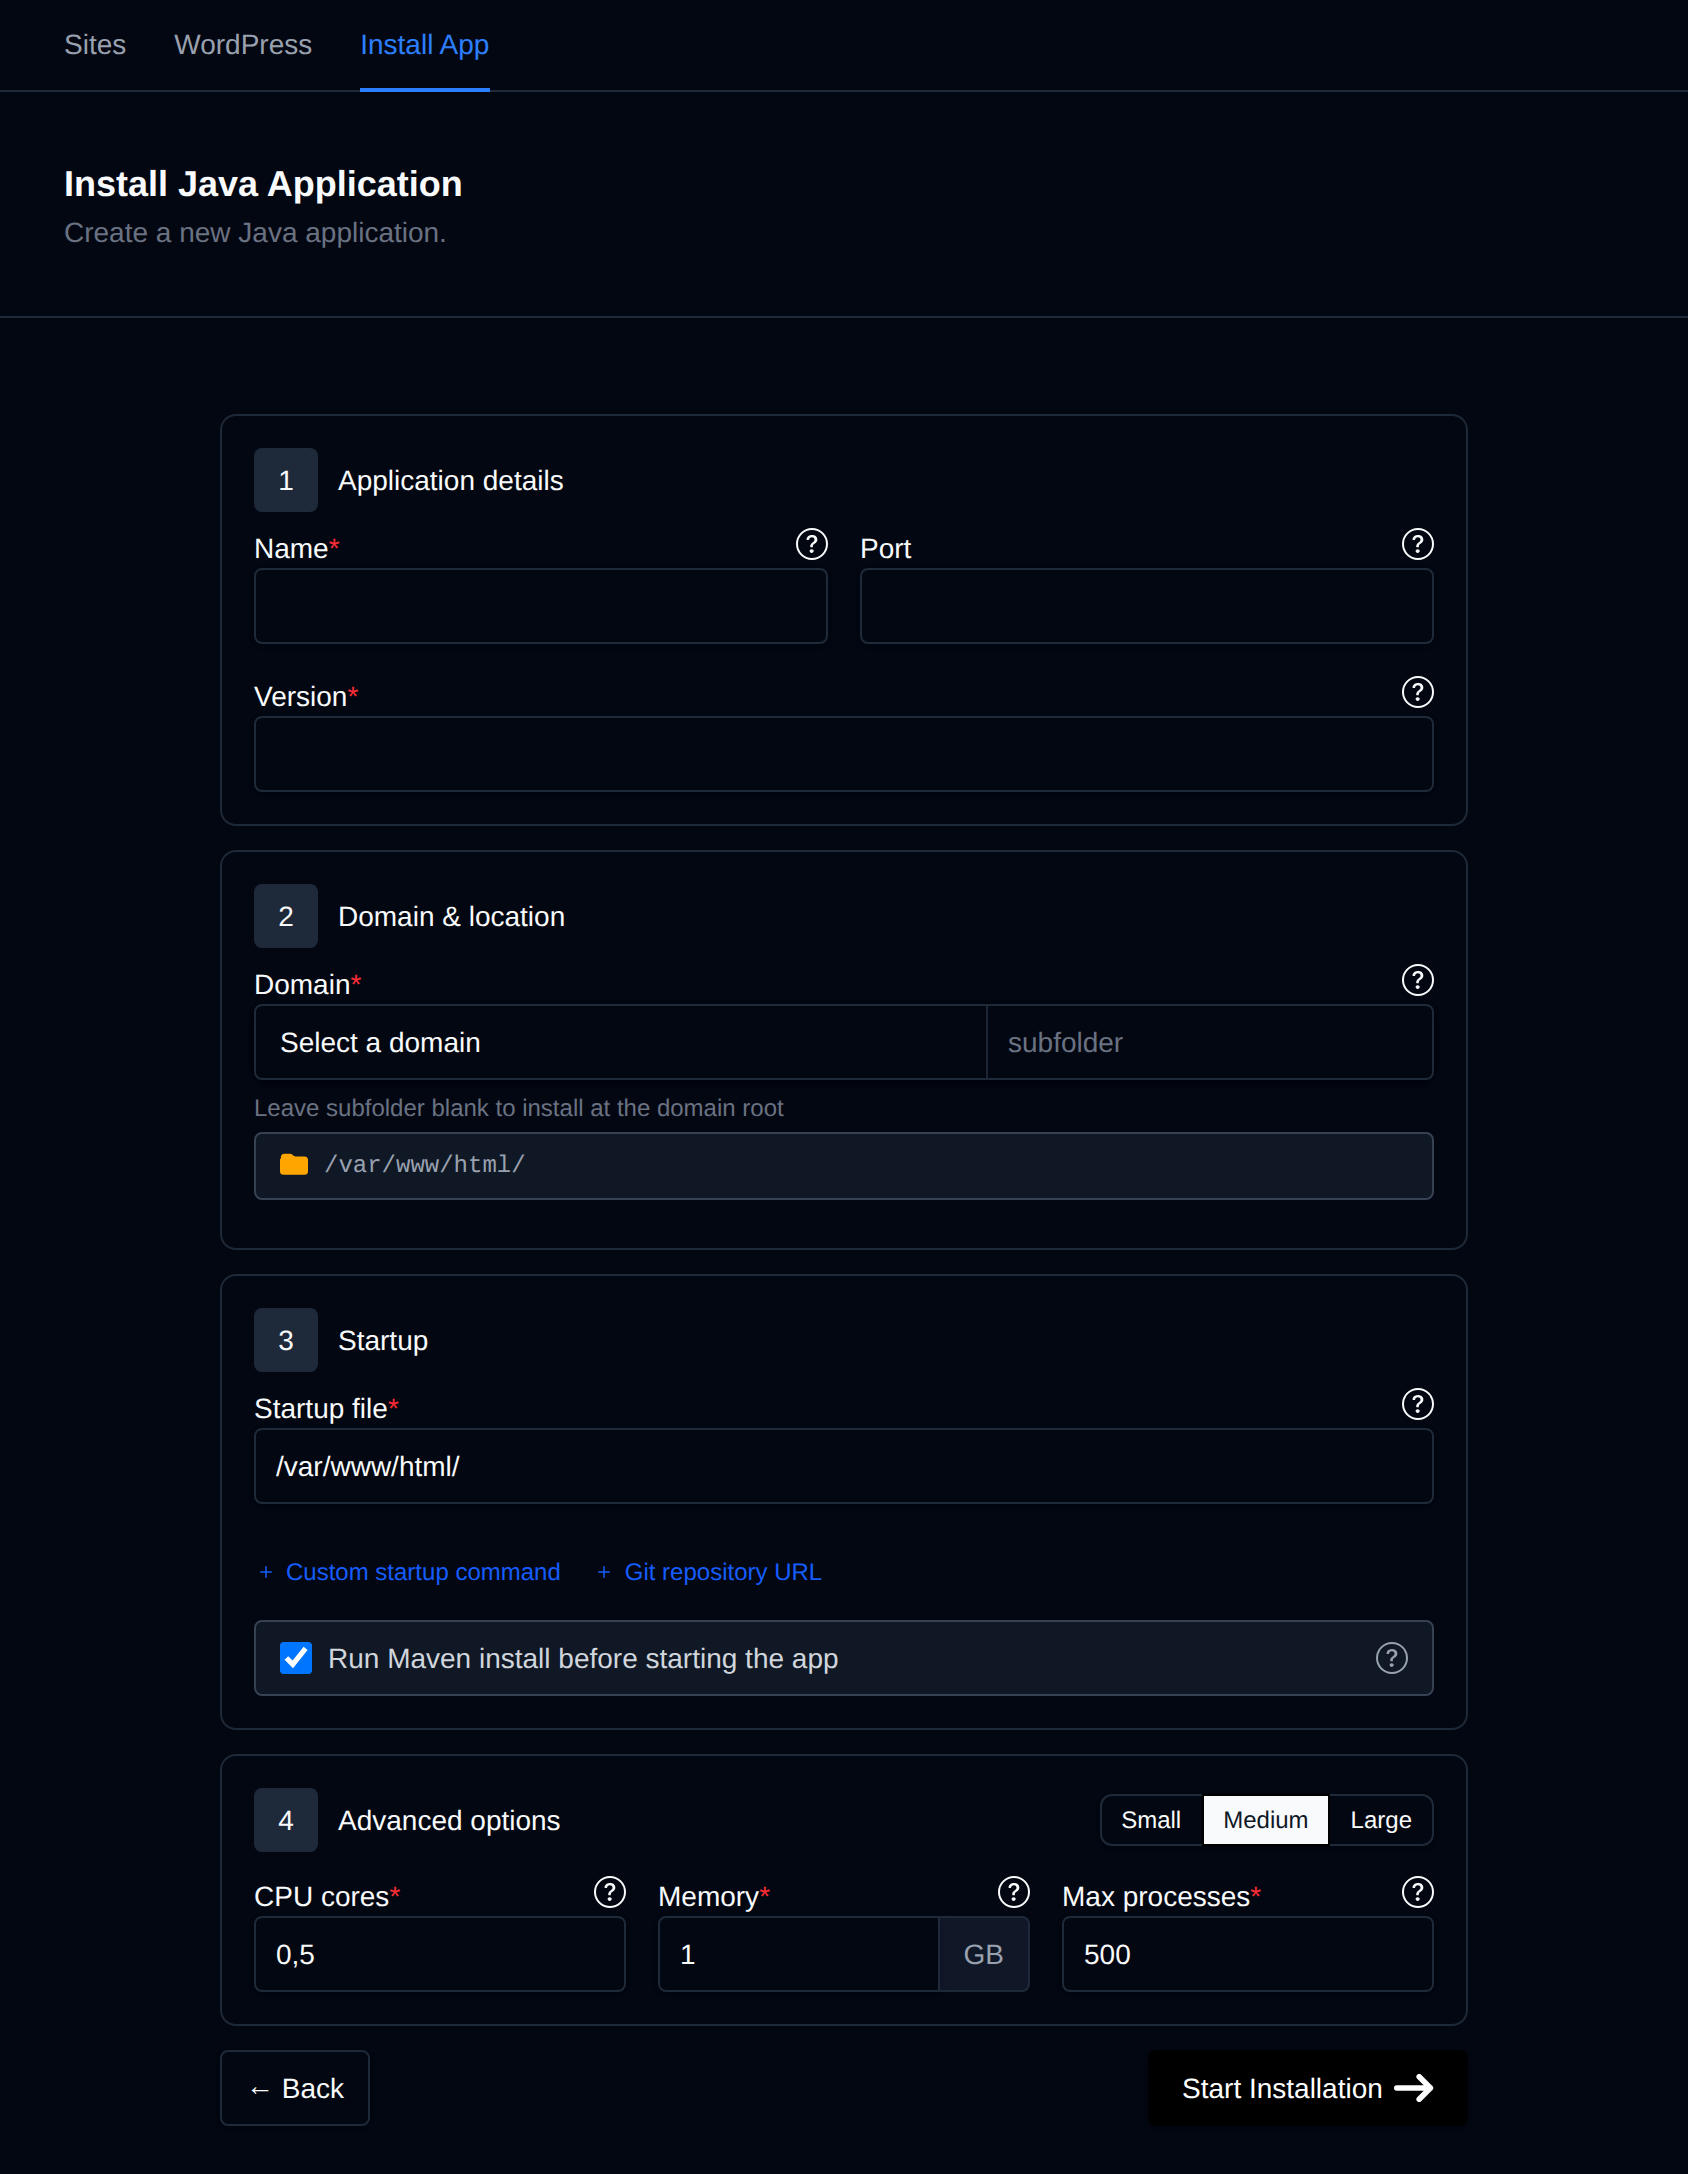
On the next page, you can configure the following settings:
- Name – The name of the application and container as displayed in OpenPanel.
- Port – Set a custom port if your app uses one. Otherwise, port 80 is used by default.
- Domain Name / Subfolder – The domain (and optional subfolder) where the application will be publicly accessible.
- Startup File – The file executed at startup with the
javacommand. Defaults toMain.java. - Custom Startup Command – Use a custom startup command instead of the default
java(for examplejava -jar target/app.jarfor a Maven build). - Type – Fixed to Java.
- Version – Select a JDK version from Docker Hub's official
eclipse-temurinLTS tags. - Run Install – Run
mvn installusing the project'spom.xmlbefore starting the application. Skip this for a single-file app or one that's already built. - Resource presets – Small (0.25 CPU, 0.25 GB, 100 processes), Medium (0.5 CPU, 1 GB, 500 processes) or Large (1 CPU, 2 GB, 1000 processes) fill in the three limits below in one click. Medium is the default.
- CPU Cores – Number of CPU cores allocated to the application.
- Memory – Amount of memory (in GB) allocated to the application.
- Max processes – The most processes the application's container can run at once.
After completing the form, click Start Installation. The installation process will be displayed below the form. Once complete, you’ll be redirected to the management page where you can view all your applications.
Since Java 11 (JEP 330), java SomeFile.java runs a single source file directly — it's compiled in memory with no separate javac step and no build tool required. That's the default here, matching the "just run one file" model of the Node.js, Python, and Ruby application types for a quick app. Projects that do have a pom.xml can enable Run Install to run mvn install first, then use a custom startup command to run the resulting build.
Example App
A minimal HTTP server using only the JDK standard library — no build step or dependencies required.
Example Main.java file:
import com.sun.net.httpserver.HttpServer;
import java.net.InetSocketAddress;

public class Main {
    public static void main(String[] args) throws Exception {
        HttpServer server = HttpServer.create(new InetSocketAddress(3000), 0);
        server.createContext("/", exchange -> {
            byte[] response = "Hello World from Java on port 3000!".getBytes();
            exchange.sendResponseHeaders(200, response.length);
            exchange.getResponseBody().write(response);
            exchange.getResponseBody().close();
        });
        server.start();
    }
}
No Run Install step is needed for this example — leave it disabled and set the startup file to Main.java.
Manage Applications
Once your application is created, you can manage it from OpenPanel > Websites > Sites.
Click Manage next to the application name to open its management page.
On this page, you can view important details such as:
- Screenshot – Preview of the application’s domain.
- Status – Current container status.
- Version – JDK version in use.
- CPU Limit – Configured CPU allocation.
- Memory Limit – Configured memory allocation.
- Speed – Google PageSpeed Insights data for the website.
- Files – Current folder path and size.
- Firewall – WAF (Web Application Firewall) status for the domain (if enabled).
You also have several management options:
- Actions – Start, stop, or restart the container.
- Overview – Modify startup file or command, working directory, package installation settings (Maven), version, and resource limits (CPU, Memory, PIDs).
- Install Packages – View and manage the
pom.xml, and runmvn install. - Logs – View container logs for troubleshooting.
- Remove – Delete the application.