n8n
Install and manage n8n - open-source workflow automation - in its own container on one of your domains. OpenPanel sets up the container, the reverse proxy with WebSocket support, the webhook URL and the n8n owner account, so you land directly on n8n's login screen.
Step-by-step guide: How to Self-Host n8n on Your Own Server
Install n8n
Navigate to OpenPanel > Websites > Install App and click Install n8n.
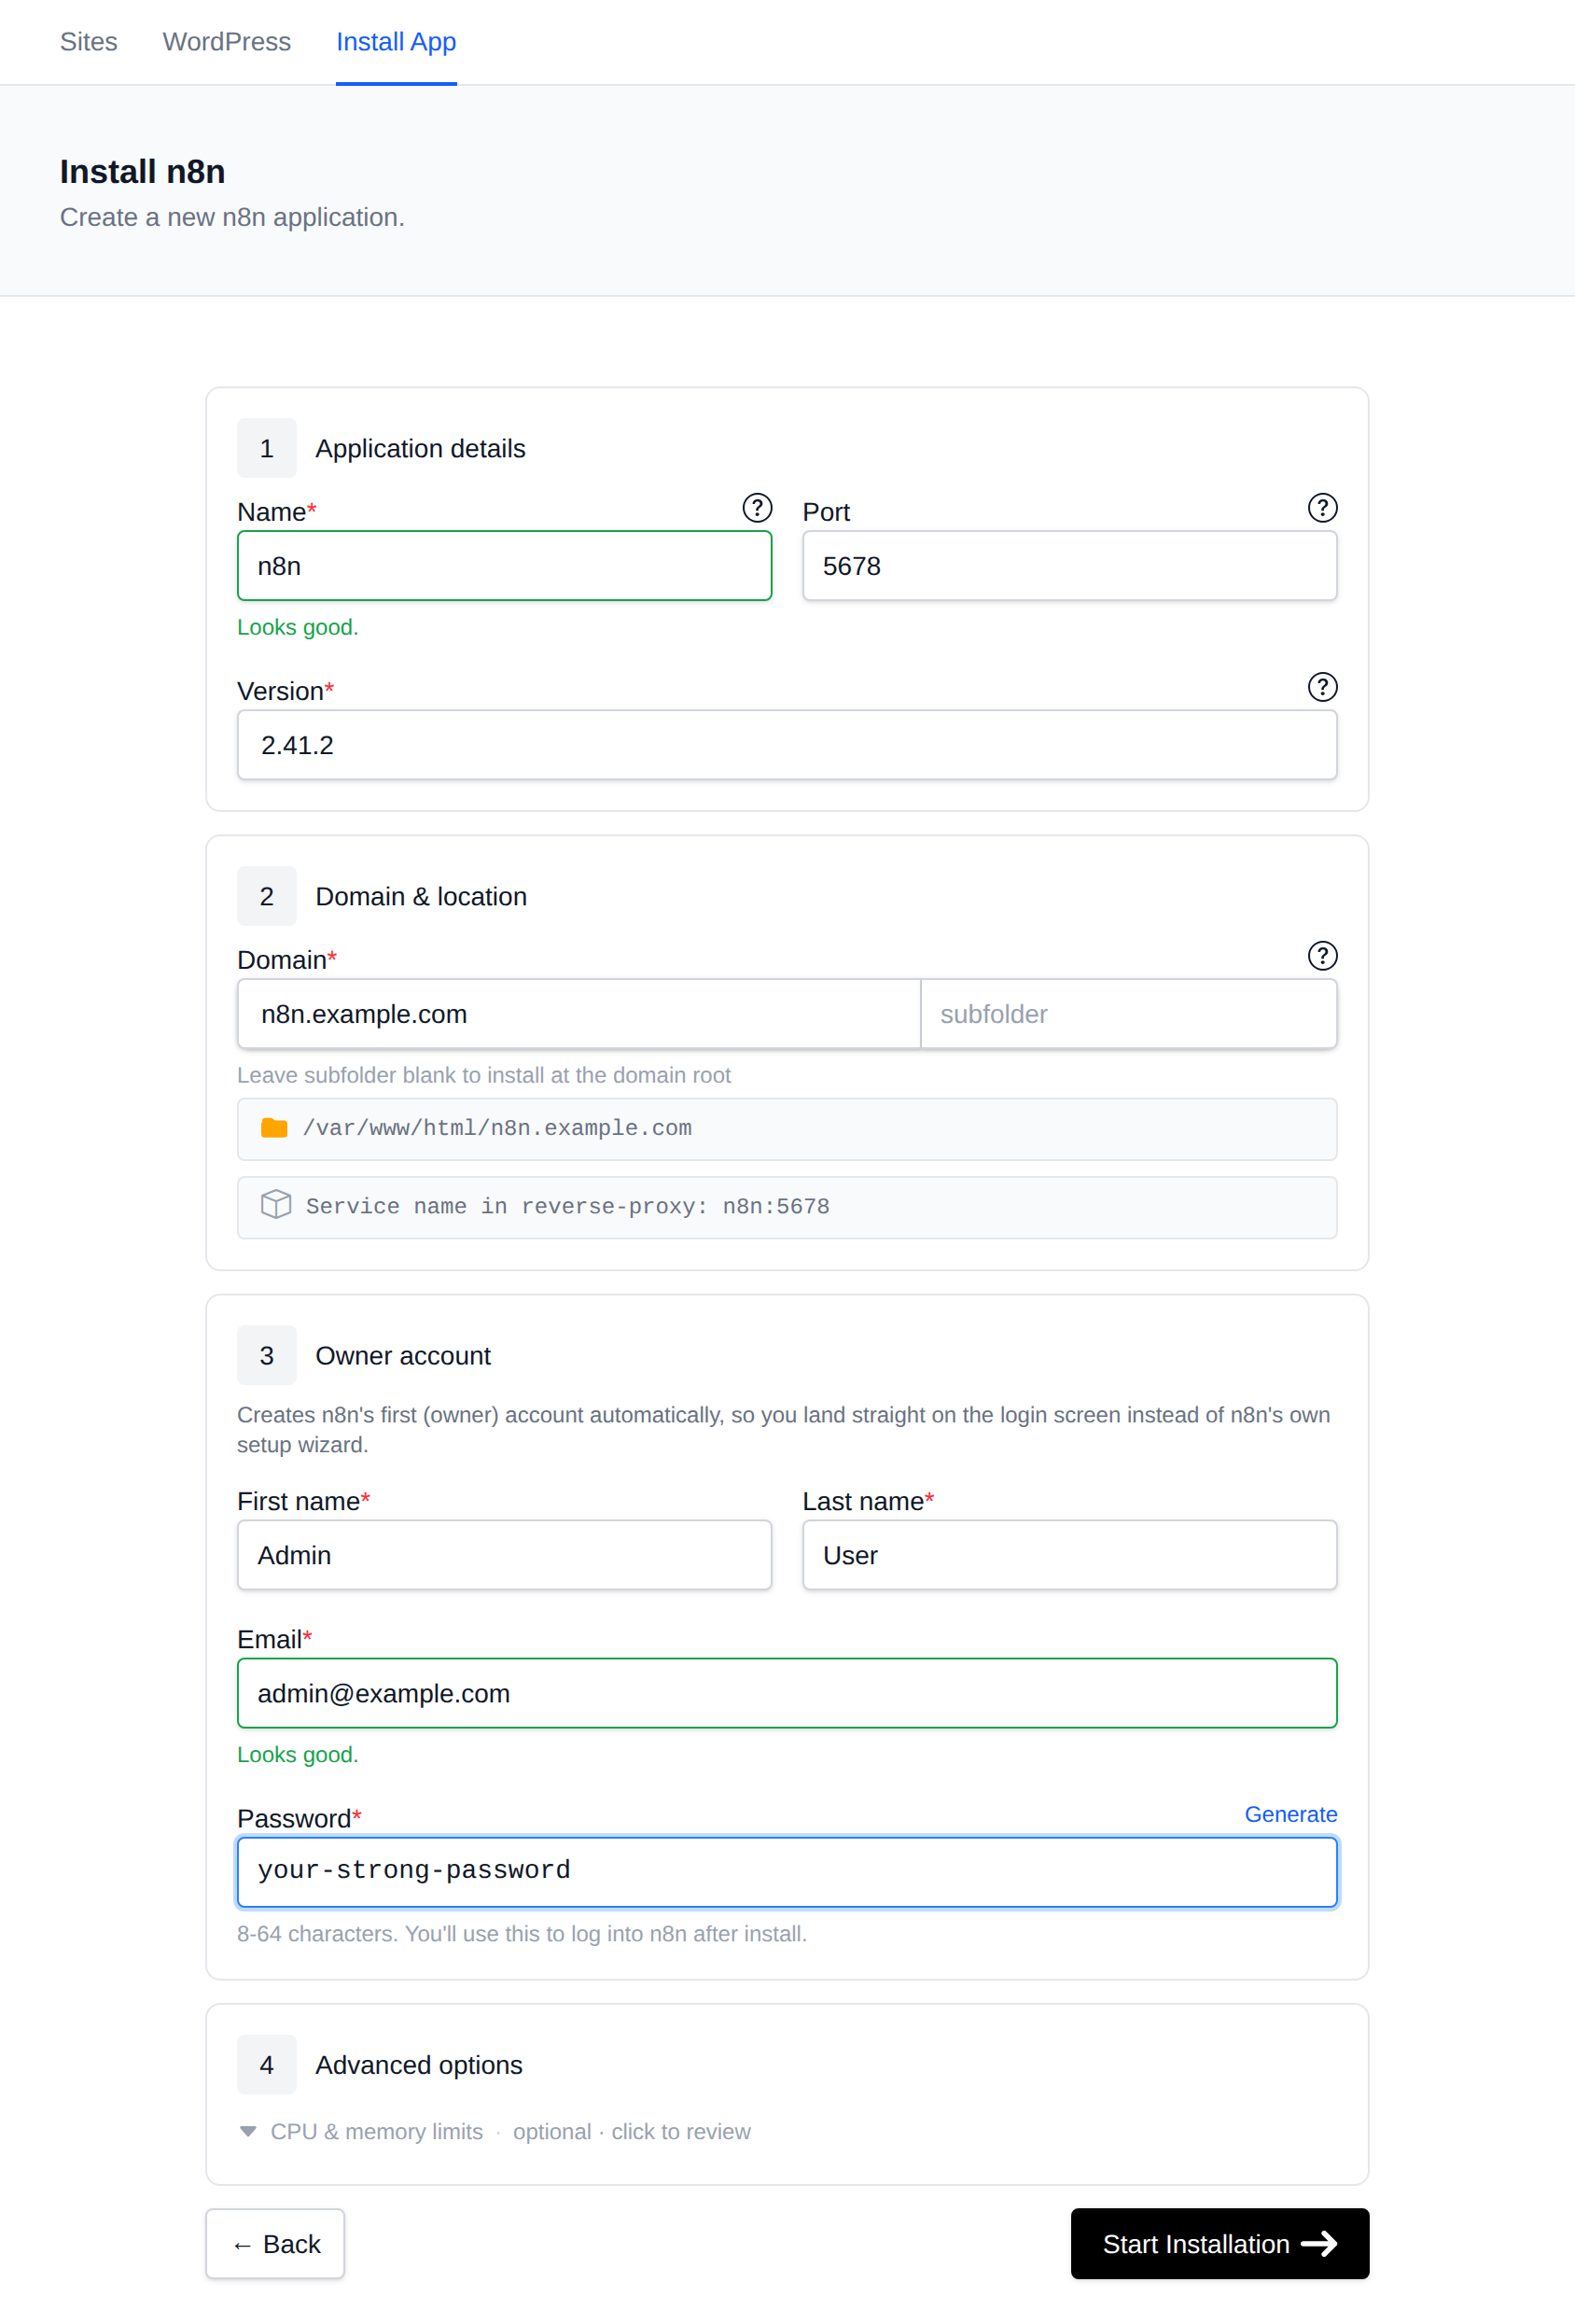
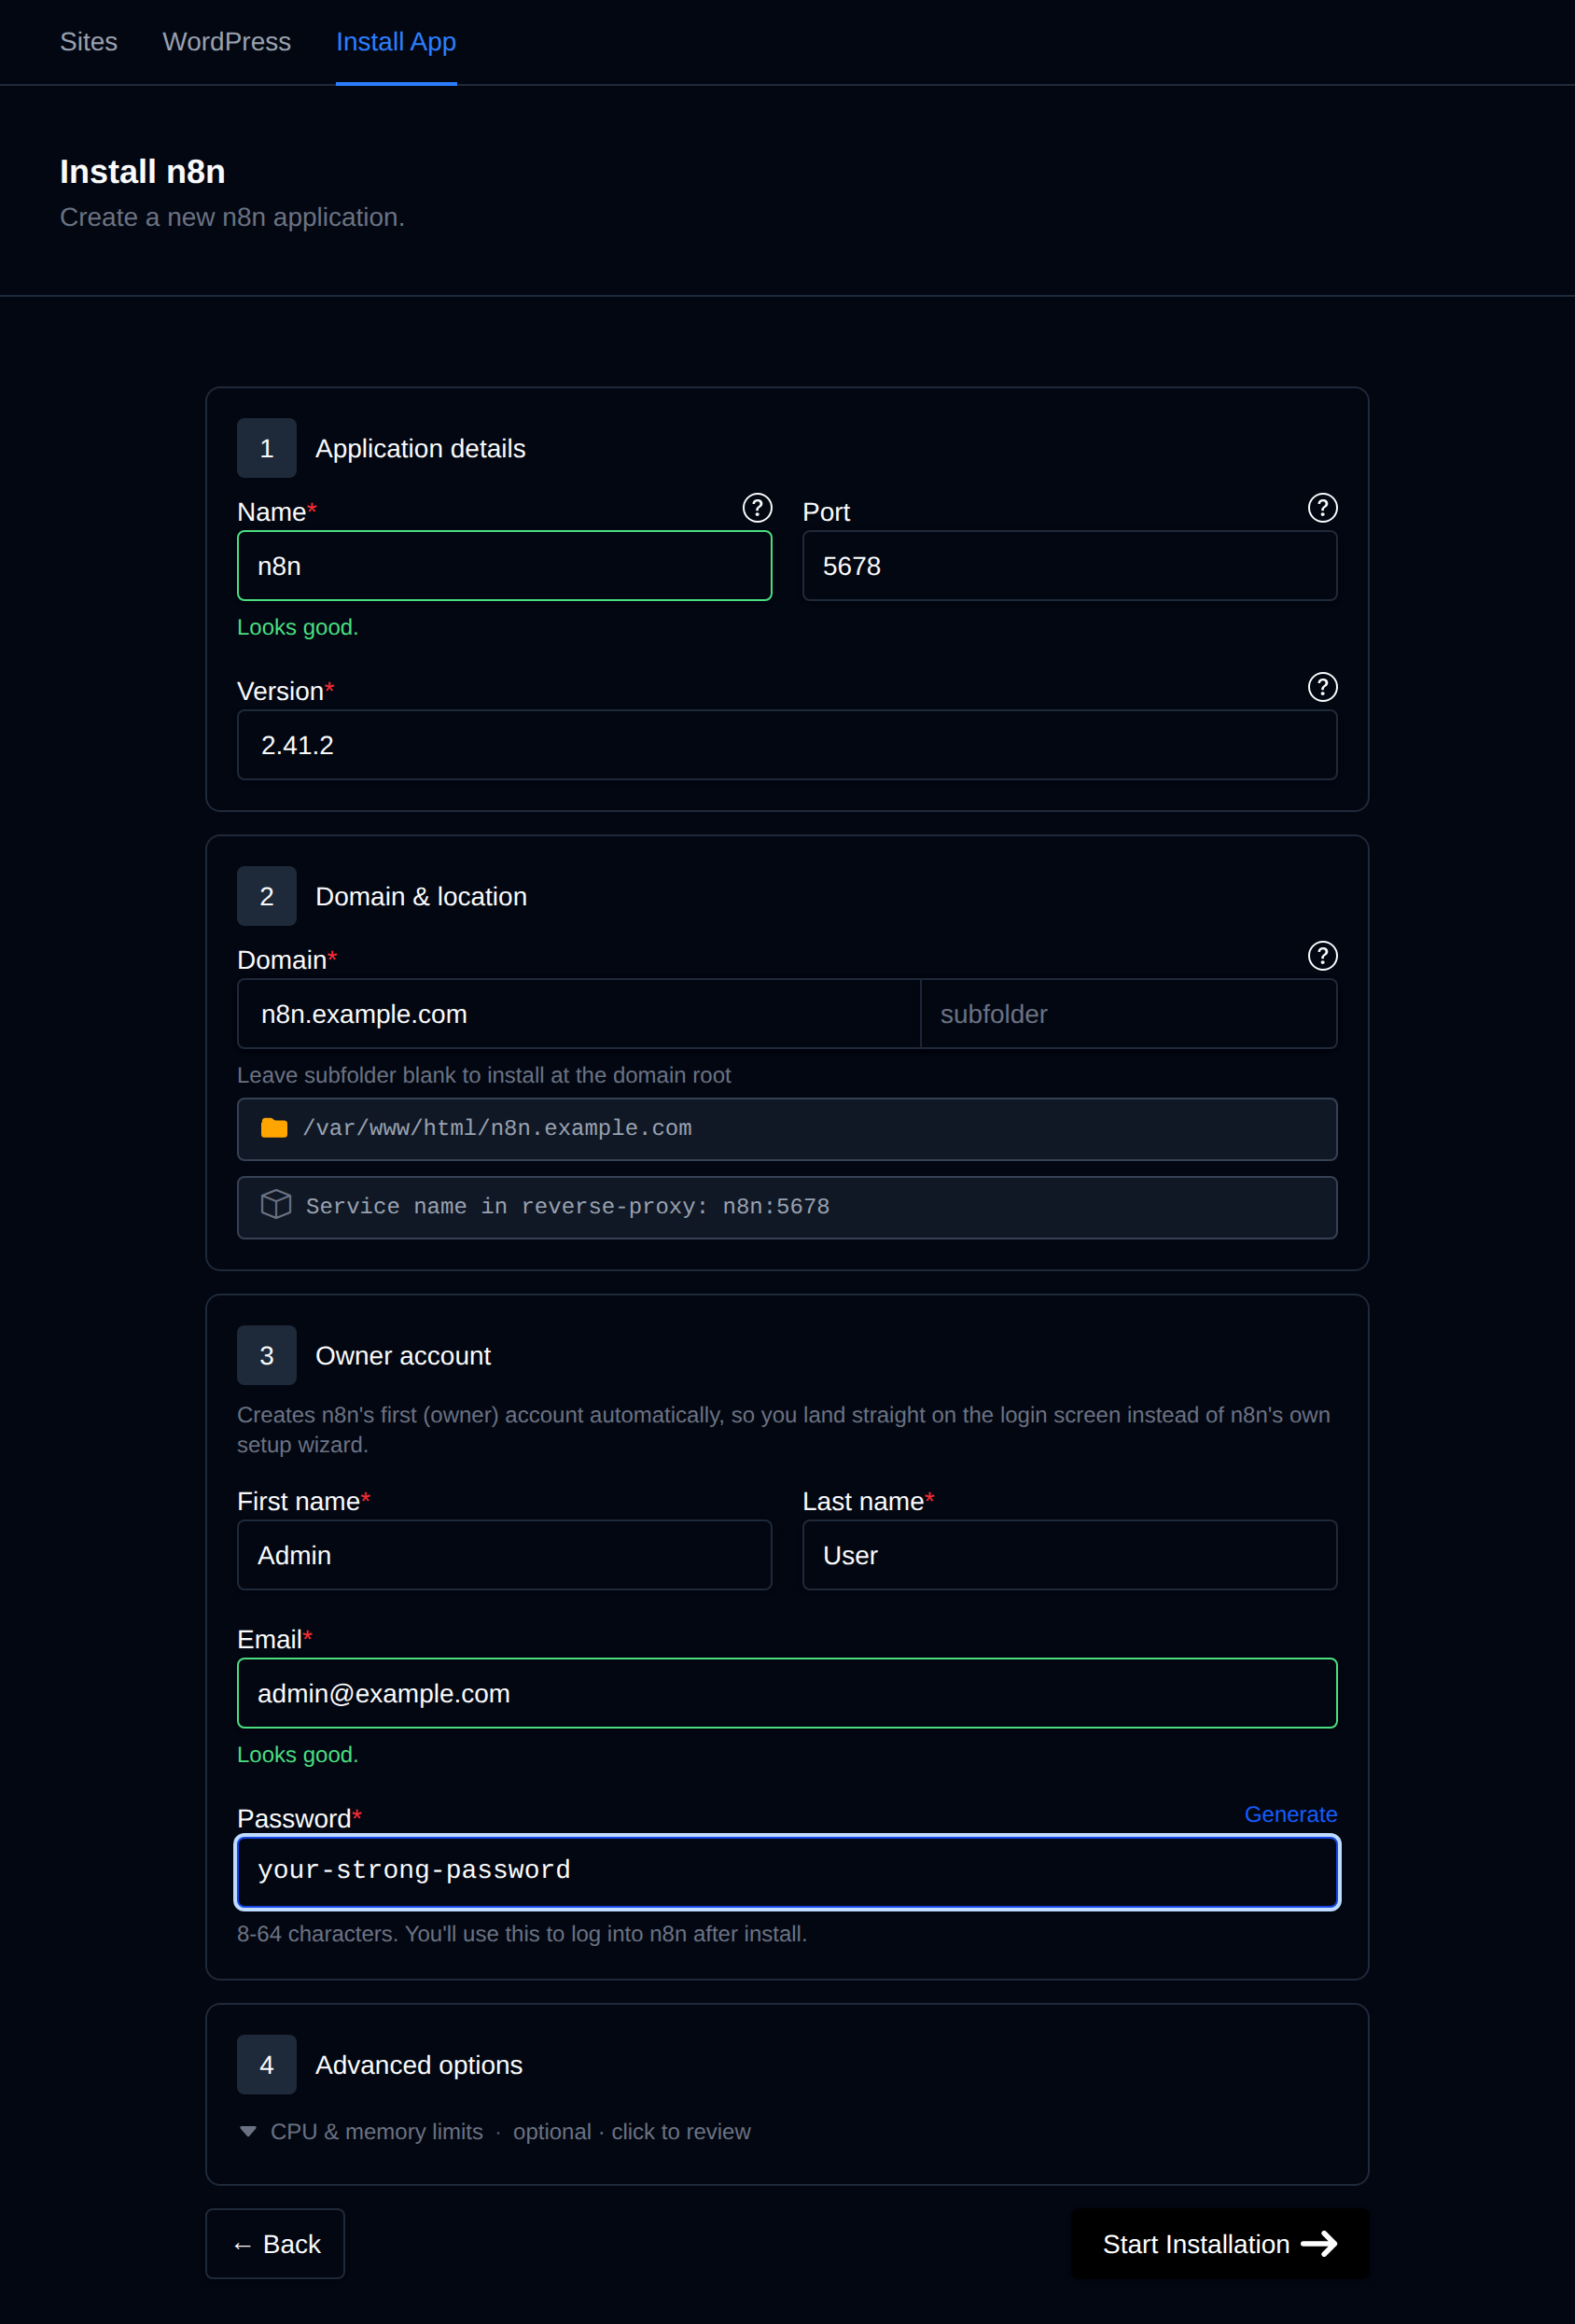
On the install page, configure:
- Name – The name of the application and its container as displayed in OpenPanel.
- Port – Fixed to
5678, the port n8n listens on inside the container. - Version – Any
n8nio/n8nrelease from Docker Hub. The newest one is selected by default. - Domain / Subfolder – The domain (and optional subfolder) where n8n will be available. Leave the subfolder blank to use the domain root.
- Owner account – First name, last name, email and password (8-64 characters) of n8n's first user. Click Generate for a random password.
- Advanced options – CPU, memory and PIDs limits for the container. The default of 1 CPU and 1 GB of memory is the recommended minimum.
Unlike the Node.js, Python, Ruby and Java installers, there is no startup file, custom command, package install or Git repository - n8n runs its own fixed entrypoint.
After you click Start Installation, OpenPanel:
- Adds an
n8nio/n8nservice to your account'sdocker-compose.yml, with its own data volume for/home/node/.n8n(workflows, credentials and settings). - Sets
N8N_HOST,WEBHOOK_URLandN8N_EDITOR_BASE_URLto the chosen domain, so webhooks and editor links use your realhttps://address. - Starts the container and configures the web server as a reverse proxy to it, including WebSockets for the live editor.
- Waits for n8n to finish starting, then creates the owner account through n8n's own setup API.
Progress is shown below the form. When it finishes, you're redirected to the Site Manager.
Manage n8n
n8n shows up on the Site Manager page (/sites) alongside your other websites. Click Manage next to it to open its page, which has four tabs.
Overview
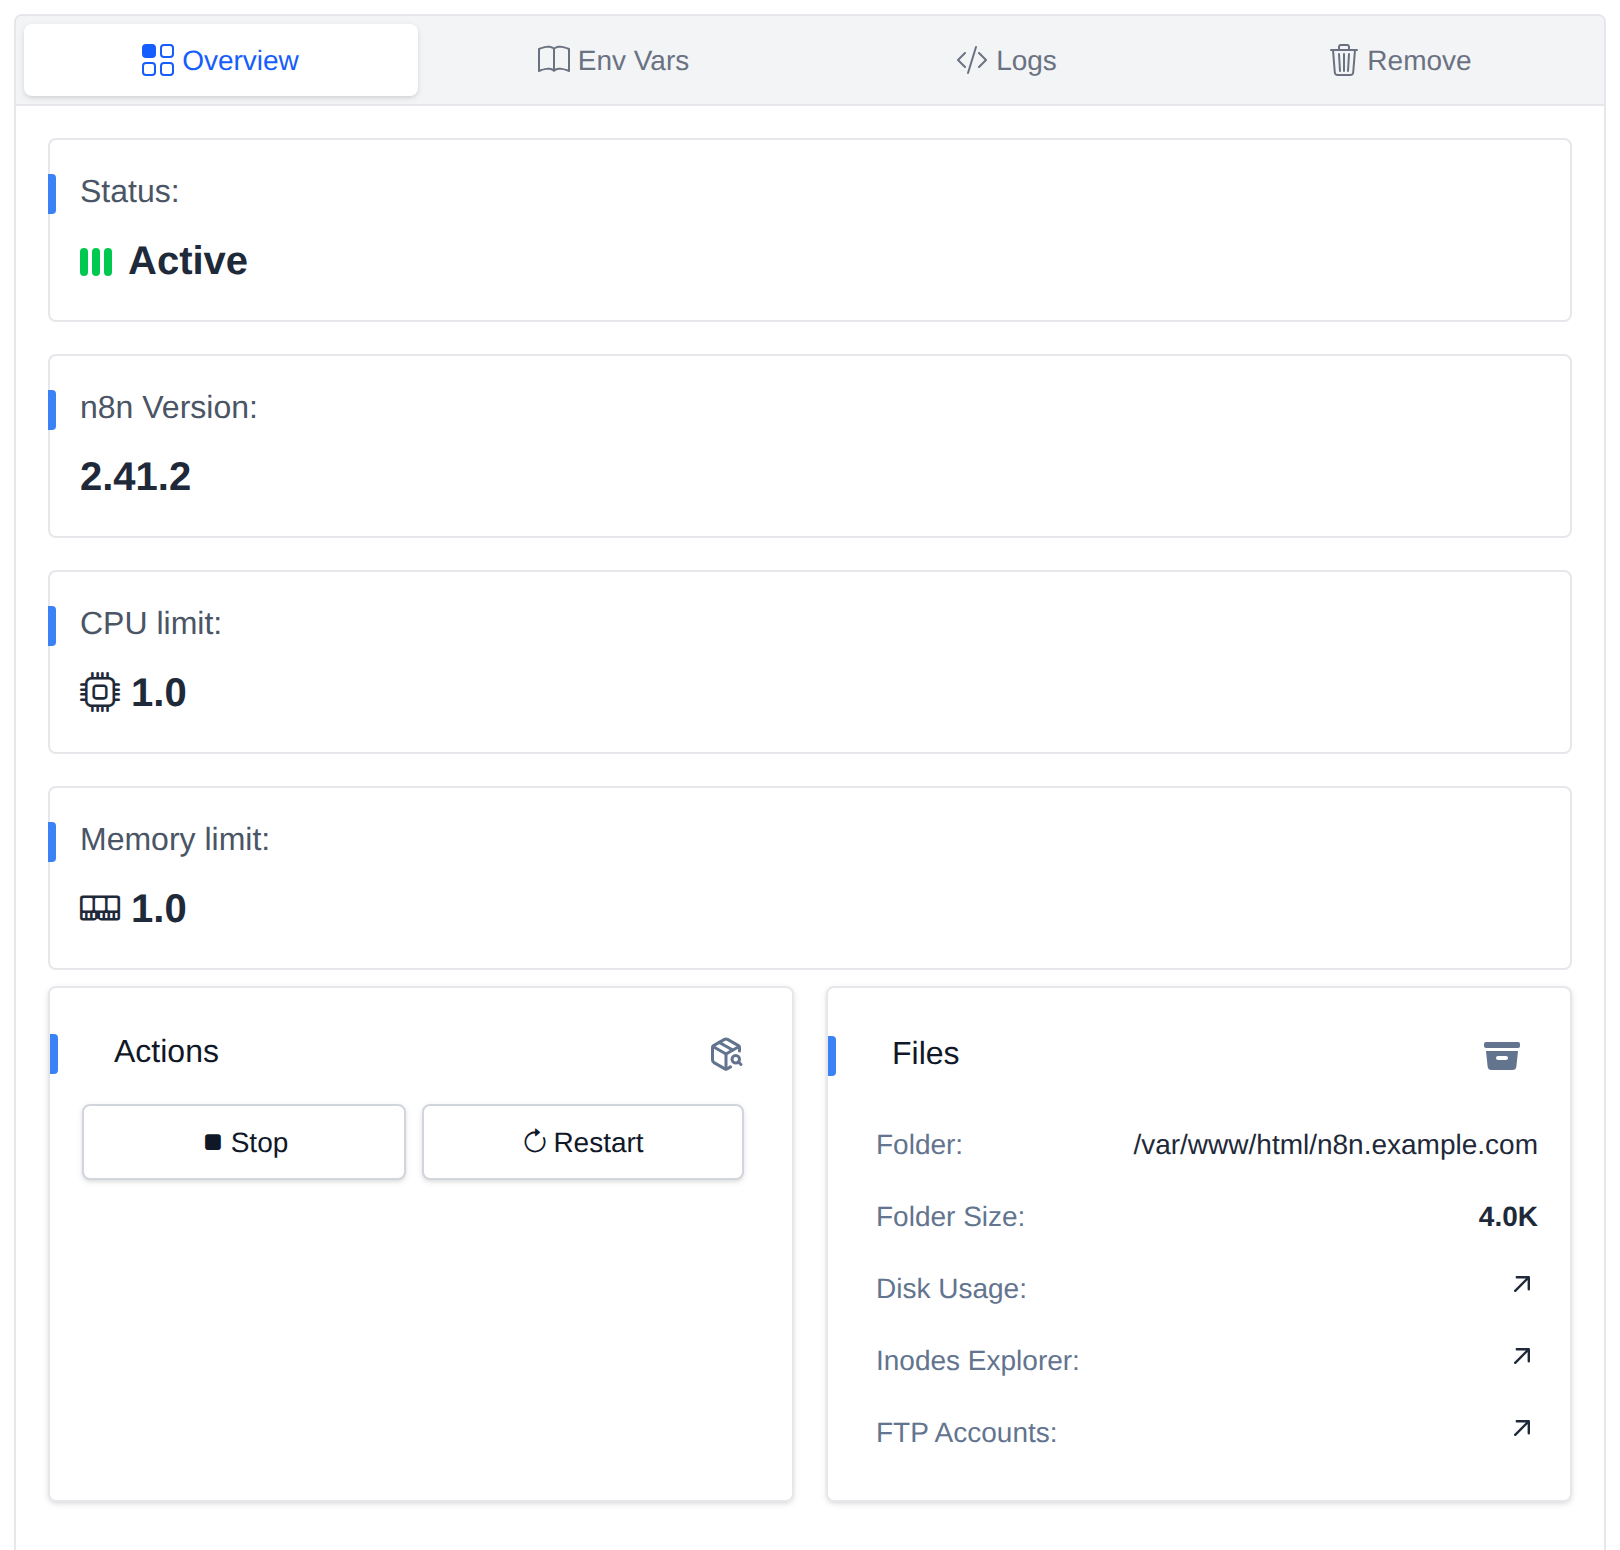
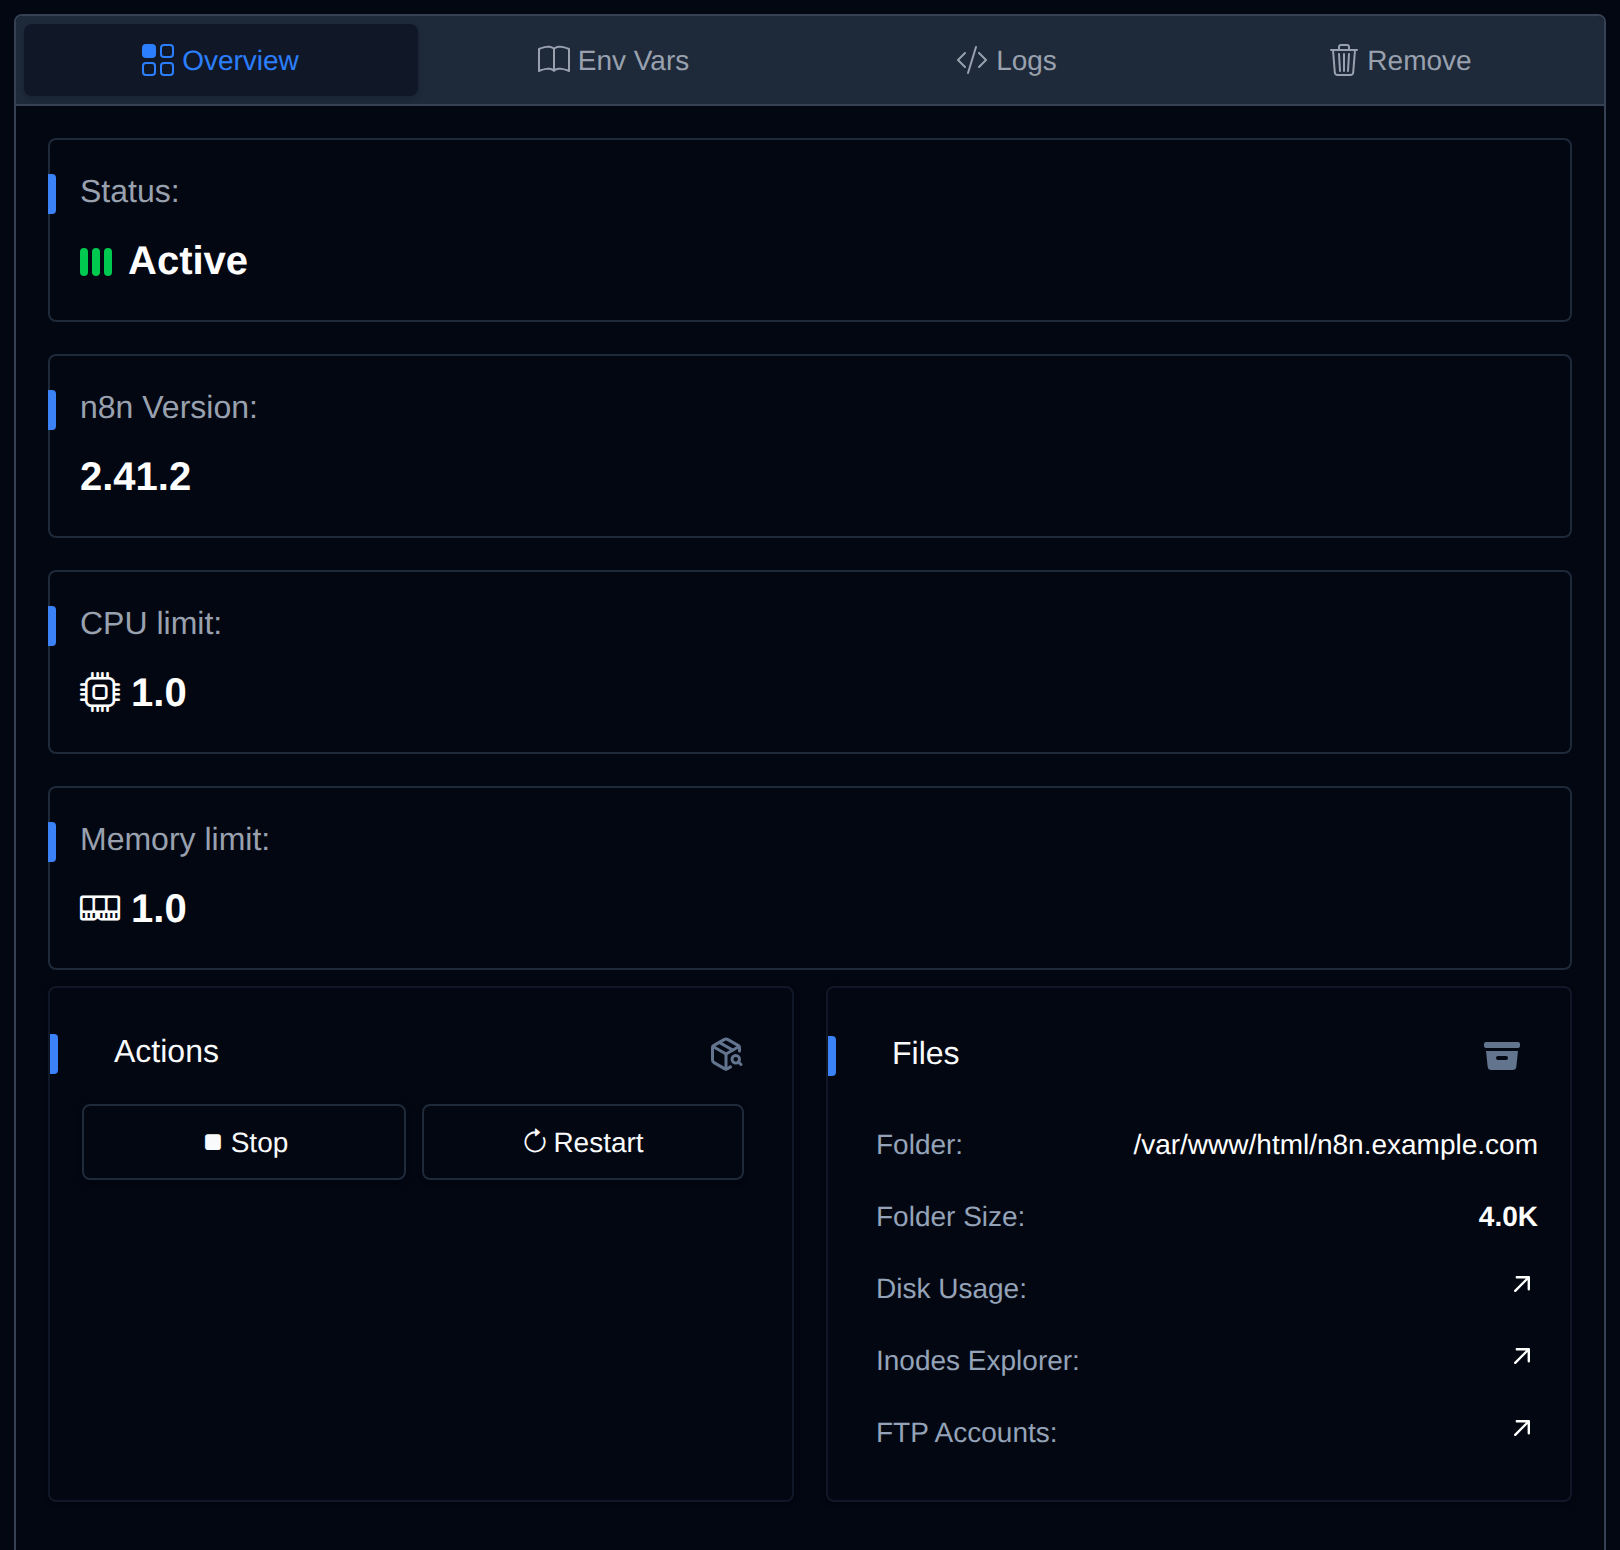
- Status – Whether the container is running.
- n8n Version – The version currently in use.
- CPU limit / Memory limit – The configured resource limits.
- Actions – Start, Stop and Restart the container. The icon in the corner opens the Containers page.
- Files – The domain folder and its size, with shortcuts to the Disk Usage and Inodes explorers and FTP accounts.
Further down, the same tab lets you change the application's settings:
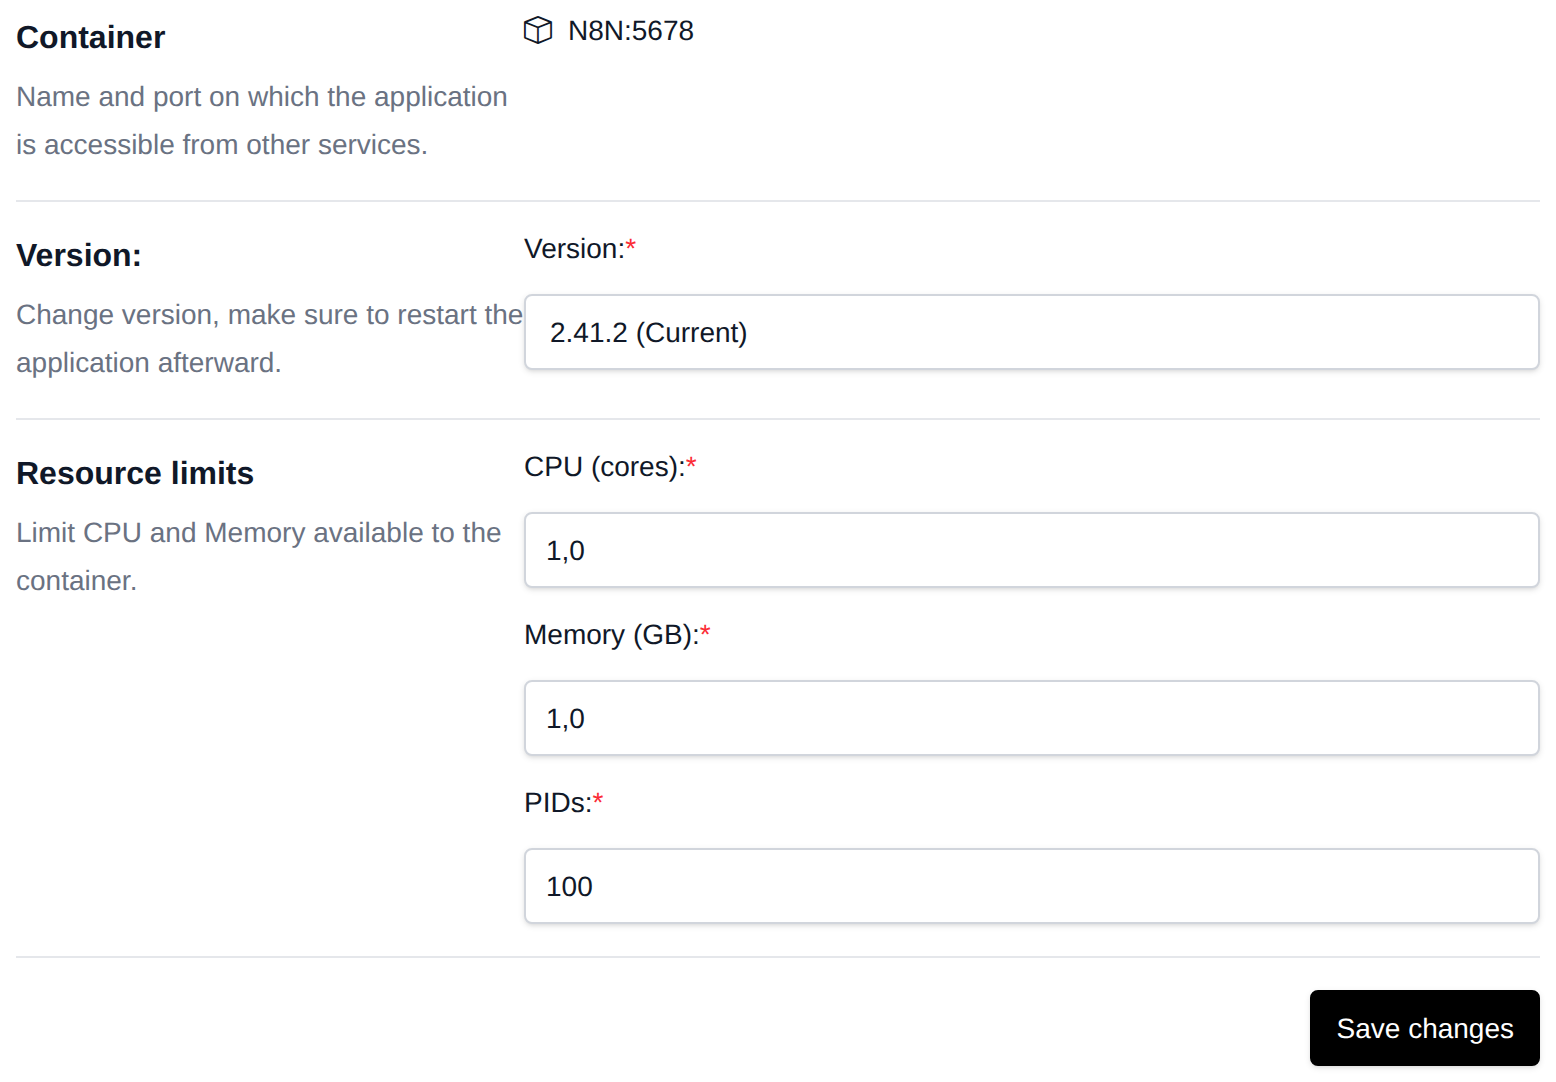
- Container – The service name and port (
N8N:5678) other services in your account can use to reach n8n. - Version – Switch to another n8n release to update (or roll back) n8n. Restart the application afterwards. Workflows and credentials are kept on the data volume.
- Resource limits – CPU cores, memory (GB) and PIDs for the container. Click Save changes, then restart.
Env Vars
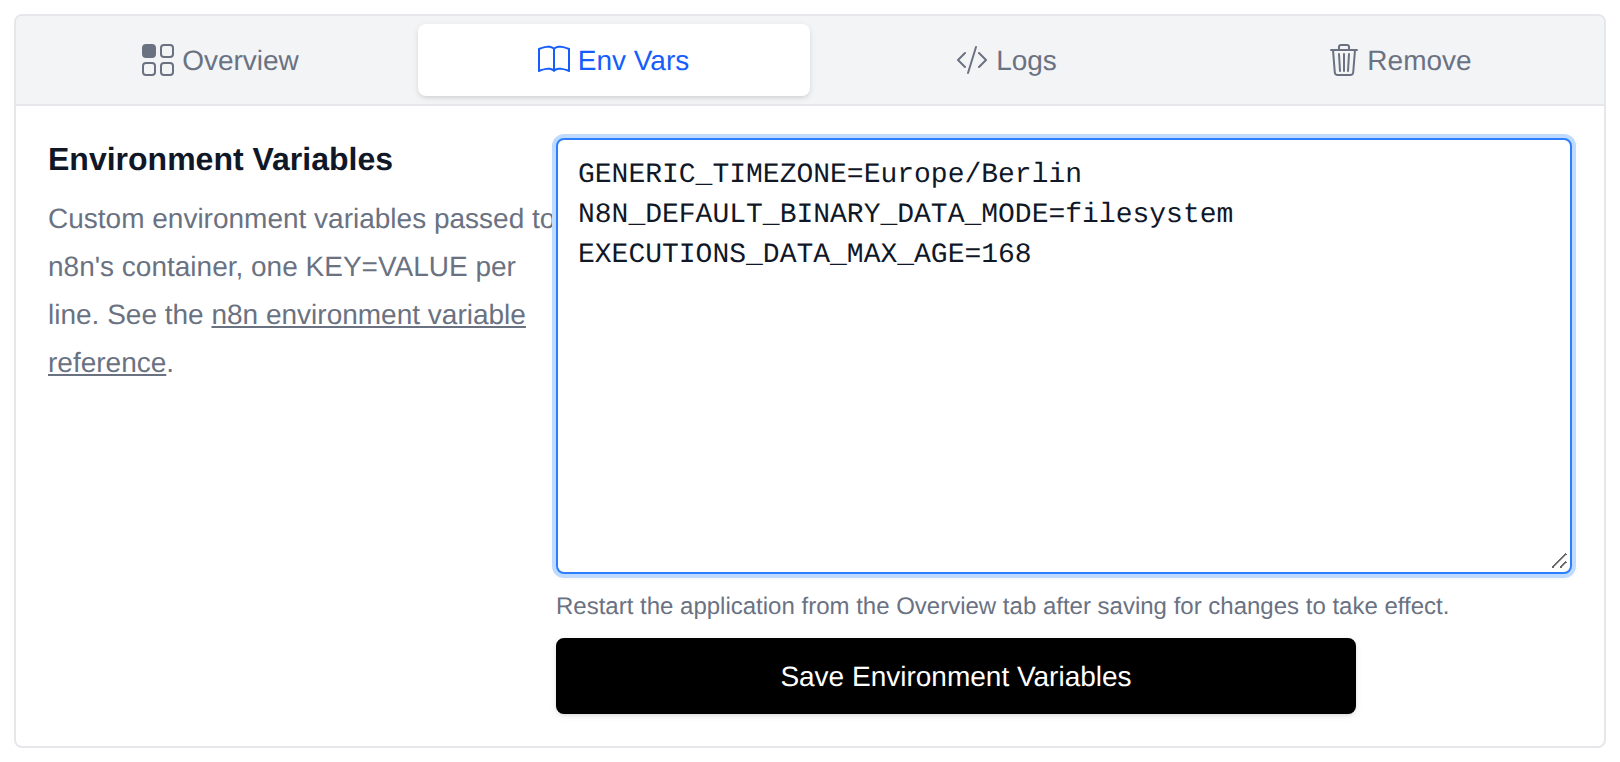
Add custom environment variables for the n8n container, one KEY=VALUE per line - for example GENERIC_TIMEZONE, execution data pruning, or SMTP settings for n8n's user emails. See the n8n environment variable reference.
Click Save Environment Variables, then restart the application from the Overview tab for the changes to take effect.
Logs
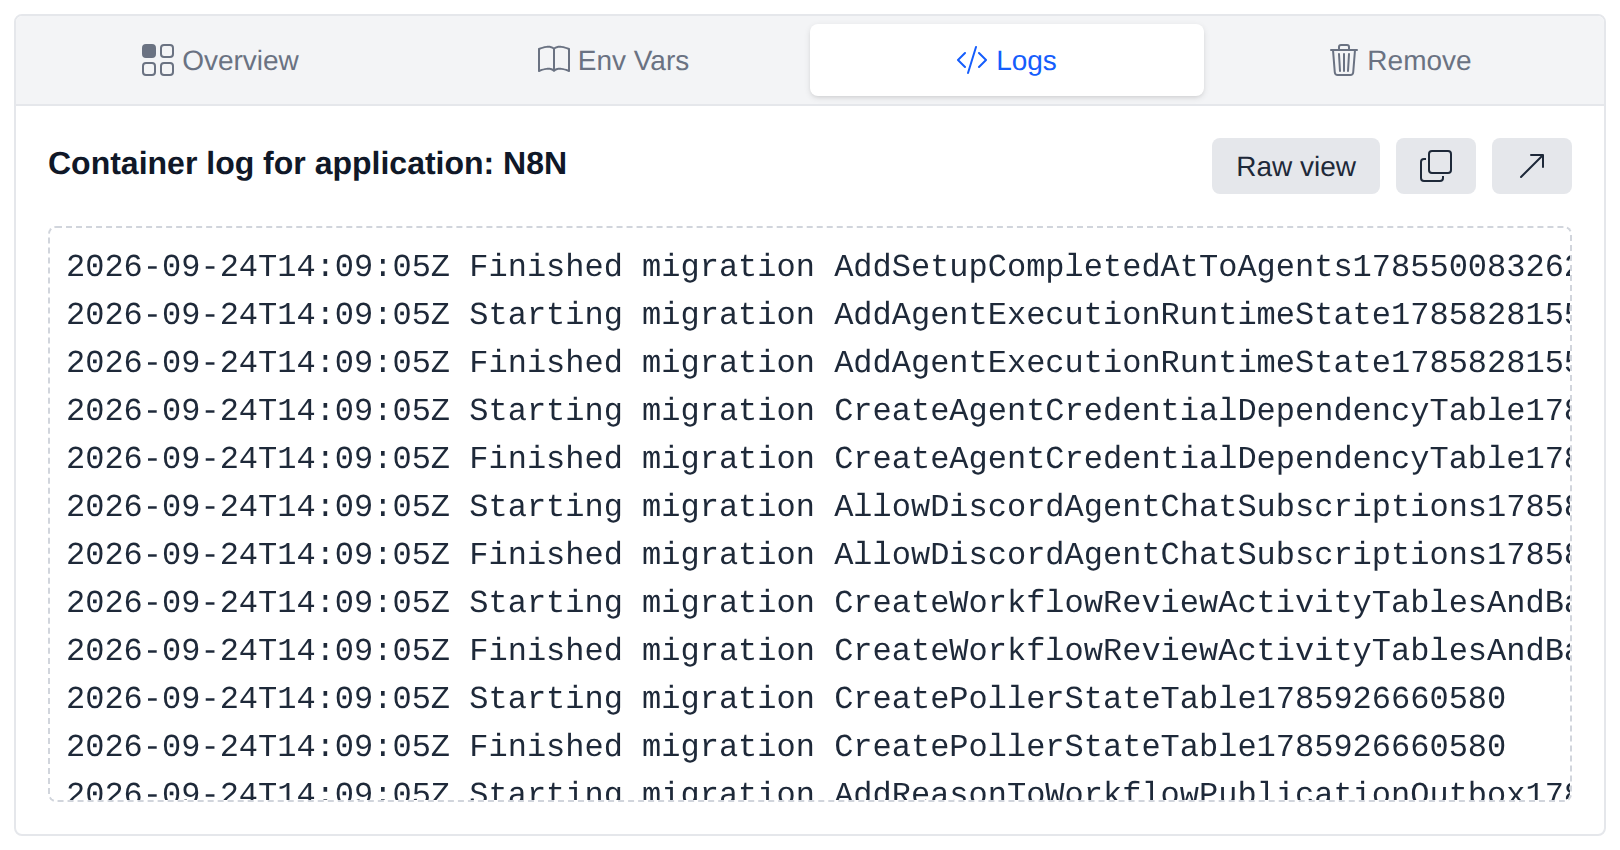
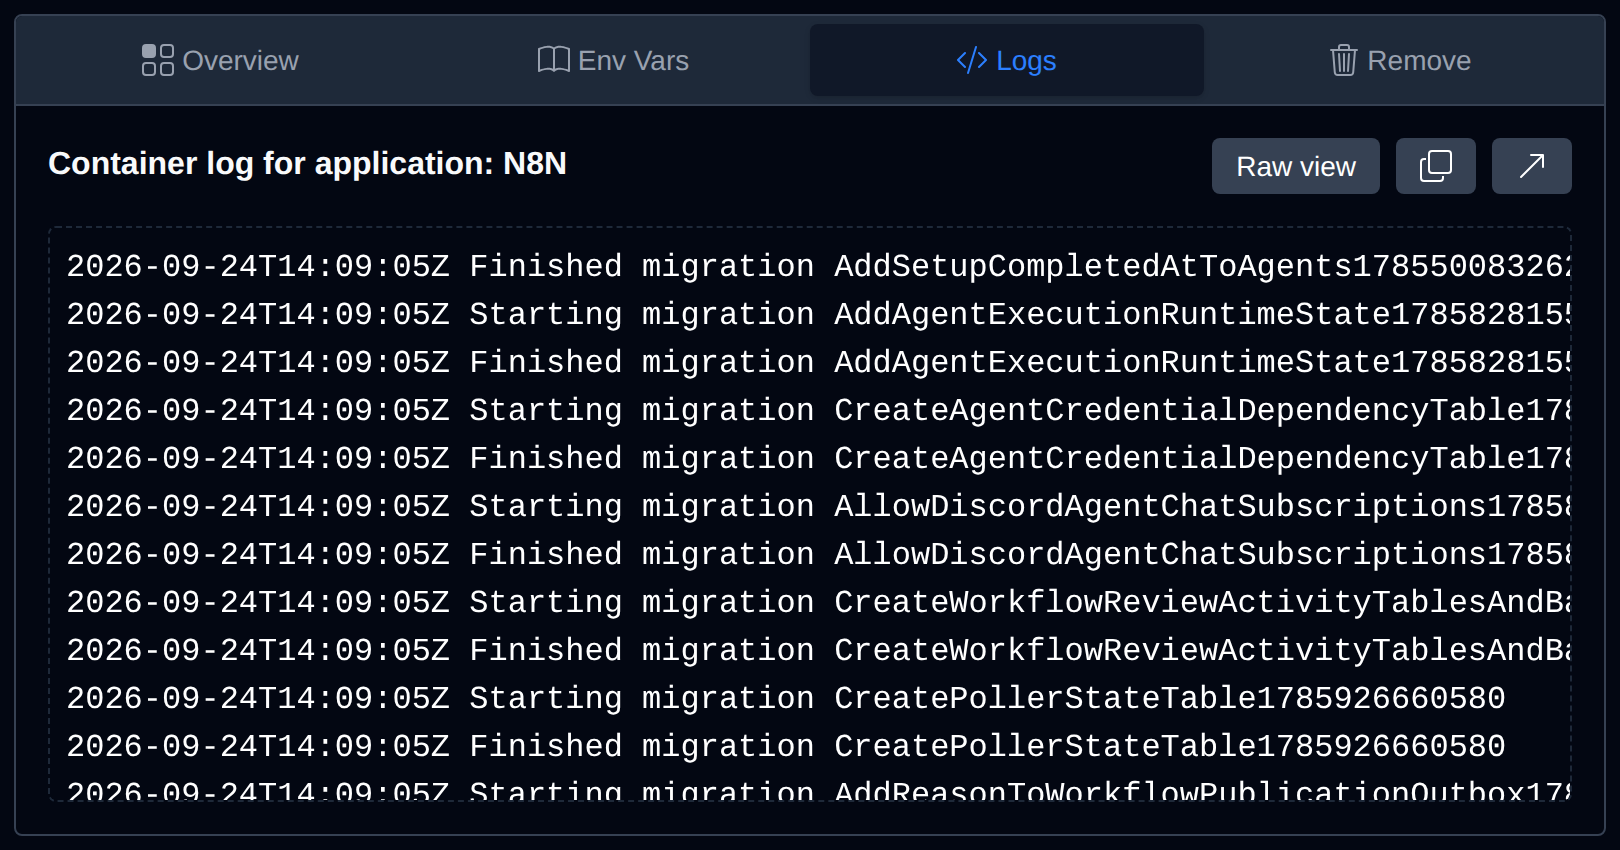
Shows the n8n container log - startup, database migrations and errors from workflows and nodes. Use Raw view to switch the formatting, and the buttons next to it to copy the log or open it in a new tab.
Remove
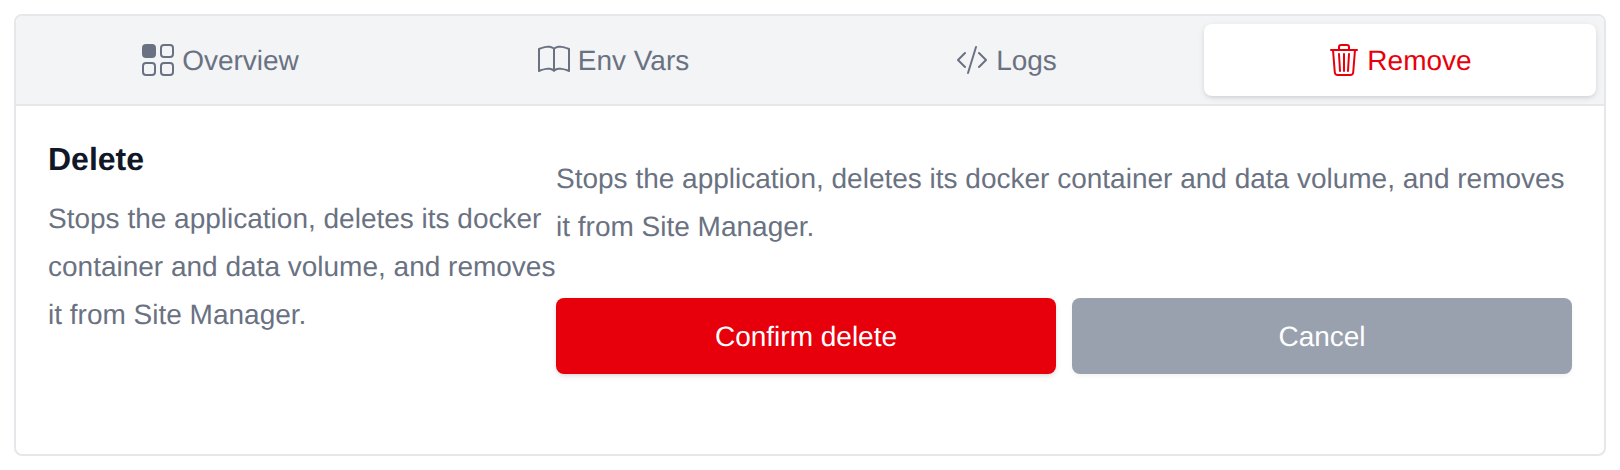
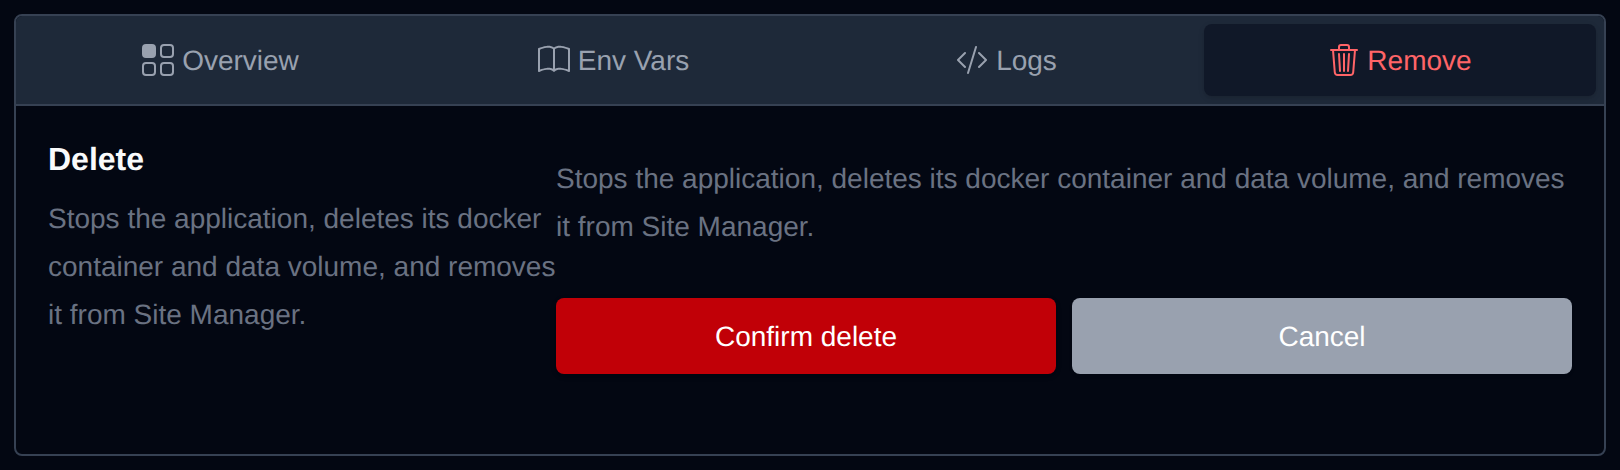
Delete Application stops n8n, deletes its container and its data volume, and removes it from Site Manager. All workflows, credentials and executions are lost, so export your workflows from n8n first. Click Confirm delete to proceed.